- Installing Asterisk on Rocky Linux
- Prerequisites
- Update Rocky Linux and Install wget 
- Set Hostname
- Add Needed Repositories
- Install Development Tools
- Install Asterisk
- Downloading and Configuring the Asterisk Build
- Set Asterisk menu options [For more options]
- Build and Install Asterisk
- Asterisk Configuration
- Create User & Group
- Set Default User & Group
- Configure Asterisk Service
- Configure Firewall
- Test
- The Asterisk Console
- Show Sample End-Point Authentications
- Conclusion
- Установка Asterisk на Ubuntu
- Установка Asterisk из репозиториев
- Установка Asterisk на Ubuntu из исходников
- Настройка Asterisk в Ubuntu
- Выводы
Installing Asterisk on Rocky Linux
Asterisk is an open source framework for building communications applications. Additionally, Asterisk turns an ordinary computer into a communications server, as well as powering IP PBX systems, VoIP gateways, conference servers and other custom solutions. It is used by small businesses, large businesses, call centers, carriers, and government agencies worldwide.
Asterisk is free and open source and is sponsored by Sangoma. Sangoma also offers commercial products that use Asterisk under the hood, and depending on your experience and budget, using these products may be more beneficial than rolling your own. Only you and your organization know that answer.
It should be noted that this guide requires the administrator to do a fair amount of research on their own. Installing a communications server is not a difficult process, but running one can be quite complicated. While this guide will get your server up and running, it will not be fully ready for you to use in production.
Prerequisites
At minimum, you will need the following skills and tools to complete this guide:
- A machine running Rocky Linux
- A comfort level with modifying configuration files and issuing commands from the command-line
- Knowledge of how to use a command line editor (We are using vi here, but feel free to substitute in your favorite editor.)
- You will need root access, and ideally be signed in as the root user in your terminal
- The EPEL repositories from Fedora
- The ability to login as root or run root commands with sudo. All commands here assume a user that has sudo rights, however the configuration and build processes are run with sudo -s .
- To grab the latest build of Asterisk, you will need to either use curl or wget . This guide uses wget , but feel free to substitute in the appropriate curl string if you want to use that.
Update Rocky Linux and Install wget 
This will get your server up-to-date with all packages that have been released or updated since the last update or install. Then run:
Set Hostname
Set your host name to the domain you’ll be using for Asterisk.
sudo hostnamectl set-hostname asterisk.example.com Add Needed Repositories
First, install the EPEL (Extra Packages for Enterprise Linux):
sudo dnf -y install epel-release Next, enable Rocky Linux’ PowerTools:
sudo dnf config-manager --set-enabled powertools Install Development Tools
sudo dnf group -y install "Development Tools" sudo dnf -y install git wget Install Asterisk
Downloading and Configuring the Asterisk Build
Before you download this script, make sure you have the latest version. To do so, navigate to the Asterisk download link here and look for the latest build of Asterisk. Then copy the link location. As of the writing of this document, the following was the latest build:
wget http://downloads.asterisk.org/pub/telephony/asterisk/asterisk-20-current.tar.gz tar xvfz asterisk-20-current.tar.gz cd asterisk-20.0.0/ Before running the install_prereq below (and the remaining commands), you are going to need to be the superuser or root. It’s much easier at this point to get into sudo permanently for a while. We will exit back out of sudo later in the process:
sudo -s contrib/scripts/install_prereq install You should see the following when the script completes:
############################################# ## install completed successfully ############################################# Now that all of the required packages are installed, our next step is to configure and build Asterisk:
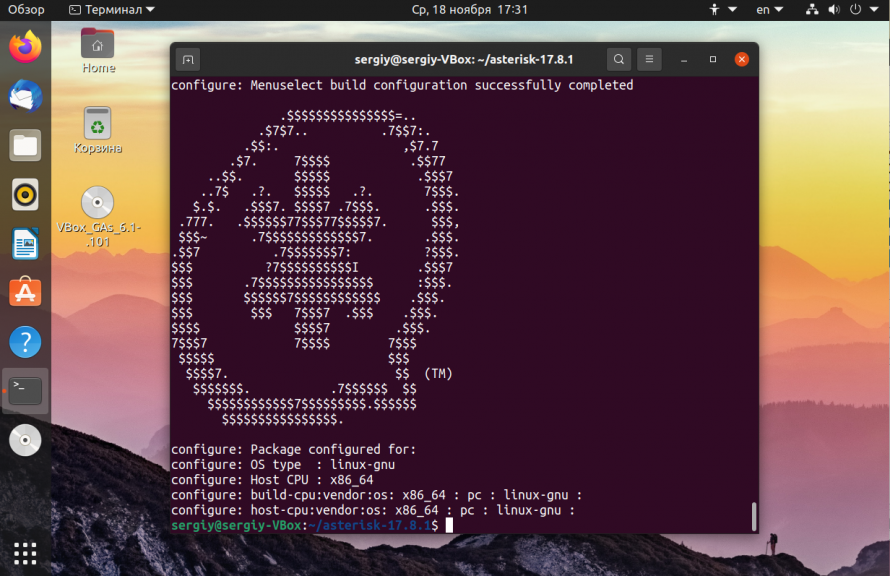
./configure --libdir=/usr/lib64 --with-jansson-bundled=yes Assuming that the configuration runs without issue, you should get a large ASCII Asterisk emblem, followed by the following on Rocky Linux:
configure: Package configured for: configure: OS type : linux-gnu configure: Host CPU : x86_64 configure: build-cpu:vendor:os: x86_64 : pc : linux-gnu : configure: host-cpu:vendor:os: x86_64 : pc : linux-gnu : Set Asterisk menu options [For more options]
This is one of the steps where the administrator is going to need to do his homework. There are a lot of menu options that you may or may not need. Running the following command:
will bring you to a menu select screen:
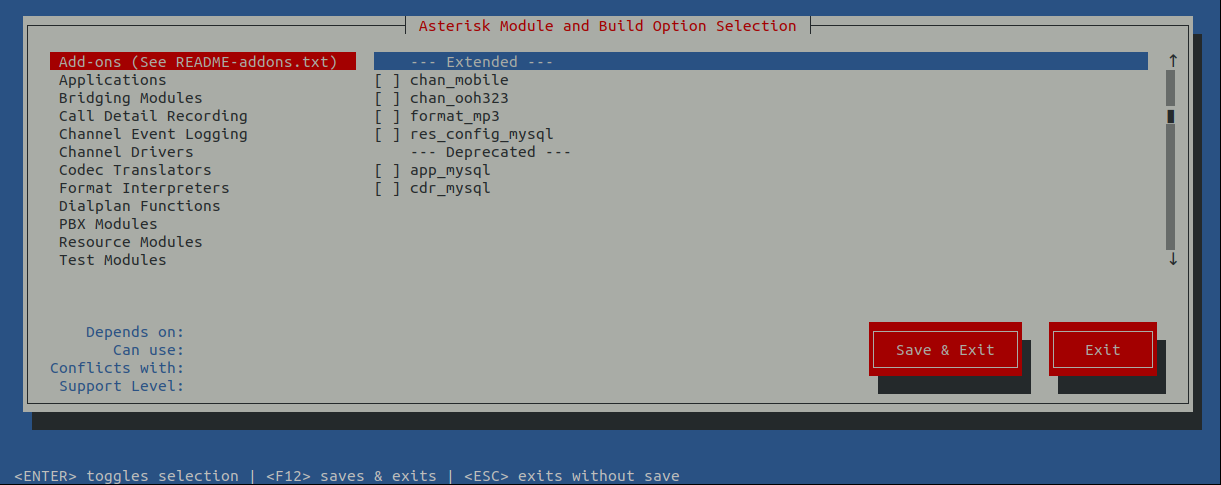
Look through these options carefully and make selections based on your requirements. As stated earlier, this may take some additional homework.
Build and Install Asterisk
To build, we want to execute the following commands in succession:
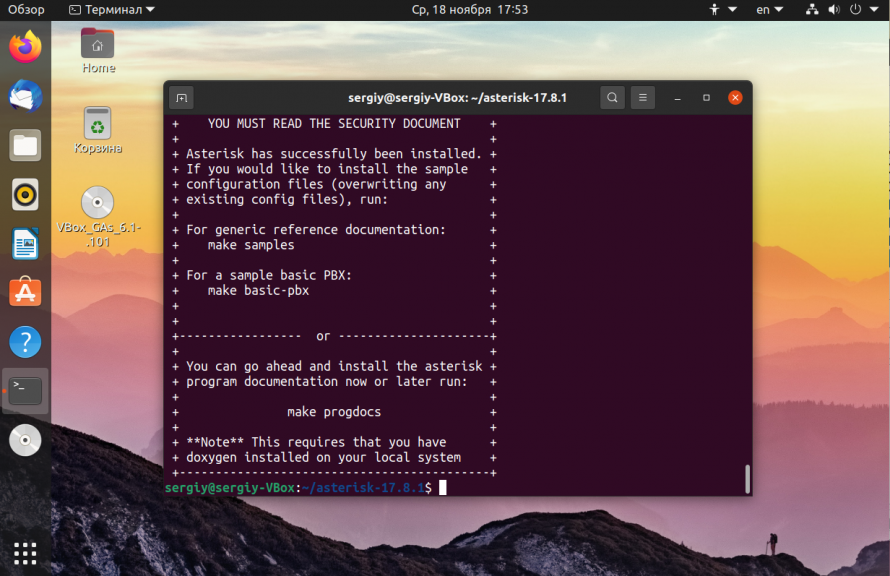
Installing the documentation isn’t required, but unless you are a communications server expert, you’ll want them installed:
Next install the basic PBX and make the config. The basic PBX is just that, very basic! You will probably need to make changes going forward to get your PBX to function as you want it to.
make basic-pbx make config Asterisk Configuration
Create User & Group
You’ll need a specific user just for asterisk. Might as well create it now.
groupadd asterisk useradd -r -d /var/lib/asterisk -g asterisk asterisk chown -R asterisk.asterisk /etc/asterisk /var//asterisk /usr/lib64/asterisk restorecon -vr Now that the bulk of our work is completed, go ahead and exit out of the sudo -s command. This will require that most of the remaining commands use sudo again:
Set Default User & Group
sudo vi /etc/sysconfig/asterisk Remove the comments on the two lines below and save:
AST_USER="asterisk" AST_GROUP="asterisk" sudo vi /etc/asterisk/asterisk.conf Remove the comments on the two lines below and save:
runuser = asterisk ; The user to run as. rungroup = asterisk ; The group to run as. Configure Asterisk Service
sudo systemctl enable asterisk Configure Firewall
This example uses firewalld for the firewall, which is the default in Rocky Linux. The goal here is to open SIP ports to the world and to open RTP (Realtime Transport Protocol) to the world on ports 10000-20000 as recommended by the Asterisk documentation.
Keep in mind that you will almost certainly need other firewall rules for other forward-facing services (HTTP/HTTPS) which you will probably want to limit to your own IP addresses. That is beyond the scope of this document:
sudo firewall-cmd --zone=public --add-service sip --permanent sudo firewall-cmd --zone=public --add-port=10000-20000/udp --permanent Since we’ve made the firewalld commands permanent, we will need to do a reboot of the server. You can do that with:
Test
The Asterisk Console
To test, let’s connect to the Asterisk console:
Which will bring you into the Asterisk command-line client. You will see this prompt after the basic Asterisk information is displayed:
To change the verbosity of the console, use the following:
Which should show you the following in the Asterisk console:
Console verbose was OFF and is now 4. Show Sample End-Point Authentications
At the Asterisk command-line client prompt, type:
This will return username and password information that you can then use to connect any SIP client with.
Conclusion
The above will get you up and running with the server, but finishing out the configuration, connecting devices, and further troubleshooting is up to you.
Running an Asterisk communications server takes a lot of time and effort and will require a lot of research by any administrator. For more information on how to configure and use Asterisk, take a look at the Asterisk Wiki here.
Contributors: Steven Spencer
Установка Asterisk на Ubuntu
Asterisk — это решение для компьютерной телефонии с открытым исходным кодом, которое поддерживает протоколы VoIP, SIP и PJSIP для операционной системы Linux. Если подключить к компьютеру соответствующее оборудование, то с помощью Asterisk можно создать полноценную станцию ATC. Среди основных возможностей программы можно отметить голосовую почту, конференции, интерактивное голосовое меню и распределение звонков.
В этой статье мы рассмотрим как выполняется установка Asterisk на Ubuntu 20.04. Программу можно установить из официальных репозиториев дистрибутива или же собрать последнюю версию из исходников.
Установка Asterisk из репозиториев
В репозиториях Ubuntu 20.04 на данный момент находится версия 16. Это версия LTS с длительным сроком поддержки. Для установки программы достаточно выполнить команду:
sudo apt install asterisk
После завершения установки можно проверить версию программы:
Как видите, мы получили версию 16. Это LTS версия, но на данный момент уже доступна версия 17. Чтобы её получить придется собрать программу из исходников.
Установка Asterisk на Ubuntu из исходников
Первым делом вам нужно установить зависимости для работы программы:
sudo apt install gnupg2 software-properties-common git curl wget libnewt-dev libssl-dev libncurses5-dev subversion libsqlite3-dev build-essential libjansson-dev libxml2-dev uuid-dev
Дальше мы можем перейти к сборке программы, сначала скачаем исходный код из официального сайта:
Для распаковки исходников наберите:
tar zxvf asterisk-17-current.tar.gz

Дальше нам нужно перейти в папку с исходниками, но мы не знаем точную версию программы. У нас есть мажорная версия 17, но минорную версию мы не знаем. Поэтому используйте такую команду:
Перед тем как выполнить сборку и установку Asterisk на Ubuntu необходимо установить нужные mp3 модули:
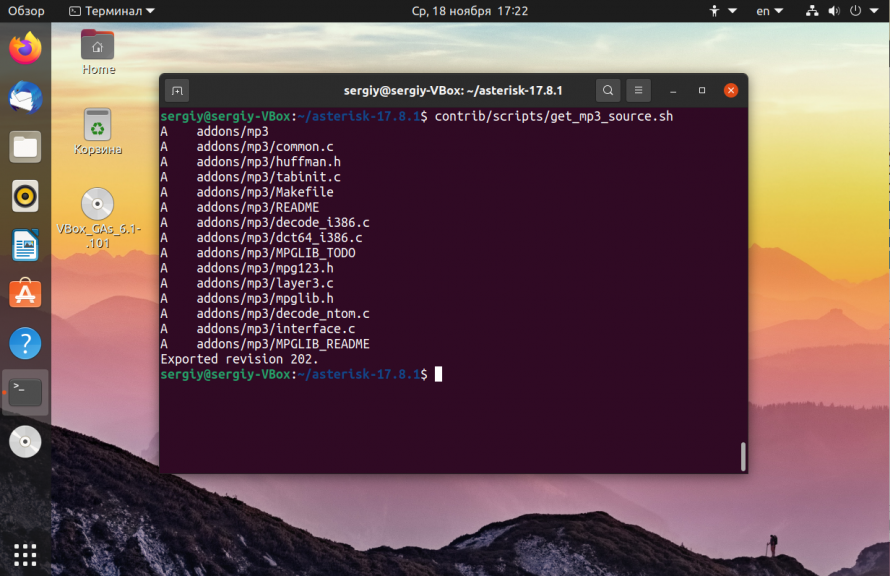
Эти команды позволят вам установить некоторые зависимости для проигрывания mp3. Затем установите нужные зависимости для этих модулей:
sudo contrib/scripts/install_prereq install
Выполнение может занять некоторое время, а также вам нужно будет ввести код страны. Дальше подготовим конфигурационные файлы для сборки:
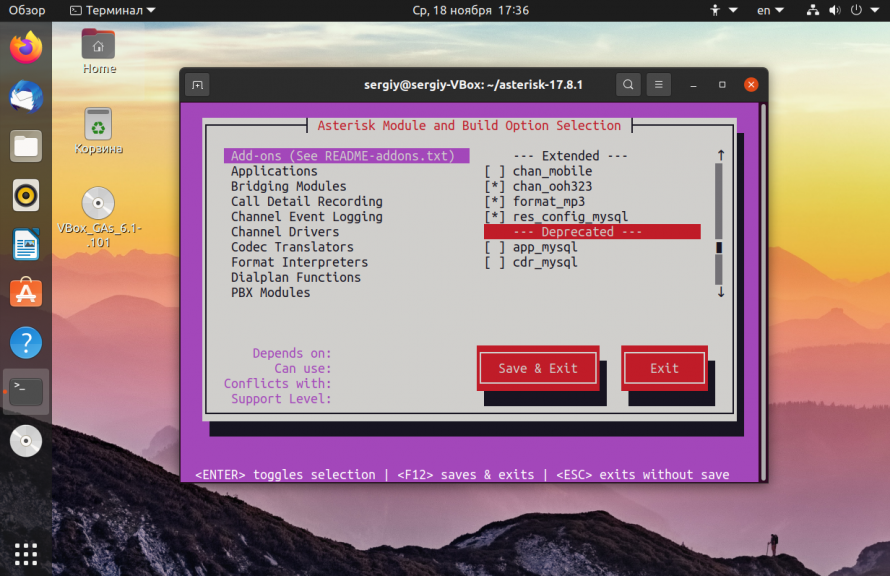
Затем надо немного настроить процесс сборки:
Используйте клавиши со стрелками для перемещения по меню. Для выбора какого-либо пункта используйте Enter. Сначала включите необходимые дополнения на вкладке Add-ons. Например, как на снимке:
Затем перейдите в раздел Core Sound Packages и включите там необходимые пакеты, например:

Аналогично сделайте в разделе Music on Hold:

Когда закончите с настройкой выберите Save & Exit с помощью клавиши Tab:

Осталось выполнить сборку программы:
Когда установка будет завершена, выполните такую команду, чтобы не создавать сотни конфигурационных файлов вручную:
Чтобы установить скрипты инициализации, которые позволят запускать asterisk автоматически, при каждой загрузке выполните:
Затем для обновления кэша библиотек выполните такую команду:
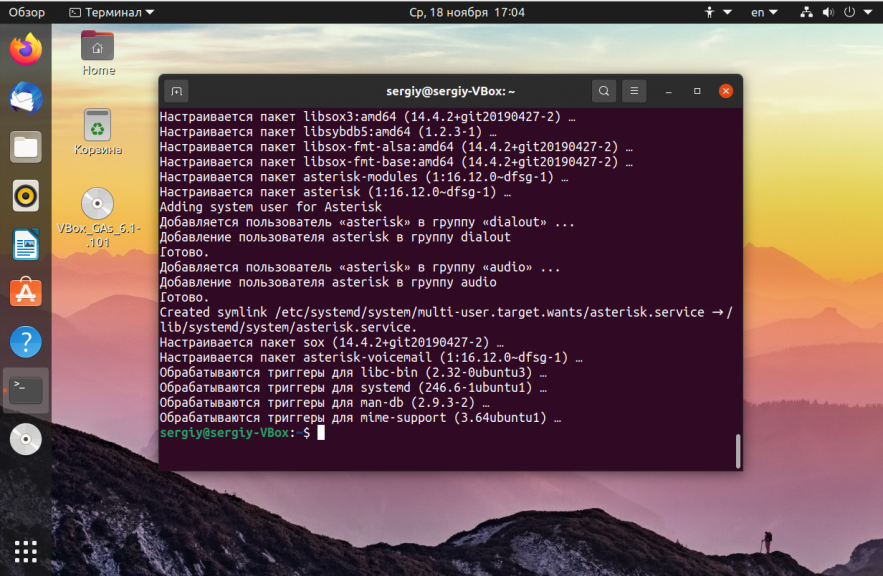
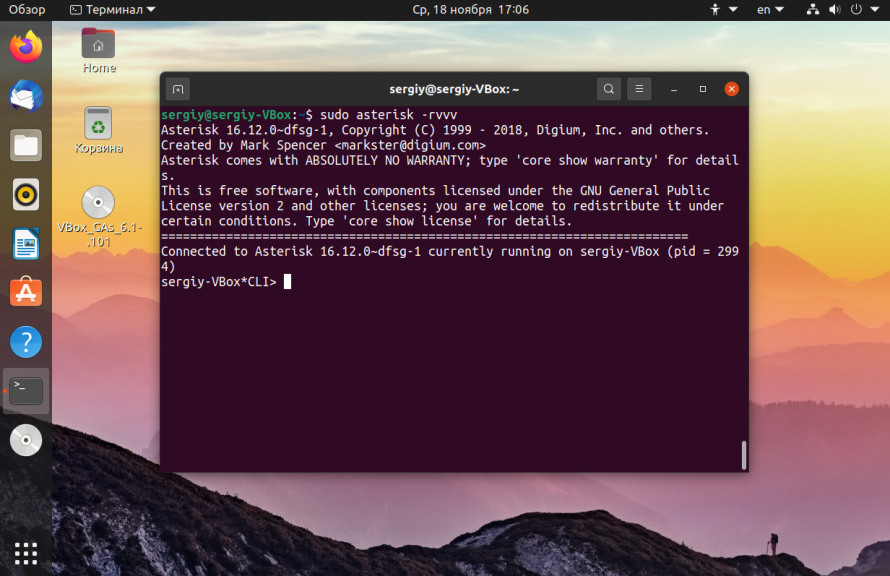
Теперь вы можете запустить сервер asterisk и убедится, что все действительно работает:
sudo systemctl start asterisk
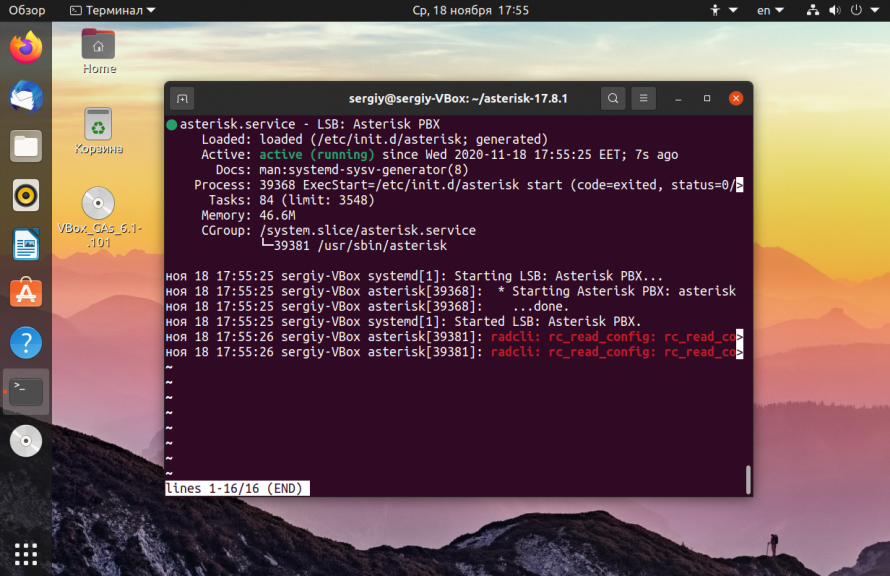
И смотрим информацию про утилиту через терминал:
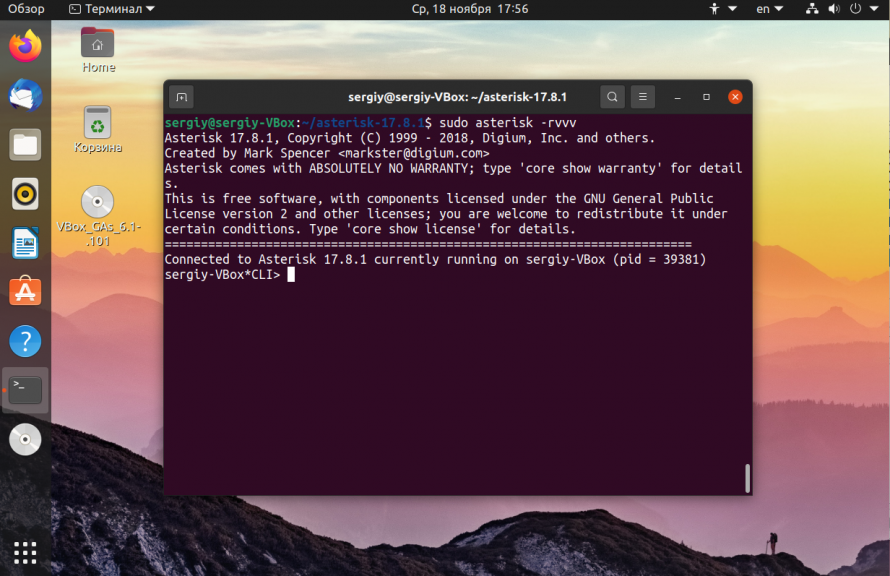
Если все было сделано правильно и установка Asterisk на Ubuntu с нуля прошла успешно, то все будет работать.
Настройка Asterisk в Ubuntu
Программа запускается от суперпользователя. Но нам нужно, чтобы её можно было запустить от пользователя asterisk, а поэтому нужно выполнить ещё несколько настроек. Так ваша система будет в большей безопасности. Для начала нужно остановить запущенный сервис:
sudo systemctl stop asterisk
Дальше добавьте группу и пользователя asterisk:
sudo groupadd asterisk
sudo useradd -d /var/lib/asterisk -g asterisk asterisk
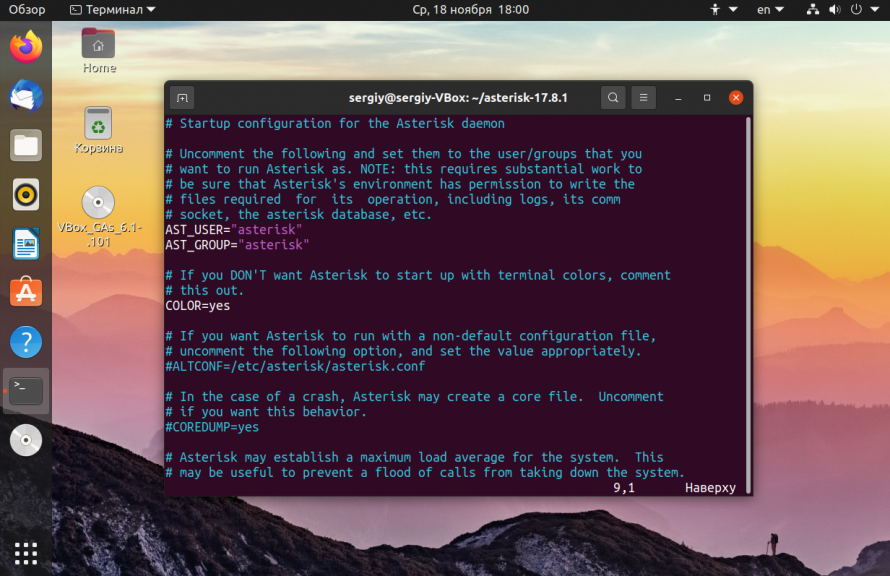
Дальше нам нужно изменить скрипт инициализации так, чтобы программа запускалась от имени нужного пользователя. Откройте файл /etc/default/asterisk и расскоментируйте такие строки:
sudo vi /etc/default/asterisk
Для того чтобы все работало правильно, пользователю asterisk нужно дать доступ ко всем каталогам программы:
sudo chown -R asterisk:asterisk /var/spool/asterisk /var/run/asterisk /etc/asterisk /var//asterisk /usr/lib/asterisk
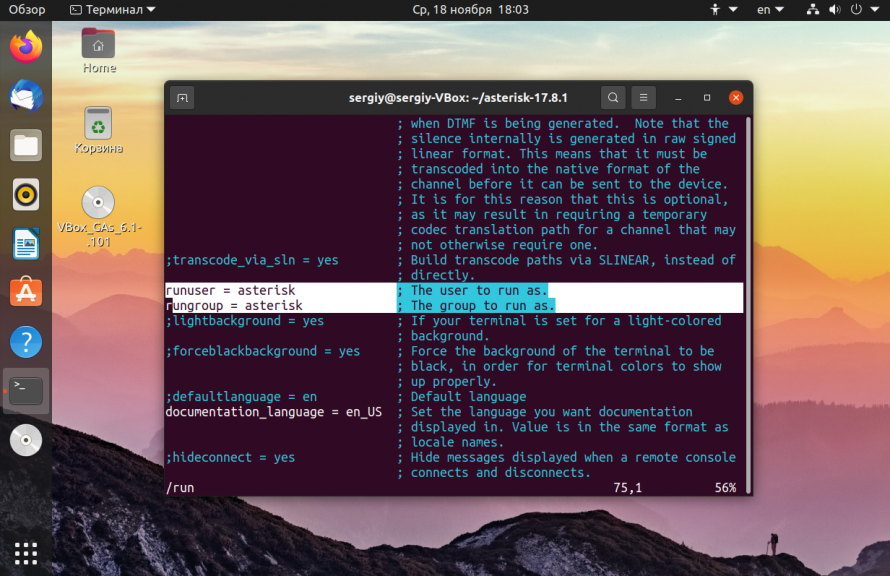
Также укажем правильные настройки пользователя для полей runuser и rungroup в файле /etc/asterisk/asterisk.conf:
sudo vi /etc/asterisk/asterisk.conf
runuser = asterisk;
rungroup = asterisk;
Когда все будет готово запустите ранее остановленную службу или перезагрузите, если не останавливали:
sudo systemctl start asterisk
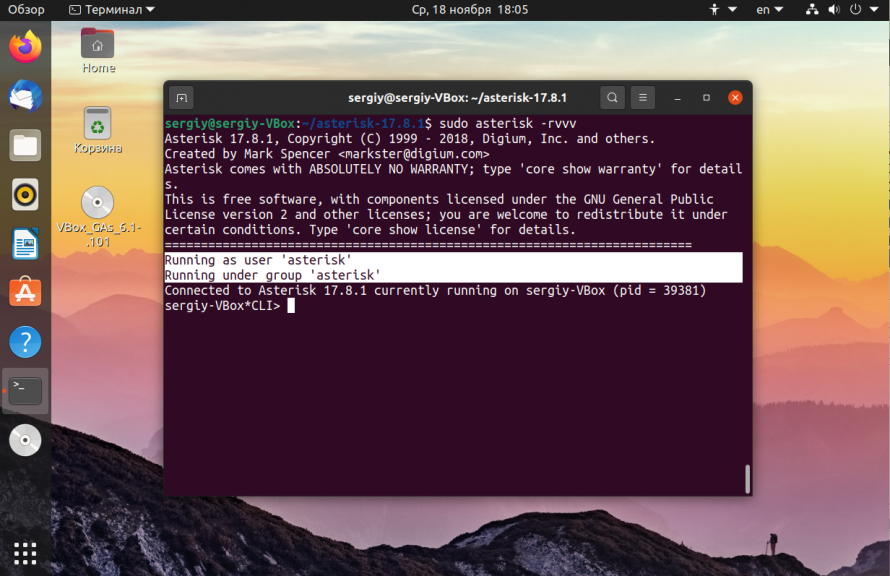
Если пользователь и группа — asterisk, а значит мы сделали все правильно, настройка Asterisk Ubuntu завершена.
Выводы
Вот и все. Установка Asterisk на Ubuntu 20.04 завершена. Теперь вы можете перейти к дальнейшей настройке сети для совершения звонков между вашими абонентами прямо через интернет. В качестве клиентского программного обеспечения можно использовать любую программу, поддерживающую нужные протоколы, например Jitsi или Linphone.
Обнаружили ошибку в тексте? Сообщите мне об этом. Выделите текст с ошибкой и нажмите Ctrl+Enter.