- Installing GCC
- Building GCC
- Support libraries
- Configuration
- Installing the GNU C compiler and GNU C++ compiler
- Installing the GNU Java compiler
- Installing the GNU Fortran compilers
- Installing the GNU autotools
- 32-bit Builds on AMD64
- Installing the Intel Compiler Suite Professional Edition 10.x
- Get the License Number and Extract to a path without spaces
- On 64-bit systems you may also need to issue these commands
- Run the Installation Script
- Edit /etc/bash.bashrc to add the installation path to the PATH environment variable
- Installing the X11 development compilers
- How to Install GCC on Ubuntu
- Install only GCC
- Install GCC along with useful tools via build-essential
- Conclusion
Installing GCC
This page is intended to offer guidance to avoid some common problems when installing GCC, the official installation docs are in the Installing GCC section of the main GCC documentation. N.B. those installation docs refer to the development trunk, the installation instructions for released versions are included in the release sources.
For most people the easiest way to install GCC is to install a package made for your operating system. The GCC project does not provide pre-built binaries of GCC, only source code, but all GNU/Linux distributions include packages for GCC. The BSD-based systems include GCC in their ports collections. For other operating systems the Installing GCC: Binaries page lists some third-party sources of GCC binaries.
If you cannot find suitable binaries for your system, or you need a newer version than is available, you will need to build GCC from source in order to install it.
Building GCC
- do not run ./configure from within the source directory, this is not supported. You need to run configure from outside the source directory, in a separate directory created for the build (this is a FAQ)
- if GCC links dynamically to the GMP, MPFR or MPC support libraries then the relevant shared libraries must be in the dynamic linker’s path, both when building gcc and when using the installed compiler (this is also a FAQ)
Support libraries
- If it provides sufficiently recent versions, use your OS package management system to install the support libraries in standard system locations. For Debian-based systems, including Ubuntu, you should install the packages libgmp-dev, libmpfr-dev and libmpc-dev. For RPM-based systems, including Fedora and SUSE, you should install gmp-devel, mpfr-devel and libmpc-devel (or mpc-devel on SUSE) packages. The packages will install the libraries and headers in standard system directories so they can be found automatically when building GCC.
- Alternatively, after extracting the GCC source archive, simply run the ./contrib/download_prerequisites script in the GCC source directory. That will download the support libraries and create symlinks, causing them to be built automatically as part of the GCC build process. Set GRAPHITE_LOOP_OPT=no in the script if you want to build GCC without ISL, which is only needed for the optional Graphite loop optimizations.
The difficult way, which is not recommended, is to download the sources for GMP, MPFR and MPC, then configure and install each of them in non-standard locations, then configure GCC with --with-gmp=/some/silly/path/gmp --with-mpfr=/some/silly/path/mpfr --with-mpc=/some/silly/path/mpc, then be forced to set LD_LIBRARY_PATH=/some/silly/path/gmp:/some/silly/path/mpfr:/some/silly/path/mpc/lib in your environment forever. This is silly and causes major problems for anyone who doesn’t understand how dynamic linkers find libraries at runtime. Do not do this. If building GCC fails when using any of the --with-gmp or --with-mpfr or --with-mpc options then you probably shouldn’t be using them.
Configuration
See Installing GCC: Configuration for the full documentation. A major benefit of running srcdir/configure from outside the source directory (instead of running ./configure) is that the source directory will not be modified in any way, so if your build fails or you want to re-configure and build again, you simply delete everything in the objdir and start again.
For example, configuring and building GCC 4.6.2 (with support for C, C++, Fortran and Go) should be as simple as:
tar xzf gcc-4.6.2.tar.gz cd gcc-4.6.2 ./contrib/download_prerequisites cd .. mkdir objdir cd objdir $PWD/../gcc-4.6.2/configure --prefix=$HOME/GCC-4.6.2 --enable-languages=c,c++,fortran,go make make install
The make step takes a long time. If your computer has multiple processors or cores you can speed it up by building in parallel using make -j 2 (or a higher number for more parallelism).
If your build fails and your configure command has lots of complicated options you should try removing options and keep it simple. Do not add lots of configure options you don’t understand, they might be the reason your build fails.
None: InstallingGCC (последним исправлял пользователь JonathanWakely 2017-07-20 19:47:08)
Installing the GNU C compiler and GNU C++ compiler
To install the gcc and g++ compilers, you will need the build-essential package. This will also install GNU make.
build-essential contains a list of packages which are essential for building Ubuntu packages including gcc compiler, make and other required tools.
$ sudo apt-get update $ sudo apt-get upgrade $ sudo apt-get install build-essential $ gcc -v $ make -v
Now, you should able to compile software using C / C++ compilers.
To install the manpages for c and c++ development, install the manpages-dev package.
Installing the GNU Java compiler
Note that GNU’s Java compiler is not the same as the one developed and distributed by Sun Microsystems, and will not provide Java to the firefox browser. For that, please see Java. To install gcj, the GNU Java compiler, install the following package: gcj.
To install the GNU Java bytecode interpreter, you need the gij package.
To have gcj compile to executables, install libgcj6-dev (otherwise an error during compilation occurs: libgcj.spec: No such file or directory). Use synaptic to install libgcj6-dev.
Installing the GNU Fortran compilers
To install the GNU Fortran 77 compiler — g77, you need the g77 package.
To install the GNU Fortran 95 compiler — gfortran, the package is: gfortran.
Installing the GNU autotools
To install autoconf and automake, you need the autoconf and automake packages.
Apt-get will tell you to explicitly choose a version of automake. If, for example, you decide to use automake1.9, you need to specify the version, such as the automake1.9 package.
32-bit Builds on AMD64
The GNU compilers have options that allow them to create 32-bit object and executable files on 64-bit operating systems, and vica versa. The critical options are -m32 (to build 32-bit) and -m64 (to build 64-bit).
These options will be present when you install the compiler of your choice. However, they won’t actually work unless you install several additional packages.
The first thing you will need is the multilib package for the compiler you are using. For example, to add multilib support to the default version of g++ (4.1 in gutsy), you would install
The multilib packages are compiler runtime packages. Now, you need 32-bit (or 64-bit) versions of whatever libraries you need to link your application program. 64-bit packages have names that start with lib64. Install these on 32-bit systems to support 64-bit builds. 32-bit packages have names that start with lib32. Install these on 64-bit systems to support 32-bit builds. Whatever else you are doing, you will probably need . If you are using g++, you will need
Installing the Intel Compiler Suite Professional Edition 10.x
- gcc, build-essential, libc6-dev (see above)
- ia32-libs, g++-multilib, and libc6-dev-i386 (for 64-bit systems)
- 32-bit packages starting with lib32 (for 64-bit systems)
- alien and rpm for installing the RPM packages that Intel distributes.
- libstdc++5 and libstdc++5-3.3-dev for good measure because Intel’s builds depend on these runtimes.
before you attempt installing the Intel Compiler Suite.
Get the License Number and Extract to a path without spaces
Ensure that you have obtained the license number for your installation and extracted the downloaded installation archive into a path that does not contain any spaces. This last statement is utterly important. The installer script that comes with the package has a bug that does not allow you to install the compiler suite if you have any spaces in the installer script path.
On 64-bit systems you may also need to issue these commands
# cd /usr/lib32 # ln -s libpthread.so libpthread.so.0 # ln -s libm.so libm.so.6 # ln -s libc.so libc.so.6 # ln -s libdl.so libdl.so.2
because the chklic_32_64 license checking utility from Intel dynamically links to these libraries.
Once you’re done preparing to install the compiler suite, it’s time to go to the installer directory and install the compiler (be sure to also read through accompanying documentation; e.g., README, INSTALL.txt):
Run the Installation Script
$ cd /home/user/intel_compiler_suite $ sudo ./install.sh . Follow the wizard as it guides you through the installation process.
After installing the compiler, you need to tell your shell the location of these executables by adding their parent paths to the PATH environment variable.
Edit /etc/bash.bashrc to add the installation path to the PATH environment variable
export PATH=/opt/intel/cc/10.1.012/bin:/opt/intel/idb/10.1.012/bin:$
Where 10.1.012 is the version of the compiler suite installed.
Installing the X11 development compilers
Install script for X11 development libs
$ sudo apt-get -y install libx11-dev
InstallingCompilers (последним исправлял пользователь cable-31-58 2012-08-10 10:18:50)
The material on this wiki is available under a free license, see Copyright / License for details
You can contribute to this wiki, see Wiki Guide for details
How to Install GCC on Ubuntu

The term GCC refers to the C (and C++) compiler offered by the GNU toolchain of compilers. It abbreviates to GNU C Compiler.
If you looked at a few C or C++ tutorials, you might have noticed that they use the gcc compiler to compile the code.
GCC is available in the Ubuntu repositories as the gcc package itself, but if you are going to compile a whole project, it is best to install the build-essential package.
sudo apt install build-essentialThe build-essential package has its dependencies as gcc , g++ (GCC, but for C++), make and dpkg-dev (to build .deb packages).
Install only GCC
The GNU C Compiler, commonly referred to as GCC, is an essential piece of open source software development. Hence, it is available in the Ubuntu repositories as the gcc package.
The GNU C Compiler can be installed using the following command:
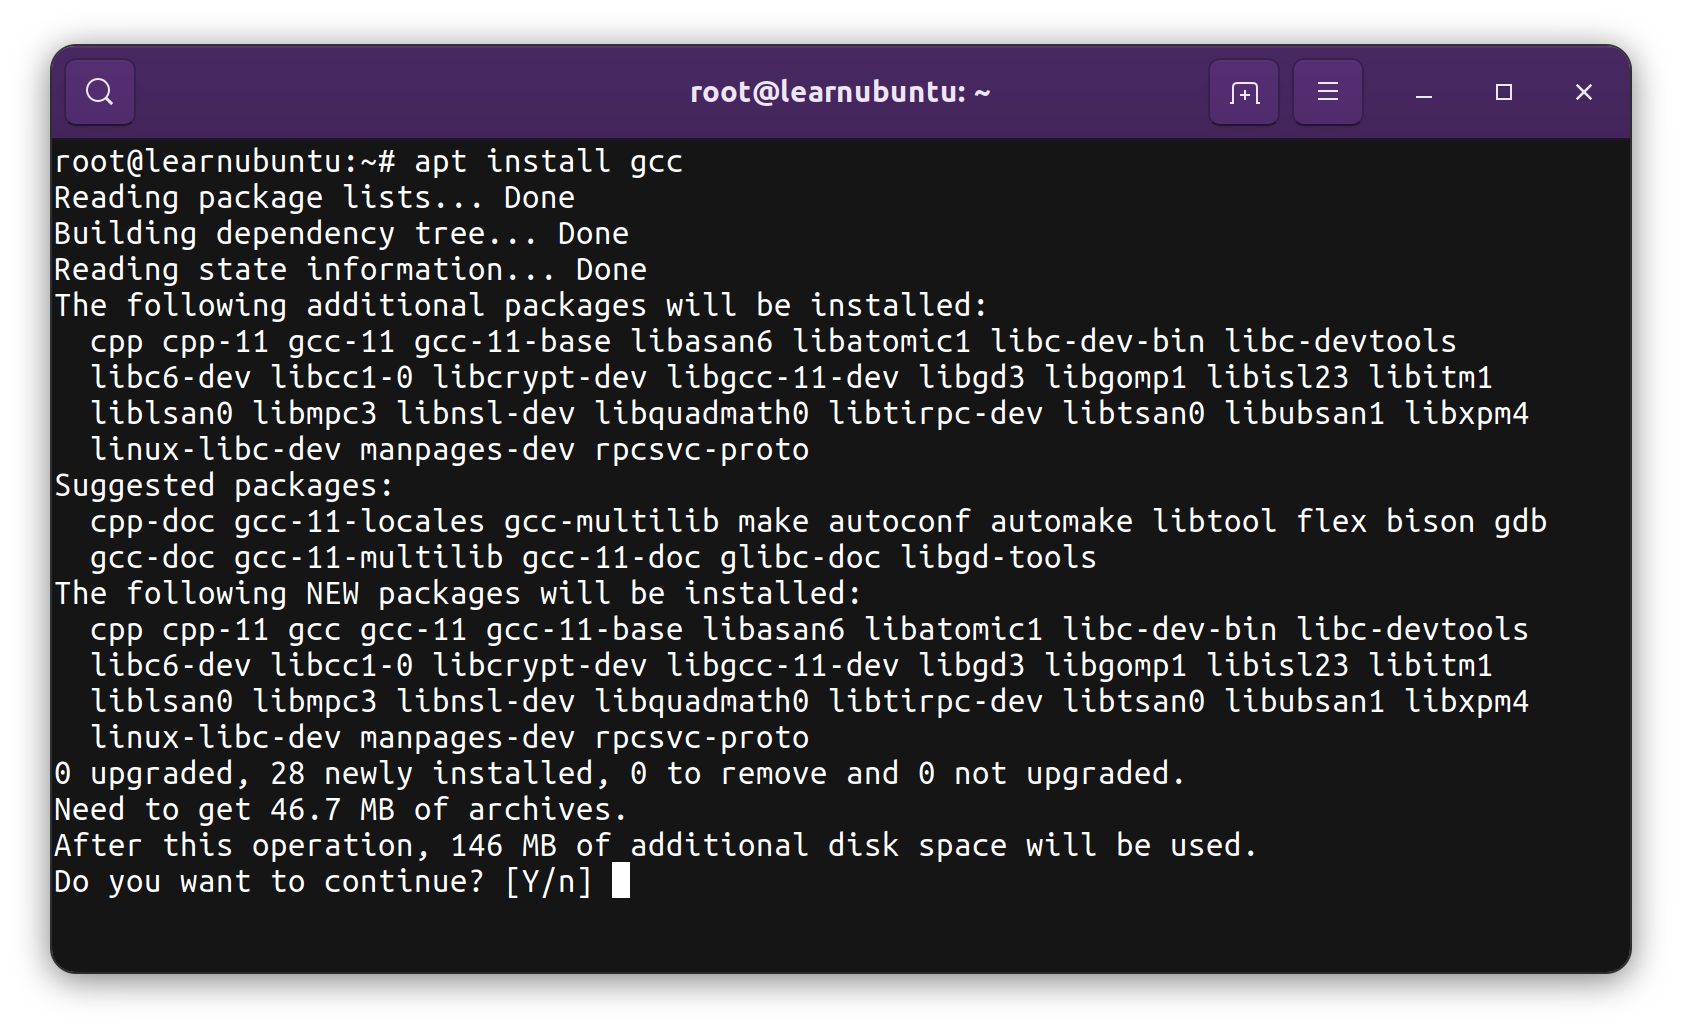
Once the GCC package is installed, you can verify that it is working using the gcc —version command.
$ gcc --version gcc (Ubuntu 9.4.0-1ubuntu1~20.04.1) 9.4.0 Copyright (C) 2019 Free Software Foundation, Inc. This is free software; see the source for copying conditions. There is NO warranty; not even for MERCHANTABILITY or FITNESS FOR A PARTICULAR PURPOSE.Install GCC along with useful tools via build-essential
When you install the GNU C Compiler using the gcc package, only the GNU C Compiler is installed.
I assume you want to install GCC because you are working on a software project written in the C programming language. In that case, I advise you to install the build-essential pacakge. It is a meta package of sorts.
A meta package is a package that does not have anything of its own but rather acts as a package to install a collection of related packages.
The build-essential meta package can be easily installed with the apt package manager:
sudo apt install build-essential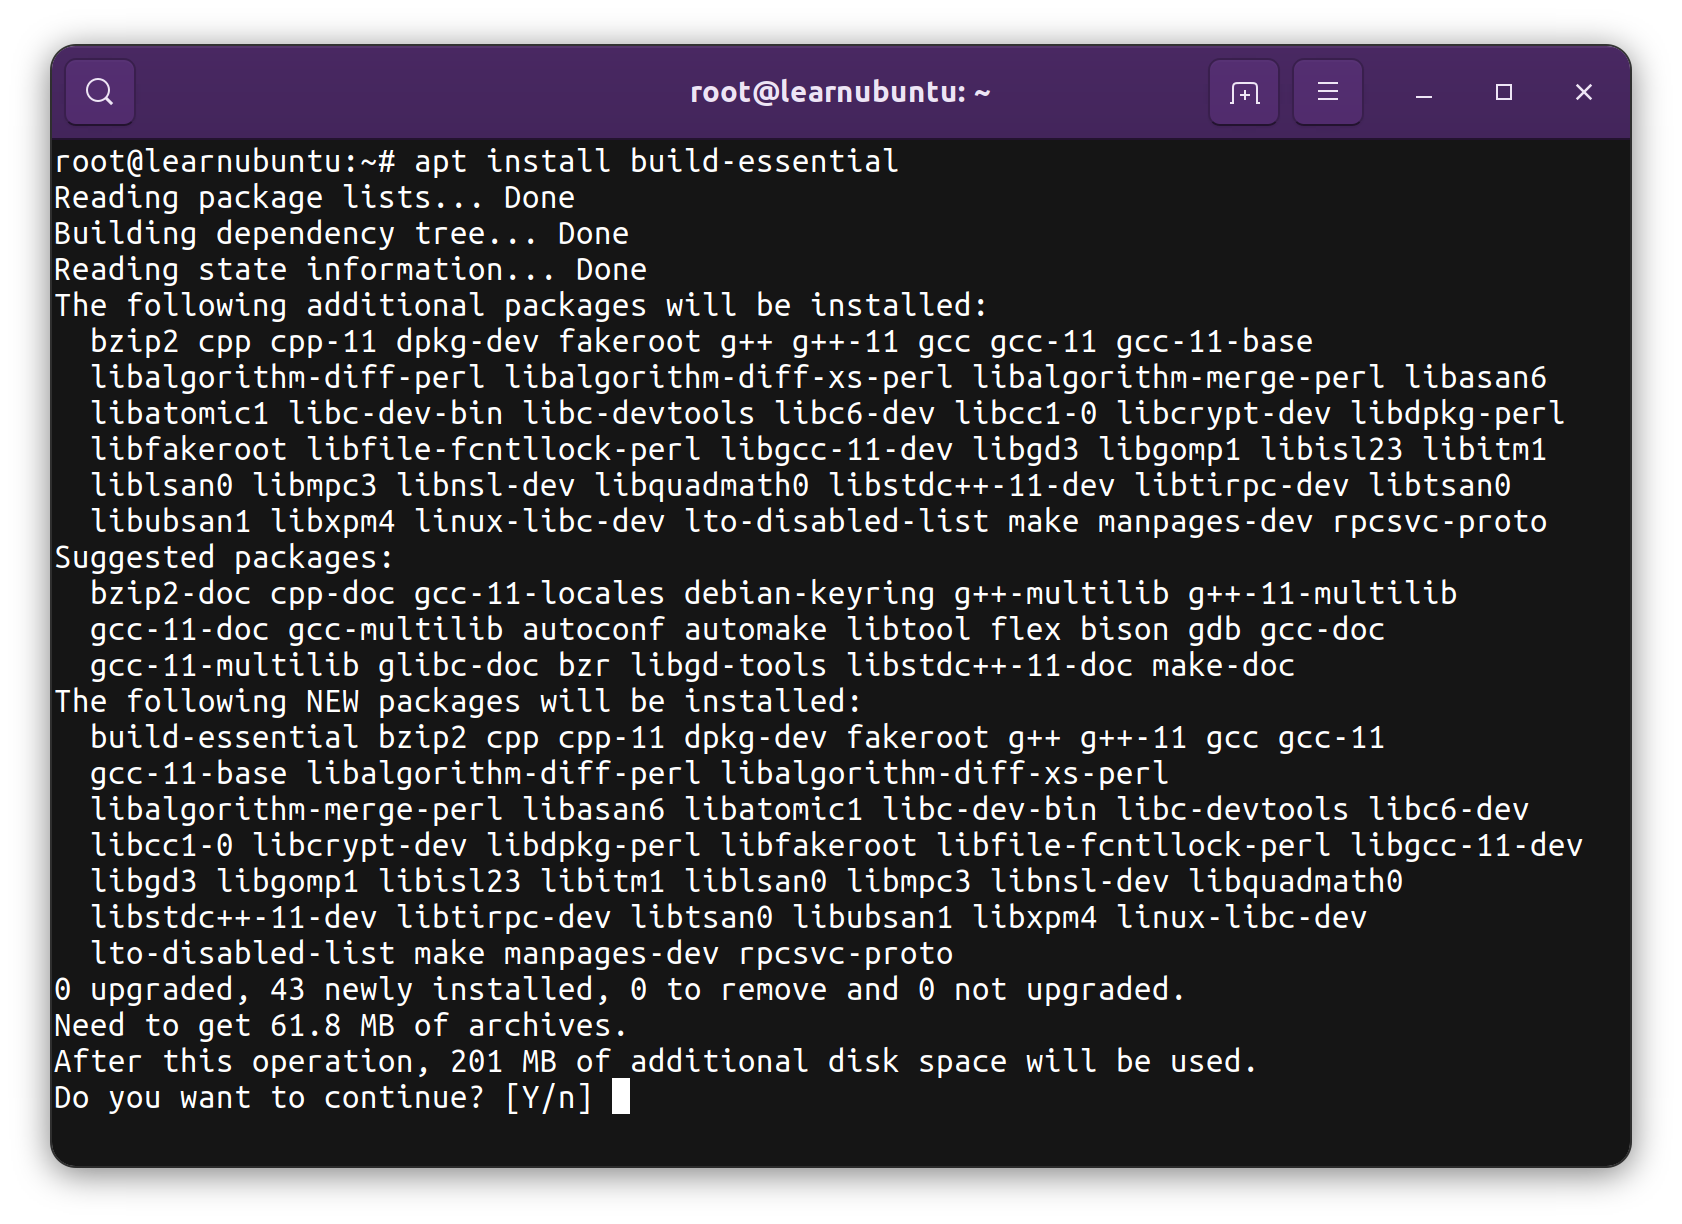
The build-essential package installs several development tools like:
- libc6-dev : The header files for GNU C Library ( glibc )
- gcc : The GNU C Compiler
- g++ : The GNU C++ Compiler
- make : Build tool for a medium-large software package
- dpkg-dev : Build a package in .deb packaging format (used by Debian and Ubuntu)
These tools come in handy when you are working on a codebase that is medium to large.
Once the build-essential package is installed, and you can verify the version of the GNU C Compiler with the following command:
Conclusion
The GNU C Compiler is available in the Ubuntu repositories. That makes the installation very easy. Canonical also provides the build-essential package that installs GCC and other tools that help compile medium to large software projects.