- How to Install Ubuntu Alongside With Windows in Dual-Boot
- Requirements
- Step 1: Prepare Windows Machine for Dual-Boot
- Step 2: Install Ubuntu with Windows Dual-Boot
- Параллельная установка двух операционных систем: Windows и Ubuntu
- Почему Linux? И зачем нужны две операционные системы?
- Что происходит в компьютере во время загрузки?
How to Install Ubuntu Alongside With Windows in Dual-Boot
This tutorial will guide you on how you can perform the installation of Ubuntu 20.04, Ubuntu 19.04, Ubuntu 18.10, or Ubuntu 18.04 in dual-boot with a Microsoft Operating System on machines that come pre-installed with Windows 10.
This guide assumes that your machine comes pre-installed with Windows 10 OS or an older version of Microsoft Windows, such as Windows 8.1 or 8.
In case your hardware uses UEFI then you should modify the EFI settings and disable the Secure Boot feature.
If your computer has no other Operating System already installed and you plan to use a Windows variant alongside Ubuntu, you should first install Microsoft Windows and then proceed with Ubuntu installation.
In this particular case, on Windows installation steps, when formatting the hard disk, you should allocate a free space on the disk with at least 20 GB in size in order to use it later as a partition for Ubuntu installation.
Requirements
Download Ubuntu ISO Image as per your system architecture using the following link:
Step 1: Prepare Windows Machine for Dual-Boot
1. The first thing you need to take care of is to create free space on the computer hard disk in case the system is installed on a single partition.
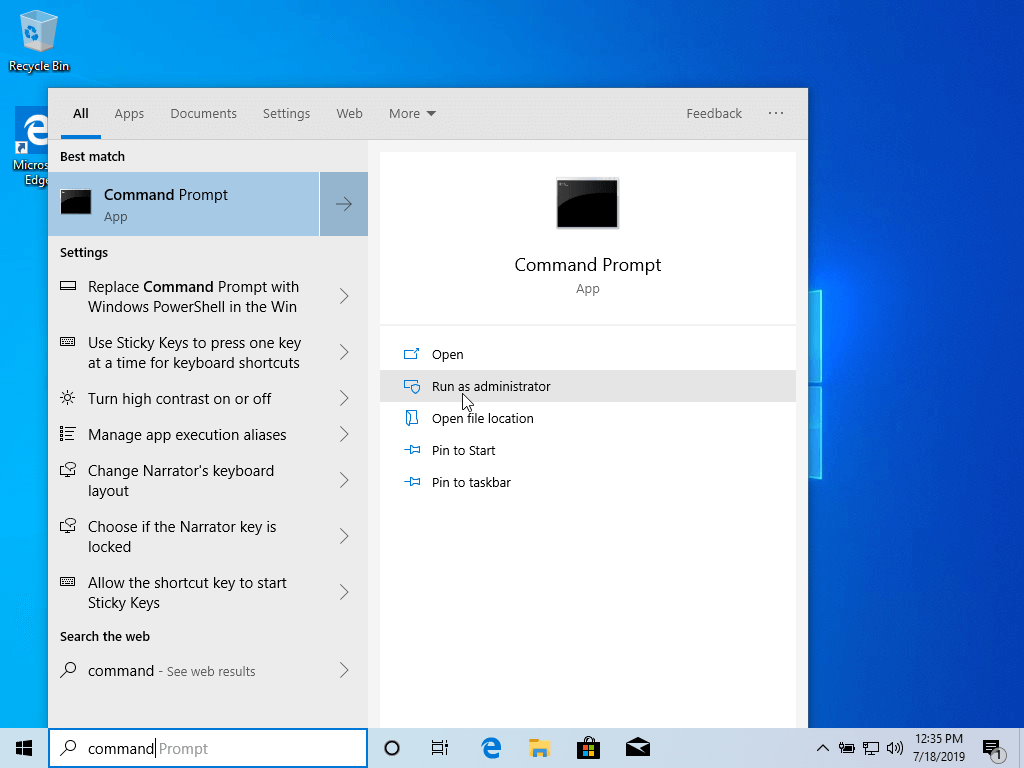
Log in to your Windows machine with an administrative account and right-click on the Start Menu -> Command Prompt (Admin) in order to enter Windows Command-Line.
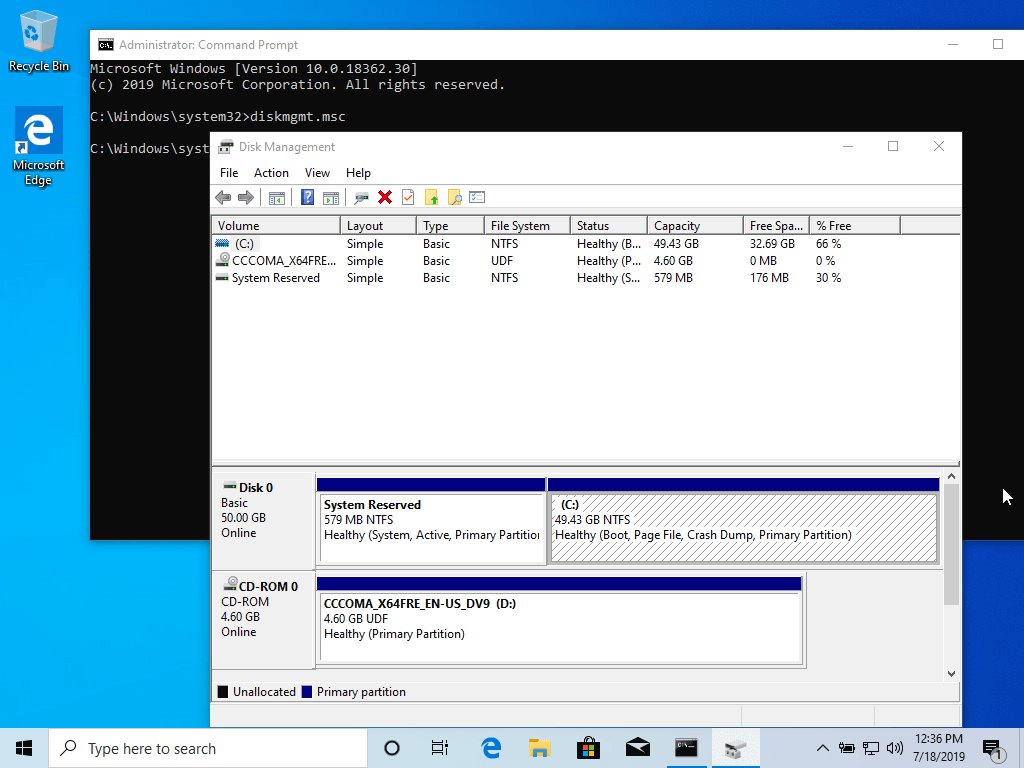
2. Once in CLI, type diskmgmt.msc on prompt, and the Disk Management utility should open. From here, right-click on C: the partition and select Shrink Volume in order to resize the partition.
C:\Windows\system32\>diskmgmt.msc
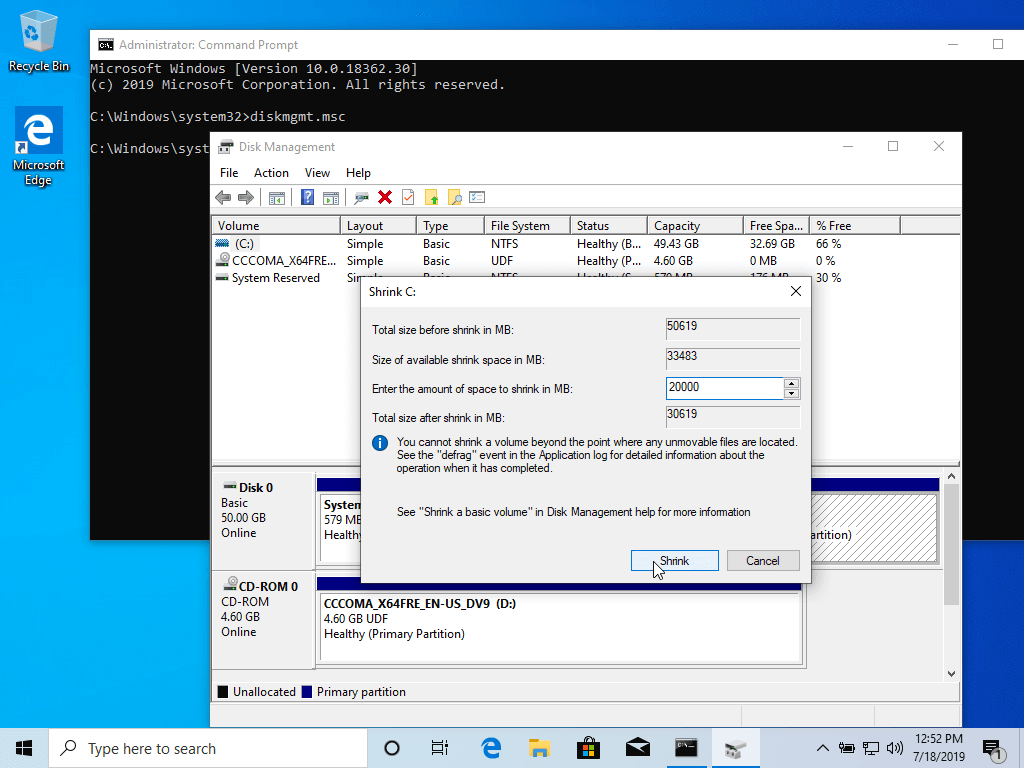
3. On Shrink C: enter a value on space to shrink in MB (use at least 20000 MB depending on the C: partition size) and hit Shrink to start partition resize as illustrated below (the value of space shrink from below image is lower and only used for demonstration purposes).
Once space has been resized you will see a new unallocated space on the hard drive. Leave it as default and reboot the computer in order to proceed with the Ubuntu installation.

Step 2: Install Ubuntu with Windows Dual-Boot
4. For the purpose of this article, We will be installing Ubuntu 20.04 alongside Windows dual boot (you can use any Ubuntu release for installation). Go to the download link from the topic description and grab the Ubuntu Desktop 20.04 ISO image.
Burn the image to a DVD or create a bootable USB stick using a utility such as Universal USB Installer (BIOS compatible) or Rufus (UEFI compatible).
Place the USB stick or DVD in the appropriate drive, reboot the machine, and instruct the BIOS/UEFI to boot up from the DVD/USB by pressing a special function key (usually F12, F10 or F2 depending on the vendor specifications).
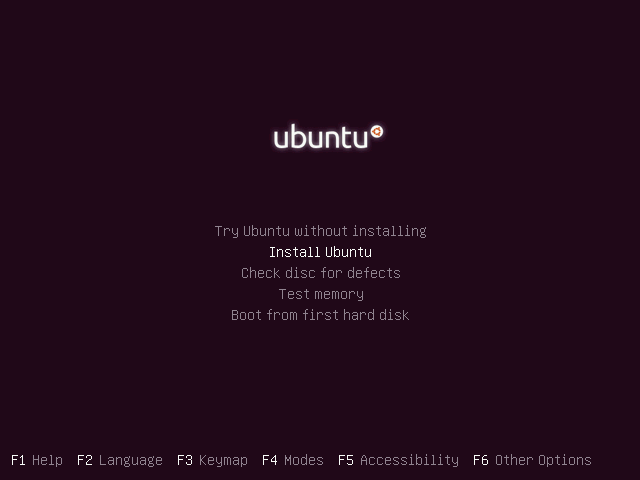
Once the media boot-up a new grub screen should appear on your monitor. From the menu select Install Ubuntu and hit Enter to continue.
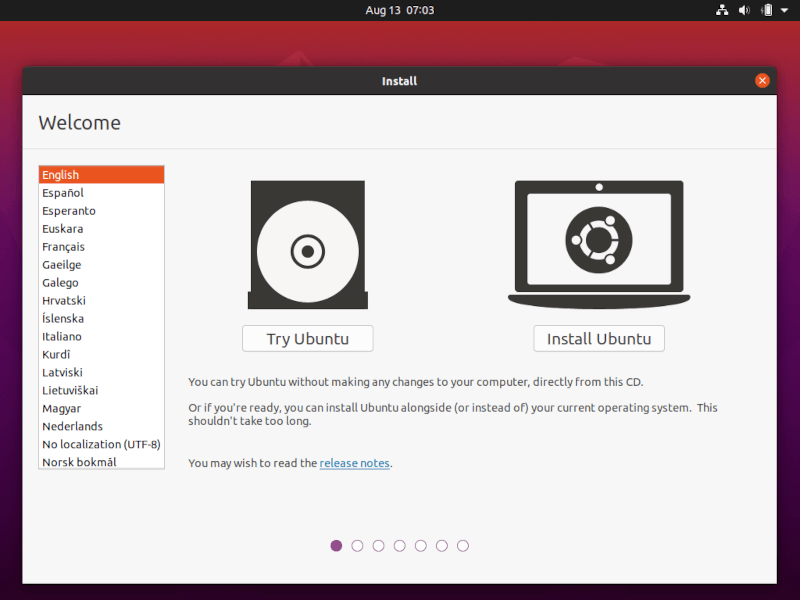
5. After the boot media finishes loading into RAM you will end up with a completely functional Ubuntu system running in live mode.
On the Launcher choose Install Ubuntu, and the installer utility will start. Choose the keyboard layout you wish to perform the installation and click on the Continue button to proceed further.

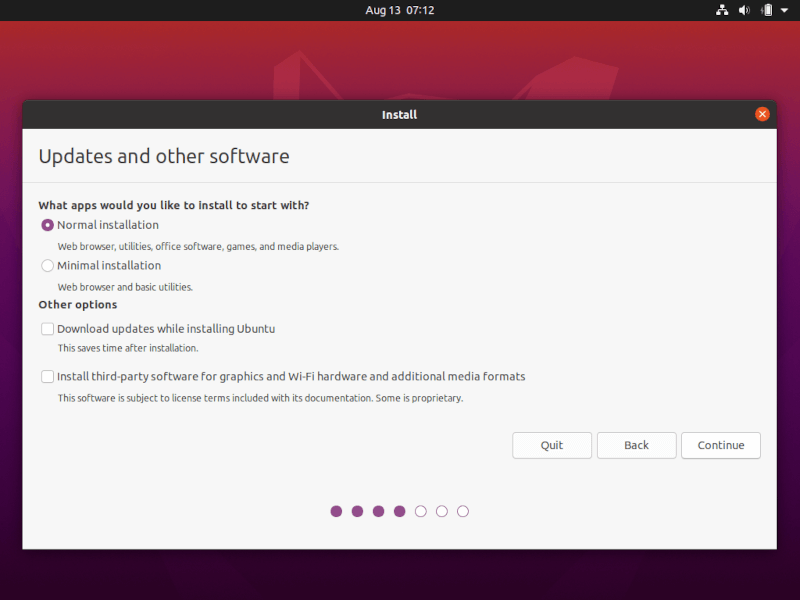
6. Next, choose the first option “Normal Installation” and hit on the Continue button again.
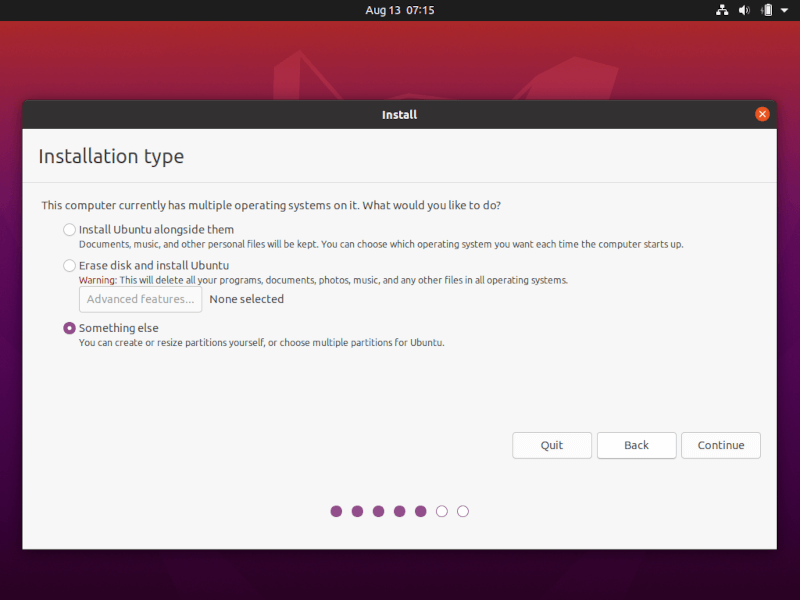
7. Now it’s time to select an Installation Type. You can choose to Install Ubuntu alongside Windows Boot Manager, an option that will automatically take care of all the partition steps. Use this option if you don’t require a personalized partition scheme.
In case you want a custom partition layout, check the Something else option and hit on the Continue button to proceed further.
The option Erase disk and install Ubuntu should be avoided on dual-boot because is potentially dangerous and will wipe out your disk.
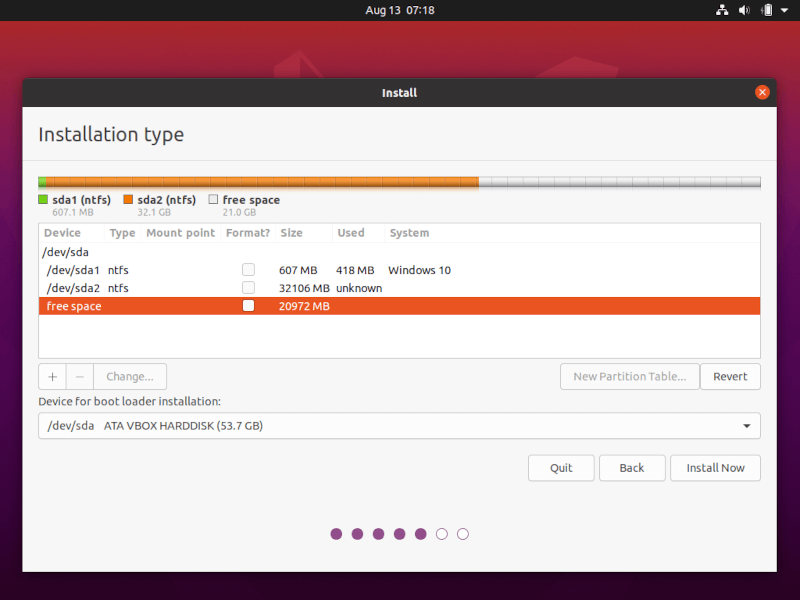
8. In this step, we’ll create our custom partition layout for Ubuntu. This guide will recommend that you create two partitions, one for root and the other for home accounts data, and no partition for swap (use a swap partition only if you have limited RAM resources or you use a fast SSD).
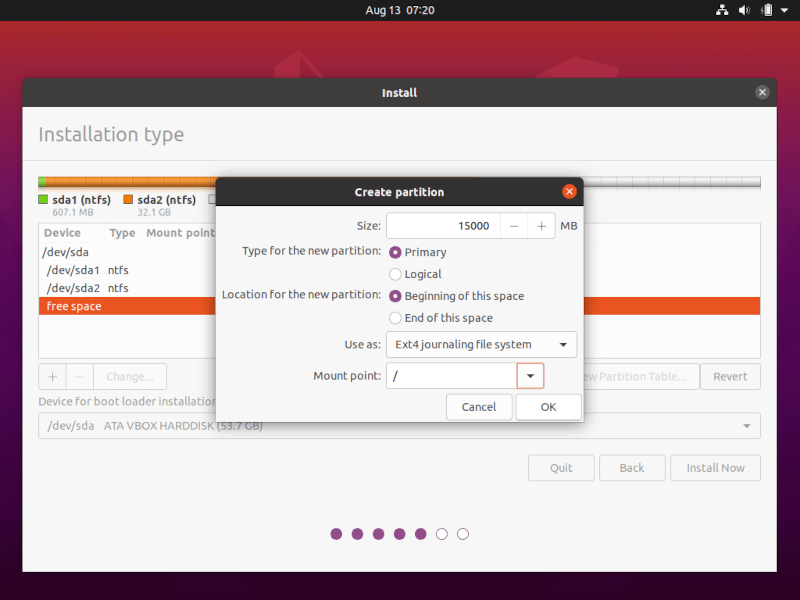
To create the first partition, the root partition, select the free space (the shrinking space from Windows created earlier), and hit on the + icon below. On partition settings use the following configurations and hit OK to apply changes:
- Size = at least 15000 MB
- Type for the new partition = Primary
- Location for the new partition = Beginning
- Use as = EXT4 journaling file system
- Mount point = /
Create the home partition using the same steps as above. Use all the available free space left for the home partition size. The partition settings should look like this:
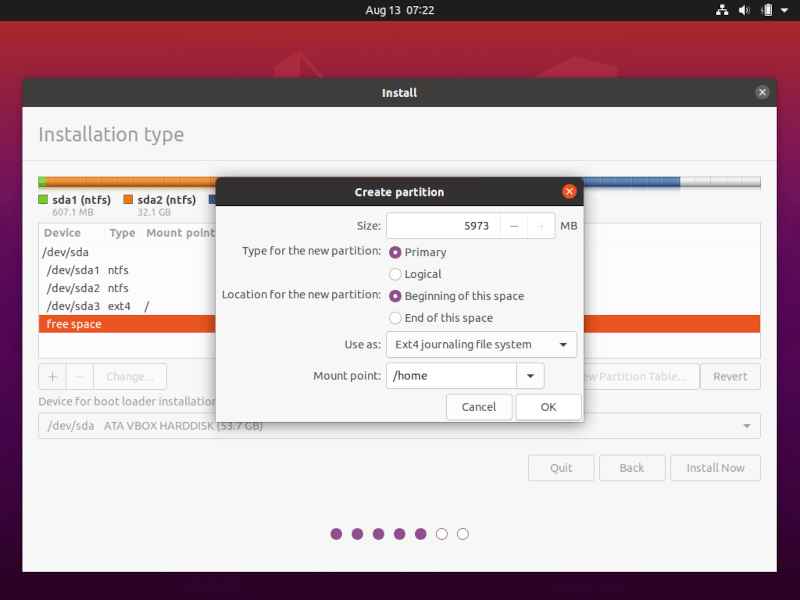
- Size = all remaining free space
- Type for the new partition = Primary
- Location for the new partition = Beginning
- Use as = EXT4 journaling file system
- Mount point = /home
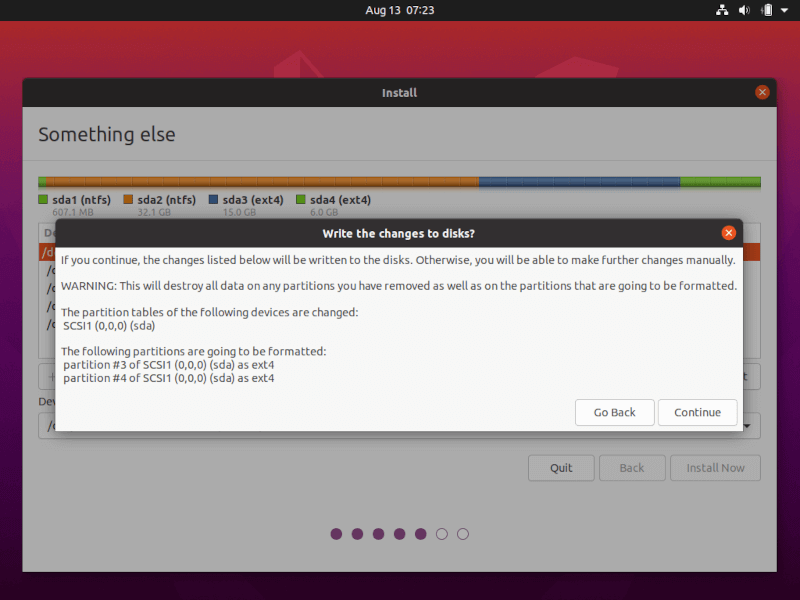
9. When finished, hit the Install Now button in order to apply changes to the disk and start the installation process.
A pop-up window should appear to inform you about swap space. Ignore the alert by pressing the Continue button.
Next, a new pop-up window will ask you if you agree with committing changes to the disk. Hit Continue to write changes to disk and the installation process will now start.
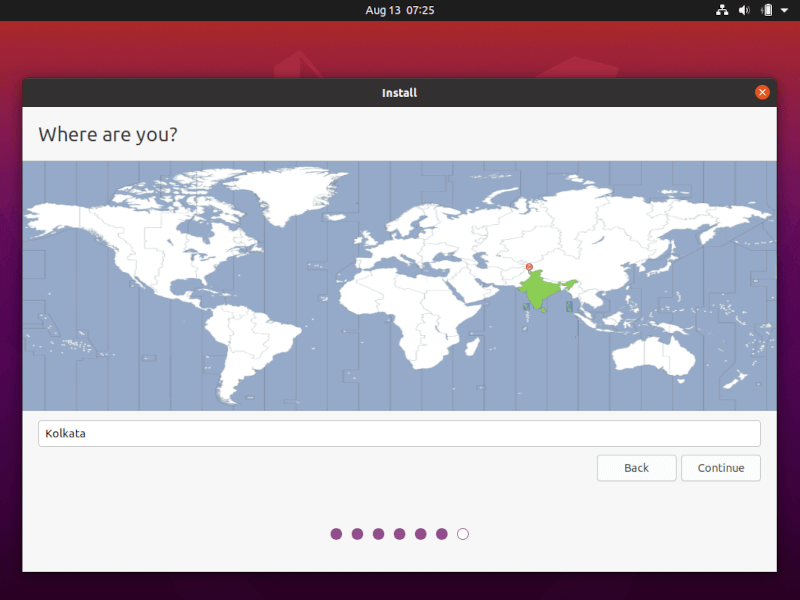
10. On the next screen adjust your machine’s physical location by selecting a city nearby from the map. When done hit Continue to move ahead.
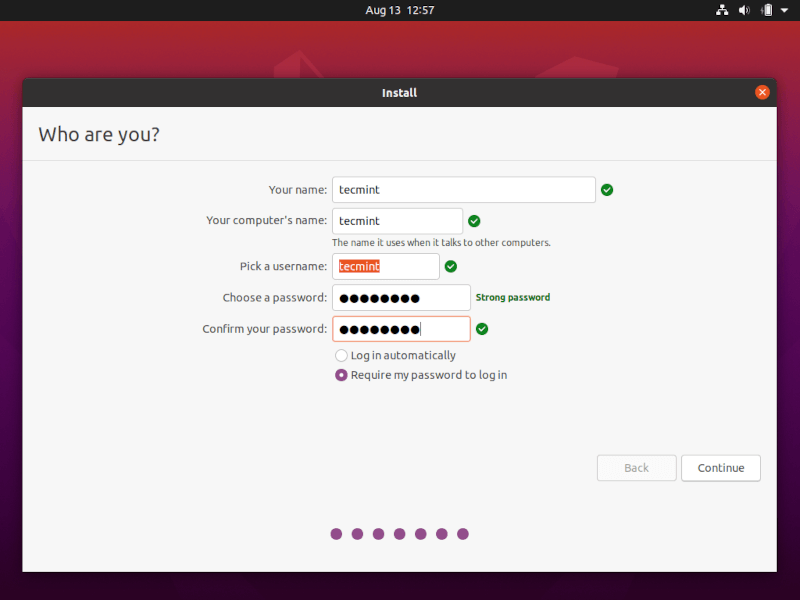
11. Pick up a username and password for your administrative sudo account, enter a descriptive name for your computer and hit Continue to finalize the installation.
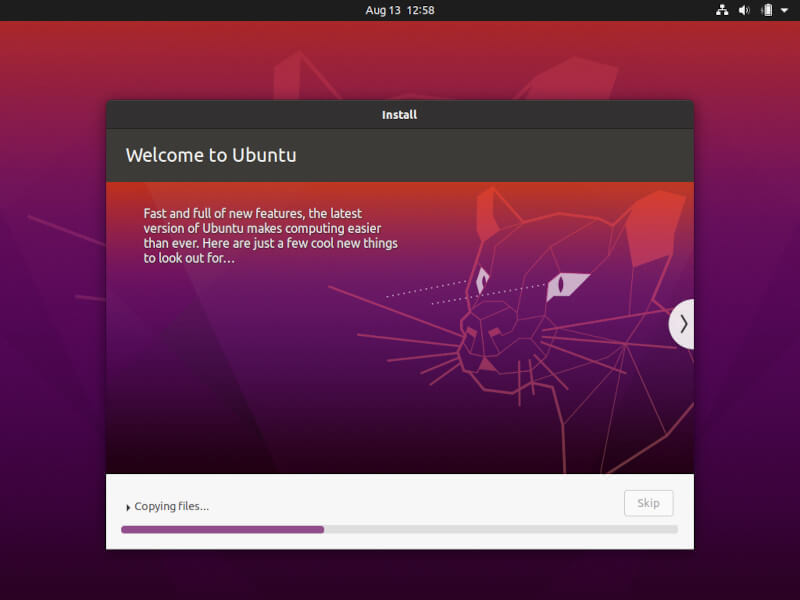
These are all the settings required for customizing the Ubuntu installation. From here on the installation process will run automatically until it reaches the end.
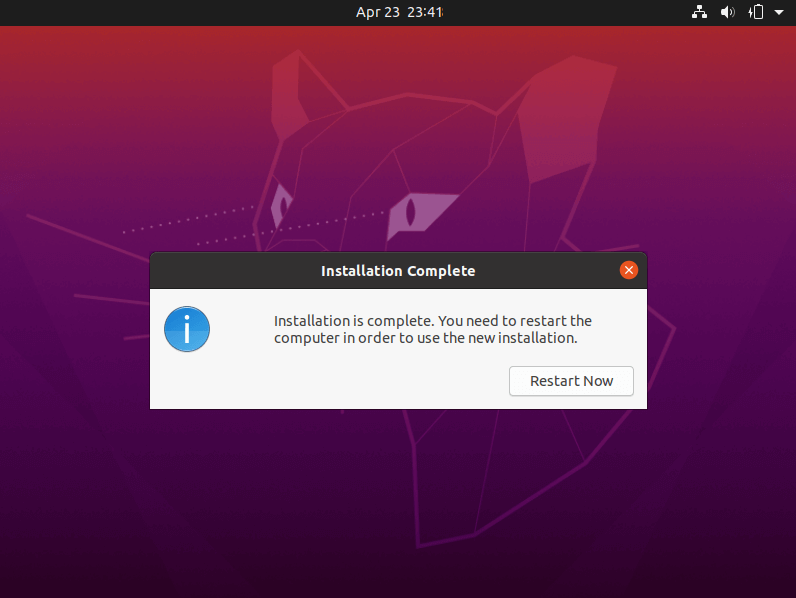
12. After the installation process reaches its end hit on the Restart Now button in order to complete the installation.
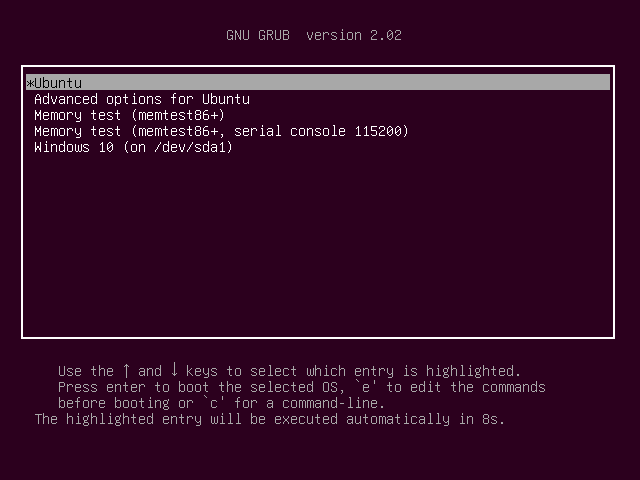
The machine will reboot into the Grub menu, where for ten seconds, you will be presented to choose what OS you wish to use further: Ubuntu 20.04 or Microsoft Windows.
Ubuntu is designated as the default OS to boot from. Thus, just press Enter key or wait for those 10 seconds timeout to drain.
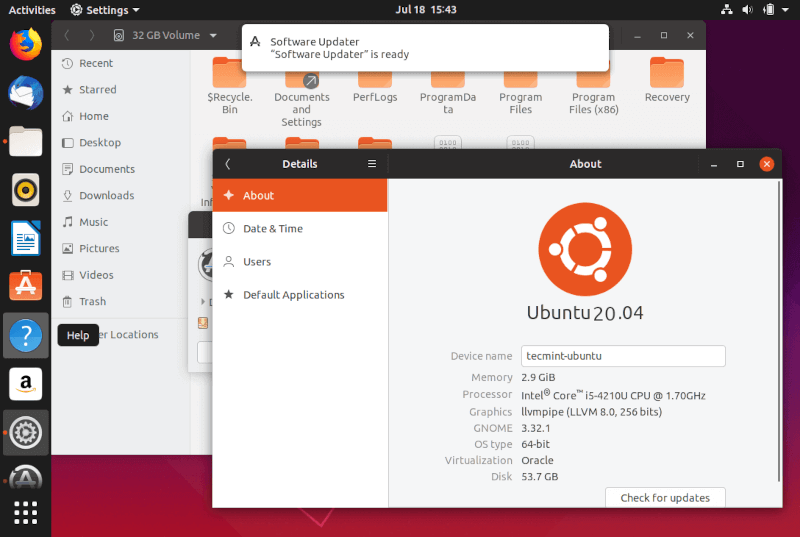
13. After Ubuntu finishes loading, log in with the credentials created during the installation process, and enjoy it. Ubuntu provides NTFS file system support automatically so you can access the files from Windows partitions just by clicking on the Windows volume.
That’s it! In case you need to switch back to Windows, just reboot the computer and select Windows from the Grub menu.
If you want to install some additional software packages and customize Ubuntu, then read our article Top 20 Things to Do After Ubuntu Installation.
Параллельная установка двух операционных систем: Windows и Ubuntu
Установка сразу двух операционных систем – это отличный способ получить лучшее от обеих опций: Windows и Linux. Установить две операционные системы на один компьютер сравнительно просто, к тому же это хорошая возможность заодно узнать больше о работе компьютера и его программного обеспечения. Когда вы собираете свой компьютер, то оказываетесь перед задачей выбора аппаратных компонентов, которые войдут в состав вашей системы. Это выбор, естественно, ограничивается рядом факторов, но, тем не менее, на ваше усмотрение остается множество вариантов, даже когда вы выбираете в рамках продукции конкретной фирмы, будь то «зеленые», «красные» или «синие». Когда вы, наконец, все собрали и услышали сигналы POST, остается еще один шаг, после которого вы сможете в полной мере наслаждаться своей новой конфигурацией! Прежде чем начать играть, работать с текстами или просто бродить по интернету, нужно установить еще один критически важный компонент – операционную систему (ОС).

Дистрибутив Ubuntu – хороший вариант для начинающих пользователей Linux, хотя есть и другие опции (также на основе Ubuntu), каждая из которых предлагает уникальный опыт перехода на Linux. Zorin и Pop!_OS – идеальные решения для геймеров или недавних пользователей Windows и элементарных ОС, отличающиеся к тому же потрясающим дизайном, который многим напоминает macOS. В принципе, вариантов ОС не так уж много. Для большинства людей Windows – это фактически синоним понятия «операционная система для ПК». Очень многие используют ее в своей повседневной компьютерной практике, она изначально поддерживает различные приложения и вообще доминирует на рынке. Одна из альтернативных опций, macOS – это проприетарная операционная система Apple. И вы не можете просто взять и установить ее на свой новый компьютер – из-за ряда лицензионных и других ограничений по использованию этой системы на компьютерах производства не Apple. Народ, конечно, нашел способы обходить эти ограничения, но Apple не считает это законным. И, наконец, Linux. Как мы косвенно уже упомянули, существует множество разновидностей дистрибутивов Linux, из которых вы можете выбрать наиболее подходящий к вашим задачам. Однако все они базируются на общем ядре Linux, поэтому вся наша дальнейшая аргументация в пользу Linux применима ко всем этим дистрибутивам. Так что вопрос выбора операционной системы, по большому счету, сводится к следующему: Windows или Linux? И мы в данной статье предлагаем вам рассмотреть еще один вариант: “А почему бы не обе?”
Почему Linux? И зачем нужны две операционные системы?
Если вы обычный пользователь, то более простым и надежным вариантом, вероятнее всего, считаете стандартную (и желательно заводскую) установку Windows. Зачем же связываться с Linux? Во-первых, затем, что большинство дистрибутивов Linux – бесплатные, что дает вам возможность немного сэкономить. Поскольку ядро Linux доступно в открытых источниках и большинство ОС Linux – бесплатные, вы даже можете изучить новейшие версии в их развитии. Во-вторых, Linux потребляет сравнительно мало ресурсов ПК. «В нагрузку» к этой ОС добавляют лишь небольшое количество «паразитного» ПО (bloatware), а системные требования для Linux обычно намного легче, чем для Windows: требуется меньше оперативной памяти, меньшее дисковое пространство для установки ОС, поддерживаются относительно старые модели процессоров, не говоря уже о том, что не требуется модуль TPM. Благодаря всему этому дистрибутив Linux будет наилучшим решением, если нужно реанимировать старый компьютер.
Многие пользователи ценят Linux за разнообразие опций настройки – начиная с выбора самого дистрибутива Linux, каждый из которых предлагает уникальный пользовательский опыт. И даже в рамках одного дистрибутива вы можете изменять вид интерфейса, выбирать различные опции менеджеров окон, настроек анимации, рабочего стола и т.д. А благодаря солидному и отзывчивому сообществу пользователей Linux и большому количеству форумов вы практически всегда получите грамотную техническую консультацию по интересующему вас вопросу. Однако Linux не является абсолютно универсальным решением. Например, некоторые приложения могут быть разработаны специально под среду Windows или Mac, поэтому в Linux они работать не будут. Для многих из этих приложений можно найти аналоги в открытых источниках, но некоторые – например, игры – такой альтернативы принципиально не предлагают. Эта ситуация потихоньку начинает меняться – Steam уже поддерживает многие игры на Linux – но все-таки, прежде чем забыть про Windows и полностью перейти на ПО из открытых источников, необходимо взвесить все потенциальные издержки, которые могут быть связаны с этим переходом.
На Steam продолжает расти число игр с поддержкой Linux.
Но зачем же забывать насовсем? Почему бы не установить на компьютер параллельно Windows и Ubuntu, чтобы иметь возможность пользоваться преимуществами каждой из этих ОС? В этом и состоит концепция “опциональной загрузки”, и нам осталось только рассказать вам, как это сделать. Для начала скажем несколько слов о том, что происходит в вашем компьютере при опциональной загрузке. Знать это в деталях не обязательно, но желательно иметь некоторые фоновые представления об этом процессе, чтобы лучше уяснить себе ключевые моменты последующей установки операционных систем.
Что происходит в компьютере во время загрузки?
Когда вы нажимаете кнопку питания вашего ПК, материнская плата включается и начинает процесс загрузки. Этот процесс осуществляется под управлением системы BIOS, которая проводит базовую диагностику аппаратного обеспечения ПК, проверяя наличие и функциональное состояние необходимых компонентов (оперативной памяти, накопителей, клавиатуры, мыши и т.д.). Затем BIOS обращается к главной загрузочной записи (Master Boot Record, MBR), которая начинает процесс загрузки ОС, чтобы далее вы могли запускать на компьютере свои приложения.
