- Installing Ubuntu Linux on the Lenovo ThinkPad E14 Gen 2 (AMD)
- Step by step instructions
- Part I: Windows prep
- Part II: BIOS
- Part III: Ubuntu install
- Part IV: Kernel upgrade
- Part V: Workarounds
- Part VI: Ready for use!
- What works and what doesn’t
- How to install Linux Mint on Lenovo ThinkPad T480s from USB
- About Lenovo ThinkPad T480s
- What is Linux Mint?
- Advantages of Installing Linux Mint in your Lenovo ThinkPad T480s
- Requirements
- Create a Bootable USB
- Change boot-order to boot from USB in Lenovo ThinkPad T480s
- Instructions to Install Linux Mint on Lenovo ThinkPad T480s
- 1. Selecting Language
- 2. Keyboard Selection and Proprietary Software
- 3. Target Installation
- 4. Dual Boot Windows and Linux Mint on Lenovo ThinkPad T480s
- 1. Create Partitions
- 4. Select Timezone, Keyboard Layout, and Login Credentials
- Welcome to Lenovo ThinkPad T480s Linux Mint
- wnarifin / thinkpad_a485_linux.md
Installing Ubuntu Linux on the Lenovo ThinkPad E14 Gen 2 (AMD)
I bought myself a cheap ThinkPad. Although not officially supported for Linux it was pretty easy to get going. It installed fine with Ubuntu 20.04, only requiring a newer kernel version to be installed.
Step by step instructions
Part I: Windows prep
This laptop comes with Windows 10 Home. A few things are needed before installing Linux. A lot of info I used came from here.
- Run Lenovo Vantage and do a System Update.
- Update BIOS from support site (v1.08 was latest at the time) — this step may have already been handled by the System Update above, not sure
- Disable fast startup
- Turn off BitLocker encryption with Start menu > Device Encryption > Turn Off. See discussion here.
For the next part you’ll need a bootable Ubuntu USB stick. I set up my USB stick from Linux but you can do it from Windows too. See Create a bootable USB stick on Windows. You’ll want to download Ubuntu from the release site and use the 64-bit PC (AMD64) desktop image.
Part II: BIOS
This should be unnecessary with versions of Ubuntu after 20.04 as we only need this to install a newer kernel. Future versions of Ubuntu should ship with a recent enough kernel out of the box.
Part III: Ubuntu install
- Reboot and press F12 to choose the boot device. Choose USB HDD to boot from the USB stick.
- Run the installation. Use normal installation options but choose the following options:
- Install third party drivers. Probably needed for wifi?
- Install alongside Windows.
- Reboot after installation when prompted.
- Install system updates when prompted.
- Reboot again when prompted.
Part IV: Kernel upgrade
sudo ./ubuntu-mainline-kernel.sh -i $ cd /lib/firmware/amdgpu/ $ sudo wget https://git.kernel.org/pub/scm/linux/kernel/git/firmware/linux-firmware.git/plain/amdgpu/renoir_ta.bin amdgpu 0000:04:00.0: Direct firmware load for amdgpu/renoir_ta.bin failed with error -2 amdgpu 0000:04:00.0: amdgpu: psp v12.0: Failed to load firmware "amdgpu/renoir_ta.bin" Other than the kernels listed above, there were some kernels that didn’t work well for me:
- Ubuntu 20.04’s 5.8.0 HWE («Hardware Enablement») kernel unfortunately didn’t work
- Some later 5.8.x kernels after 5.8.10 (sorry I didn’t write down the versions)
Part V: Workarounds
Two workarounds are required for use:
- System needs to sleep once to get function keys working From then function keys works normally until rebooted again. Edit the crontab.
@reboot sudo rtcwake -m mem -s 2 $ lspci 03:00.0 Network controller: Realtek Semiconductor Co., Ltd. RTL8822CE 802.11ac PCIe Wireless Network Adapter $ sudo nano /etc/NetworkManager/conf.d/default-wifi-powersave-on.conf [connection] wifi.powersave = 2 $ sudo systemctl restart NetworkManager Part VI: Ready for use!
With these two workarounds, the system is now ready for use.
What works and what doesn’t
Here’s a quick summary of what works and what doesn’t.
- CPU — works fine for me. No need for throttling workarounds as described here and implemented here. I think the ThinkPad throttling issues is Intel only. To verify I ran Geekbench 5.2.3 and got the following results which seemed in the ballpark:
- Battery power results — single core: 692, multi core: 2620
- AC power results — single core: 1115, multi core: 3765
Update 19 February 2020 with Linux 5.11.0 and Geekbench 5.3.2:
For comparison NotebookCheck got single core: 1108, multi core: 4618. There may be a drop in multi core performance based on this so I should probably investigate by running the benchmarks again and on Windows.
During the testing I monitored CPU usage and temp with s-tui.
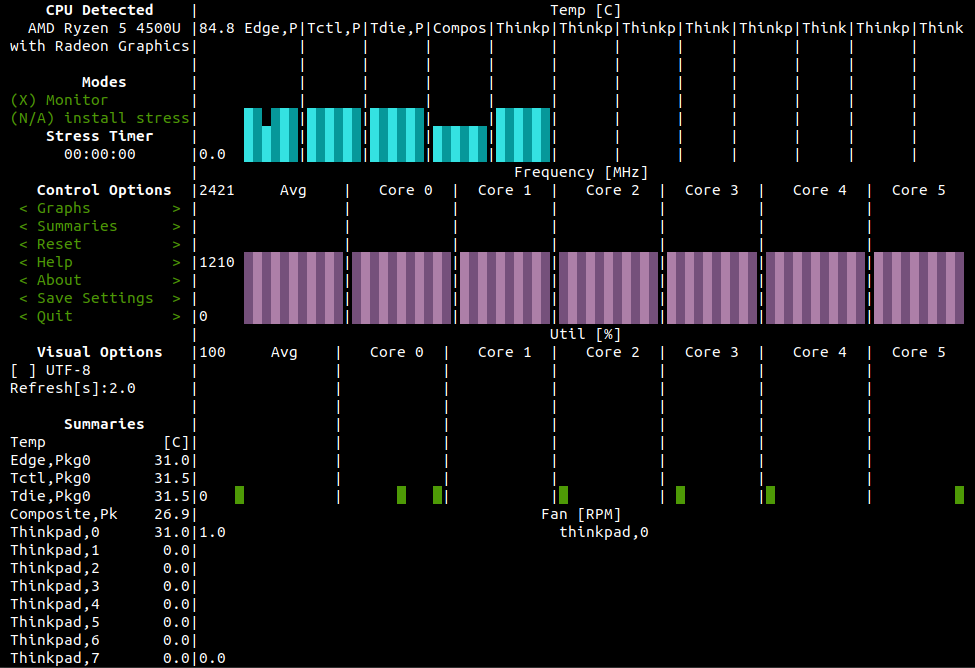
Here’s what it looks like while idle on battery.
$ lsusb Bus 003 Device 002: ID 27c6:55a4 Shenzhen Goodix Technology Co.,Ltd. Goodix FingerPrint Device # Command line sudo apt install tlp # Manual vars START_CHARGE_THRESH_BAT0=65 STOP_CHARGE_THRESH_BAT0=80 # Verifying sudo tlp-stat -s # see if running sudo tlp-stat --config # dump config # UI sudo add-apt-repository ppa:linuxuprising/apps sudo apt install tlpui All in all it was a fairly smooth experience with the main difference to a vanilla Ubuntu install being the kernel update. In future versions of Ubuntu this probably won’t be needed, as they’ll ship with newer kernels already.
Updated 11 January 2021
- Added more info about suspend and kernel versions.
- Added workaround for wifi.
- Added a note about installing more RAM.
Updated 19 February 2021
- Use kernel 5.11, note about kernels that don’t work, download AMD firmware.
- Automatic sleep instead of manual sleep to fix up function keys.
- Note about success with external monitor.
- Added some links.
- Previous: Upgrade to Ubuntu 20.04 from 19.10
How to install Linux Mint on Lenovo ThinkPad T480s from USB
Here is How to install Linux Mint on Lenovo ThinkPad T480s with both the methods Straight installation and Dual Booting with other operating systems.
About Lenovo ThinkPad T480s
- Lenovo ThinkPad T480s comes with a 14-inch 1080p display.
- It is powered by 8th Gen Intel Core processor with 8GB RAM and 1TB SSD.
- The graphics in Lenovo ThinkPad T480s are powered by Intel UHD 620 graphics card.
- Lenovo ThinkPad T480s has a battery capacity of 45 Watt Hours and it also supports the quick charge, up to 80% charge in less than 1 hour.
- The pros of purchasing this laptop are fast performance and long battery life while the con is dim display.
- Finally, Windows 10 Pro 64-bit is pre-installed.
What is Linux Mint?
- Linux Mint is a Linux community-driven operating system which is based on Ubuntu.
- It is very easy to use with a modern and elegant design with full out-of-the-box support of multimedia
- The development of Linux Mint started in 2006 with the release of Linux Mint 1.0 based on Kubuntu.
- Linux Mint 2.0 is based on Ubuntu following its own codebase.
Advantages of Installing Linux Mint in your Lenovo ThinkPad T480s
- Low memory usage
- Many Useful features such as automatically fixing issues which is better than Ubuntu
- Ease in installing themes
- Faster, Lighter and sleeker experience with software
- Plenty of applications available by default such as media Codecs and Flash
Requirements
- Backup your Data
- A Formatted USB drive of 6/8GB
- Download Linux Mint image file from the official website – https://www.linuxmint.com/download.php. There are three versions of Linux Mint: Cinnamon, MATE, and Xfce. Recommended: Cinnamon
Create a Bootable USB

- After installing Rufus simply select the ISO file from the file manager and accept all settings when the popup window appears.
- Select MBR partition scheme for BIOS or UEFI and If your laptop has UEFI bios then select the other two options.
- For the Filesystem select NTFS option and select if your PC has UEFI bios then select FAT32.
- The default Cluster size option should be selected.
- Make sure all three options including Quick Format, Create a Bootable disk using and Create extended labels and icon files are selected.
- Finally, start the process and this software will automatically format and create bootable USB flash drive.
Change boot-order to boot from USB in Lenovo ThinkPad T480s
- Turn on or restart your Laptop
- Plug in the bootable USB drive
- To Enter Boot Menu you can press Function Key or Novo Button
- Now Select boot from the USB disk and Install Linux Mint on your Lenovo ThinkPad T480s
Instructions to Install Linux Mint on Lenovo ThinkPad T480s
Linux Mint will be installed on your machine after a few steps:
1. Selecting Language
- The First step is to select your desired language or the language you will be using in the operating system.
- Also, Language can also be changed later.
2. Keyboard Selection and Proprietary Software
- Choose your Keyboard Layout and Detect Keyboard Layout.
- To ensure keys working properly you can use the text box provided below. Now the Screen will ask you to install proprietary software.
- If you want to play media files like MP3 then you should select the option.
3. Target Installation
- The Linux Mint installation Wizard provides many options for where to install Linux Mint. If you want to install Linux Mint in the entire hard drive then Select “Erase disk and install Linux Mint”.
- The option will delete all your files permanently.
- So in case you want to install Linux Mint by erasing method then make sure that you have made a complete backup of your all files.
- The other two options are encrypting Linux Mint and Logical Volume Manager (a Linux system to manage data on the hard drive efficiently).
- Something Else is the option to create partitions or Dual booting with Windows or any other operating system. So if you want a clean install without any complications select these options else to select something else.
4. Dual Boot Windows and Linux Mint on Lenovo ThinkPad T480s
- If you have already installed Windows on your Laptop then start installing Linux Mint with Windows and if not then read the guide to install Windows on Lenovo ThinkPad T480s.
- Select the “Something Else” option to create partitions on your machine and “Continue”.
1. Create Partitions

- We have to create Root, swap, and home partitions
- Firstly, You have to create a root partition.
- Now Choose the free space option and click on +.
- Choose the amount of space you want in your root partition (20GB or 21485MB recommended)
- Option “Use as” should be “Ext4 file journaling system” and mount point as “/” (Root)
Now you have to create the Swap Partition
- Size of Swap partition Depends upon the size of the RAM and available disk space.
- Since the RAM size of Lenovo ThinkPad T480s is the 16GB size of Swap should be half the size of RAM.
Now you have to create the Home Partition
- You should provide maximum size to the Home partition as this area is where you will keep all your files.
- Finally, after creating all the partitions Home, Swap and Root, click on install now to continue the process of installing Linux Mint on your Lenovo ThinkPad T480s.
4. Select Timezone, Keyboard Layout, and Login Credentials
You have crossed all the hurdles after reaching this point. Now there are some easy steps left such as Selecting timezone, keyboard layout, and login credentials. Once the installation is completed two options will appear on the screen Continue testing live version or to restart the system. After restarting you will receive a beautiful Linux Operating system on your Screen.
Thanks for being patient and I hope the guide to install Linux Mint on Lenovo ThinkPad T480s was helpful.
Welcome to Lenovo ThinkPad T480s Linux Mint

Read some installation guides for Lenovo ThinkPad T480:
wnarifin / thinkpad_a485_linux.md
I was unable to boot to live Linux distro to install Linux on my newly bought A485 ThinkPad laptop. Although I was initially dissapointed, I was not alone. This gist documents the information I gathered from the net to complete the installation.
At the time of posting this gist, the issue is still persistent. It might not be relevant anymore once Lenovo release a working BIOS update to resolve the issue. [Update 19/01/2019]: Updating to BIOS 1.14 worked for me.
The information in this short gist was compiled from several sources. Although most are for E series, it worked for A485:
I tried Ubuntu 18.04.1, Mint 19 and Debian 9.5. The method worked for these distros.
I updated the BIOS version to 1.02 prior to the installation. [Update 19/01/2019]: Update to BIOS 1.14.
- Press F1 on startup.
- Disable secure boot: Security > Secure Boot [Disabled].
- UEFI setting: Startup > UEFI/Legacy Boot [UEFI Only] — CSM Support [No]
Booting into USB Linux Live Distro
- Press Enter > F12 and select USB HDD.
- In the GRUB menu, press ‘e’ to edit the kernel boot parameter.
- Add ivrs_ioapic[32]=00:14.0 to the boot parameter on linux . line.
- Press Ctrl+X to boot.
- Now you should be able to boot into the live distro and install the distro as usual.
[Update 19/01/2019]: It seems the problem is solved with the release of BIOS 1.14. I was able to boot to Linux Mint 19.1 and install the distro without adding the above boot parameter. You can also skip the rest of the steps below.
Post installation, edit GRUB
To make the change to the boot parameter permanent (i.e. ivrs_ioapic[32]=00:14.0 ):
sudo gedit /etc/default/grub
replace gedit with other editor of your choice e.g. mousepad , xed , nano or vi . 3. Find a line with GRUB_CMDLINE_LINUX_DEFAULT and edit as
GRUB_CMDLINE_LINUX_DEFAULT="quiet splash ivrs_ioapic[32]=00:14.0"