- How do I boot from ISO file stored on hard disk?
- 1 Answer 1
- Create a bootable USB stick on Ubuntu
- 2. Requirements
- 3. Launch Startup Disk Creator
- 4. ISO and USB selection
- 5. Confirm USB device
- 6. Installation complete
- Finding help
- Create a bootable USB stick with Rufus on Windows
- 2. Requirements
- 3. USB selection
- 4. Select the Ubuntu ISO file
- 5. Write the ISO
- 6. Additional downloads
- 7. Write warnings
- 8. Writing the ISO
- 9. Installation complete
- Finding help
How do I boot from ISO file stored on hard disk?
I know that I can create/burn bootable CD/DVD or live USB and can boot/install from it. But suppose I am currently running GNU/Linux and I’ve ISO file of another GNU/Linux that I want to install on my hard disk, then Can I directly boot from ISO from hard disk and try/install that GNU/Linux operating system?
1 Answer 1
Yes, you can accomplish this by adding a menu entry to the GRUB boot loader menu.
You can add a custom GRUB menu entry by editing /etc/grub.d/40_custom ,
Example of custom menuentry:
exec tail -n +3 $0 # This file provides an easy way to add custom menu entries. Simply type the # menu entries you want to add after this comment. Be careful not to change # the 'exec tail' line above. menuentry "Trisquel ISO" < set isofile="/Operating_Systems/Trisquel_7.0_i686/trisquel_7.0_i686.iso" loopback loop (hd0,5)$isofile linux (loop)/casper/vmlinuz boot=casper iso-scan/filename=$isofile quiet splash initrd (loop)/casper/initrd > Instruction & Explanation:
- The command set is used for storing the path of the ISO file into a variable, here isofile .
- loopback is used to make a device from a file system image. In order to do that, it is necessary to specify the device and image file. Here we used (hd0,5)$isofile in which (hd0,5) represents the fifth partition of the disk.
- Points to note: In (hd0,5) ,
1 st digit represents the device number which starts from 0 (here : 0 = 1 st device) and
2 nd digit represents the partition number which starts from 1 (here 5 = 5 th partition).
That means /dev/sda5 - And variable $isofile has the path of the ISO file. So, finally it becomes (hd0,5)/Operating_Systems/Trisquel_7.0_i686/trisquel_7.0_i686.iso .
- For more information, visit : How to specify devices and files.
$ 7z l trisquel_7.0_i686.iso | grep vmlinu 2014-10-29 21:41:43 . 5841680 5841680 casper/vmlinuz 2014-11-03 00:45:09 . 5844176 5844176 casper/vmlinuz.netinst $ 7z l trisquel_7.0_i686.iso | grep initrd 2014-11-03 00:45:19 . 16851900 16851900 casper/initrd 2014-11-03 00:45:09 . 9398592 9398592 casper/initrd.netinst After editing /etc/grub.d/40_custom , GRUB needs to be updated by update-grub2 command. Upon rebooting, you will find the custom menuentry you’ve added on the GRUB screen. And you may use the Live environment of a GNU/Linux distribution.
In order to perform installation from ISO, installer may need to unmount any mounted partitions; i.e. say another system is mounted at /isodevice , then you can umount -l /isodevice .
Create a bootable USB stick on Ubuntu
Creating a bootable Ubuntu USB stick is very simple, especially from Ubuntu itself, and we’re going to cover the process in the next few steps.
Alternatively, we also have tutorials to help you create a bootable USB stick from both Microsoft Windows and Apple macOS.
2. Requirements
- A 4GB or larger USB stick/flash drive
- Ubuntu Desktop 14.04 or later installed
- An Ubuntu ISO file. See Get Ubuntu for download links
3. Launch Startup Disk Creator
We’re going to use an application called ‘Startup Disk Creator’ to write the ISO image to your USB stick. This is installed by default on Ubuntu, and can be launched as follows:
- Insert your USB stick (select ‘Do nothing’ if prompted by Ubuntu)
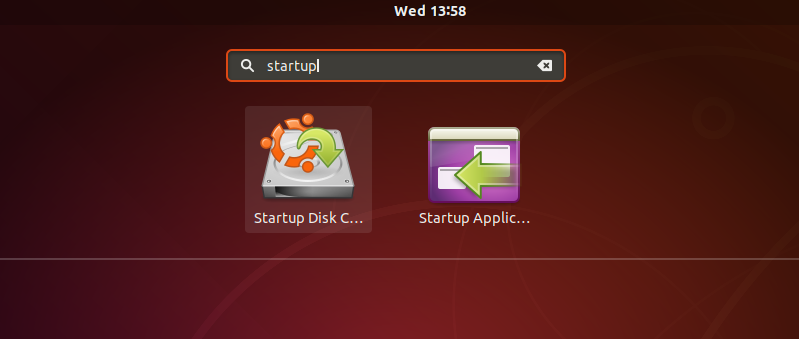
- On Ubuntu 18.04 and later, use the bottom left icon to open ‘Show Applications’
- In older versions of Ubuntu, use the top left icon to open the dash
- Use the search field to look for Startup Disk Creator
- Select Startup Disk Creator from the results to launch the application
4. ISO and USB selection
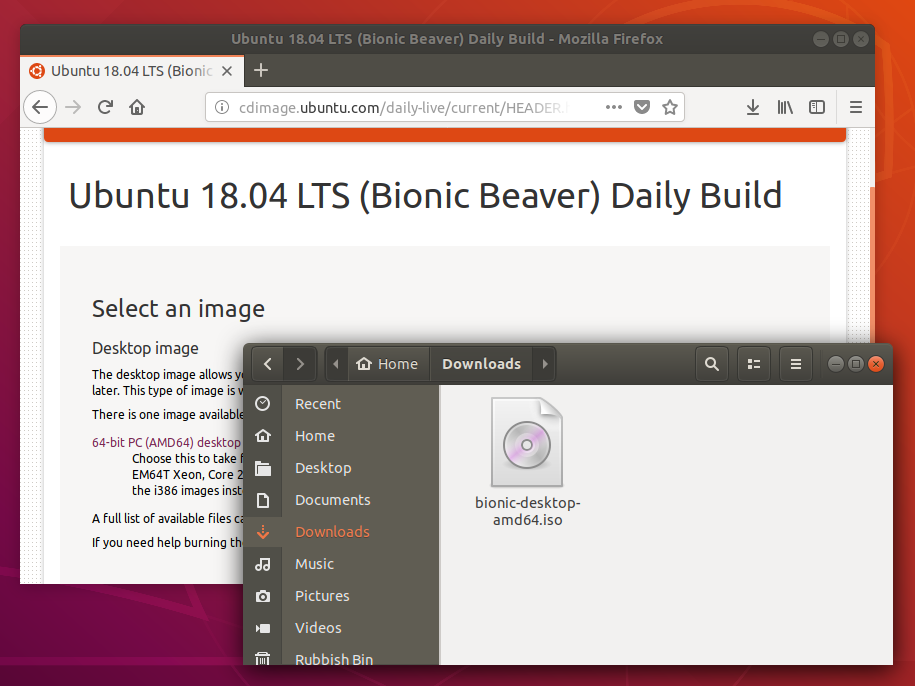
When launched, Startup Disk Creator will look for the ISO files in your Downloads folder, as well as any attached USB storage it can write to.
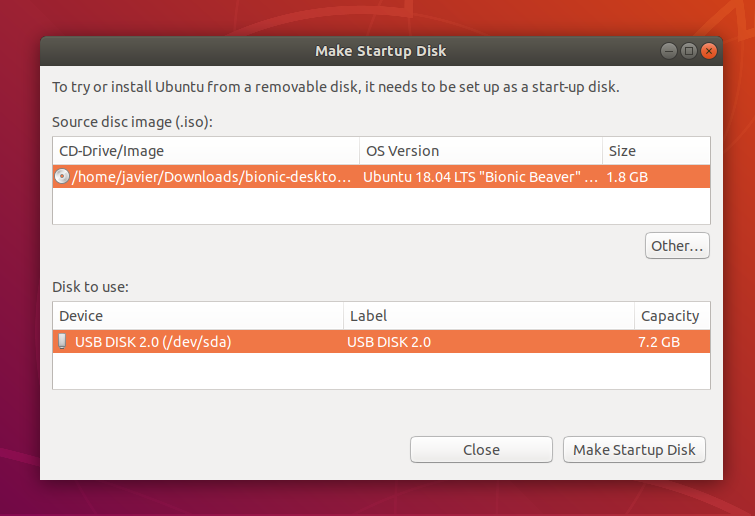
It’s likely that both your Ubuntu ISO and the correct USB device will have been detected and set as ‘Source disc image’ and ‘Disk to use’ in the application window. If not, use the ‘Other’ button to locate your ISO file and select the exact USB device you want to use from the list of devices.
Click Make Startup Disk to start the process.
5. Confirm USB device
Before making any permanent changes, you will be asked to confirm the USB device you’ve chosen is correct. This is important because any data currently stored on this device will be destroyed.
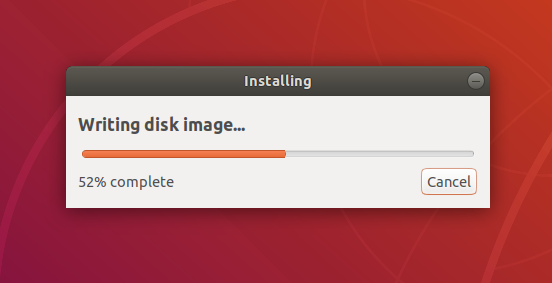
After confirming, the write process will start and a progress bar appears.
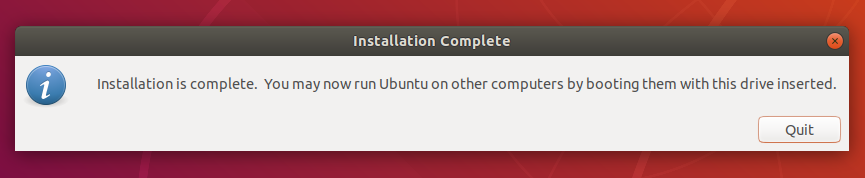
6. Installation complete
That’s it! You now have Ubuntu on a USB stick, bootable and ready to go.
If you want to install Ubuntu, take a look at our install Ubuntu desktop tutorial.
Finding help
If you get stuck, help is always at hand:
Create a bootable USB stick with Rufus on Windows
This tutorial will show you how to create a bootable USB stick on Microsoft Windows using Rufus.
For most users we recommend balenaEtcher instead of Rufus which is simpler to use and also available on MacOS and Ubuntu. Instructions are now included in the primary Install Ubuntu Desktop tutorial.
Creating a bootable Ubuntu USB stick from Microsoft Windows is very simple and we’re going to cover the process in the next few steps.
Alternatively, we also have tutorials to help you create a bootable USB stick from both Ubuntu and Apple macOS.

2. Requirements
- A 4GB or larger USB stick/flash drive
- Microsoft Windows XP or later
- Rufus, a free and open source USB stick writing tool
- An Ubuntu ISO file. See Get Ubuntu for download links

Take note of where your browser saves downloads: this is normally a directory called ‘Downloads’ on your Windows PC. Don’t download the ISO image directly to the USB stick! If using Windows XP or Vista, download version 2.18 of Rufus.
3. USB selection
Perform the following to configure your USB device in Rufus:
- Launch Rufus
- Insert your USB stick
- Rufus will update to set the device within the Device field
- If the Device selected is incorrect (perhaps you have multiple USB storage devices), select the correct one from the device field’s drop-down menu

You can avoid the hassle of selecting from a list of USB devices by ensuring no other devices are connected.
4. Select the Ubuntu ISO file
To select the Ubuntu ISO file you downloaded previously, click the SELECT to the right of “Boot selection”. If this is the only ISO file present in the Downloads folder you will only see one file listed.
Select the appropriate ISO file and click on Open.

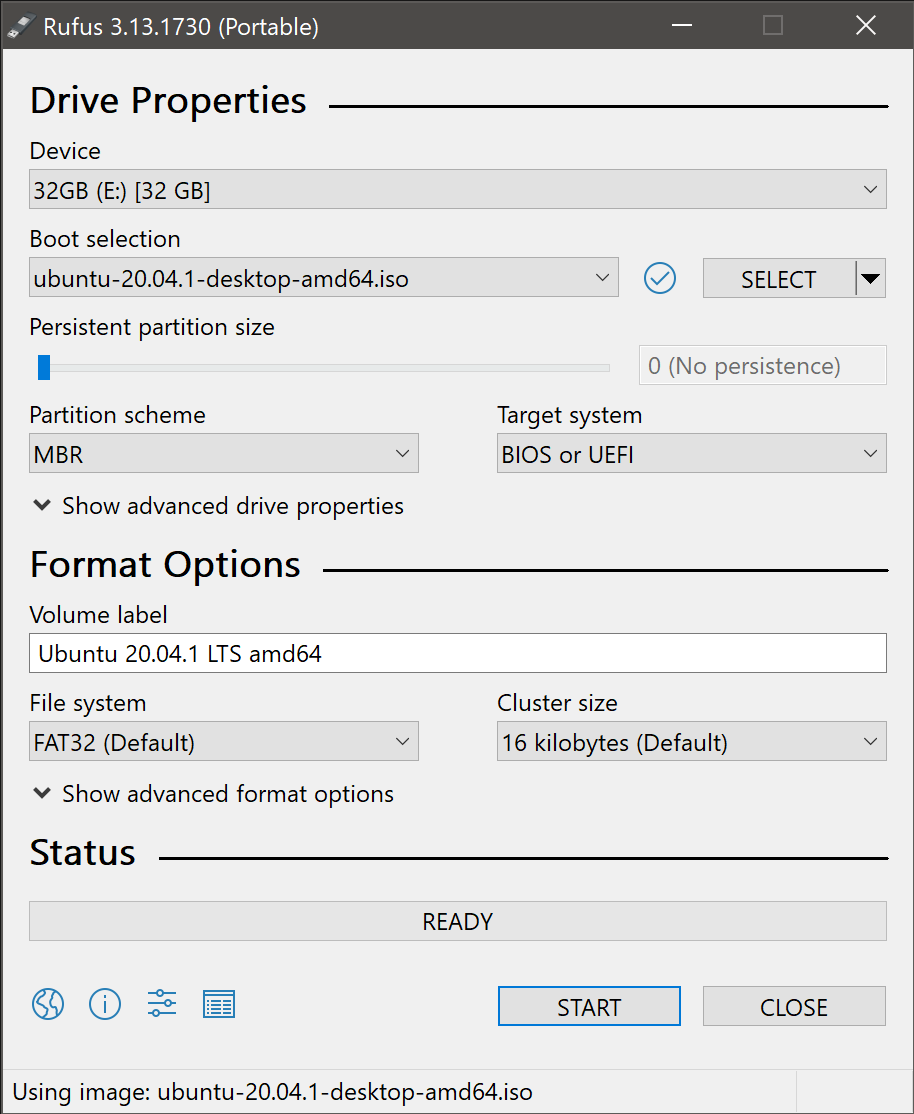
5. Write the ISO
The Volume label will be updated to reflect the ISO selected.
Leave all other parameters with their default values and click START to initiate the write process.
6. Additional downloads
You may be alerted that Rufus requires additional files to complete writing the ISO. If this dialog box appears, select Yes to continue.

7. Write warnings
You will then be alerted that Rufus has detected that the Ubuntu ISO is an ISOHybrid image. This means the same image file can be used as the source for both a DVD and a USB stick without requiring conversion.
Keep Write in ISO Image mode selected and click on OK to continue.

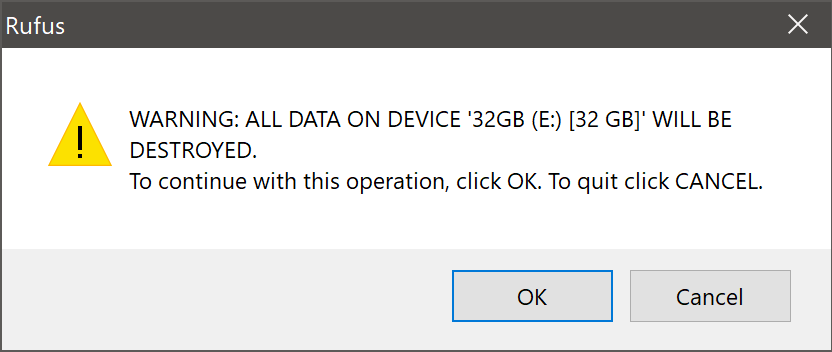
Rufus will also warn you that all data on your selected USB device is about to be destroyed. This is a good moment to double check you’ve selected the correct device before clicking OK when you’re confident you have.
If your USB stick contains multiple partitions Rufus will warn you in a separate pane that these will also be destroyed.
8. Writing the ISO
The ISO will now be written to your USB stick, and the progress bar in Rufus will give you some indication of where you are in the process. With a reasonably modern machine, this should take around 10 minutes. Total elapsed time is shown in the lower right corner of the Rufus window.

9. Installation complete
When Rufus has finished writing the USB device, the Status bar will be filled green and the word READY will appear in the center. Select CLOSE to complete the write process.

Congratulations! You now have Ubuntu on a USB stick, bootable and ready to go.
To use it you need to insert the stick into your target PC or laptop and reboot the device. It should recognise the installation media automatically during startup but you may need to hold down a specific key (usually F12) to bring up the boot menu and choose to boot from USB.
For a full walkthrough of installing Ubuntu, take a look at our install Ubuntu desktop tutorial.
Finding help
If you get stuck, help is always at hand: