Creating a Bootable Windows 10 UEFI USB Drive Using Linux
I’ve verified that the instructions below will ALSO work with Windows 11 22H2.
Creating a Windows 10 boot USB for UEFI used to be pretty easy. Things have changed with the October 2018 Windows 10 1809 update. Luckily it’s still pretty easy, but it’s a bit more involved than creating a Ubuntu UEFI boot USB.
Table of Contents
Before you begin there are a few things you’re going to need:
- USB drive you don’t mind erasing (8GB in size or greater)
- Windows 10 or 11 ISO file depending on which one you’re installing
- Windows 10 ISO file (can be downloaded from Microsoft here)
- Windows 11 ISO file (can be downloaded from Microsoft here)
The Problem
It was possible to create a bootable UEFI USB for Windows 10 versions prior to the October 2018 Windows 10 1809 update fairly easily by following my previous tutorial creating a Ubuntu UEFI boot USB. That tutorial was for Ubuntu Linux but the process at the time was exactly the same for the Windows OS, you just needed to copy the files from a Windows ISO to the USB instead of the Ubuntu ISO.
The problem now is that the Install.wim file provided in the Windows 10 1809 ISO download from Microsoft is over 4 GB in size. We need to have our boot USB formatted as FAT32 in order to boot properly on all UEFI computers*, and FAT32 has a file size limit of 4GB. The install.wim file is now too large to copy to the FAT32 partition of the USB.
*Note it is possible to create a USB formatted as NTFS and have it boot, however this does not work on all computers. The only “universal” file system to use to ensure the USB will boot is FAT32.
To work around this, we can use a solution as described in this post from Win10.guru, which creates a USB with a bootable FAT32 partition for the Windows 10 boot files, and an NTFS partition for the install.wim file. The beautiful thing about this solution is that not only can you use it on the official Windows 10 1809 ISO file, but you can also use it if you make your own custom Windows 10 image with an install.wim file greater than 4GB in size.
Formatting the USB Drive

- Open a terminal window
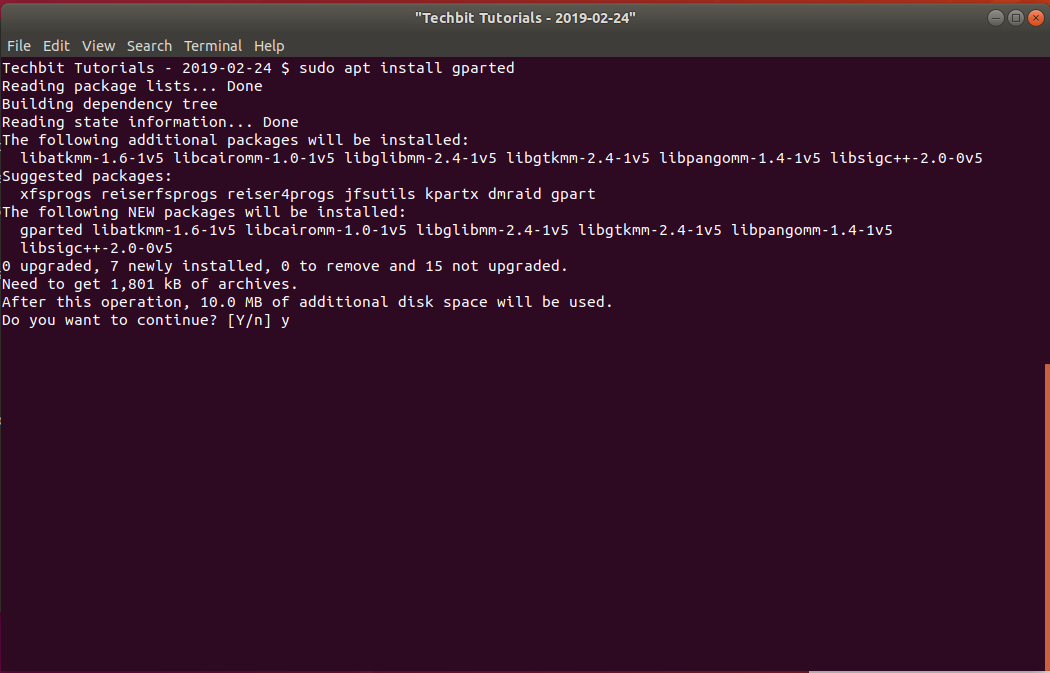
- Install gparted if not already installed
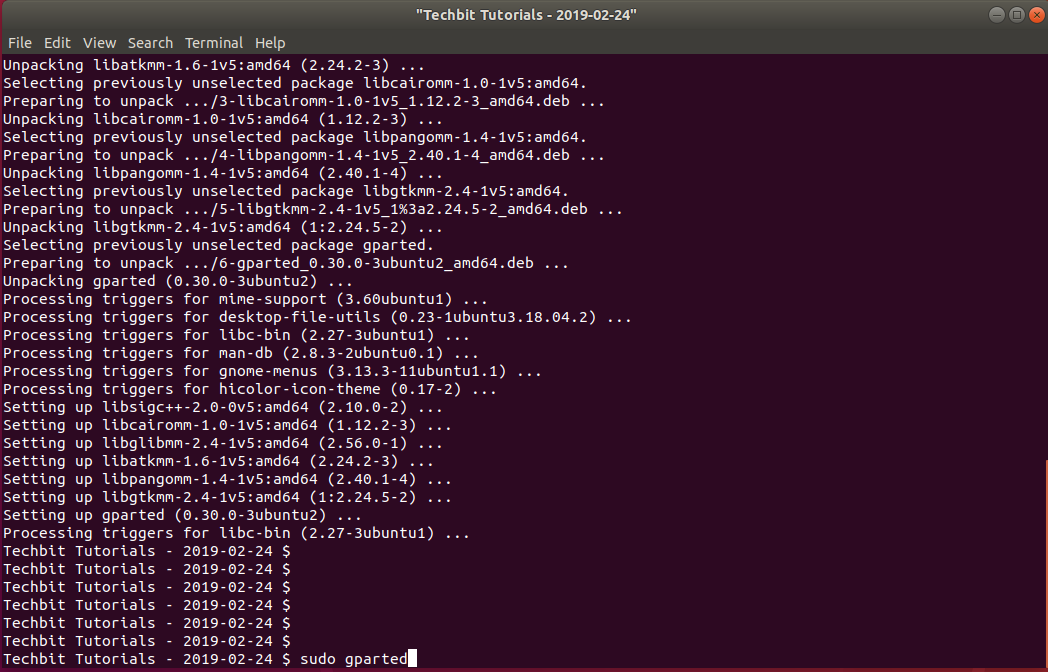
Run gparted. Gparted will need admin rights so make sure you run with “sudo”
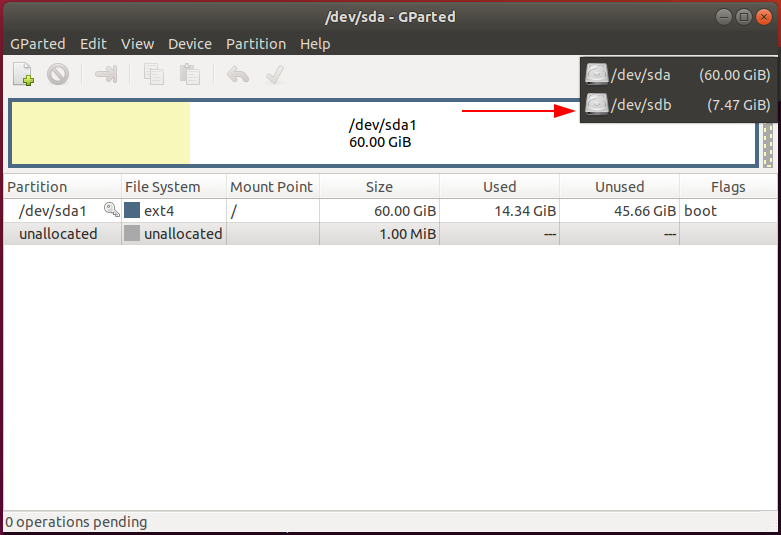
- Choose your USB drive from the dropdown in the upper right-hand corner
- Make sure you have the correct device specified, then go to the “Device” menu and choose “Create Partition Table…”
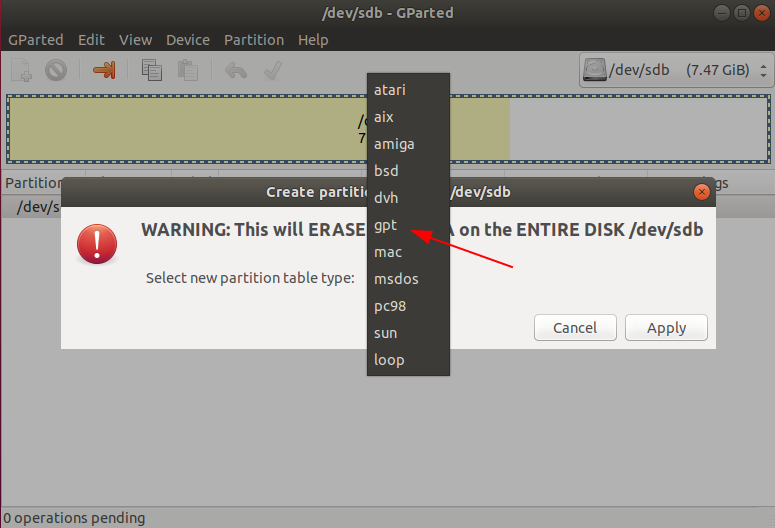
- Choose “gpt” from the partition table type dropdown
WARNING Clicking “Apply” on the following screen WILL delete ALL data on the selected partition. Ensure the correct drive/partition is chosen as choosing the wrong drive WILL DELETE ALL DATA on that drive. You have been warned.
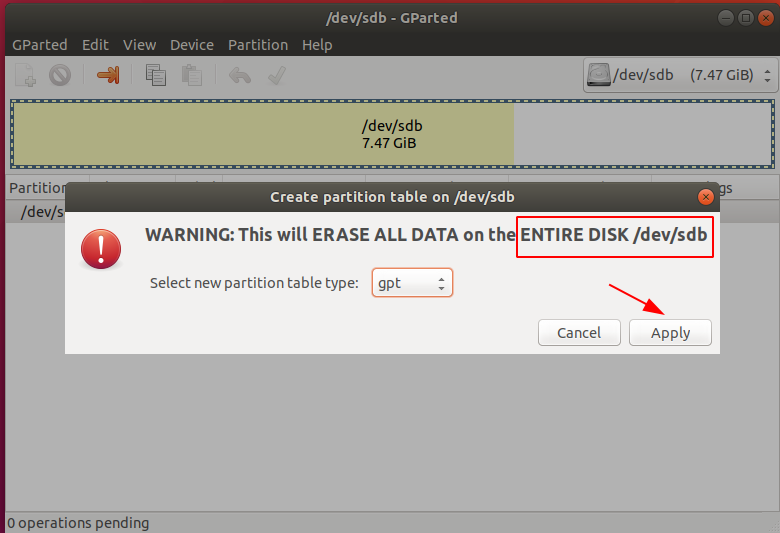
- Again ensure that you have the correct device specified and then click Apply
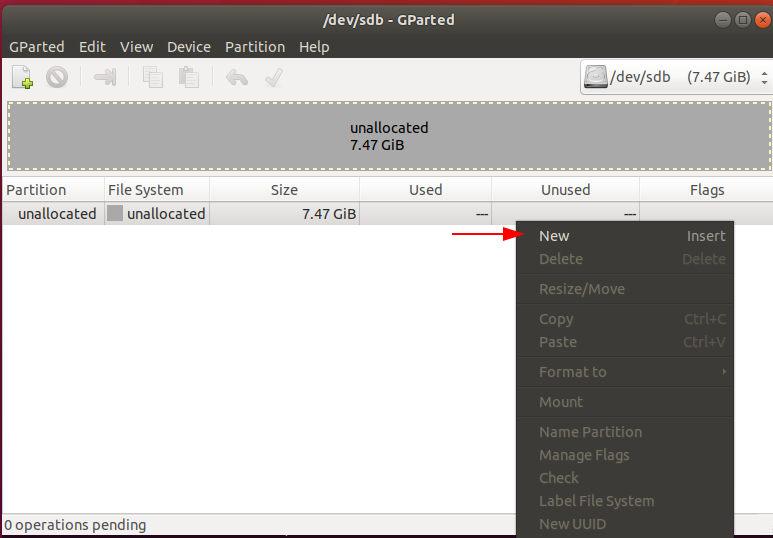
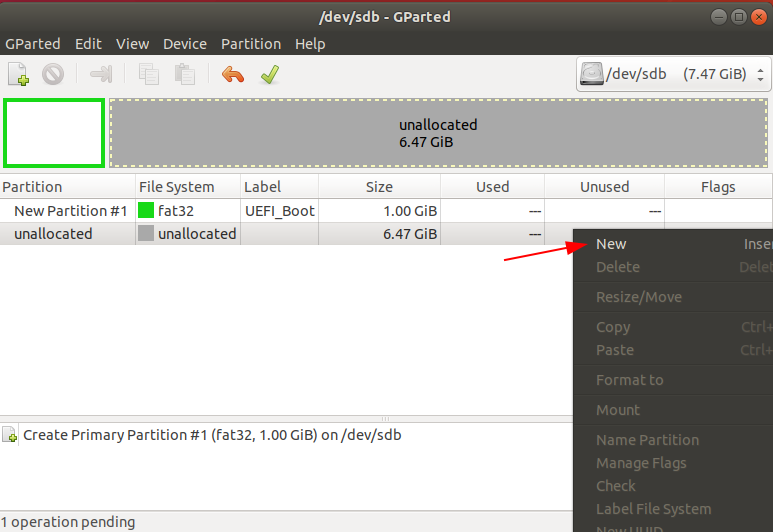
- Right-click the new unallocated space and choose New
- This will be our FAT32 partition that we’ll boot from
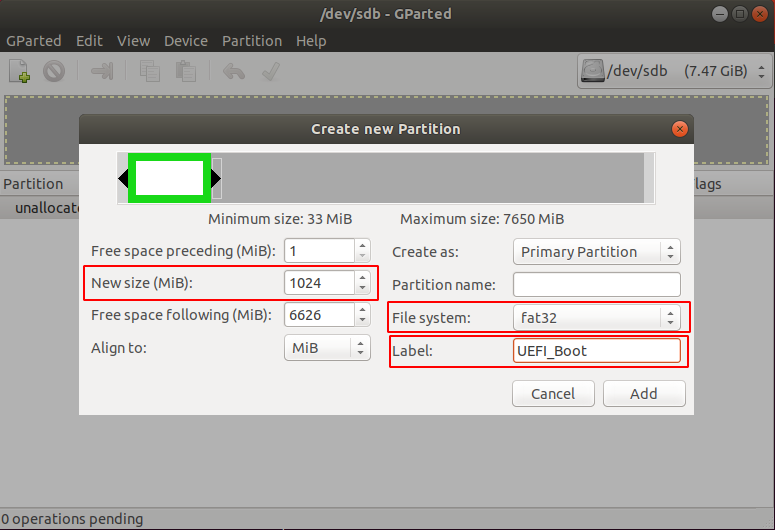
- 1GB in size will be plenty, so enter 1024 in the “New size (MiB)” field
- From the “File system” dropdown choose fat32
- Give it a descriptive label. I chose “UEFI_Boot”
- Click Add when done
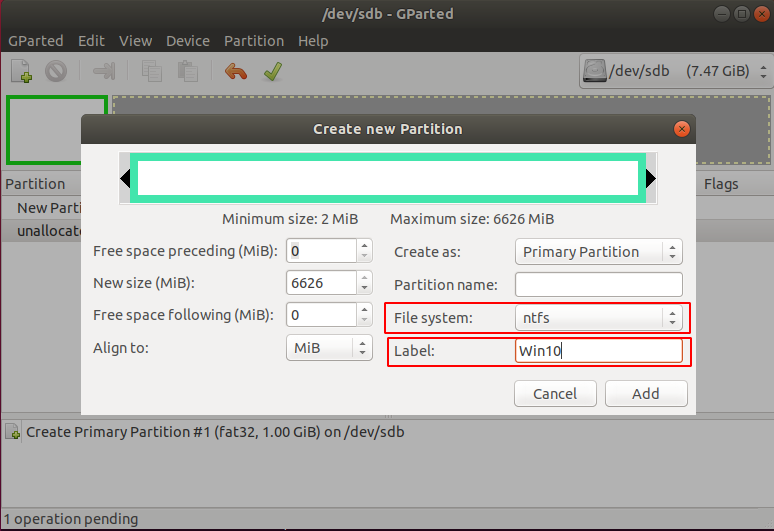
- Right-click the unallocated space again and choose New
- This time we’ll create a NTFS partition for the install.wim file (and other necessary files)
- We’ll let it use the rest of the free space available on the drive, so you can leave the “New size (MiB)” field alone
- From the “File system” dropdown choose NTFS
- Give it a descriptive label. I chose “Win10”
- Click Add when done
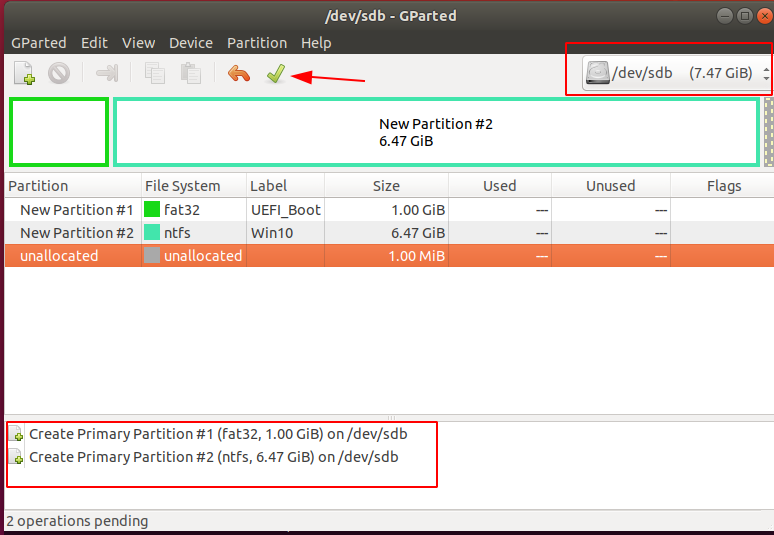
Note: You’ll likely have a small amount of unallocated space left over. In the case below it is 1MB in size. This is normal and perfectly fine.
Ensure that the partitions look correct, and again, most importantly ensure that you’re using the correct device. If everything looks good click the green checkmark to apply the changes
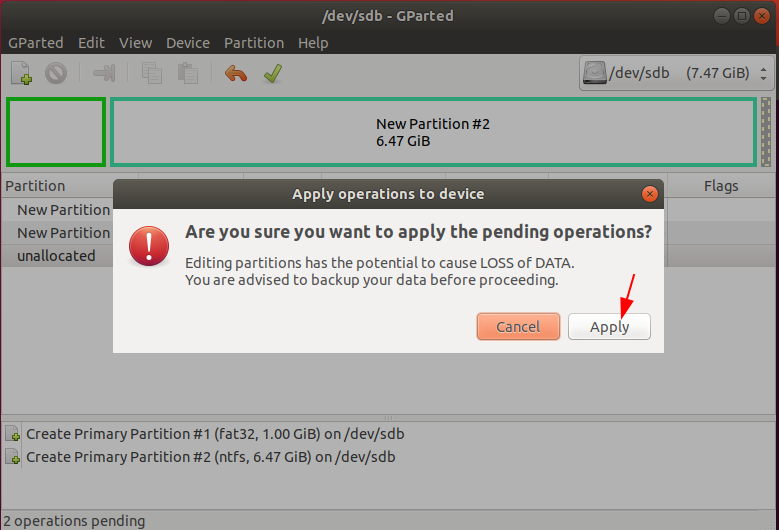
WARNING Clicking “Apply” on the following screen WILL delete ALL data on the selected partition. Ensure the correct drive/partition is chosen as choosing the wrong drive WILL DELETE ALL DATA on that drive. You have been warned.
- Click Apply again on the warning confirmation in order to make the changes
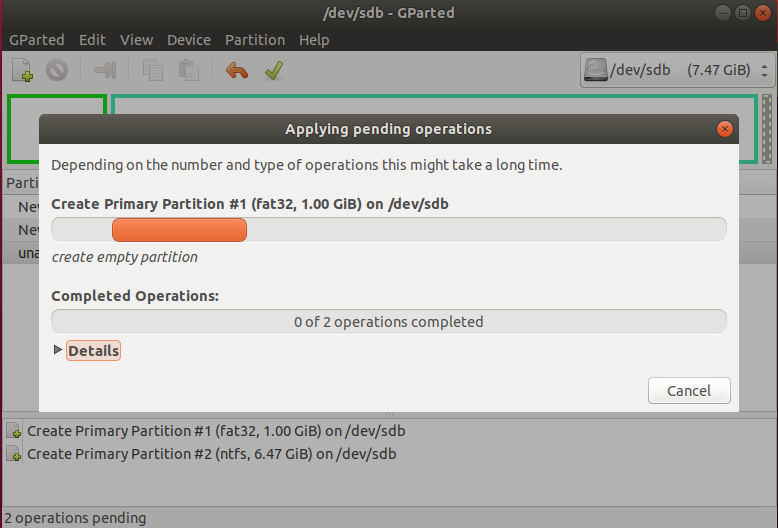
- A status screen will appear as gparted makes the necessary changes to the partition layout
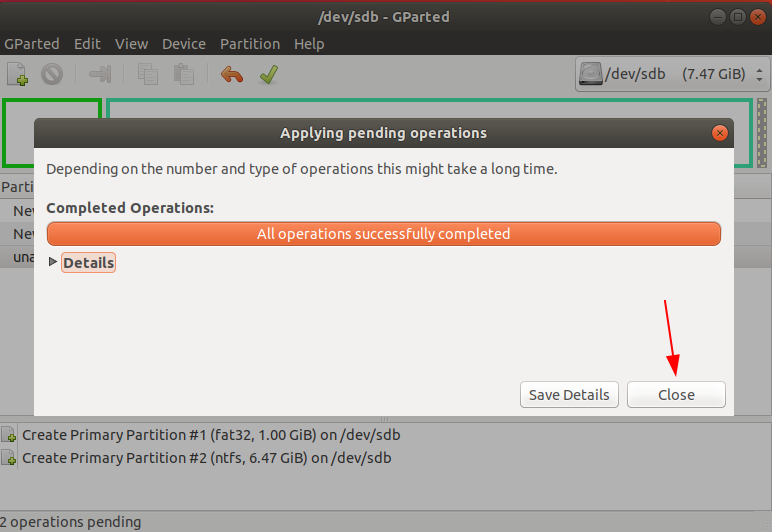
- When the changes have been completed, you can click Close on the dialog window and then close gparted
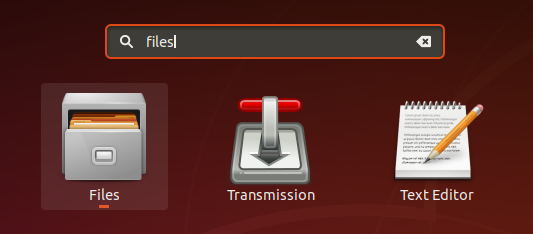
- Next open a file explorer
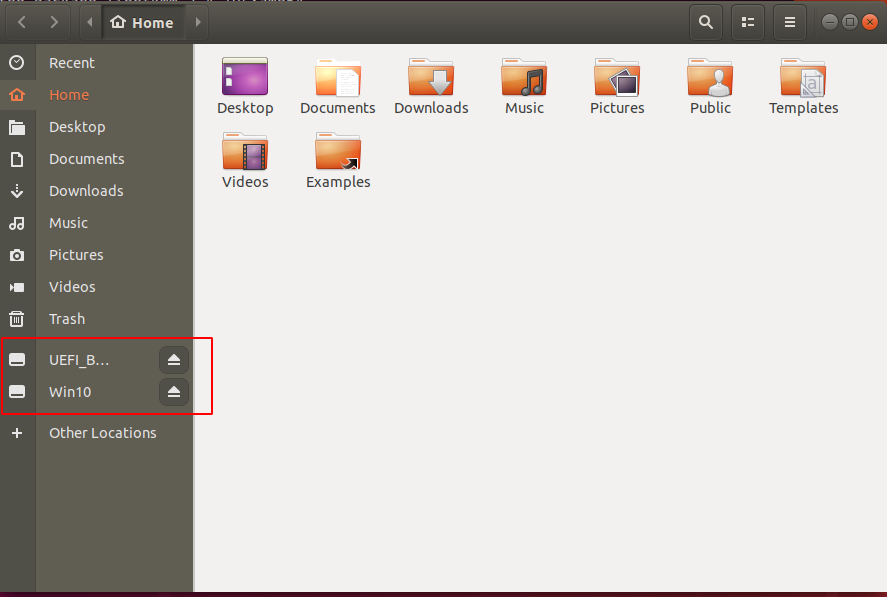
- You should see that you now have the two new partitions that you just created
If you don’t see the partitions unplug the USB drive, wait 5 seconds and plug it back in. The partitions should appear automatically in the device list on the side as above.
Creating the UEFI Bootable USB
Now that we have a freshly formatted USB drive, we can proceed to creating the UEFI bootable USB. In short, we’re going to:
- Extract everything but the “sources” folder to the FAT32 partition
- Extract the “sources/boot.wim” file to the FAT32 partition (needed in order to boot)
- Extract the entire “sources” folder to the NTFS partition
- Open a terminal window
- [Updated 2021-07-29] We’re going to need to know where our USB drives are mounted so that we can copy the files to them. Note this assumes you named the partitions the same as me. If you named them something different replace with your names in the command below.
$ lsblk | grep UEFI_Boot sdb1 8:32 1 1.0G 0 disk /media/blah/UEFI_Boot $ lsblk | grep Win10 sdb2 8:32 1 6.47G 0 disk /media/blah/Win10So in our case the partitions are mounted to /media/blah/UEFI_Boot and /media/blah/Win10 respectively. You will need to replace these mountpoints in the below commands with the mountpoints corresponding to your system.
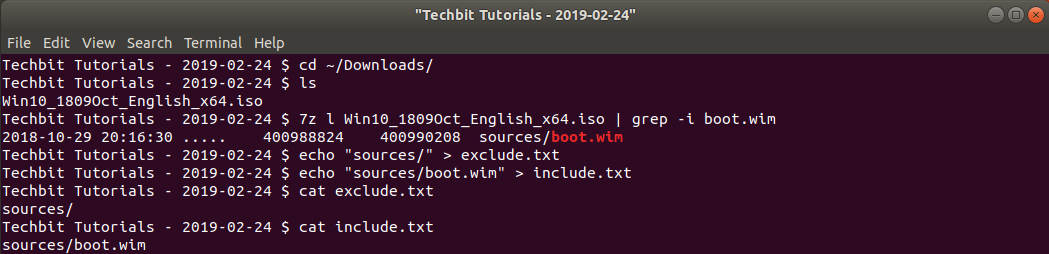
Before we copy the files to our USB stick using 7-zip (‘7z x’ command), let’s find the files we need to extract- Change to the downloads folder where our Windows 10 ISO file is located
$ ls Win10_1809Oct_English_x64.iso$ 7z l Win10_1809Oct_English_x64.iso | grep -i boot.wim 2018-10-29 20:16:30 . 400988824 400990208 sources/boot.wim