- Как поставить кали линукс второй системой
- Installation Prerequisites
- Resize Windows Procedure
- Kali Linux Installation Procedure
- Post Installation
- Time/System Clock
- Установка Kali в качестве дополнительной операционной системы на компьютер с Windows
- Как установить Kali Linux на подсистему Windows 10 (пошаговое руководство)
- Установка wsl Windows 10
- Включить платформу виртуальной машины
- Скачать приложение Kali Linux
Как поставить кали линукс второй системой
Installing Kali Linux next to a Windows installation has its benefits. However, you need to exercise caution during the setup process. First, make sure that you’ve backed up any important data on your Windows installation. Since you’ll be modifying your hard drive, you’ll want to store this backup on external media. Once you’ve completed the backup, we recommend you peruse our Kali Linux Hard Disk install guide, which explains the normal procedure for a basic Kali Linux install.
In our example, we will be installing Kali Linux alongside an installation of Windows (10), which is currently taking up 100% of the disk space in our computer. We will start by resizing our current Windows partition to occupy less space and then proceed to install Kali Linux in the newly-created empty partition.
Installation Prerequisites
This guide will make the following assumptions:
- You have read our single boot Kali Linux install guide, as this has the same Installation Prerequisites (System requirements & setup assumptions).
- When downloading Kali Linux, pick the live image, rather than the installer option.
- A single disk to install to (rather than a dedicated disk per operating system).
We need to use a different image from the single boot Kali Linux install guide, as we need the live image. This is because we need to edit the disk structure without mounting any partitions (otherwise they would be in-use). After we have finished altering the disk layout, we can still install Kali Linux using the live image, but there will be a few differences such as:
Both of these can be addressed post installation, as it saves swapping to the installer image (as you will need either multiple CD/DVD/USBs or to re-image half way though).
This installation has the potential to go wrong very easily as it involves editing existing partitions. Be aware of what partitions you are modifying and where you are installing Kali Linux to.
Having a backup of your Linux files available is a good idea in the event something goes wrong.
Resize Windows Procedure
Before we can install Kali Linux, there needs to be room on the hard disk. By booting into a live Kali Linux session with your chosen installation medium, we can resize the partition to our desired size, as the disk will not be in use because Kali Linux will all be in memory.
- Before Resizing the disk, Make Sure Fast Startup is turned off in Windows 10 so that we don’t get an error while resizing the partition. If you don’t know how to do that:- Open Control Panel > Hardware and Sound > Power Options > On the left, click Choose what the power buttons do > Then at the top, click Change Settings that are currently unavailable (This will ask for administrator permissions) > Now Unselect the Turn on fast startup option and click Save Changes at the bottom. Now you are ready to resize the partition.
- To start resizing, make sure you insert your Kali Linux installation medium and power on the device. If needed, press any keyboard shortcuts for a “boot order menu” (depends on each manufacture) or boot into BIOS/UEFI and change the boot order to point to the installation medium first.
- When the boot menu/options appears, you should see at least one new option. Depending on the manufacture, hardware, how the system is configured and install medium, you may see more options (e.g. Can you boot into non-UEFI?).
You may need to try a few different options in order to find success.
You may need to disable secure boot
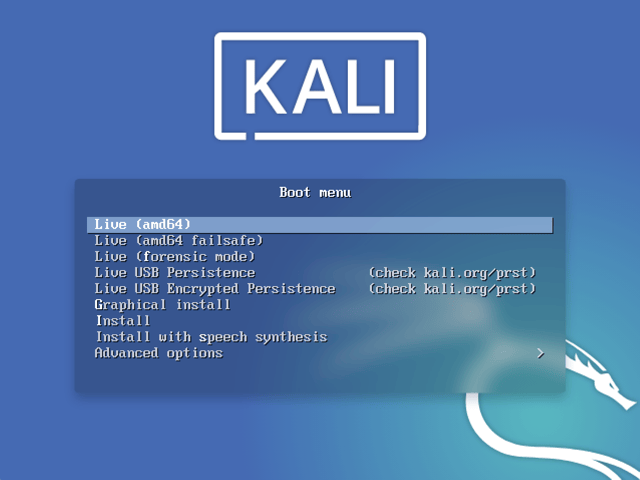
- You should be greeted with the Kali Linux boot screen. Select Live, and you should be booted into the Kali Linux default desktop.
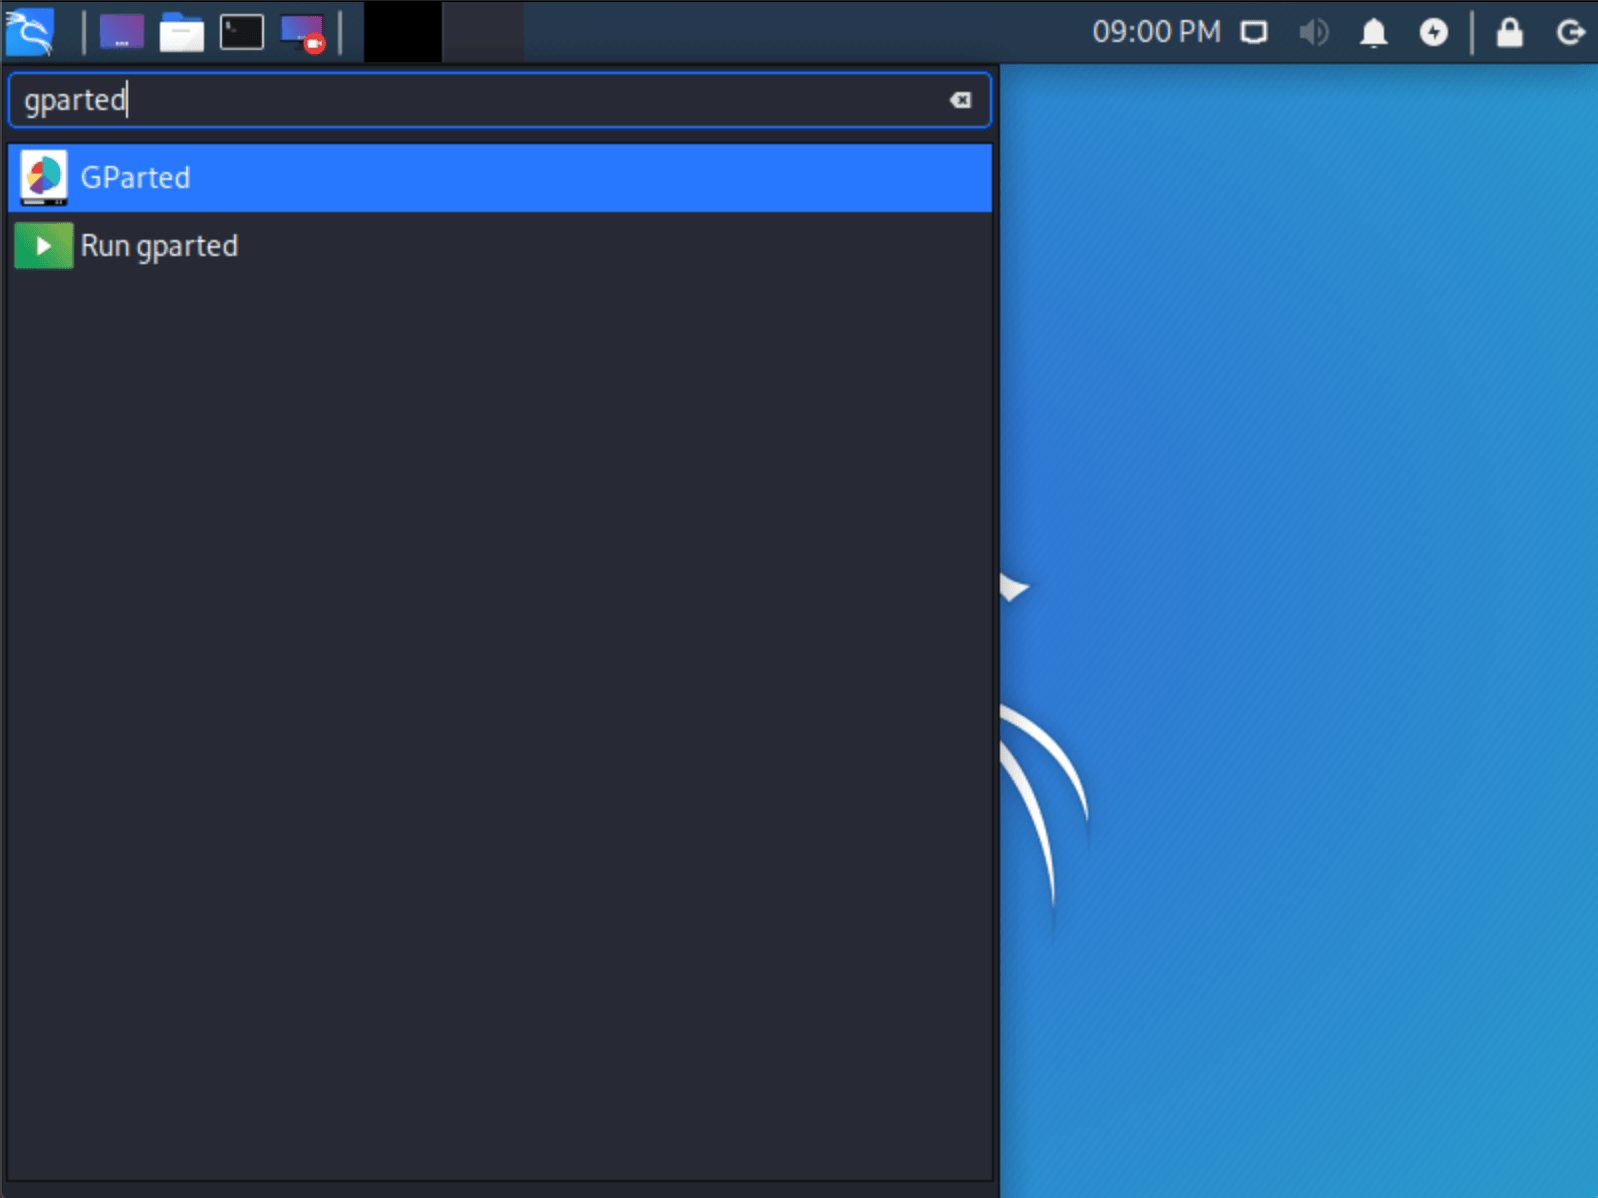
- Now launch GParted, which we’ll use to shrink the existing Windows partition to give us enough room to install Kali Linux in the free space.
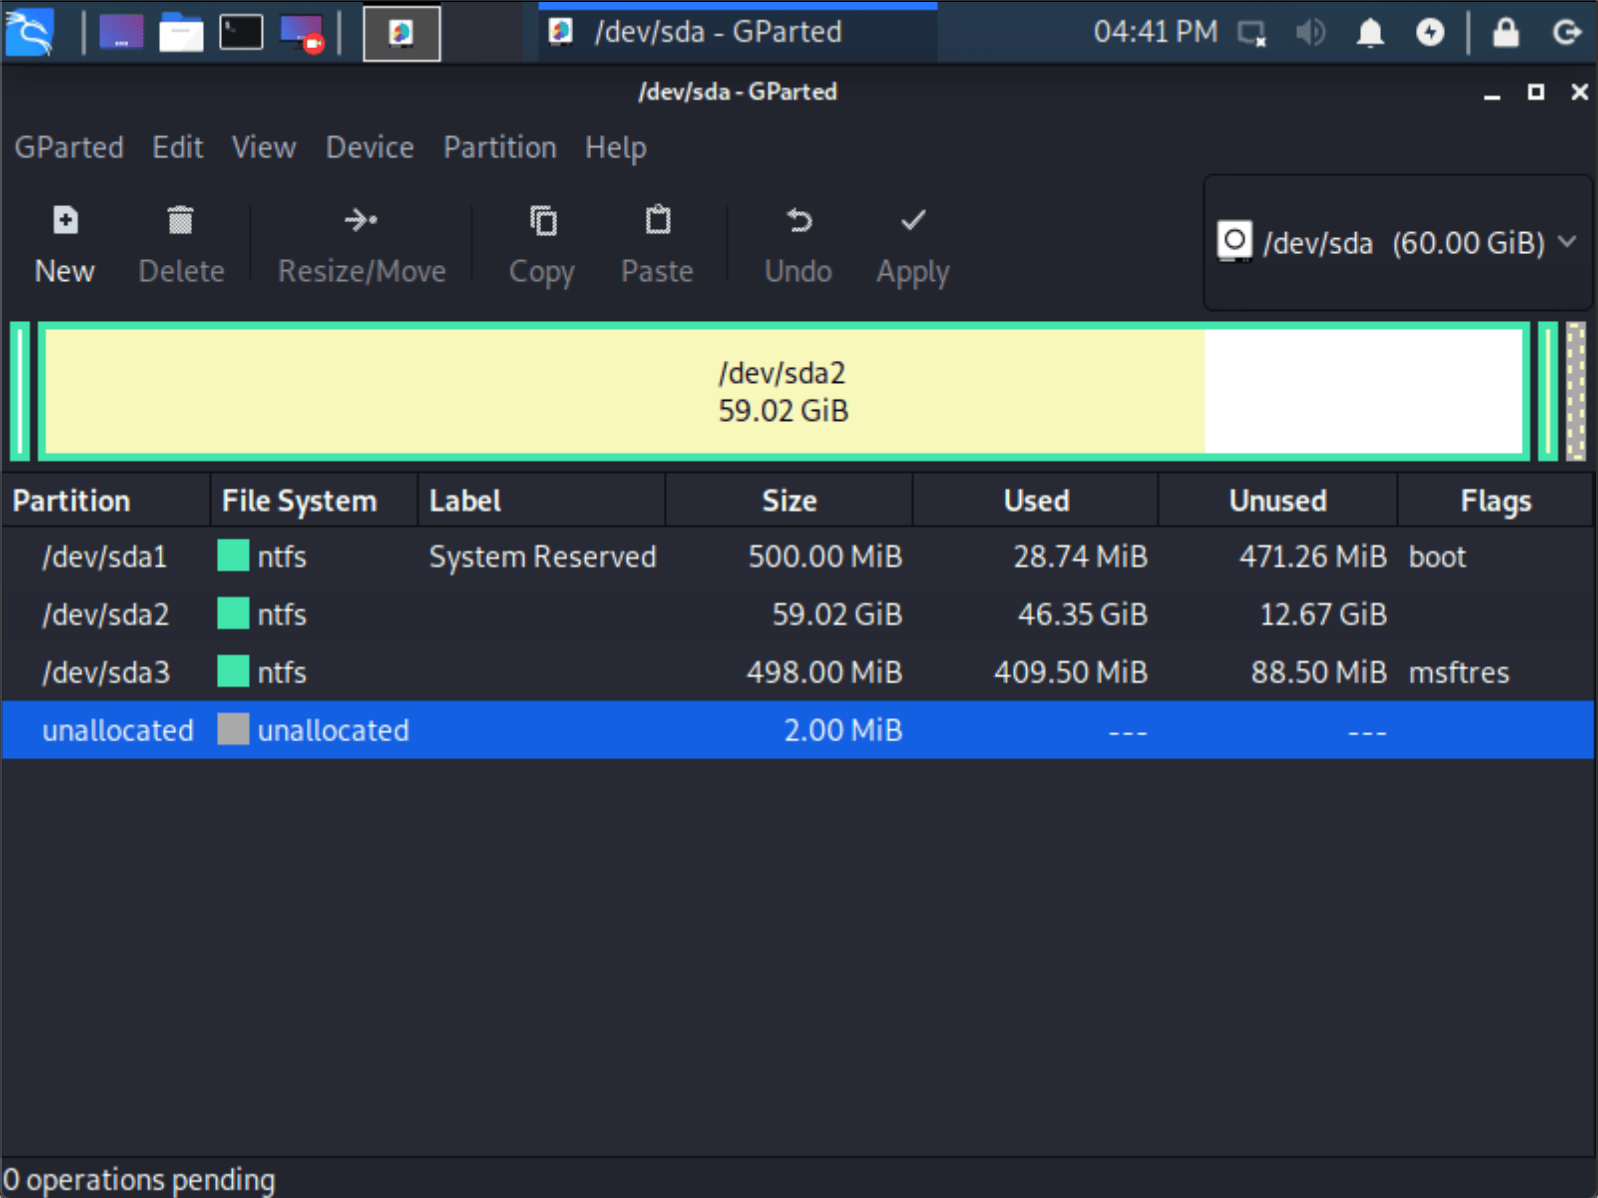
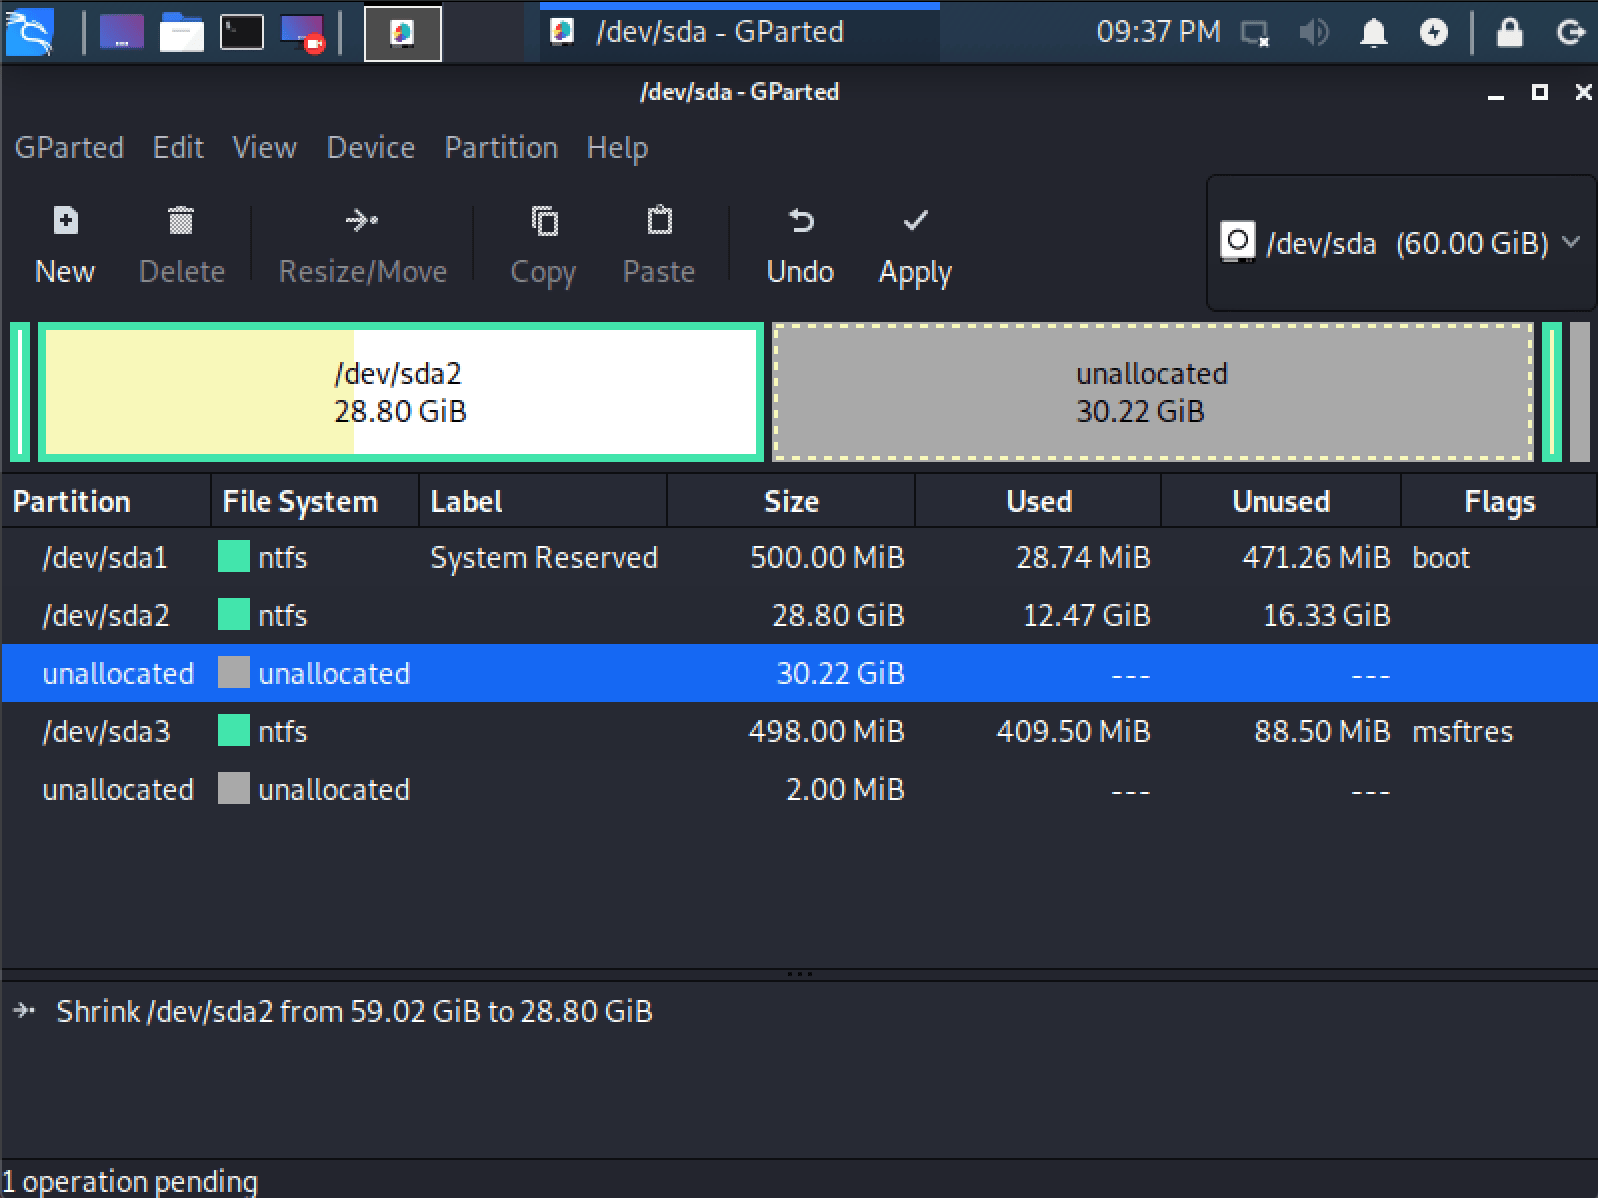
- Once GParted has opened, select your Windows partition ( /dev/sda2 ) & resize it leaving enough space (we recommend at least 20 GB) for the Kali Linux installation.
Depending on your setup, it is often the second option (the largest partition). In our example, there are three partitions:
- Window’s boot partition ( /dev/sda1 )
- Window’s main operating system itself ( /dev/sda2 )
- Window’s System Recovery partition ( /dev/sda3 )
If you are moving past into any non-white in the partition then you are editing a section that is in use.
Only remove from the area of the partition that is not in use.
It is normal to leave the third partition ( /dev/sda3 ), and only shrink the actual install ( /dev/sda2 ).
If you wish to organize the partition to group all the Windows partitions together, placing the free space at the end, you may do so.
- Once you have resized your Windows partition, ensure you “Apply All Operations” on the hard disk. Exit gparted and reboot.
Kali Linux Installation Procedure
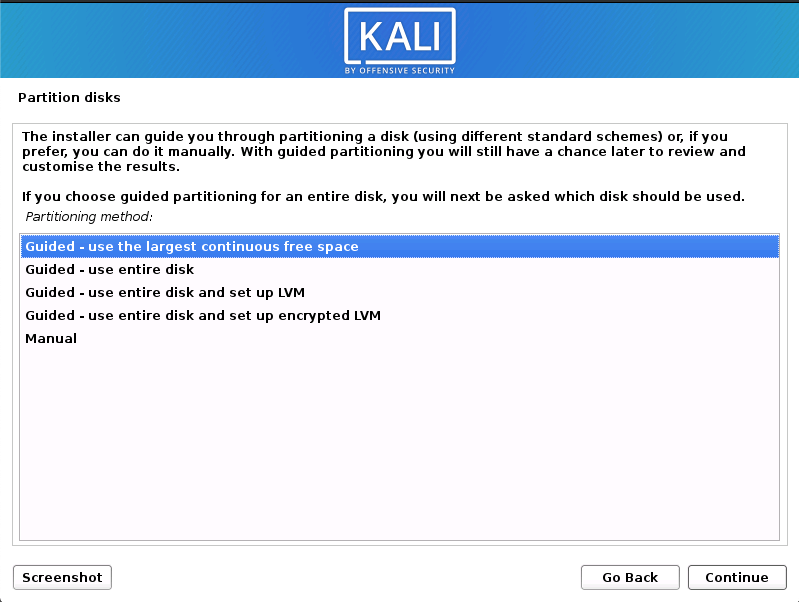
- The installation procedure from this point onwards is similar to a Kali Linux Hard Disk install, until the point of the partitioning. At this point, you need to select “Guided — use the largest continuous free space” (rather than “Guided — the entire disk”) which got created earlier with gparted.
- You can carry on following the single boot Kali Linux install guide, except you will not have the option to select desktop environment or metapackages as you are using the live image. Once the installation is done, reboot.
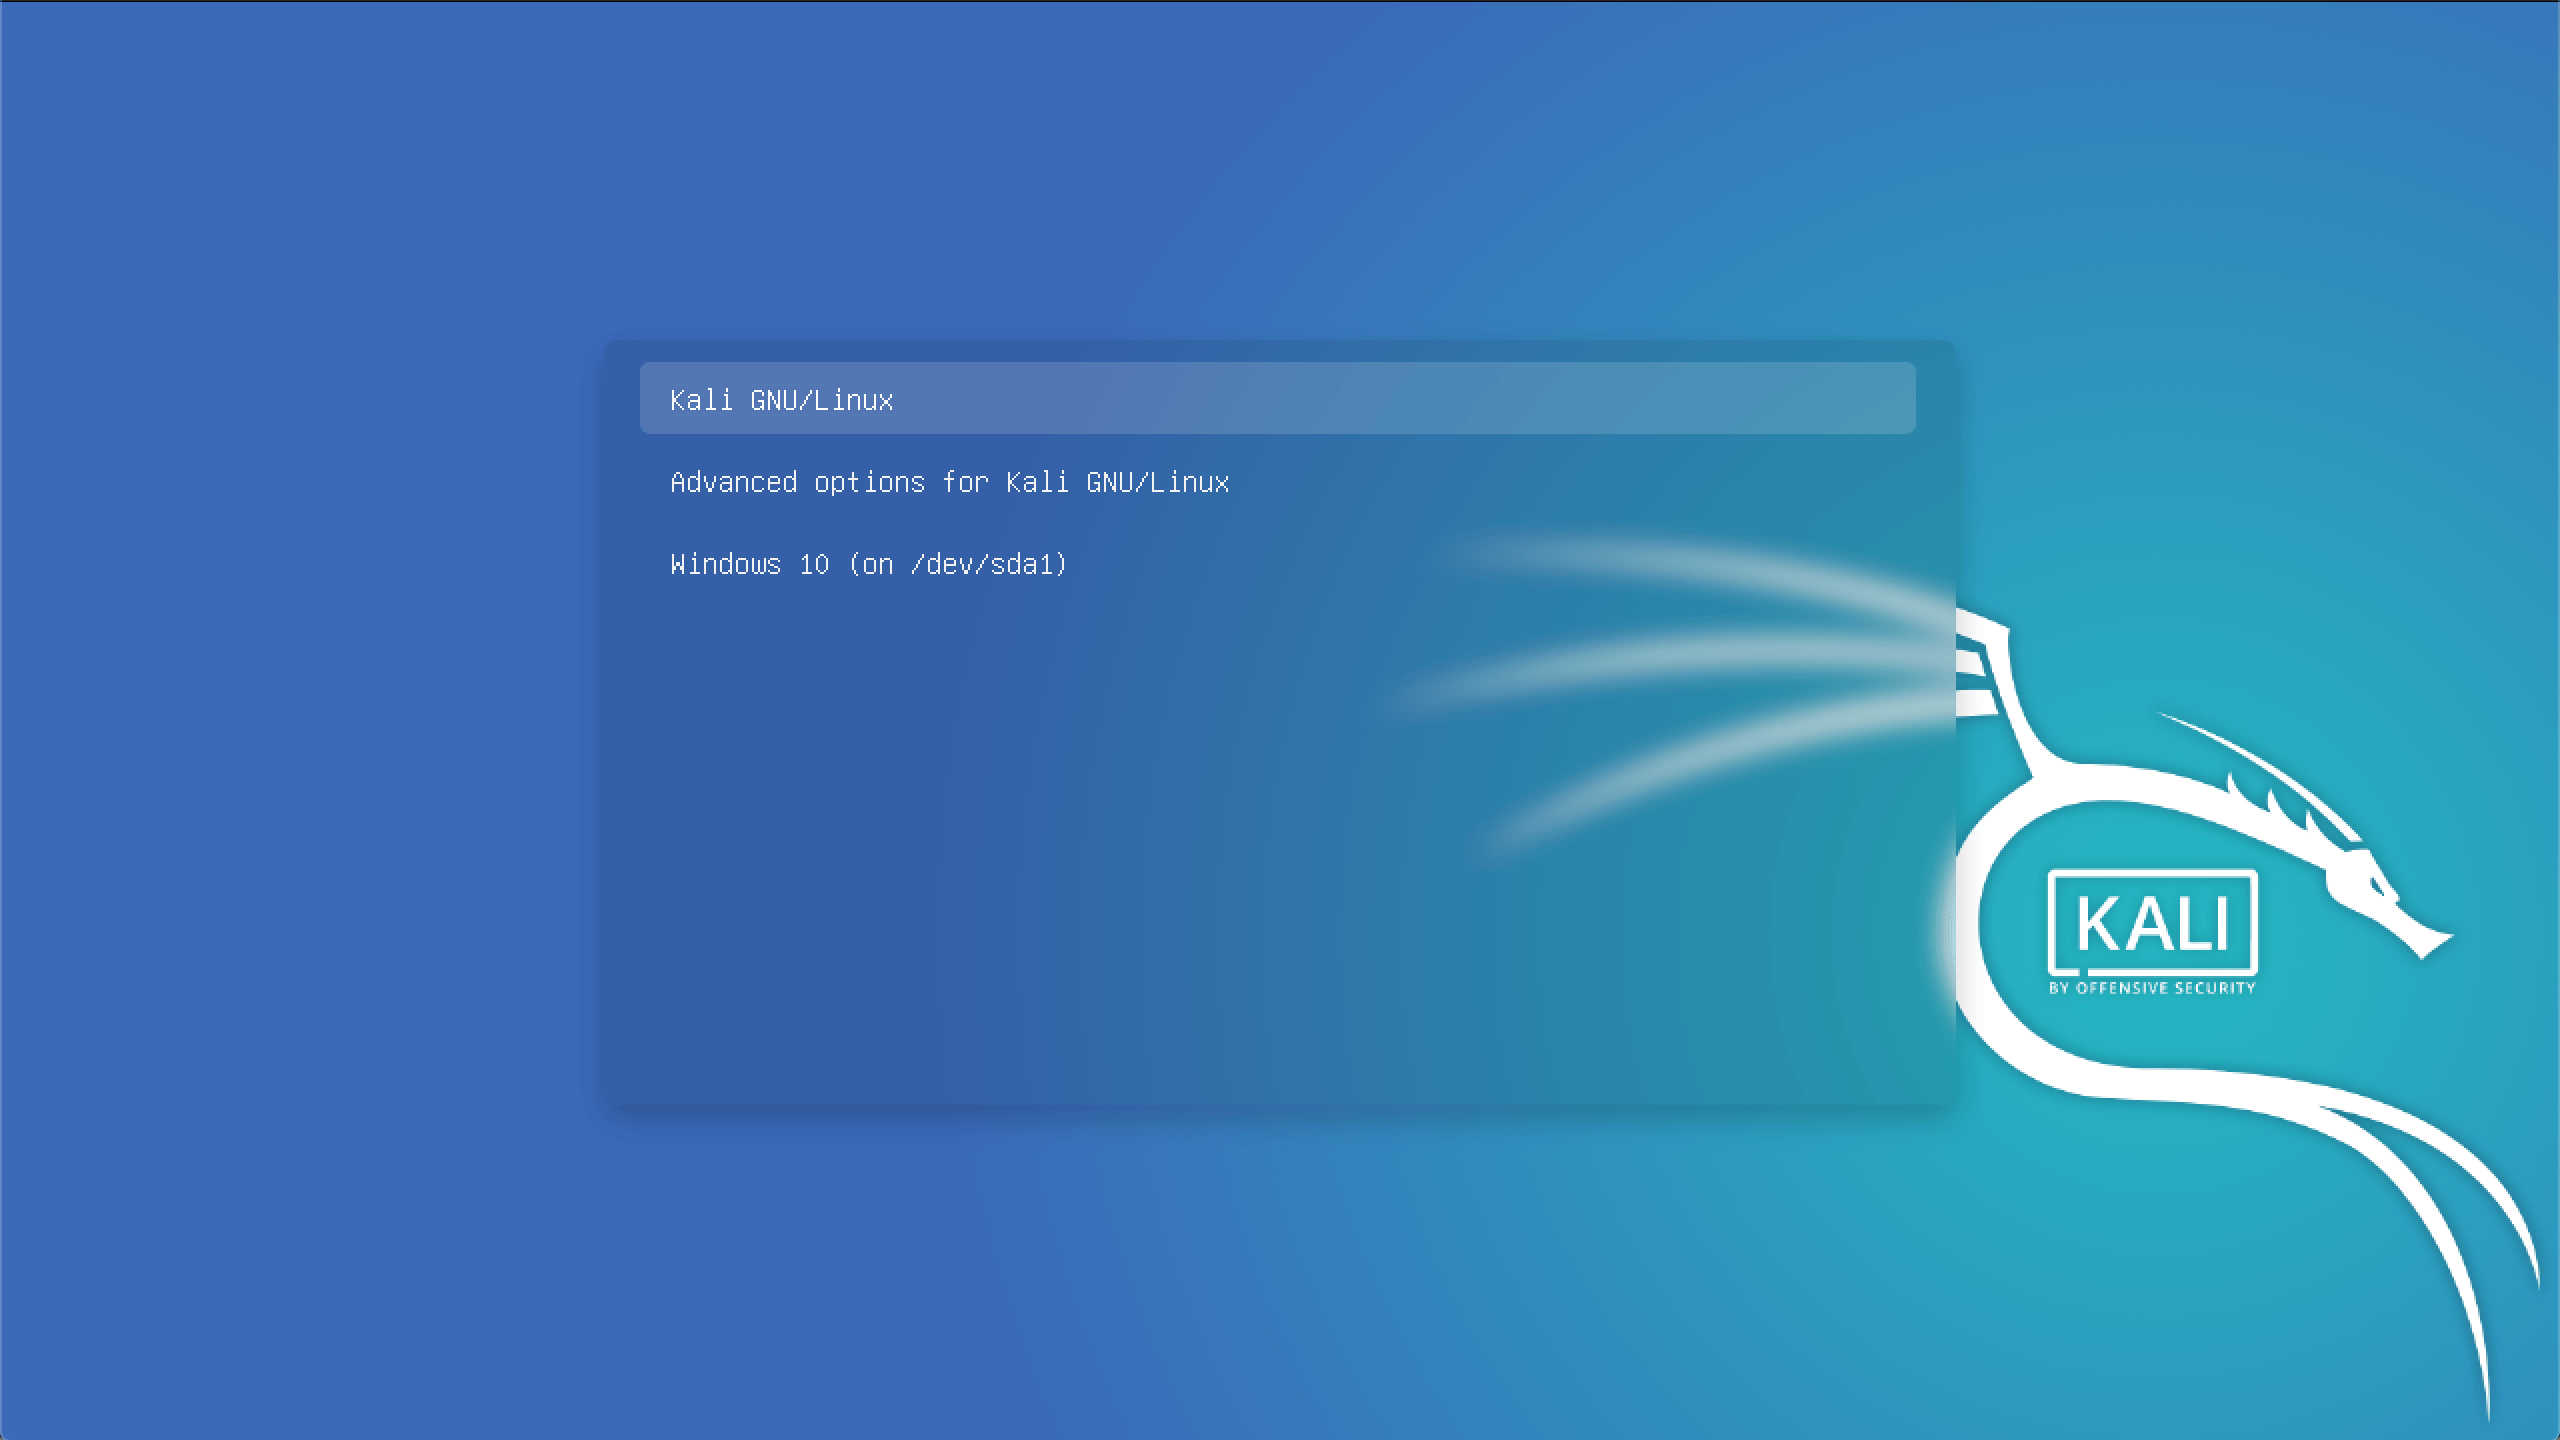
You should be greeted with a GRUB boot menu, which will allow you to boot either into Kali Linux or Windows.
Post Installation
Now that you’ve completed installing Kali Linux, it’s time to customize your system.
The General Use section has more information and you can also find tips on how to get the most out of Kali Linux in our User Forums.
Time/System Clock
One thing that may be worth knowing about is that occasionally the time will get changed between the Windows and the Linux system. To fix this, we can do the following:
[email protected]:~$ timedatectl set-local-rtc 1 --adjust-system-clock [email protected]:~$ To undo this we can simply do:
[email protected]:~$ timedatectl set-local-rtc 0 --adjust-system-clock [email protected]:~$ Установка Kali в качестве дополнительной операционной системы на компьютер с Windows
Установка Kali в дополнение к Windows может быть довольно полезна. Однако вам нужно проявить крайнюю осторожность во время процедуры установки. Во-первых, убедитесь, что сделали резервную копию важных данных и своей версии Windows. Поскольку вы будете работать с жёстким диском, лучше сохранить резервные копии на внешнее устройство хранения. После завершения резервного копирования, рекомендуем вам ознакомиться со статьёй «Установка Kali Linux на жёсткий диск», в которой описывается процедура нормальной установки Kali.
В нашем примере, мы будем устанавливать Kali Linux в дополнение к Windows 7, которая занимает 100% дискового пространства компьютера. Мы начнём с изменения размера текущего раздела Windows для освобождения свободного пространства, а затем установим Kali Linux в новый пустой раздел.
- Как минимум 8 Гб свободного пространства в Windows
- Поддержка загрузки с CD-DVD / USB
- Загрузите Kali Linux.
- Запишите ISO образ Kali Linux на DVD или скопируйте Kali Linux Live на USB.
- Откройте BIOS и убедитесь, что ваш компьютер настроен на загрузку с CD / USB.
- Чтобы начать установку, загрузитесь со своего установочного носителя. Вас должен поприветствовать загрузочный экран Kali. Выберите пункт Live и попадёте на стандартный рабочий стол Kali Linux.
- Теперь запустите утилиту gparted. Мы воспользуемся gparted для того, чтобы уменьшить существующий раздел с Windows и освободить достаточно места для остановки Kali Linux.

3. Выберите свой раздел с Windows. В зависимости от вашей системы, это будет второй по размеру раздел. В нашем примере есть два раздела. Первый предназначен для восстановления системы, а Windows установлен в /dev/sda2. Измените размер раздела Windows и оставьте достаточно места (не менее 8Гб) для установки Kali.
4.После изменения раздела Windows, убедитесь, что нажали кнопку «Применить все операции» на жёстком диске. Закройте gparted и перезагрузите компьютер

- С этого момент установка идентична процессу стандартной установки Kali Linux на жёсткий диск. По крайней мере, до выбора раздела, где вам необходимо нажать на пункт «Авто – использовать наибольшее свободное пространство», которое вы создали ранее при помощи gparted.
Как установить Kali Linux на подсистему Windows 10 (пошаговое руководство)

Думаете про установку linux рядом с windows 10? С последней версией Windows 10 Microsoft представила подсистему Windows для Linux или WSL, где пользователи запускают свои дистрибутивы Linux напрямую из Windows 10 без двойной загрузки или использования виртуальной машины.
Стоит отметить, что есть некоторые ограничения. Например, если не все встроенные команды Linux работают, вы не сможете запустить среду рабочего стола из приложения, но вы можете установить среду рабочего стола, такую как Xfce, а затем установить службу удаленного рабочего стола, которая позволяет подключаться к среда рабочего стола под управлением Linux из приложения.
Установка wsl Windows 10
Microsoft представила подсистему Windows wsl для Linux в качестве дополнительной функции, которая обеспечивает уровень совместимости для непосредственного запуска двоичных исполняемых файлов Linux на ПК с Windows 10.
Служба Enable WSL предоставляет совместимое с Linux ядро для запуска различных дистрибутивов Linux, таких как Ubuntu, openSUSE, Debian и Kali в Windows 10.
- Давайте перейдем к панели управления
- Перейдите в Программы, затем выберите Включение или отключение компонентов Windows
- Теперь поставьте галочку рядом с Подсистема Windows для Linux и нажмите кнопку ОК
- Перезагрузите компьютер, чтобы применить изменения.


Кроме того, вы можете запустить команду в окне PowerShell , чтобы установить WSL в Windows 10.
Enable-WindowsOptionalFeature -Online -FeatureName Microsoft-Windows-Subsystem-LinuxВключить платформу виртуальной машины
Затем нам нужно включить виртуализацию в настройке BIOS компьютера, выполнив следующие действия.
- Откройте BIOS.
- Перейти к конфигурации системы с помощью клавиш со стрелками на клавиатуре,
- Включите технологию виртуализации Intel (также известную как Intel VT) или AMD-V в зависимости от процессора.
- Нажмите F10, чтобы сохранить изменения и запустить Windows в обычном режиме.

- Теперь откройте PowerShell от имени администратора и выполните следующую команду
Enable-WindowsOptionalFeature -Online -FeatureName VirtualMachinePlatformСкачать приложение Kali Linux
- Откройте Microsoft Store и нажмите на опцию поиска
- Здесь введите Linux и выберите опцию Запустить Linux в Windows
- Это будет отображаться в интерфейсе Linux Store, отображающем доступные на данный момент дистрибутивы Linux, которые вы можете запускать из приложения для установки linux рядом с windows 10.
- Мы собираемся установить Kali Linux на Windows 10, а затем выбрать Kali Linux из этого списка.

Далее установка Kali Linux продолжается из приложения, и в конце концов вас попросят создать новую учетную запись пользователя и пароль. Когда вы создали свою учетную запись, вам предоставляется знакомая настройка командной строки Linux.

Следующее, вы должны убедиться, что ядро системы Kali Linux обновлено. Для этого перейдите в командную строку и введите
sudo apt-get update && sudo apt-get upgrade

Затем запустите sudo apt-get install xrdp и sudo apt install kali-desktop-xfce xorg xrdp для установки xrdp.
После завершения установки вам нужно запустить xrdp, запустив sudo service xrdp start
Мы рекомендуем обратиться к этому видео, чтобы изменить номер порта с 3389 на 3390

Вот и все, вы используете среду рабочего стола, установленную в Kali Linux, который сам по себе является приложением, установленным в Windows 10.