- Создание загрузочного носителя
- Как сделать загрузочный USB-накопитель
- В Linux Mint
- В Windows, Mac OS, или других дистрибутивах LInux
- Как сделать загрузочный DVD
- В Linux
- В Windows
- В Mac OS
- Create a bootable USB stick on Ubuntu
- 2. Requirements
- 3. Launch Startup Disk Creator
- 4. ISO and USB selection
- 5. Confirm USB device
- 6. Installation complete
- Finding help
Создание загрузочного носителя
Если нет возможности загрузиться с USB, вы можете использовать пустой DVD.
Как сделать загрузочный USB-накопитель
В Linux Mint
Кликните правой клавишей мыши по ISO-файлу и выберите Создание загрузочного USB-накопителя , или запустите Меню –> Стандартные –> Запись образа на USB-накопитель .
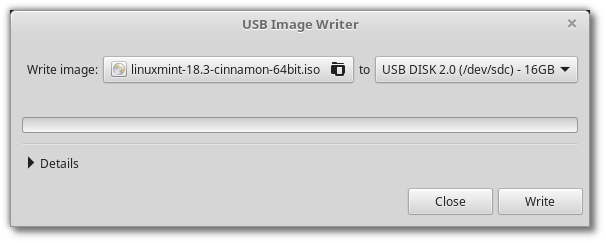
Выберите Ваше USB-устройство и нажмите Записать .
В Windows, Mac OS, или других дистрибутивах LInux
Download Etcher, install it and run it.
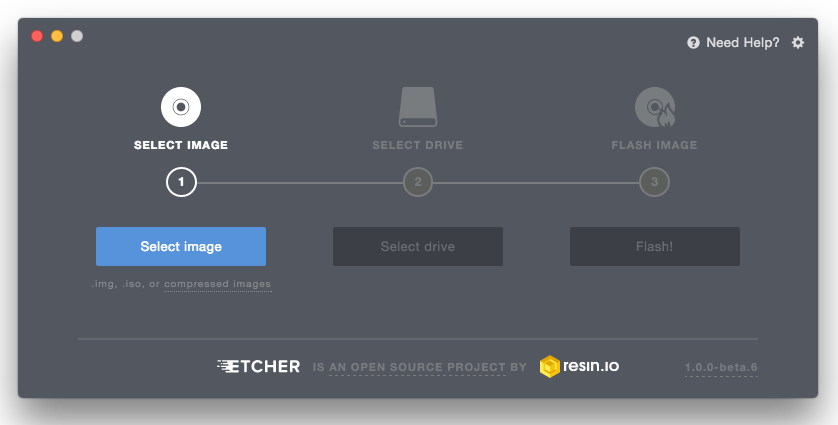
Нажмите Select image и выберите Ваш ISO-файл.
Нажмите Select drive и выберите Ваш USB-накопитель.
Как сделать загрузочный DVD
Оптические диски медленны и запись на диск может сопровождаться ошибками.
Чтоб избежать проблем, записывайте на минимально возможной скорости
Записывайте содержимое ISO на dvd, а не сам ISO-файл. По завершению, Ваш DVD должен содержать директории такие как boot и casper , он не должен быть пустым DVD сожержащим .iso-файл.
В Linux
Установите и используйте xfburn .
В Windows
Кликните правой клавишей мыши на ISO-файле и выберите Записать образ диска .
Чтоб убедиться, что ISO записан без каких-либо ошибок, выберите Проверить диск после записи .
В Mac OS
Кликните правой клавишей мыши на ISO-файле и выберите Записать образ на диск .
© Copyright 2017, Linux Mint Revision d8fbd844 .
Versions latest Downloads pdf html epub On Read the Docs Project Home Builds Free document hosting provided by Read the Docs.
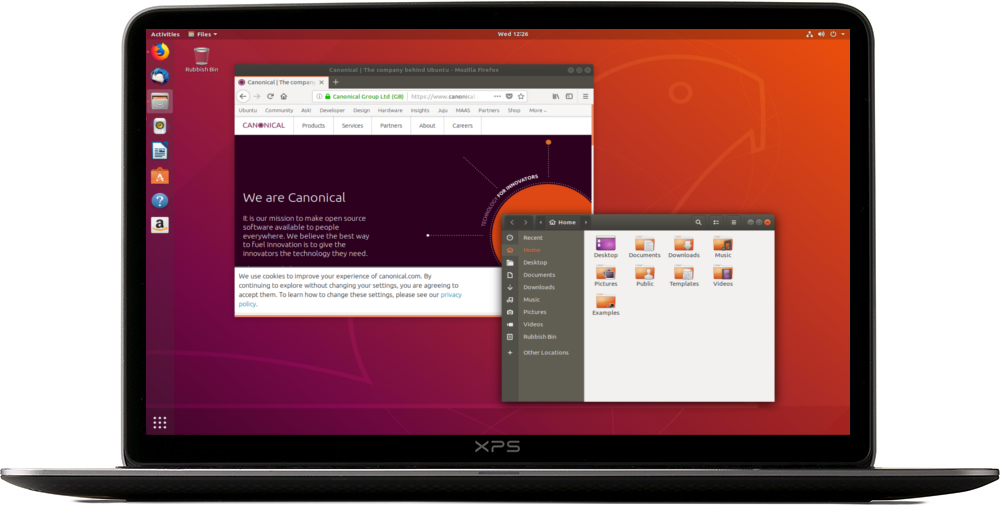
Create a bootable USB stick on Ubuntu
Creating a bootable Ubuntu USB stick is very simple, especially from Ubuntu itself, and we’re going to cover the process in the next few steps.
Alternatively, we also have tutorials to help you create a bootable USB stick from both Microsoft Windows and Apple macOS.
2. Requirements
- A 4GB or larger USB stick/flash drive
- Ubuntu Desktop 14.04 or later installed
- An Ubuntu ISO file. See Get Ubuntu for download links
3. Launch Startup Disk Creator
We’re going to use an application called ‘Startup Disk Creator’ to write the ISO image to your USB stick. This is installed by default on Ubuntu, and can be launched as follows:
- Insert your USB stick (select ‘Do nothing’ if prompted by Ubuntu)
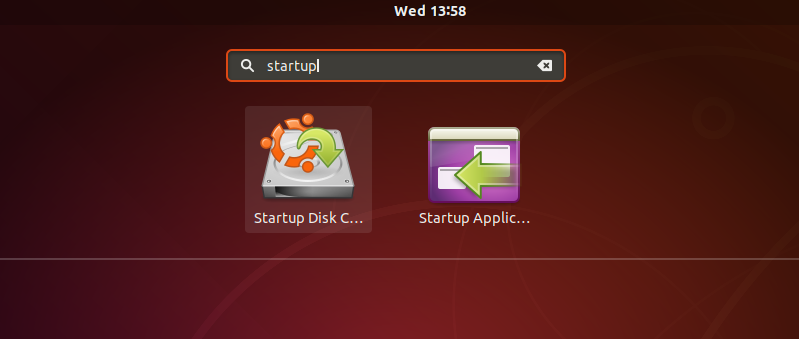
- On Ubuntu 18.04 and later, use the bottom left icon to open ‘Show Applications’
- In older versions of Ubuntu, use the top left icon to open the dash
- Use the search field to look for Startup Disk Creator
- Select Startup Disk Creator from the results to launch the application
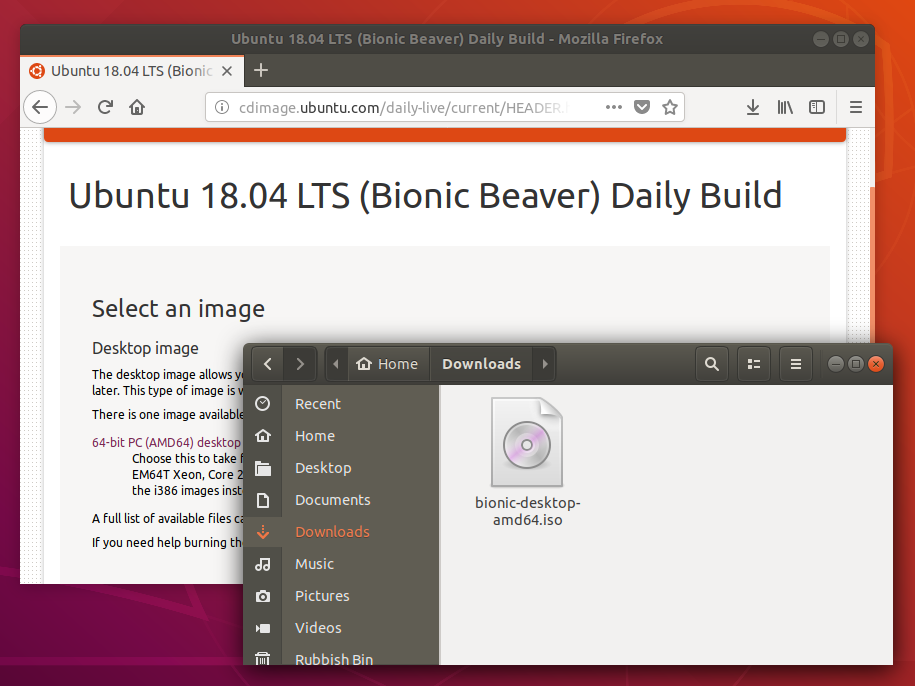
4. ISO and USB selection
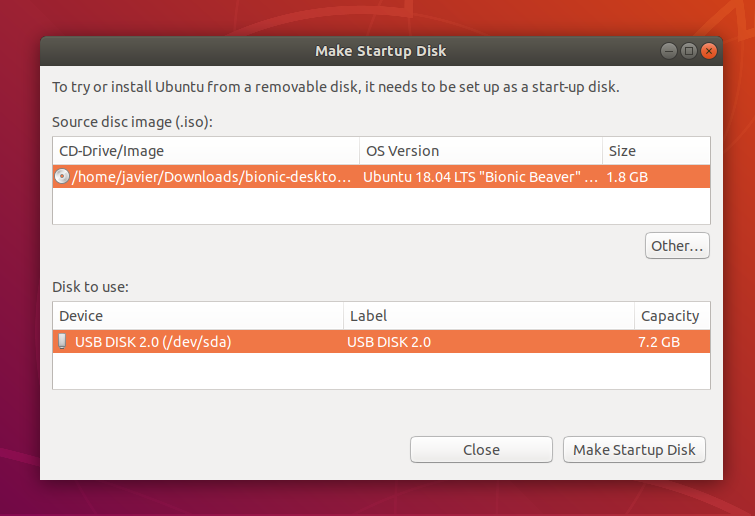
When launched, Startup Disk Creator will look for the ISO files in your Downloads folder, as well as any attached USB storage it can write to.
It’s likely that both your Ubuntu ISO and the correct USB device will have been detected and set as ‘Source disc image’ and ‘Disk to use’ in the application window. If not, use the ‘Other’ button to locate your ISO file and select the exact USB device you want to use from the list of devices.
Click Make Startup Disk to start the process.
5. Confirm USB device
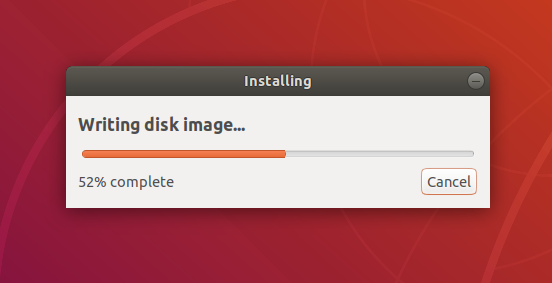
Before making any permanent changes, you will be asked to confirm the USB device you’ve chosen is correct. This is important because any data currently stored on this device will be destroyed.
After confirming, the write process will start and a progress bar appears.
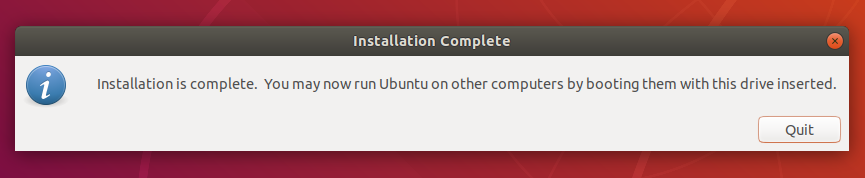
6. Installation complete
That’s it! You now have Ubuntu on a USB stick, bootable and ready to go.
If you want to install Ubuntu, take a look at our install Ubuntu desktop tutorial.
Finding help
If you get stuck, help is always at hand: