- Как установить Arduino IDE на linux
- Мои неудачные попытки установки Arduino IDE на linux
- Как я поставил Arduino IDE на linux
- Как установить ардуино ide linux
- Установка Arduino на Linux
- Скачать Arduino IDE для Линукс
- Установка Arduino на Ubuntu
- Install the Arduino Software (IDE) on Linux
- Download the Arduino Software (IDE)
- Extract the package
- Run the install script
- Proceed with board-specific instructions
- Please Read.
Как установить Arduino IDE на linux
На данный момент у меня стоит Linux 20.04 и Arduino IDE у меня получилось поставить только версии 1.8.15 — почему? — расскажу далее.
Мои неудачные попытки установки Arduino IDE на linux
На официальном сайте https://www.arduino.cc/en/software имеется дистрибутив. Всё отлично, скачал его, распаковал. Но вот беда: исполнительный фаил не открывается.
Начал разбираться — совет был переустановить Java JDK — но ходил по кругу, т.к. Java JDK у меня устанавливается с ошибкой.
Хорошо, следующая мысль — надо обновить Linux до версии 21.XX или даже 22.XX — нашел «Мурзилку» по обновлению, сделал все подготовительные операции: судо апэтэ апдейт, апргрейд и т.п., но смутила фраза «сделать бекап» . Читаю комменты — у многих ничего не получилось — и такой вариант меня вообще не устраивает.
Теперь пришла мысль: так, линукс версия у меня старая, почему бы не поставить старую версию Arduino IDE?
Как я поставил Arduino IDE на linux
- Выполняем все подготовительные операции Апдейт и Апгрейд:
sudo apt update && sudo apt upgrade - Скачиваем пакет с Arduino IDE версии 1.8.15:
wget https://downloads.arduino.cc/arduino-1.8.15-linux64.tar.xz - Находим наш скачанный архив и распаковываем его:
Тут я действовал просто: правой кнопкой мыши — распаковать «тут» - Проваливаемся в распакованные папки:
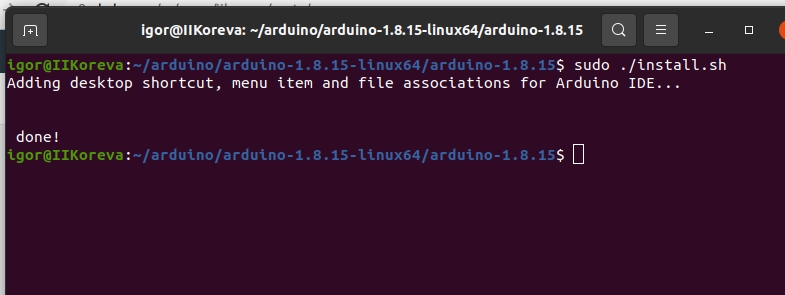
arduino-1.8.15-linux64 / arduino-1.8.15 / install.sh - Видим фаил install.sh но не торопимся его кликать. Несколько попыток прокликать его не увенчались успехом — в левом верхнем углу крутилось колесико «Загрузка» несколько секунд, затем пропадало и просто ничего не происходило. Ну всё. накипело до предела. тут же (в этой же папке) открываю консоль (правой кнопкой / терминал) и ввожу команду
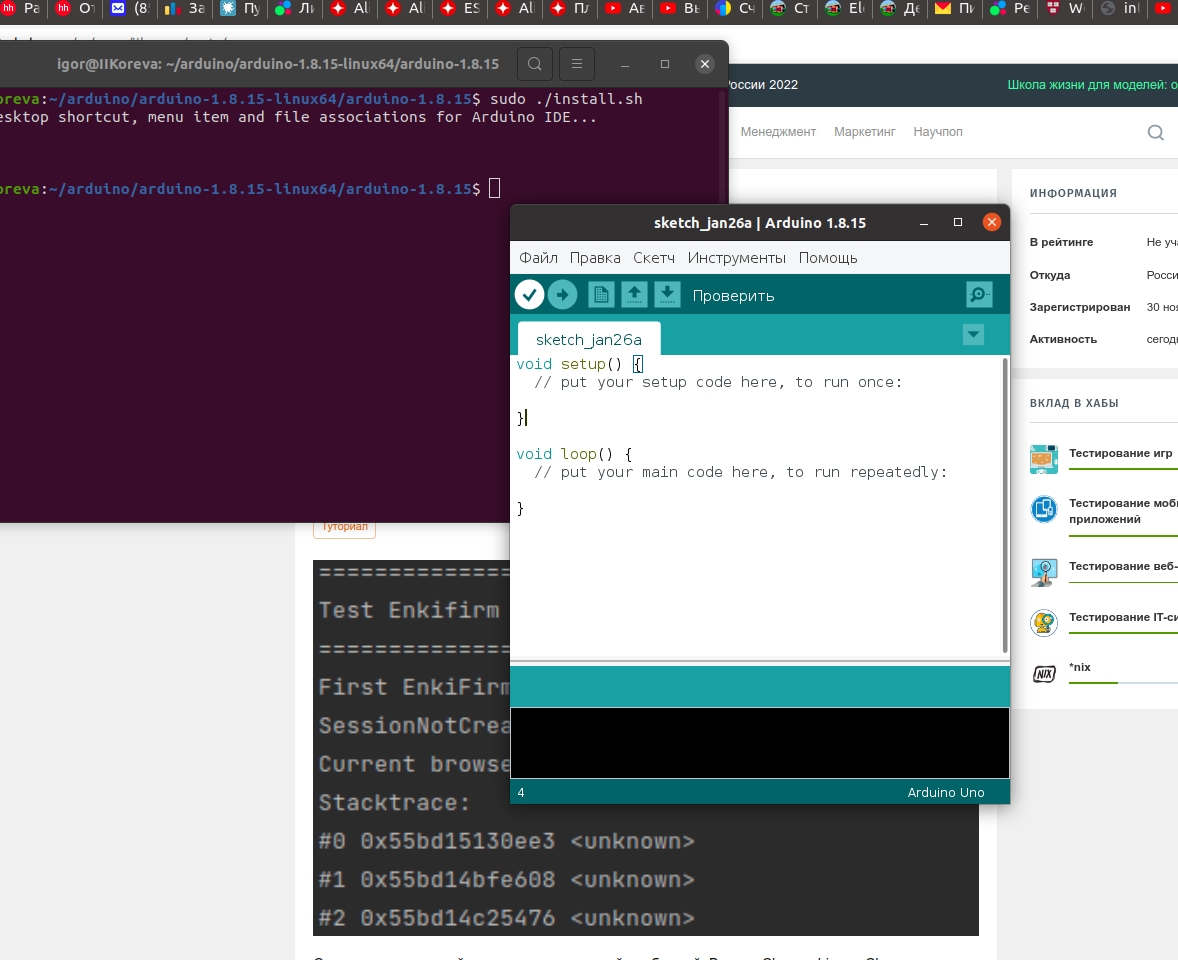
sudo ./install.sh - Заходим в «Приложения» — сразу заметил по последней странице, что что-то прибавилось, что-то тут новенькое появилось — ищу — да . вот она .
Как установить ардуино ide linux
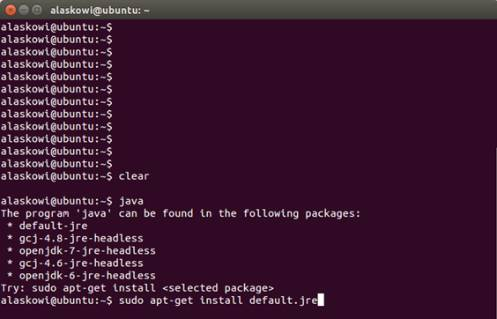
- To check if you have Java installed, open a terminal and enter the command: java
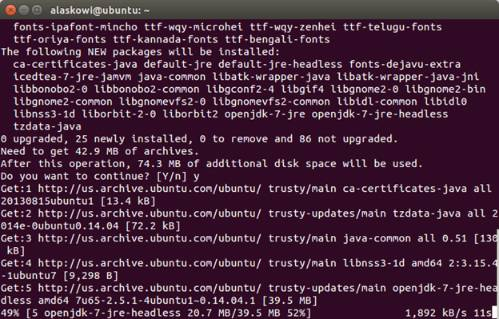
- If you see the above message, you do not have Java installed and you will need to install it. To install the Java package, enter the command: sudo apt-get install default.jre
You may be prompted to enter your user password.
- Get the latest Arduino IDE.
- On the USB key: downloads → Linux → edison_media
- Based on your Linux operating system (32 bit or 64 bit), copy arduino-[version]-linux32.tar.xz or arduino-[version]-linux64.tar.xz to your computer.
* For Ubuntu or other Debian-based machines: sudo apt-get install xz-utils
* For Red Hat, Fedora, CentOS, or similar machines: sudo yum install xz

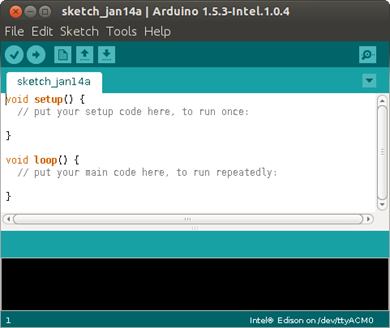 The Arduino IDE opens.
- The modem manager is using the port. When the port becomes active, the modem manager can claim the port, blocking the IDE’s access to the port. The exact command to remove it will depend on your Linux distribution. For example, the command sudo apt-get remove modemmanager may work.
- The /ttyACM port was not created automatically when you plugged in your board. To add the port, do the following:
- Create a file: etc/udev/rules.d/50-arduino.rules
- Add the following to the file: KERNEL==»ttyACM5*», MODE=»0666″
If you are using a virtual machine (VM), you may need to reboot Linux within the VM.
- On the USB key: downloads → Linux → edison_media
- Copy IntelArduinoToolChain_linux.gz to your computer and unarchive it.
- Copy the uncompressed Intel folder and its contents to /home/[YOUR_USER_NAME]/.arduino15/packages on your computer.
When you are using a more reliable internet connection, you can use the method below to update the Arduino boards list:
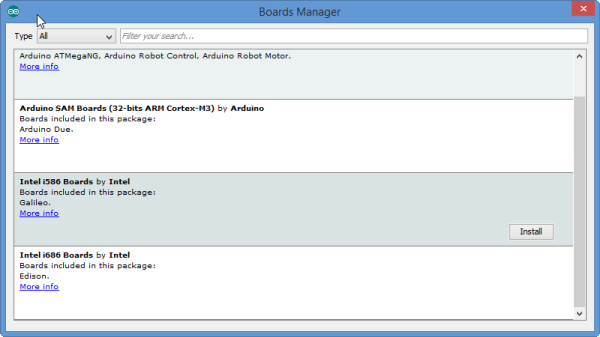
- Choose Tools >Board >Boards Manager to open the Boards Manager.
- In the list of boards, select Intel i686 Boards which includes the Intel® Edison board.
- Click Install.
- When the installation process is finished, click OK.
Установка Arduino на Linux
Среда программирования Arduino IDE (Integrated Development Environment ) может функционировать не только на платформах Windows и Mac, но и на базе операционной системы Linux (32 и 64-разрядных). Процесс инсталляции не так уж и сложен — в глобальной сети Интернет дается много подробных инструкций и мануалов по заданной теме. Не радует одно – все они так или иначе описаны по-разному и не всегда помогают пользователю, скорее, наоборот, запутывают. Мы постараемся рассказать вам более доступным и понятным языком о двух основных методах установки софта.
Скачать Arduino IDE для Линукс
Установка Arduino на Ubuntu
- По прямой ссылке с нашего сайта скачиваем дистрибутив программного обеспечения (это безопасно и быстро), выбрав подходящую для себя версию и разрядность. Разархивируем его и переходим в каталог:
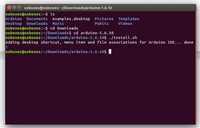
$ tar xvf arduino-latest-*.tar.xz $ cd arduino-1.* - Запускаем установку для текущего пользователя:
$ ./install.sh - Добавляем права что бы использовать USB порты: $ sudo usermod -a -G dialout $USER
Важно! При наличии ошибки может потребоваться редакция некоторых строк скрипта установки (каких именно, будет зависеть от версии приложения). По сути один пункт будет заменяться на другой, например:
RESOURCE_NAME = cc.arduino-arduinoide
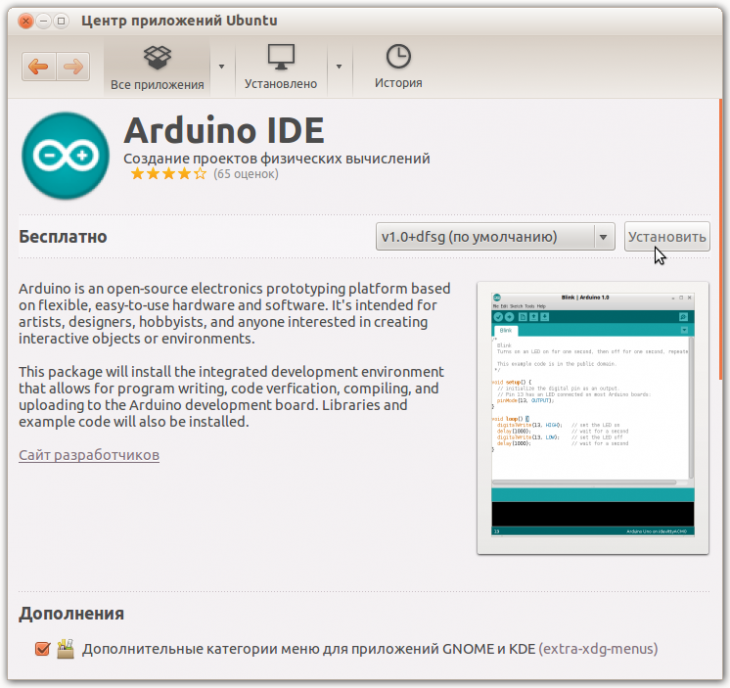
Если вы предпочитаете работать с центром приложений Ubuntu, для вас будет предпочтительным иной вариант инсталляции. Пробуем установить Arduino IDE на Linux по-другому. В строке поиска вводим слово «Ардуино» (латиницей), кликаем «Установить»:
Нас попросят добавиться в группу dialout для доступа к USB-интерфейсу, потому выбираем «Add» и дожидаемся завершения процесса. Тут важен один момент – отсутствие русифицированного интерфейса, потому учитывайте свои предпочтения.
Не забываем — для нормального функционирования среды потребуется скачать и положить в папку с утилитой специализированные библиотеки:
sudo apt-get install gcc-avr avr-libc openjdk-6-jre
Они существуют как в авторском исполнении, так и стандартные (первые ищем в Инете).
О других важнейших этапах настройки мы расскажем в отдельной статье.
Install the Arduino Software (IDE) on Linux
The Linux build of the Arduino Software (IDE) comes in different packages depending on your system architecture. There are no specific instructions needed for the different distributions of Linux (e.g. Ubuntu).
Download the Arduino Software (IDE)
Get the latest version from the download page. You can choose between the 32, 64 and ARM versions. It is very important that you choose the right version for your Linux distro. Clicking on the chosen version brings you to the donation page and then you can either open or save the file. Please save it on your computer.
Extract the package
The file is compressed and you have to extract it in a suitable folder, remembering that it will be executed from there.
Run the install script
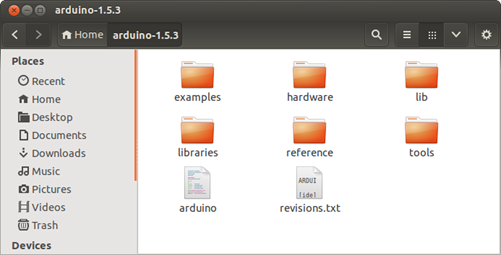
Open the arduino-1.6.x folder just created by the extraction process and spot the install.sh file. Right click on it and choose Run in Terminal from the contextual menu. The installation process will quickly end and you should find a new icon on your desktop.
If you don’t find the option to run the script from the contextual menu, you have to open a Terminal window and move into the arduino-1.6.x folder. Type the command ./install.sh and wait for the process to finish. You should find a new icon on your desktop.
Proceed with board-specific instructions
When the Arduino Software (IDE) is properly installed you can go back to the Getting Started Home and choose your board from the list on the right of the page.
Please Read.
It might happen that when you upload a sketch — after you have selected your board and the serial port -, you get an error Error opening serial port . If you get this error, you need to set serial port permission.
you will get something like:
crw-rw—- 1 root dialout 188, 0 5 apr 23.01 ttyACM0
The «0» at the end of ACM might be a different number, or multiple entries might be returned. The data we need is «dialout» (is the group owner of the file).
Now we just need to add our user to the group:
where is your Linux user name. You will need to log out and log in again for this change to take effect.
This is the procedure to access the serial port from the Arduino Software (IDE) if you get an error
After this procedure, you should be able to proceed normally and upload the sketch to your board or use the Serial Monitor.
The text of the Arduino getting started guide is licensed under a Creative Commons Attribution-ShareAlike 3.0 License. Code samples in the guide are released into the public domain.
 You may be prompted to enter your user password.