How to install Unity3D on Linux?
Recently my friend has switched to Linux System, and she needs to Install Unity for her Personal use, and she doesn’t want to switch back to Windows only for Unity.
So, I helped her to Install Unity3D on Linux. At that time, I thought why not write an article on Installing Unity and solving our reader problems.
In this guide, we will walk through the installation process to install Unity3D on your Linux System.
Minimum Requirement
To install Unity on Linux system read the minimum requirement are as follow, and even you can refer to Official Site
- Official support in Ubuntu 16.04, Ubuntu 18.04, and CentOS 7.
- X64 architecture with SSE2 instruction set support To check SSE2 Download CPU-Z.
- OpenGL 3.2+ or Vulkan-capable, Nvidia, and AMD GPUs.
- For the gnome-desktop environment, x11 required, Nvidia and AMD official proprietary graphic driver.
Download Unity Setup Wizard
We cannot directly install unity from the Linux repository for that we need to visit the official site.
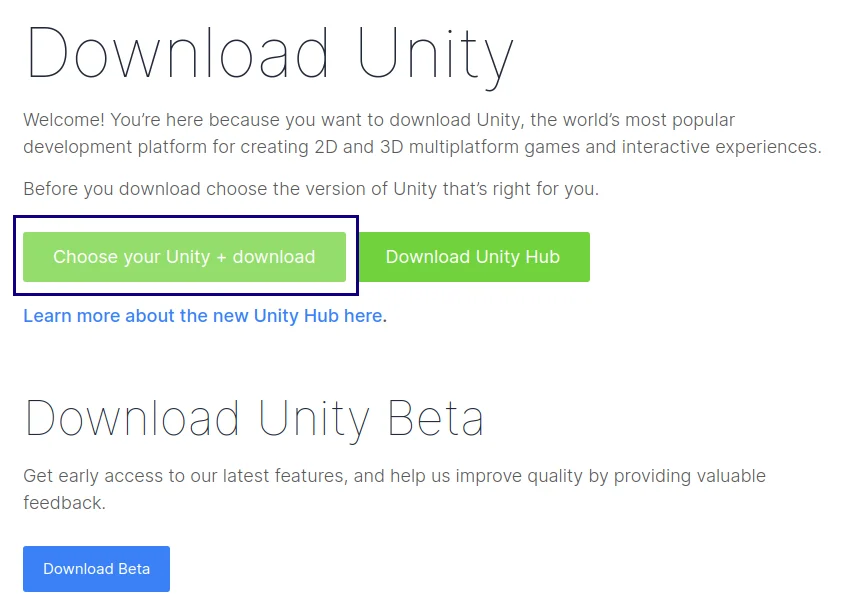
Unity comes up with two Options LTS and Beta Version. It’s my advice not to get with Unity Beta as a beginner.
Click on Choose your Unity + download for the first time user. If you are already using Unity, then simply click on Download Unity Hub.
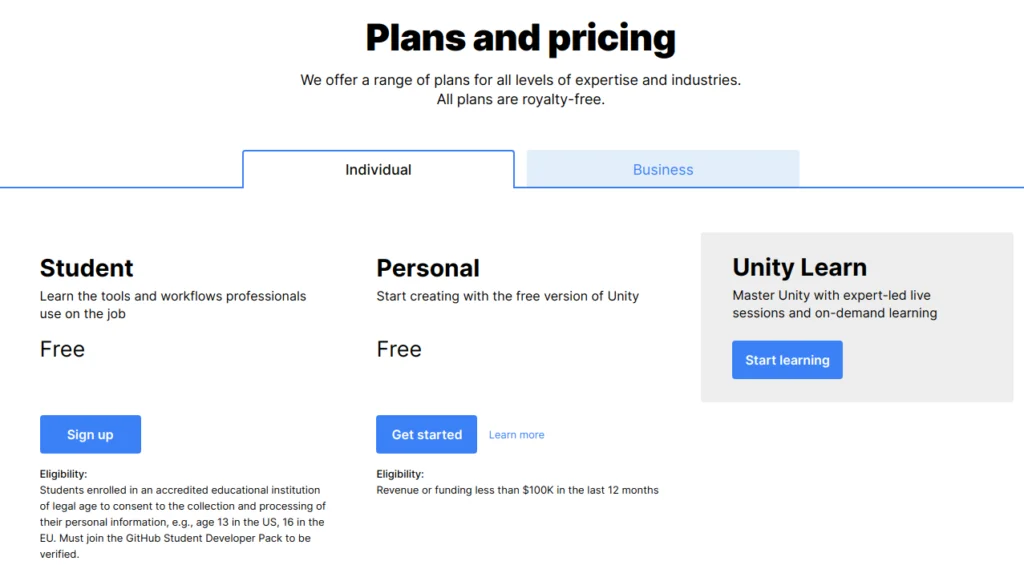
As you click on Choose your Unity + download button, the next page will get open where Plans and pricing are written.
You can download unity for free if you are eligible for certain criteria.
To use Unity for free, then switch to the Individual. Unity provides an offer for Students and makes sure to grab the offer by click on Sign up.
Unity provides free for Individuals until you earn $100K from your game in the last 12 months, and you should not be a member of PRO team.
To download click on Get started and wait for further instructions.
If you are first time user simply click on Start here, and for returning user click on Go here.
When you click on Start here button to download Unity, it will ask you to agree on service terms.
Click on an Agree and download to start.
Install UnityHub on Linux
From the above, step We have downloaded Unity Hub from Official site, and now it’s time to Install on Our Linux System.
Go to the directory where you have downloaded UnityHub.AppImage In my case We have downloaded it into the Downloads directory.
Open your terminal and pass the below command to change directory:
$ cd DownloadsBy default, we cannot execute UnityHub.AppImage until we provide executable permission.
To provide executable permission type
$ sudo chmod a+x UnityHub.AppImageNow we have changed the file permission. To run UnityHub.AppImage type
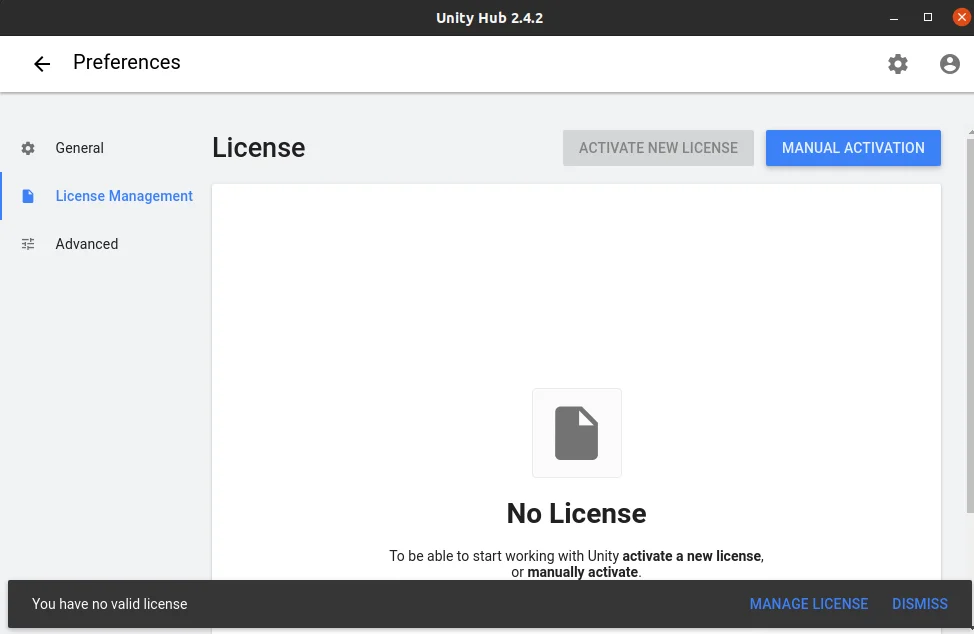
$ ./UnityHub.AppImageWhen you run the UnityHub.AppImage for the first you will see No License.
To install the Unity Editor, you need to register or Sign-In in UnityHub. To login click on and Sign If you don’t have the create new.
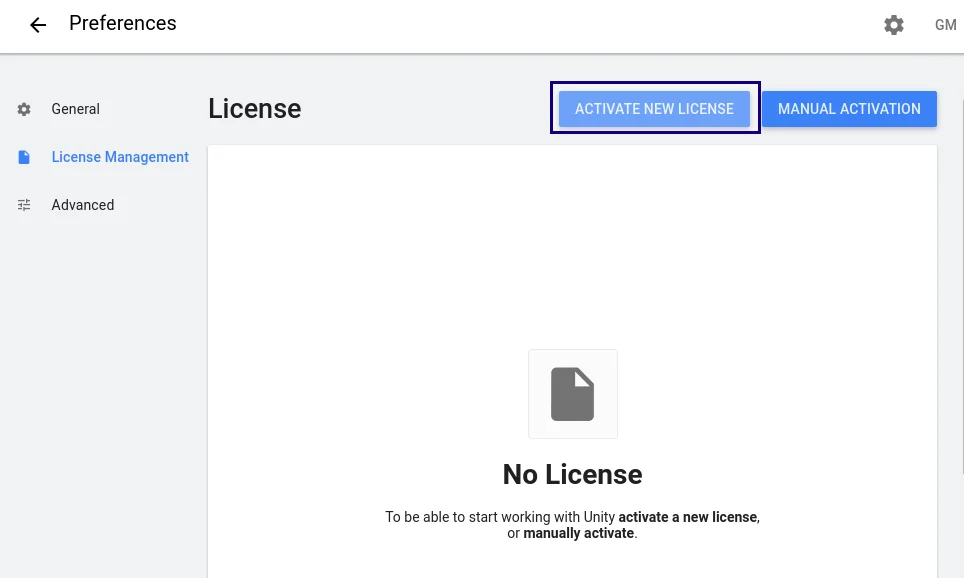
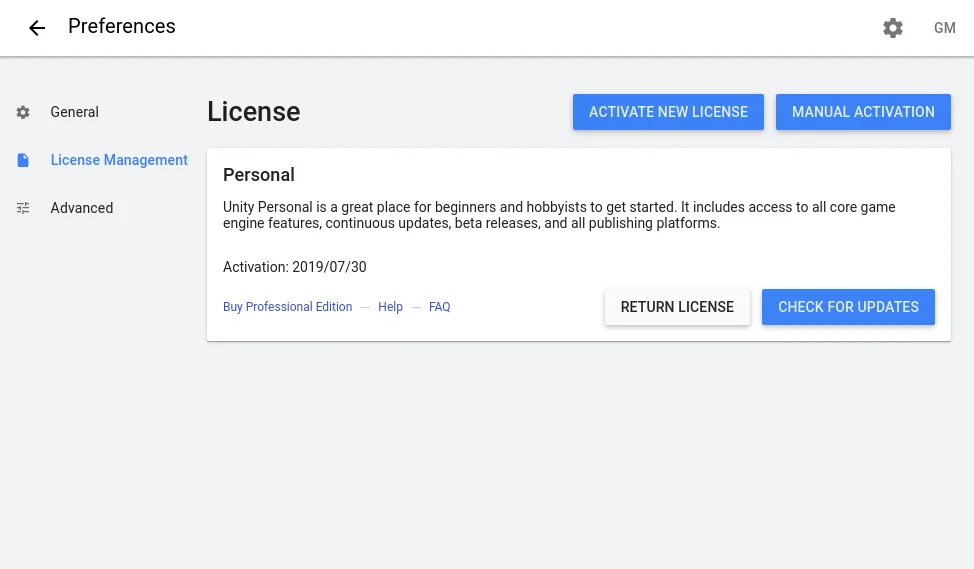
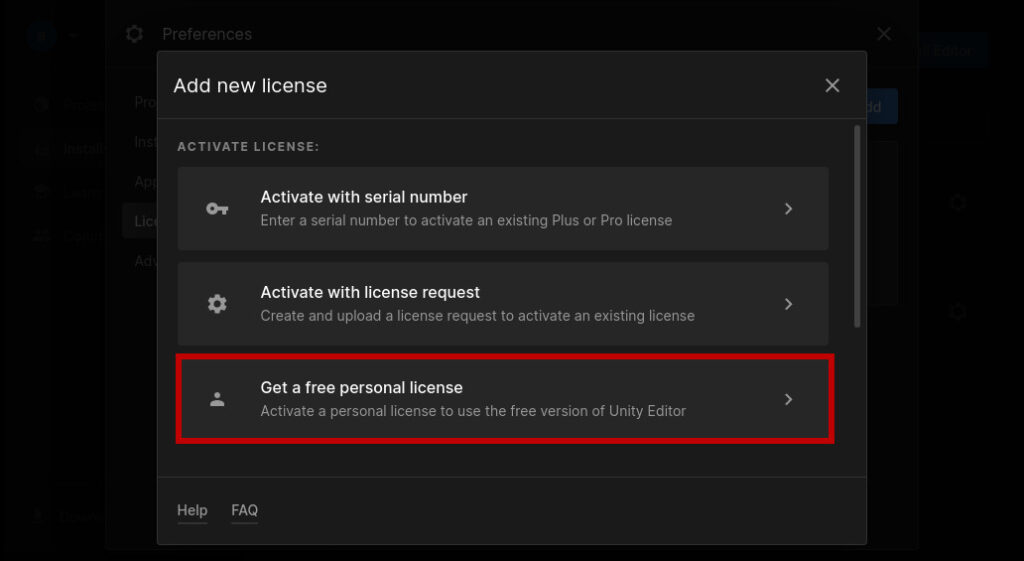
After login still shows No License what to do now? Simply click on Activate New License.
If you want to use Unity for Personal use, follow the below screen, then click on Done Button.
We able to fetch License from the Unity Server.
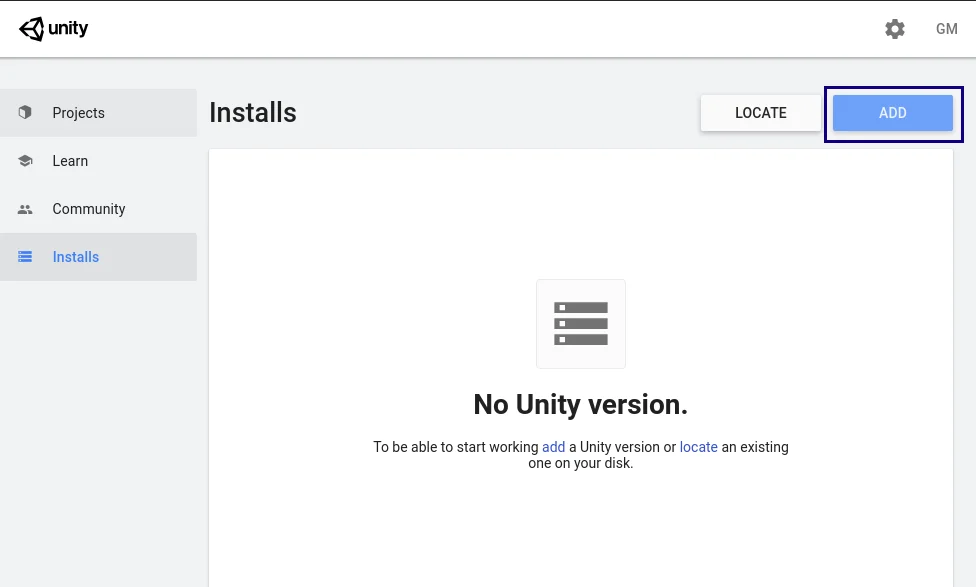
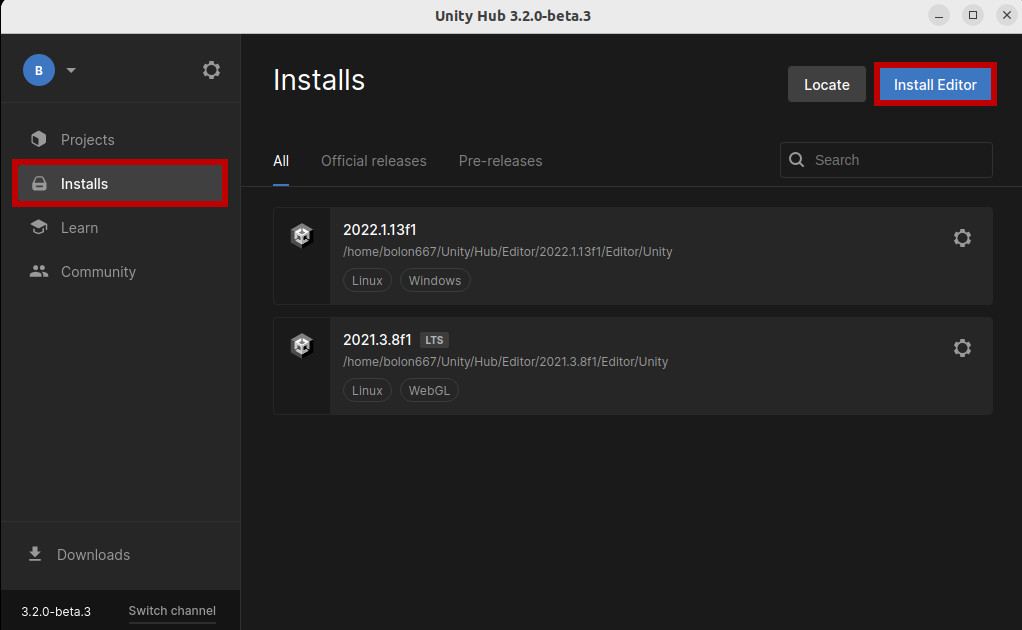
After completing License Management click on button and
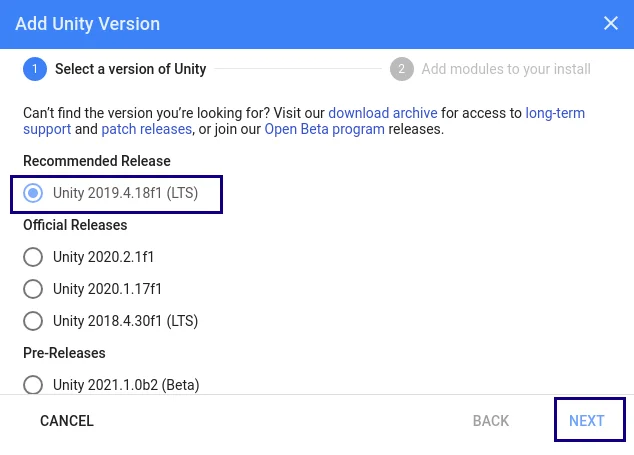
Select the Unity 2019.4.18f1 (LTS) for the latest and stable release. If your project requirement is different from the above mentioned, you can download any other Official release.
Click on Next to Add modules along with Unity.
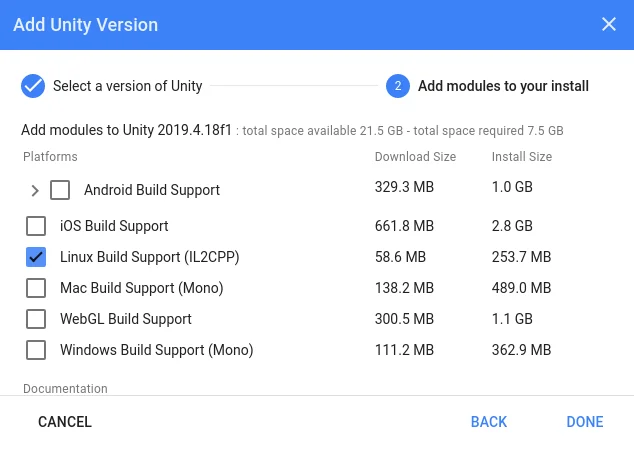
If you want to install another module like Linux Build Support (IL2CPP) or any other module simply check the module and click on Done Button to download the selected version of unity.
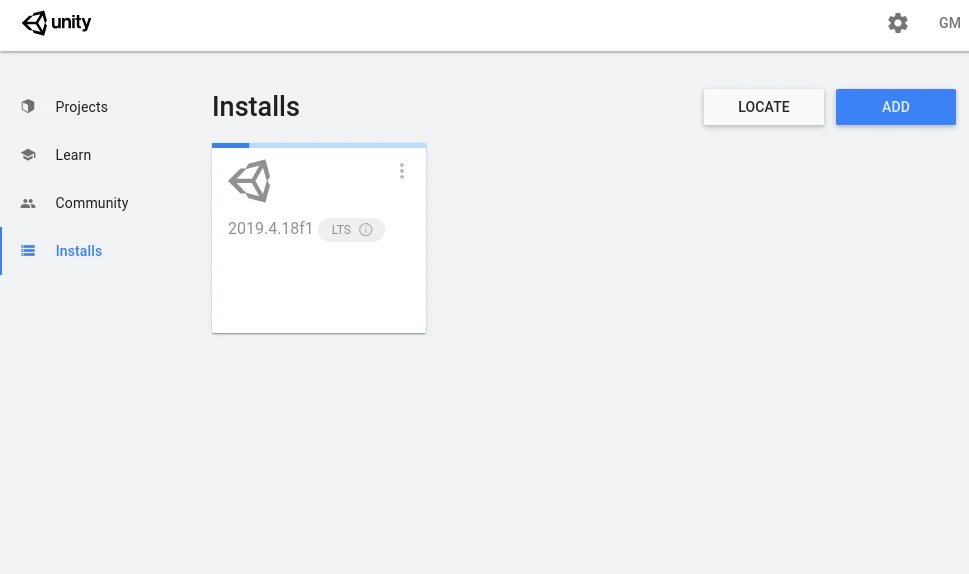
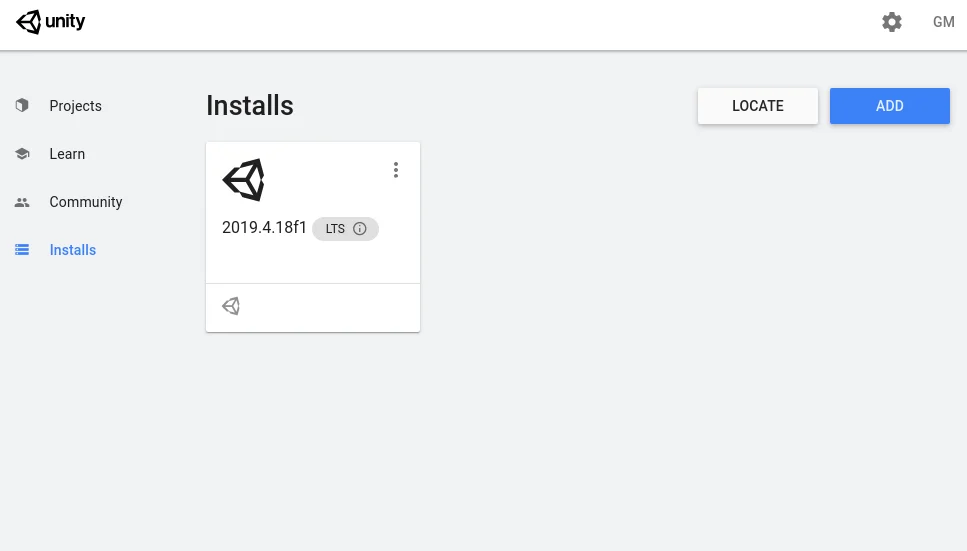
Wait for sometime to Install Selected Unity version and Module.
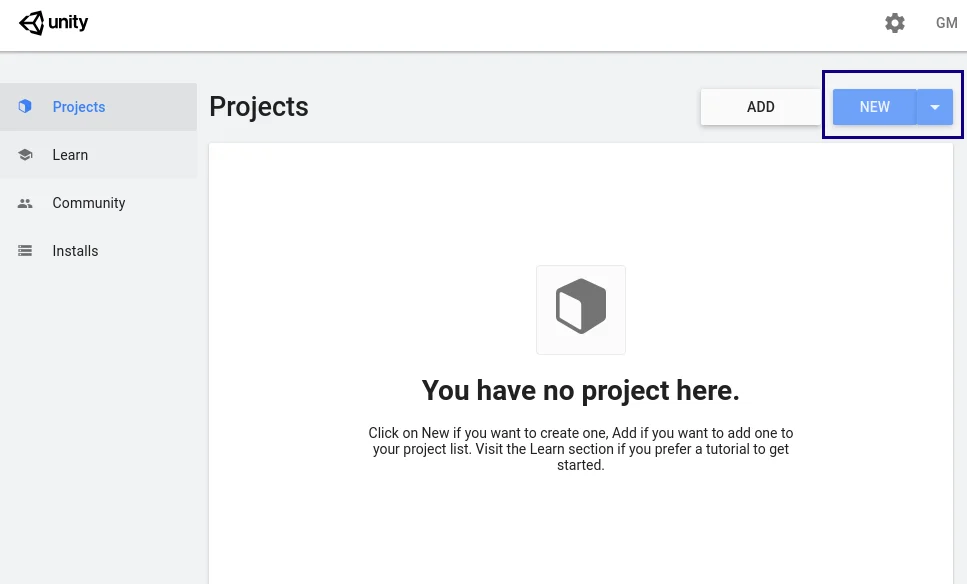
It took a while to download and Install Unity Editor nevertheless Click on the Projects tab to View or Create projects.
If you already have a unity project, then click on Add or else click on New Button.
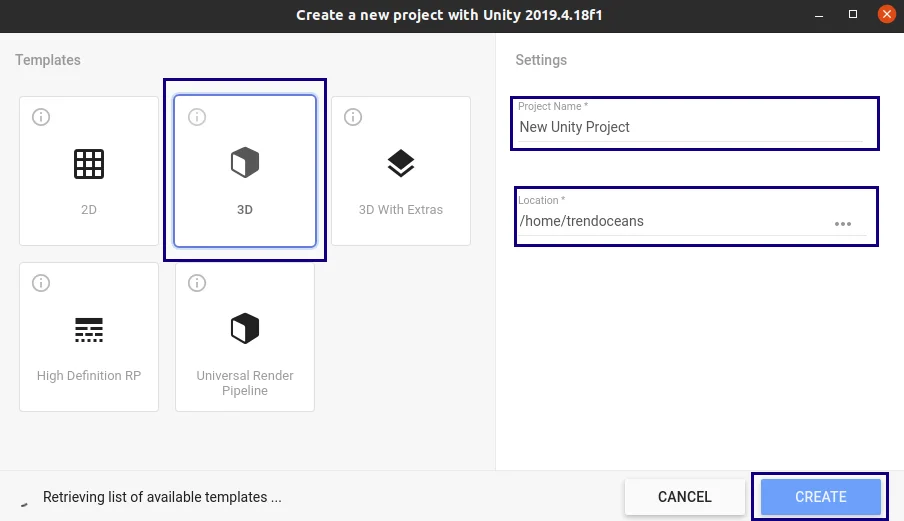
Select the Templates and provide the project details like Project Name and Location of projects after providing all the details click on Create.
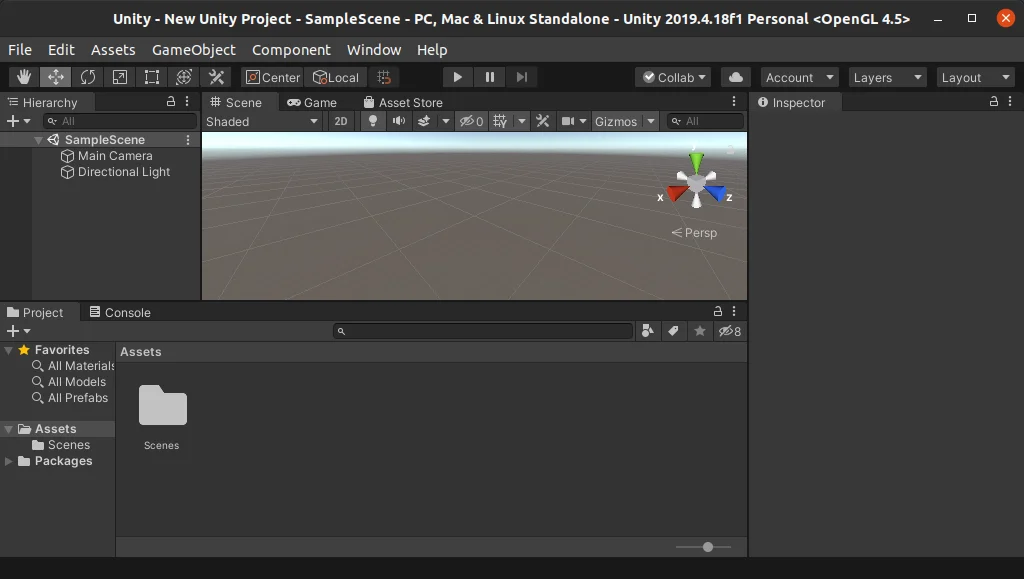
This is main screen of New Unity Projects explore it to learn more.
Create Unity Desktop
We are able to Installed and Create a new Project in Unity, but one problem is there whenever we need to open UnityHub we have to open from a terminal.
It is not feasible to open Unity from terminal why not make a desktop icon to Open Unity.
Before that move Downloaded UnityHub.AppImage to /opt directory. To move first go to the directory where the file is presently using cd command afterwards pass the below command:
$ sudo mv UnityHub.AppImage /opt/Unity3DCreate a Symbolic link to access Unity3D from anywhere To create a symbolic link for Unity type the below command:
$ sudo ln -s /opt/Unity3D /usr/bin/Unity3DNow create a unity3d.desktop using any command-line editor and copy-paste the following content.
[Desktop Entry] Version=1.0 Name=Unity3D Comment=Unity Exec=/usr/bin/Unity3D Path=/usr/bin Icon=unity-editor-icon Terminal=false Type=Application Categories=Utility;Development;Save the unity3d.desktop and move to the /.local/share/applications directory.
$ sudo mv unity3d.desktop ~/.local/share/applications/Change permission to executable otherwise you will not be allowed to run Unity3D.
$ sudo chmod a+x ~/.local/share/applications/unity3d.desktop Press the dash button and search for Unity in your App manager .
Wrap-up
That’s it, and We were able to Install Unity3d on a Linux machine without any problem. If you stuck somewhere please let us know in the comment section. Until Spread the smile.
A man with a tech effusive who has explored some of the amazing technology stuff and is exploring more. While moving towards, I had a chance to work on Android development, Linux, AWS, and DevOps with several open-source tools.
Linux. Устанавливаем Unity под Linux (Ubuntu).
В этой статье я расскажу, как установить движок Unity под дистрибутив Ubuntu.
Устанавливаем Unity Hub.
Чтобы установить Unity Hub, выполните следующие комманды в терминале:
sudo sh -c 'echo "deb https://hub.unity3d.com/linux/repos/deb stable main" > /etc/apt/sources.list.d/unityhub.list'wget -qO - https://hub.unity3d.com/linux/keys/public | sudo apt-key add -sudo apt update sudo apt-get install unityhubТеперь, запустите Unity Hub, и через него, установите движок Unity.
Далее, надо создать проект и активировать лицензию.
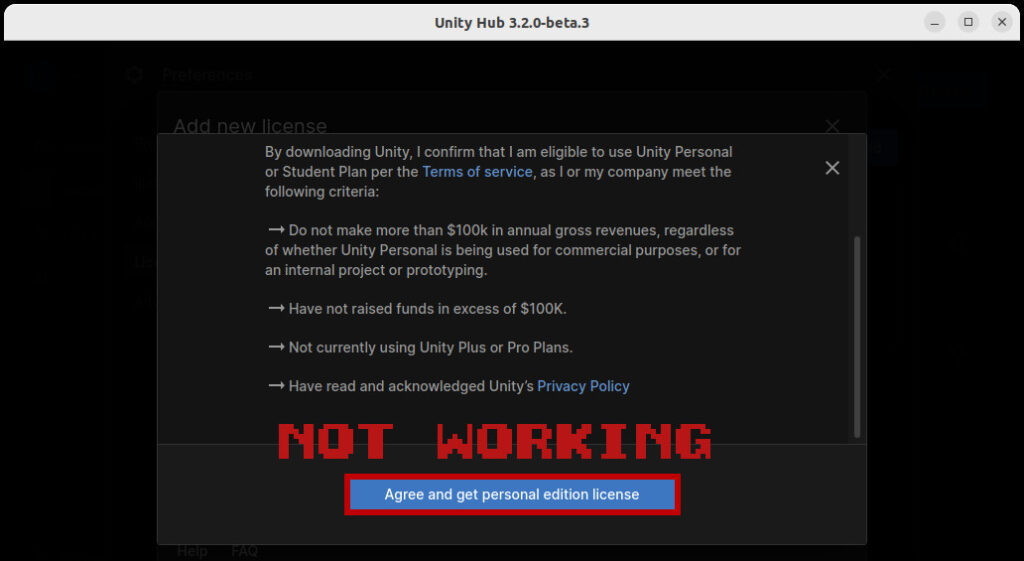
Однако, кнопка Agree and get personal edition license — не работает (на момент написания статьи).
Поэтому, используем ручную активацию.
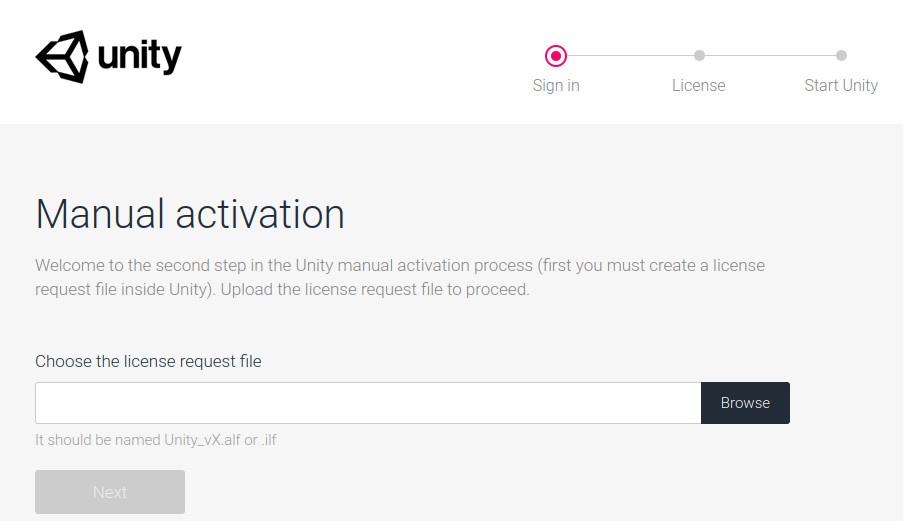
Ручная активация лицензии Unity.
Зайдите в папку с движком Unity, она расположена по данному адресу:
/home/имя_пользователя/Unity/Hub/Editor/версия_редактораОткройте там терминал, и выполните коммаду:
./Unity -batchmode -createManualActivationFile -logfileДанная комманда сгенерирует alf файл, который нужно загрузить на сайт https://license.unity3d.com/manual.
Далее, в графе Licence, выберите Unity Personal Edition -> I don’t use Unity in a professional capacity. После чего, скачайте ulf файл, им и будем активировать лицензию. Ulf файл поместите в папку, из которой вы открывали терминал.
Для активации лицензии, выполните следующую комманду:
./Unity -batchmode -manualLicenseFile ./ваш_ulf_файл -logfileЛицензия активирована, осталось перезагрузить Unity Hub, и создать свой проект.
Unity на Linux? Да без проблем
Думаю долго мучает эта идея многих из нас: А не перейти ка мне полностью на Linux? Так было и со мной. Много дней раздумий, много за и против.
Все кто открыл эту статью, не раз сталкивались с этим родом ОС, но мало кто оставался на ней надолго. Тоже происходило и со мной. Очень часто. В один день я решился. Поставил Mint 18, так как по мне, самый удобный, настроил драйвера и пошло поехало.
Думал как ставить Unity так, чтобы не через Wine. И о чудо. Unity уже давно ведут ветку Linux пакетов, готовых к установке. Есть у них как и .sh скрипт, так и готовый .deb пакет(ссылки внизу).
Каждая выпускаемая версия Unity собирается и для нашей OC. Есть косяки иногда, но они малозаметны и, в принципе, для комфортной разработки есть всё что нужно и всё хорошо работает.
И так. Unity ставится просто и легко
- С помощью готового .deb пакета через менеджер
- Или через терминал
Дальше начинается неразбериха. Думаю вы знаете, что Unity использует свой компилятор. Ему нежен .Net версии 3.5.
Я пробовал для работы Rider от JB(на окнах всё хорошо, в Ubuntu,Mint ругается на отсутствие .Net 3.5), VSCode(тоже самое и ещё чуть чуть) и новый MonoDevelop, который поставляется через flatpack. Но с ним оказалась куча проблем, главной из которых является неполное, а с моей стороны даже некорректное чтение файловой системы. Лезет не в те разделы, не видя при этом то, что надо. В итоге нарушается линковка и вы вряд ли захотите каждый раз мучаться с настройкой библиотек. Поэтому я пришёл к простому решению — поставить Mono из стандартных репозиториев через apt. Приступим.
Советую сделать перед началом всего
Обновились.
Дальше ставится Mono версии 5.9.6\
sudo apt-get install monodevelopИ так. Нам нужна сама программа. Мы её получили. Указываем на неё в Unity.
В Unity идём Edit->Preferences->External Tools->External Script Editor выбираем пункт monodevelop
Запускаем. Всё хорошо. Но линковщик ругается: чувак, а где .Net 3.5? И многие тут стопорятся. У mono есть так называемые mono-reference-assemblies. Нам то оно и нужно
sudo apt-get install mono-reference-assemblies-3.5В итоге: Unity замечательно дружит с Linux, не создавая проблем при разработке. Так же всё ПО, которое было у меня на Windows, я смог заменить аналогами на Linux Mint.
