- Kali linux настройка persistence
- Multiple Persistence Stores
- Emergency Self Destruction of Data in Kali
- Kali linux настройка persistence
- Флешка Kali Linux с сохранением Persistence
- Новый Kali Linux
- Флешка Kali Linux с возможностью сохранения Persistence
- Недостатки использования Kali Linux с флешки Persistence
- Создание загрузочной флешки Kali Linux с возможностью сохранения
- Настройки Биос для работы с Kali Linux
- Загрузка с флешки Kali Linux
- Проверка возможности сохранения данных Kali Linux
- Заключение
Kali linux настройка persistence
In this workshop, we will examine the various features available to us when booting Kali Linux from USB devices. We will explore features such as persistence, creating LUKS encrypted persistence stores, and even dabble in “LUKS Nuking” our USB drive. The default Kali Linux ISOs (from 1.0.7 onwards) support USB encrypted persistence.
0x01 — Start by imaging the Kali ISO onto your USB drive (ours was /dev/sdb). Once done, you can inspect the USB partition structure using parted /dev/sdb print:
For ease of use, please use a root account. This can be done with “sudo su”.
[email protected]:~$ dd if=kali-linux-2023.2-live-amd64.iso of=/dev/sdb conv=fsync bs=4M 0x02 — Create and format an additional partition on the USB drive. In our example, we create a persistent partition in the empty space above the Kali Live partitions:
When fdisk completes, the new partition should have been created at /dev/sdb3 ; this can be verified with the command lsblk .
0x03 — Encrypt the partition with LUKS:
[email protected]:~$ cryptsetup --verbose --verify-passphrase luksFormat /dev/sdb3 0x04 — Open the encrypted partition:
[email protected]:~$ cryptsetup luksOpen /dev/sdb3 my_usb 0x05 — Create an ext4 filesystem and label it:
[email protected]:~$ mkfs.ext4 -L persistence /dev/mapper/my_usb [email protected]:~$ e2label /dev/mapper/my_usb persistence 0x06 — Mount the partition and create your persistence.conf so changes persist across reboots:
[email protected]:~$ mkdir -p /mnt/my_usb [email protected]:~$ mount /dev/mapper/my_usb /mnt/my_usb [email protected]:~$ echo "/ union" | sudo tee /mnt/my_usb/persistence.conf [email protected]:~$ umount /dev/mapper/my_usb 0x07 — Close the encrypted partition:
[email protected]:~$ cryptsetup luksClose /dev/mapper/my_usb Now your USB drive is ready to plug in and reboot into Live USB Encrypted Persistence mode.
Multiple Persistence Stores
At this point we should have the following partition structure:
We can add additional persistence stores to the USB drive, both encrypted or not… and choose which persistence store we want to load, at boot time. Let’s create one more additional non-encrypted store. We’ll label and call it “work”.
0x01 — Create an additional, 4th partition which will hold the “work” data. We’ll give it another 5GB of space:
[email protected]:~$ parted /dev/sdb GNU Parted 2.3 Using /dev/sdb Welcome to GNU Parted! Type 'help' to view a list of commands. (parted) print Model: SanDisk SanDisk Ultra (scsi) Disk /dev/sdb: 31.6GB Sector size (logical/physical): 512B/512B Partition Table: msdos Number Start End Size Type File system Flags 1 32.8kB 2988MB 2988MB primary boot, hidden 2 2988MB 3050MB 64.9MB primary fat16 3 3050MB 10.0GB 6947MB primary (parted) mkpart primary 10000 15000 (parted) quit Information: You may need to update /etc/fstab. 0x02 — Format the fourth partition, label it “work”:
[email protected]:~$ mkfs.ext4 /dev/sdb4 [email protected]:~$ e2label /dev/sdb4 work 0x03 — Mount this new partition and create a persistence.conf in it:
[email protected]:~$ mkdir -p /mnt/usb [email protected]:~$ mount /dev/sdb4 /mnt/usb [email protected]:~$ echo "/ union" > /mnt/usb/persistence.conf [email protected]:~$ umount /mnt/usb Boot the computer, and set it to boot from USB. When the boot menu appears, edit the persistence-label parameter to point to your preferred persistence store!
Emergency Self Destruction of Data in Kali
As penetration testers, we often need to travel with sensitive data stored on our laptops. Of course, we use full disk encryption wherever possible, including our Kali Linux machines, which tend to contain the most sensitive materials. Let’s configure a nuke password as a safety measure:
[email protected]:~$ sudo apt install -y cryptsetup-nuke-password [email protected]:~$ dpkg-reconfigure cryptsetup-nuke-password The configured nuke password will be stored in the initrd and will be usable with all encrypted partitions that you can unlock at boot time.
Backup you LUKS keyslots and encrypt them:
[email protected]:~$ cryptsetup luksHeaderBackup --header-backup-file luksheader.back /dev/sdb3 [email protected]:~$ openssl enc -e -aes-256-cbc -in luksheader.back -out luksheader.back.enc Now boot into your encrypted store, and give the Nuke password, rather than the real decryption password. This will render any info on the encrypted store useless. Once this is done, verify that the data is indeed inacessible.
Lets restore the data now. We’ll decrypt our backup of the LUKS keyslots, and restore them to the encrypted partition:
[email protected]:~$ openssl enc -d -aes-256-cbc -in luksheader.back.enc -out luksheader.back [email protected]:~$ cryptsetup luksHeaderRestore --header-backup-file luksheader.back /dev/sdb3 Our slots are now restored. All we have to do is simply reboot and provide our normal LUKS password and the system is back to its original state.
Updated on: 2023-May-30
Author: g0tmi1k
Kali linux настройка persistence
Kali Linux “Live” has two options in the default boot menu which enable persistence — the preservation of data on the “Kali Live” USB drive — across reboots of “Kali Live”. This can be an extremely useful enhancement, and enables you to retain documents, collected testing results, configurations, etc., when running Kali Linux “Live” from the USB drive, even across different systems. The persistent data is stored in its own partition on the USB drive, which can also be optionally LUKS-encrypted.
To make use of the USB persistence options at boot time, you’ll need to do some additional setup on your “Kali Linux Live” USB drive; this article will show you how.
This guide assumes that you have already created a Kali Linux “Live” USB drive as described in the doc page for that subject. For the purposes of this article, we’ll assume you’re working on a Linux-based system.
You’ll need to have root privileges to do this procedure, or the ability to escalate your privileges with sudo .
In this example, we assume:
- your USB drive is /dev/sdb (last letter will probably be different). Check the connected usb drives with the command lsblk and modify the device name in the usb variable before running the commands)
- your USB drive has a capacity of at least 8GB — the Kali Linux image takes over 3GB, and for this guide, we’ll be creating a new partition of about 4GB to store our persistent data in
In this example, we’ll create a new partition to store our persistent data into, starting right above the second Kali Live partition, put an ext4 file system onto it, and create a persistence.conf file on the new partition.
- First, begin by imaging the latest Kali Linux ISO (currently 2023.2) to your USB drive as described in this article. We’re going to assume that the two partitions created by the imaging are /dev/sdb1 and /dev/sdb2 . This can be verified with the command lsblk .
- Create and format an additional partition on the USB drive. First, let’s create the new partition in the empty space above our Kali Live partitions. We have to do this from the command line as gparted will read the imaged ISO as a large block:
[email protected]:~$ usb=/dev/sdb [email protected]:~$ [email protected]:~$ sudo fdisk $usb When fdisk completes, the new partition should have been created at /dev/sdb3 ; again, this can be verified with the command lsblk .
[email protected]:~$ usb=/dev/sdb [email protected]:~$ [email protected]:~$ sudo mkfs.ext4 -L persistence $3
- Create a mount point, mount the new partition there, and then create the configuration file to enable persistence. Finally, unmount the partition:
[email protected]:~$ usb=/dev/sdb [email protected]:~$ [email protected]:~$ sudo mkdir -p /mnt/my_usb [email protected]:~$ sudo mount $3 /mnt/my_usb [email protected]:~$ echo "/ union" | sudo tee /mnt/my_usb/persistence.conf [email protected]:~$ sudo umount $3
We can now reboot into “Live USB Persistance.” Keep in mind we will need to select this boot option every time we wish to have our work stored.
Флешка Kali Linux с сохранением Persistence
Загрузочная флешка Kali Linux с возможностью сохранения данных Persistence — это один из лучших и на мой взгляд самый удобный способ работы с Kali Linux. В сети можно найти кучу способов создания загрузочной флешки с Persistence , но способы, которые там рассматриваются устарели. Сегодня, с появлением новой версии хакерского дистрибутива, создать загрузочную флешку Kali Linux с сохранением, стало намного проще и быстрее.
Буквально на днях появилась новая версия Кали Линукс, о которой стоит рассказать.
Новый Kali Linux
В новом релизе появилась поддержка OpenSSL старых версий, что позволяет использовать устаревшие протоколы, а это означает, что Kali теперь может взаимодействовать со старыми устаревшими системами.
Использование Kali (Live image) в средах виртуализации (VMware, VirtualBox, Hyper-V и QEMU + Spice) стало проще с помощью настройки Kali для режима расширенного сеанса Hyper-V.
Разработчики также выпустили первую версию Kali NetHunter для умных часов TicHunter Pro (под управлением Wear OS).

В Kali Linux 2021.3 появились новые инструменты:
- Berate_ap (для организации точек доступа MANA)
- CALDERA (масштабируемая автоматизированная платформа эмуляции)
- EAPHammer (для атак Evil Twins против сетей Wi-Fi WPA2-Enterprise)
- HostHunter (инструмент OSINT для разведки и обнаружения хостов)
- Subjack (инструмент для захвата поддоменов)
- и т.д.
Подробнее читайте в блоге Offensive Security.
Флешка Kali Linux с возможностью сохранения Persistence
Плюсов в использовании Kali с флешки больше чем минусов, но о минусах стоит упомянуть.
Недостатки использования Kali Linux с флешки Persistence
- Время загрузки. Данный метод немного замедляет время загрузки дистрибутива.
- Безопасность. При использовании Live-версии, злоумышлении могут получить доступ к ОС установленной на компьютере. Это можно избежать с правильной настройкой Кали, но мало, кто это делает.
- Конфликты совместимости. Пользователи флешки с Кали, знают, во что может вылиться обновление дистрибутива. После обновления из-за конфликтов между ядром и загрузчиком, когда последний не предназначен для использования с новым ядром, может отвалиться Persistence, а иногда система вообще перестает подниматься.
Создание загрузочной флешки Kali Linux с возможностью сохранения
Переходим на официальный сайт и нажимаем на иконку «Live Boot».

В разделе «Live Boot» скачиваем iso-файл образ Kali Linux 64-bit Live. Все современные компьютеры работают на 64-бит, если у вас 32-бит, тогда перейдите на вкладку 32-bit и скачайте образ kali-linux-2021.3-live-i386.iso, размер которого 3,1 ГБ.

Теперь, не дожидаясь завершения загрузки файла, скачаем утилиту Rufus, для записи образа Kali Linux на флешку. Я предпочитаю использовать версии программ без установки (переносная версия).

Запускаем Rufus и подключаем флешку к компьютеру.
В этом примере на скрине ниже используется флешка маленького размера, это только для скрина, саму флешку я не форматировал и использую под Кали флешки 64гб.
Выберите флешку в выпадающем поле «Устройство». Будьте внимательны, если к компьютеру подключено несколько USB-накопителей. Не перепутайте!
Нажмите на «Выбрать» и выберите скаченный образ Кали.
В разделе «Постоянный размер раздела» передвиньте ползунок максимум в право. Это функция отвечает за возможностью сохранения данных в Persistence Volume.

После нажатия на «Старт» появится небольшое окно в котором следует нажать «Да».

Хорошо проверьте выбранный носитель. После нажатия «Ок», все данные будут уничтожены!

Осталось дождаться завершения.
После создания флешки Kali Linux, закройте Руфус и перезагрузите компьютер.
Настройки Биос для работы с Kali Linux
Войдите в биос вашего компьютера и зайдите в раздел «Boot». Этот раздел отвечает за загрузку и в каждом биосе может называться по другому. Выберите флешку с Кали и поставьте ее первой в приоритете загрузки компьютера.


Теперь переходим в раздел «Security» и отключаем защиту.

Выходим из биоса и сохраняем изменения.

Загрузка с флешки Kali Linux
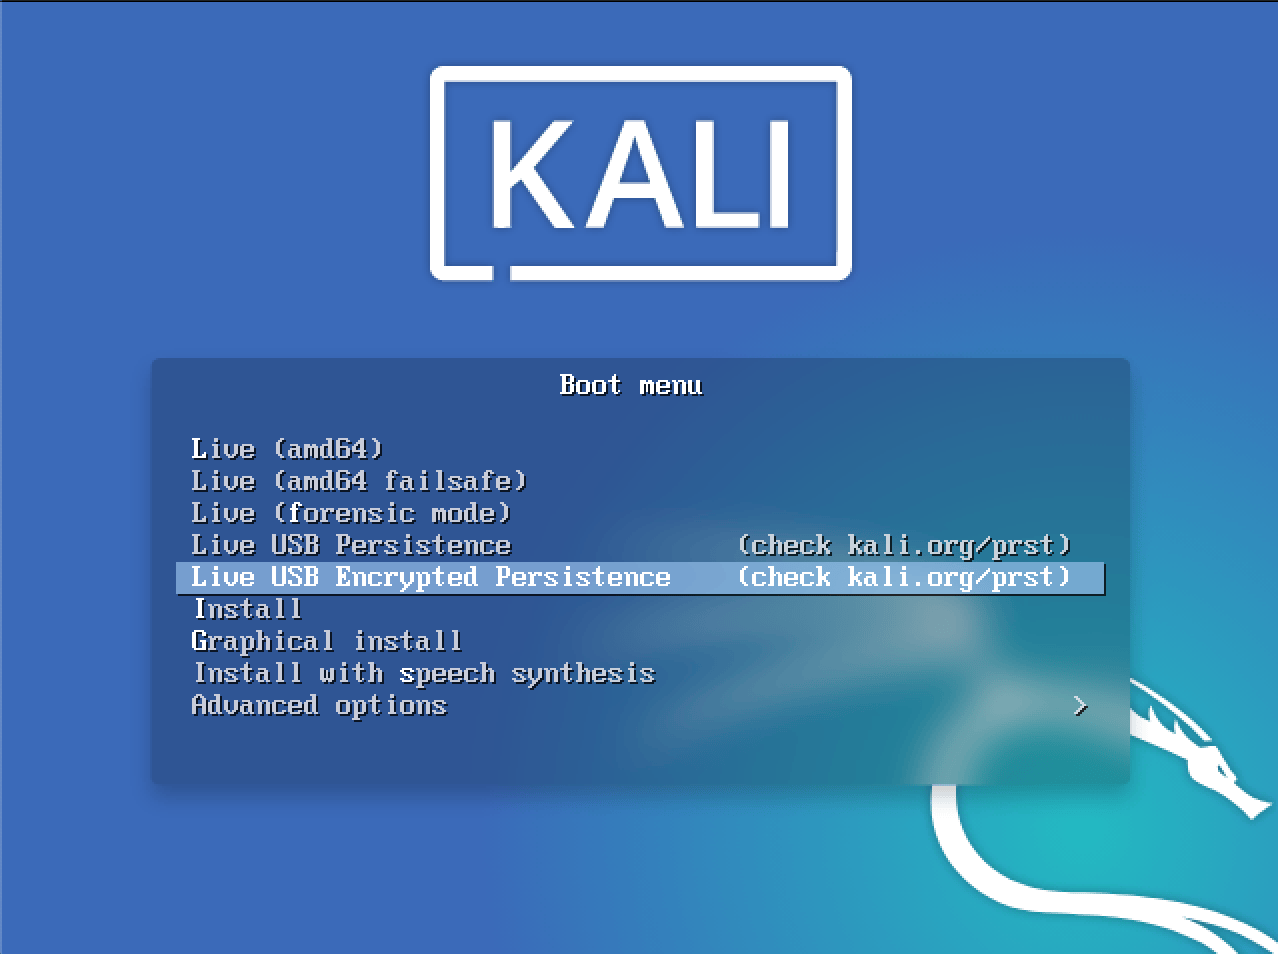
После выхода из Биос компьютер перезагрузиться и если вы все сделали правильно появиться меню загрузки Кали Линукс.

Выбераем пункт «Live system (persistence, check kali.org.prst)» и дожидаемся запуска операционной системы.
Проверка возможности сохранения данных Kali Linux
Чтобы убедиться, что Persistence Volume работает войдем в нашу WiFi-сеть используя пароль или создадим папку на рабочем столе, а затем перезагрузим систему. Если после перезагрузки созданная ранее папке находится на рабочем столе или произошло подключение к WiFi, то это значит, что функция сохранения данных работает.
Заключение
Раньше персистентности Kali Linux достигалась более сложными способами. Сейчас, создать флешку Kali Linux Persistence Volume — проще простого. После установки, рекомендую защитить Kali Linux.


