- How to Make Ubuntu Terminal Look like Kali Linux
- 1. Installing required packages
- Installing ZSH on Ubuntu
- Installing zshell plugins
- Installing fonts, qterminal and gnome-tweaks
- 2. Changing the default login shell
- 3. Customizing ubuntu zshell
- Step 1. Modifying the zshrc file
- Step 2. Downloading color schemes and themes
- Step 3. Changing Qterminal settings
- Customizing gnome terminal
- Conclusion
- How to Change Kali Linux Terminal Background and Font?
- Change Kali Linux Terminal Background
- How to Change Kali Linux Terminal Font?
- Conclusion
How to Make Ubuntu Terminal Look like Kali Linux
Kali Linux and Ubuntu are the two most popular Linux distributions. Ubuntu is a general-purpose Linux distribution that is popular among developers and students, though it is not limited to these groups, whereas Kali Linux is popular in the world of cybersecurity and ethical hacking.
There are a few visual differences between the Ubuntu terminal and the Kali Linux terminal. While the default Ubuntu terminal is functional, sometimes Ubuntu users may prefer the look of the Kali Linux terminal. In this guide, we learn how to make your Ubuntu terminal look like Kali Linux terminal.
1. Installing required packages
The first step in making your Ubuntu terminal look like Kali’s is to install zsh shell, zshell plugins and some additional tools if not already pre-installed
Installing ZSH on Ubuntu
The Z shell is a Unix shell that was developed as an extension to BASH (Bourne shell) in the early 90s. Z shell is an interactive shell that incorporates many features of other Unix/GNU Linux shells like bash, fish, dash and ksh.
It also has a powerful scripting language, just like the other shells. Despite this, it has some distinguishing characteristics, which include:
- Autocomplete for command names
- spelling corrections.
- Extensible via plugins.
- running shells can share the same history.
- supports several compatibility modes.
- Better variable and array handling.
- support themes
- Create filenames based on the conditions you provide.
Before installing z shell, you must first update your system by running the following command:
After successfully updating your system, run the following command to install zshell.
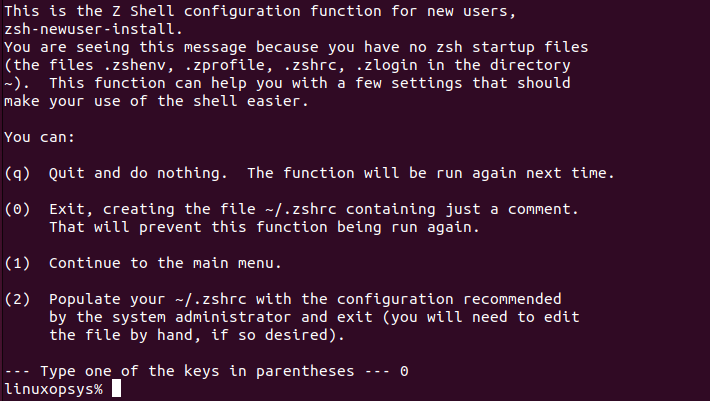
Once zsh has been installed, simply run the zsh command to switch from the bash prompt to the zsh prompt. When you run the command, you will see a z shell configuration prompt (select option zero from the prompt and hit enter to apply)
Installing zshell plugins
Next, we’ll need to install a few z shell plugins to add some useful functionality to our z shell. Here are the three plugins that will be installed.
- zsh-syntax-highlighting — This plugin highlights syntax in the z shell. It allows command highlighting when typing at a z shell prompt. This is useful for reviewing commands before running them, notably in spotting syntax errors.
- zsh-autosuggestions — this plugin suggests commands to you as you enter them based on your previous commands and completions.
Open your Ubuntu terminal and type the following command:
sudo apt install zsh-syntax-highlighting zsh-autosuggestions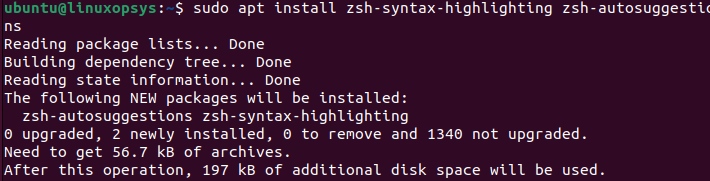
This command will download and install all of the z shell plugins listed.
Installing fonts, qterminal and gnome-tweaks
The last things you need to install are:
- qterminal — a lightweight Qt terminal emulator based on QTermWidget, by default Ubuntu uses gnome terminal.
- fonts-firacode — a free monospaced font with ligatures for common multi-character programming combinations.
- gnome-tweaks — this is a must-have tool for any GNOME user. It allows you to customize the appearance and functionality of your desktop.
To install all these run the following command:
sudo apt install qterminal fonts-firacode gnome-tweaks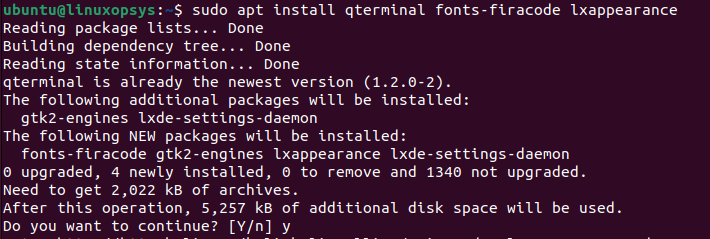
2. Changing the default login shell
Now that you’ve installed z shell and its plugins, you’ll need to make it your default login shell. To accomplish so, we’ll use the chsh (change shell) command. chsh is a powerful tool used to change a login shell. There is no need to install the chsh command because it is a standard package that comes pre-installed on all Linux distributions.
Run the following command to change your default login shell to z shell:
Please keep in mind that this command will permanently change your default login shell to the one you specify.
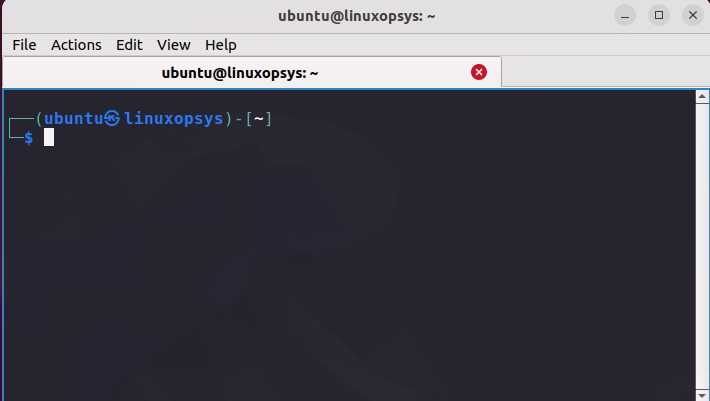
Before you can make any changes, you must first enter your username password. Log out and then back in to see the changes; the bash prompt will be replaced with the zsh prompt.

3. Customizing ubuntu zshell
Now that you’ve installed all of the tools needed to customize your Ubuntu terminal. It’s time to start customizing your Ubuntu terminal. Follow these steps to accomplish it.
Step 1. Modifying the zshrc file
You need to tweak the zshrc file in order to customize it’s appearance. This file is a hidden file in your home directory (~/.zshrc). The .zshrc file is a startup file equivalent for bashrc file for bash (Bourne Again shell) that is used to customize and configure the z shell.
This file may not be available at times, so you must create it; if it is already available, delete it and create a new one because you will need to override its contents.
To delete the file run the following command:
and to create a new file simply run this command:
After you have successfully created the .zshrc file, open it with your preferred text editor, copy and paste the contents of this pastebin into your .zshrc file, and save.
To make the changes take effect, source your .zshrc file with the source or dot (.) command, or simply close and reopen your terminal.

Step 2. Downloading color schemes and themes
Next clone the compressed kali linux color schemes and themes from. To do so run this command:
git clone https://github.com/linuxopsys/ubuntu-to-kali-terminal.git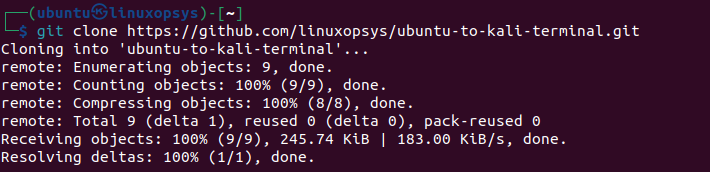
Once the repository has been cloned, cd into it.
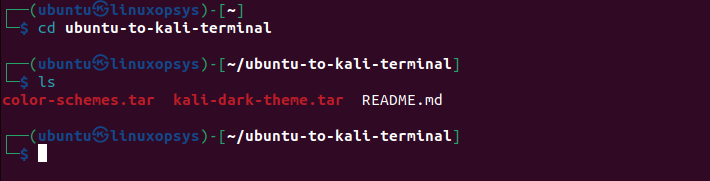
Next, extract the compressed files, once you have extracted all the files you will notice a new directory name «usr» in your current working directory.
tar -xvf color-schemes.tar tar -xvf kali-dark-theme.tar
You must now remove the qtermwidget5 directory located in the /usr/share directory and replace it with one from the extracted tar file.
sudo rm -rf /usr/share/qtermwidget5 sudo mv -f usr/share/qtermwidget5 /usr/share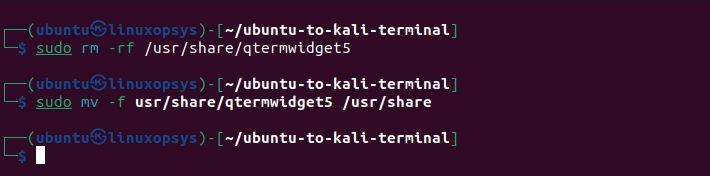
Step 3. Changing Qterminal settings
Open your Qterminal preferences: Change the color scheme to Kali-Dark and then press the Apply button, this will change the terminal theme to that one of Kali. Also, at the bottom of your terminal’s Appearance settings, adjust the «Application transparency» from «0%» to «5%,» the same as on Kali, and click apply for the changes to take effect.
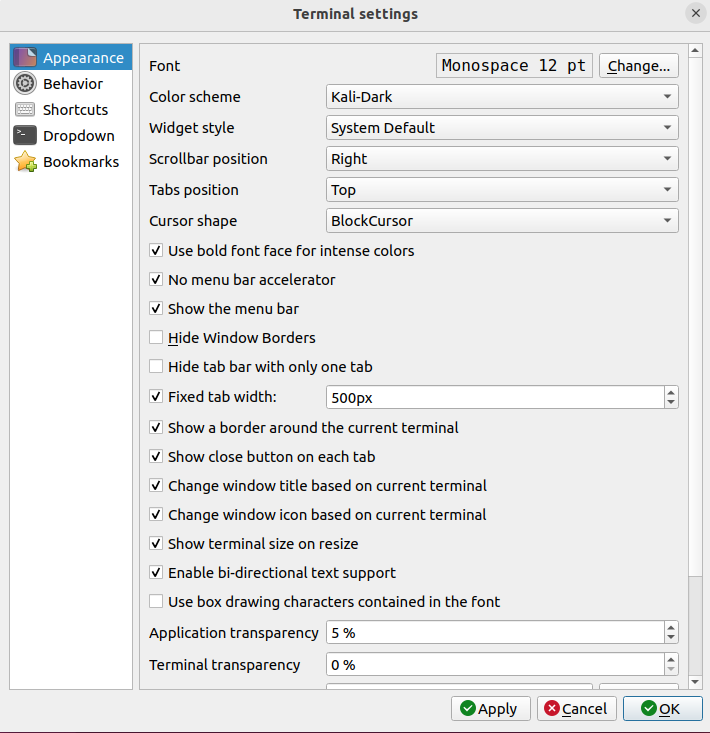
After you’ve made the changes, your qterminal should look like this:
All that remains is to change your entire system theme, which can be accomplished by moving the Kali-Dark directory from the directory you previously extracted to /usr/share/themes directory.
sudo mv -f usr/share/themes/Kali-Dark /usr/share/themes 
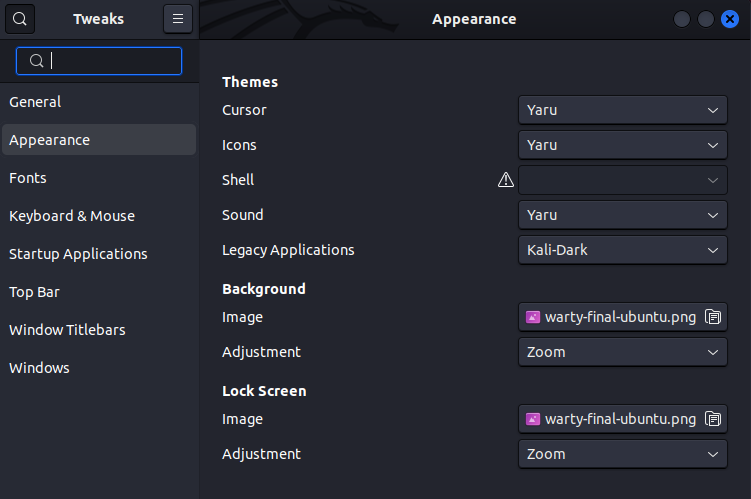
To apply the theme, open gnome-tweaks by running the following command:
From the gnome-tweaks window, you will see various options for tweaking your system. Go to appearance and look for «Legacy Applications,» then change your theme to Kali-Dark.
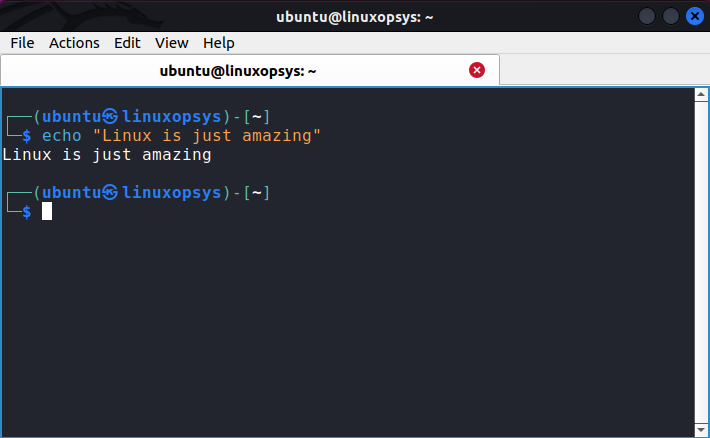
This is how your qterminal should look after switching to the Kali-Dark theme:
Customizing gnome terminal
If you are not satisfied with the appearance of qterminal after customizing it, you can customize the gnome terminal that comes with Ubuntu. To do this customization, you must first install the following tools:
- dconf-cli — DConf is a low-level key/value database that is used to store desktop environment settings. This package includes the command-line tools required to configure and modify the database.
- uuid-runtime — This package contains tools for generating and parsing 128-bit Universally Unique Identifiers (UUIDs) (UUIDs).
- curl — command-line utility for transferring data over various network protocols.
sudo apt install dconf-cli uuid-runtime curlAfter the packages have been installed run the following command to install the «Kali Dark» color scheme:
bash -c "$(curl -fsSL https://raw.githubusercontent.com/linuxopsys/ubuntu-to-kali-terminal/main/gnome-themes/Kali-Dark.sh)"To change your terminal theme right click on your terminal window and choose the «Kali-Dark» profile:
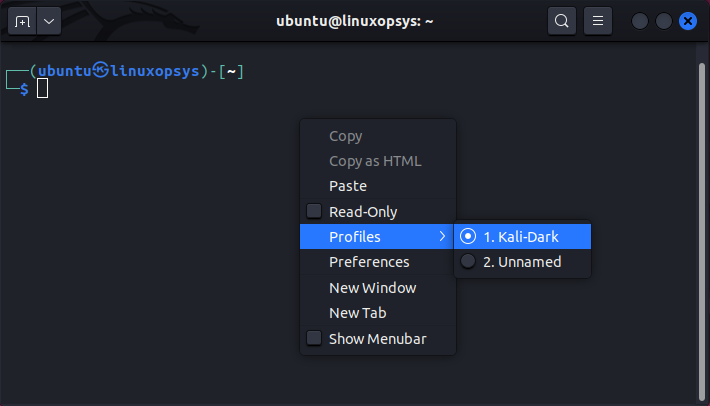
Remember that the system theme should also be «Kali-Dark», and that you can change it with gnome tweaks.
Conclusion
This is enough to make your Ubuntu terminal look the same as Kali, however if you need to do some additional configuration to improve your personal experience you might need to install oh my zsh. You can find oh my zsh installation procedure on its official website.
The ability to customize Linux operating systems is the primary advantage over other operating systems. Because it is an open-source operating system, you can customize any feature, add or remove any feature based on your needs and personal experience.
If this resource helped you, let us know your care by a Thanks Tweet. Tweet a thanks
How to Change Kali Linux Terminal Background and Font?

As Kali Linux user knows that when they open up the Terminal that is similar to Command Prompt (CMD) in the Windows operating system. They may not like the default background colour. If you want to change Kali Linux Terminal background, we are here to guide you. I really don’t like the Terminal background colour because nothing looks clearly. When we want to type something, we would not be able to recognise what we have written. So that’s why we are going to help you to change your Kali Linux Terminal background and font.
Change Kali Linux Terminal Background
For the demonstration, we are going to do our task on Kali Linux version 2. Right now this is the latest version of Kali Linux that its user works on it. Before we get started, I’m going to tell one thing else. We have the same terminal on the Mac operating system. When you want to change the Linux Terminal background, it means that you know how to change Mac OS Terminal as well. Because these two operating systems are somehow alike to each other.
To change Kali Linux Background, follow the instructions below. This article will help you to learn how to change Kali Linux Terminal background and as well as Mac OS X El Capitan.
For the first time what you are going to do is open up the Terminal. If you don’t know how to open Terminal, tap on the small black square icon at the left-hand side. If you don’t find it, go to the Applications tab and find the terminal there.
Step #1. When you open up the Terminal, click on the Edit tab then choose Profile Preferences.

Step #2. Go to “Colors Tab” now then do the following activity.
- Uncheck “Use colours from the system theme “
- Text Color
- Background Color
- Use Transparent Background
Uncheck the theme colour and choose a custom theme. Change the text colour to black or any colour that you want and as well change the background colour to white or custom colour that you want. Finally, uncheck the Transparent background and drag the small button to the right. Once you are satisfied with this setting, click “Close” at the bottom right-hand side.

Change Terminal Background Color
How to Change Kali Linux Terminal Font?
You might see that someone use a very unusual font on Kali Linux Terminal which attracts you. Don’t worry about this. You as well can do it. Just go to the Terminal Edit tab then choose the General tab. See the bottom left-hand side of the window and select “Custom Font”. Now, select the font which you like the most. Once you are agreed with this font, click on the “Close” button to end up this process.

Conclusion
This was all about how to change Kali Linux Terminal background and font. I hope that you have enjoyed this article and good luck. If you have got any question regarding this article, feel free to ask us right below this post via the comment. We will try to answer it as soon as possible. Thanks for being with us.