Kali linux увеличить шрифт
Upon starting Kali Linux up, certain things may appear larger than expected. This could be because of DPI (Dots Per Inch) / PPI (Pixels Per Inch) being incorrect. If things are looking smaller than expected, you may wish to look at our HiDPI guide.
This could be happening for various reasons, such as the graphic card drivers and/or the monitor profile causing issues.
This guide will cover single screen setups. We do not have the hardware in order to test multiple display outputs to write up the guide. So we are looking for community contribution to help out. If you have the hardware, and expertise, please edit this guide!
Issue
Upon opening some applications, the font may appear larger than expected, like in the example below. Here you can see two different terminal software, the one on the left is using Qt ( QTerminal ) and the one on the right is using GTK ( xfce4-terminal ).

Qt is too large, and needs to be altered. First we need to find what value to alter it to, then we need to apply the change.
Locating the Problem
We first use xrdb, which looks up in the database of X server (X is what is sponsorable for the graphical display output), to see what values are there:
[email protected]:~$ xrdb -q *customization: -color Xft.antialias: 1 Xft.hinting: 1 Xft.hintstyle: hintslight Xft.rgba: rgb Xcursor.theme_core: 1 [email protected]:~$ There is no sign of DPI being pre-defined. Time to move onto the next tool.
Using xdpyinfo, we can look at the display information about X, which is currently in use (as things will get defined dynamically at various points. e.g. startup, new screen attached etc):
[email protected]:~$ xdpyinfo | grep 'dimensions\|resolution' dimensions: 1680x1050 pixels (160x90 millimeters) resolution: 267x296 dots per inch [email protected]:~$ We only get the values back once, which means there is only one monitor. Great! What isn’t so great, is the size of the physical screen, 160x90mm , being detected, which may start to explain why the font is very large (as the DPI is huge). We can also see the screen resolution is set to 1680 x 1050 and the DPI is ~267 .
Next we can use xrandr as this handles the extension RandR (resize and rotate) to see if what that is reporting matches up:
[email protected]:~$ xrandr -q | grep -iw 'screen\|connected' Screen 0: minimum 8 x 8, current 1680 x 1050, maximum 32767 x 32767 HDMI-0 connected 1680x1050+0+0 (normal left inverted right x axis y axis) 160mm x 90mm [email protected]:~$ Again, one screen. ALso, its resolution matches up with what xdpyinfo told us. We can see its using a HDMI cable and also same the same resolution & size.
Checking the logs of X, we can see:
[email protected]:~$ grep DPI /var/log/Xorg.0.log [ 7.324] (--) NVIDIA(0): DPI set to (266, 296); computed from "UseEdidDpi" X config [email protected]:~$ Which is very close to the DPI value which xrandr reported (but off by one). We can see the graphic drive in question is NVIDIA, and its trying to get the DPI value from EDID (The GPU is trying to read the data from the monitor)
If we wanted to, we can look at the value of EDID by using edid-decode:
[email protected]:~$ sudo apt install -y edid-decode [email protected]:~$ [email protected]:~$ xrandr --props | edid-decode -c -s EDID version: 1.3 [. ] Maximum image size: 16 cm x 9 cm [. ] Warnings: Block 0 (Base Block): Basic Display Parameters & Features: Dubious maximum image size (160x90 is smaller than 10x10 cm) Failures: All Blocks: One or more of the timings is out of range of the Monitor Ranges: Vertical Freq: 24 - 75 Hz (Monitor: 23 - 75 Hz) Horizontal Freq: 27.000 - 79.976 kHz (Monitor: 26.000 - 68.000 kHz) Maximum Clock: 148.500 MHz (Monitor: 150.000 MHz) EDID conformity: FAIL [email protected]:~$ So it looks like the values from EDID are incorrect, so we shouldn’t listen to the monitor! We are going to need to manually define the values to use.
The easiest way to do this would be to look at the make/model of the screen (is there a a sticker on the back/under of the device?). Otherwise we can use the old fashion method of getting out a tape measure.
Why is it wrong?
So what does the OS think our screen size is?
Using a bit of math ( 1cm is 10mm & 25.4mm is 1 inch ), we can convert the millimeters (mm) to inches (in):
Remember that the output was dimensions: 1680×1050 pixels (160×90 millimeters) , so we are taking “width” as 160 and “height²” as 90
[email protected]:~$ echo 'print(160/25.4)' | python3 6.299212598425197 # 6.3 in [email protected]:~$ [email protected]:~$ echo 'print(90/25.4)' | python3 3.543307086614173 # 3.5 in [email protected]:~$ Now, we can find the diagonal screen size by doing √(width² + height²) = diagonal :
[email protected]:~$ echo 'print( ( ((160/25.4) ** 2)+((90/25.4) ** 2) ) ** (0.5) )' | python3 7.227385728616465 # 7.2 in [email protected]:~$ The sticker on the back of the screen says its 20 inches, yet only 7.2 inches is detected!
Finding the correct value
Using the formula √(width² + height²) / diagonal = DPI , we get:
Remember that the output was dimensions: 1680×1050 pixels (160×90 millimeters) , so we are taking “width” as 1680 and “height” as 1050 , and correct diagonal is 20
[email protected]:~$ # e.g. (((width ** 2)+(height² ** 2) ) ** (0.5) ) / diagonal ) [email protected]:~$ [email protected]:~$ echo 'print( (((1680 ** 2)+(1050 ** 2) ) ** (0.5) ) / 20 )' | python3 99.05680188659434 # 99 DPI [email protected]:~$ So we need to set our DPI to be 99×99 rather than 267×296.
Fixing
There are various ways we can do to fix this, each with their pros and cons:
- Editing ~/.Xresources (X configuration Recommended method)
- Editing ~/.xsessionrc (X startup script)
- NVIDIA driver settings
- Xfce GUI settings (desktop environment configuration)
Xresources
We can configure X (per user). In a terminal window, run the following commands:
[email protected]:~$ echo "Xft.dpi: 99" >> ~/.Xresources [email protected]:~$ [email protected]:~$ cat ~/.Xresources Xft.dpi: 99 [email protected]:~$ [email protected]:~$ xrdb -merge ~/.Xresources [email protected]:~$ After running xrdb -merge , a logout shouldn’t be required, so the next time you open a problematic program back up, the font should now be “normal”.
xsessionrc
This is a shell script, which will automatically get executed upon a graphical login. In a terminal window, run the following commands:
[email protected]:~$ echo "xrandr --dpi 99" >> ~/.xsessionrc [email protected]:~$ [email protected]:~$ cat ~/.xsessionrc xrandr --dpi 99 [email protected]:~$ [email protected]:~$ xfce4-session-logout --logout [email protected]:~$ After logging out and in again, the next time you open a problematic program back up, the font should now be “normal”.
NVIDIA driver settings
Another approach would be to get the NVIDIA drivers to handle the DPI.
If there isn’t a configuration file for X, we are going to generate one and then move it:
[email protected]:~$ sudo apt install -y nvidia-xconfig [email protected]:~$ [email protected]:~$ sudo nvidia-xconfig [email protected]:~$ [email protected]:~$ sudo mv /etc/X11/xorg.conf /usr/share/X11/xorg.conf.d/20-nvidia.conf [email protected]:~$ We can now edit the configuration file, to include the following two lines in the Section «Device» section:
[email protected]:~$ sudo vim /usr/share/X11/xorg.conf.d/20-nvidia.conf [email protected]:~$ [email protected]:~$ cat /usr/share/X11/xorg.conf.d/20-nvidia.conf [. ] Section "Device" Identifier "Device0" Driver "nvidia" VendorName "NVIDIA Corporation" Option "UseEdidDpi" "False" Option "DPI" "99 x 99" EndSection [. ] [email protected]:~$ [email protected]:~$ xfce4-session-logout --logout [email protected]:~$ After logging out and in again, the next time you open a problematic program back up, the font should now be “normal”.
Xfce Settings
We can configure Xfce by doing:
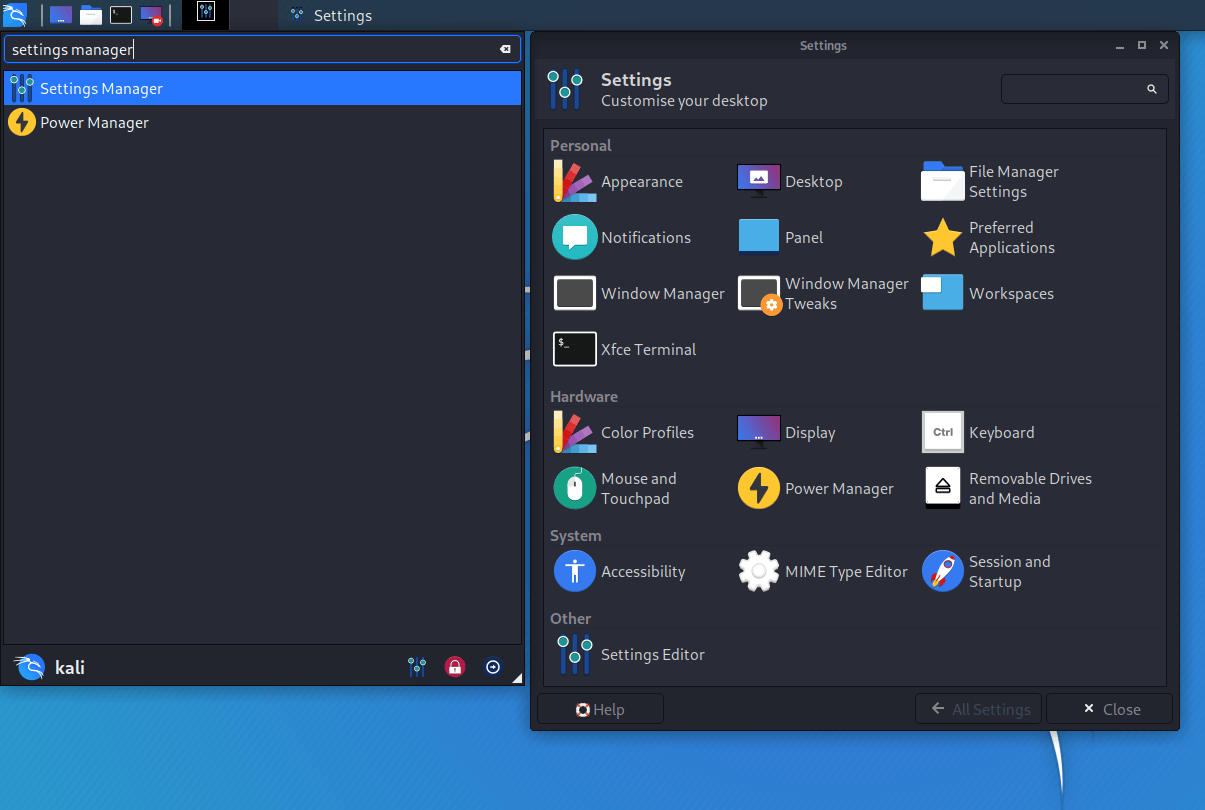
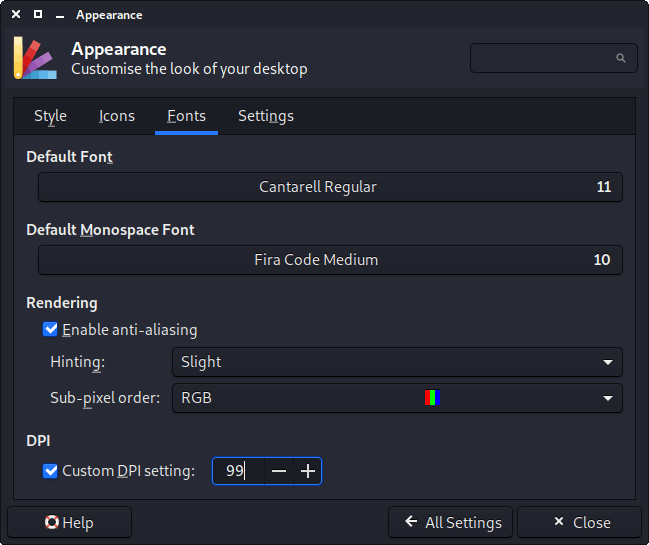
Due to a bug, you will need to either toggle Custom DPI Settings or increase/decrease the value then restore it back to the value previously.
A logout shouldn’t be required, so the next time you open a problematic program back up, the font should now be “normal”.
References
For additional reading material, you may wish to reference:
Updated on: 2023-Mar-06
Author: g0tmi1k
#5 Kali Linux для начинающих. Урок 3 — Терминал Kali Linux. Часть 2
Поскольку у нас есть графический интерфейс пользователя, мы можем настроить внешний вид терминала. Это можно сделать, выбрав edit — preferenses. Мне писали по поводу увеличения масштаба в терминале, и это можно реализовать в нем с помощью опции увеличения, либо уменьшения масштаба. Итак, у меня русская версия операционной системы Kali Linux, и для того, чтобы увеличить или уменьшить масштаб терминала мне необходимо выбрать в меню терминала опцию «Правка» и далее «Параметры», как показано на скриншоте:
Далее выбираем опцию «Комбинации клавиш» и с помощью прокрутки смотрим необходимые нам команды увеличения и уменьшения масштаба терминала, как показано на скриншоте:
Также Вы можете ознакомиться и с другими сочетаниями клавиш, которые могут быть полезны в повседневной работе с Kali Linux. Но будем считать это Вашим домашним заданием.
Также альтернативой увеличения масштаба терминала является опция «Вид» в главном меню терминала, где далее выбирается опция «Приблизить» — Ctrl++ и «Отдалить» — Ctrl –. Данные команды работают прекрасно, а найти их можете, сориентировавшись на данном скриншоте:
Еще одно важное замечание, касательно увеличения масштаба терминала. Как мы помним из опции «Комбинации клавиш», то для того, чтобы увеличить масштаб терминала, необходимо зажать комбинацию клавиш: Ctrl++. Суть в том, что если мы выполним данную операцию, то ничего у нас не получится, т. е. мы будем вписывать в терминал знак «=». Это наглядно показано на скриншоте:
Для того, чтобы добиться увеличения, необходимо зажать комбинации клавиш: Ctrl+Shift=, т. е. Ctrl+Shift+. Тогда все получится без проблем.
Теперь Вам будет лучше видно то, что я делаю.
Также я предпочитаю не обычный способ открытия нового терминала. По умолчанию новое окно терминала открывается в новом окне. Это иногда неудобно и громоздко, поэтому есть способ альтернативного открытия нового окна, именно в новой вкладке. Для того, чтобы изменить настройки, нужно перейти в меню «Правка», далее «Параметры», выбрать «Комбинации клавиш» и посмотреть горячие клавиши открытия новой вкладки в терминале и как мы видим комбинация клавиш будет выглядеть как: Shift+Ctrl+T, смотрите скриншот:
Попробуем нажать данную комбинацию и у нас получается следующее:
Как настроить масштаб в Kali Linux?
Как настоить масштаб на 135% в Kali Linux? Перерыл множество источников, но ни в одном не нашёл ответа как это сделать.
Помогите, пожалуйста, просто надоело всматриваться в эту мелкотню
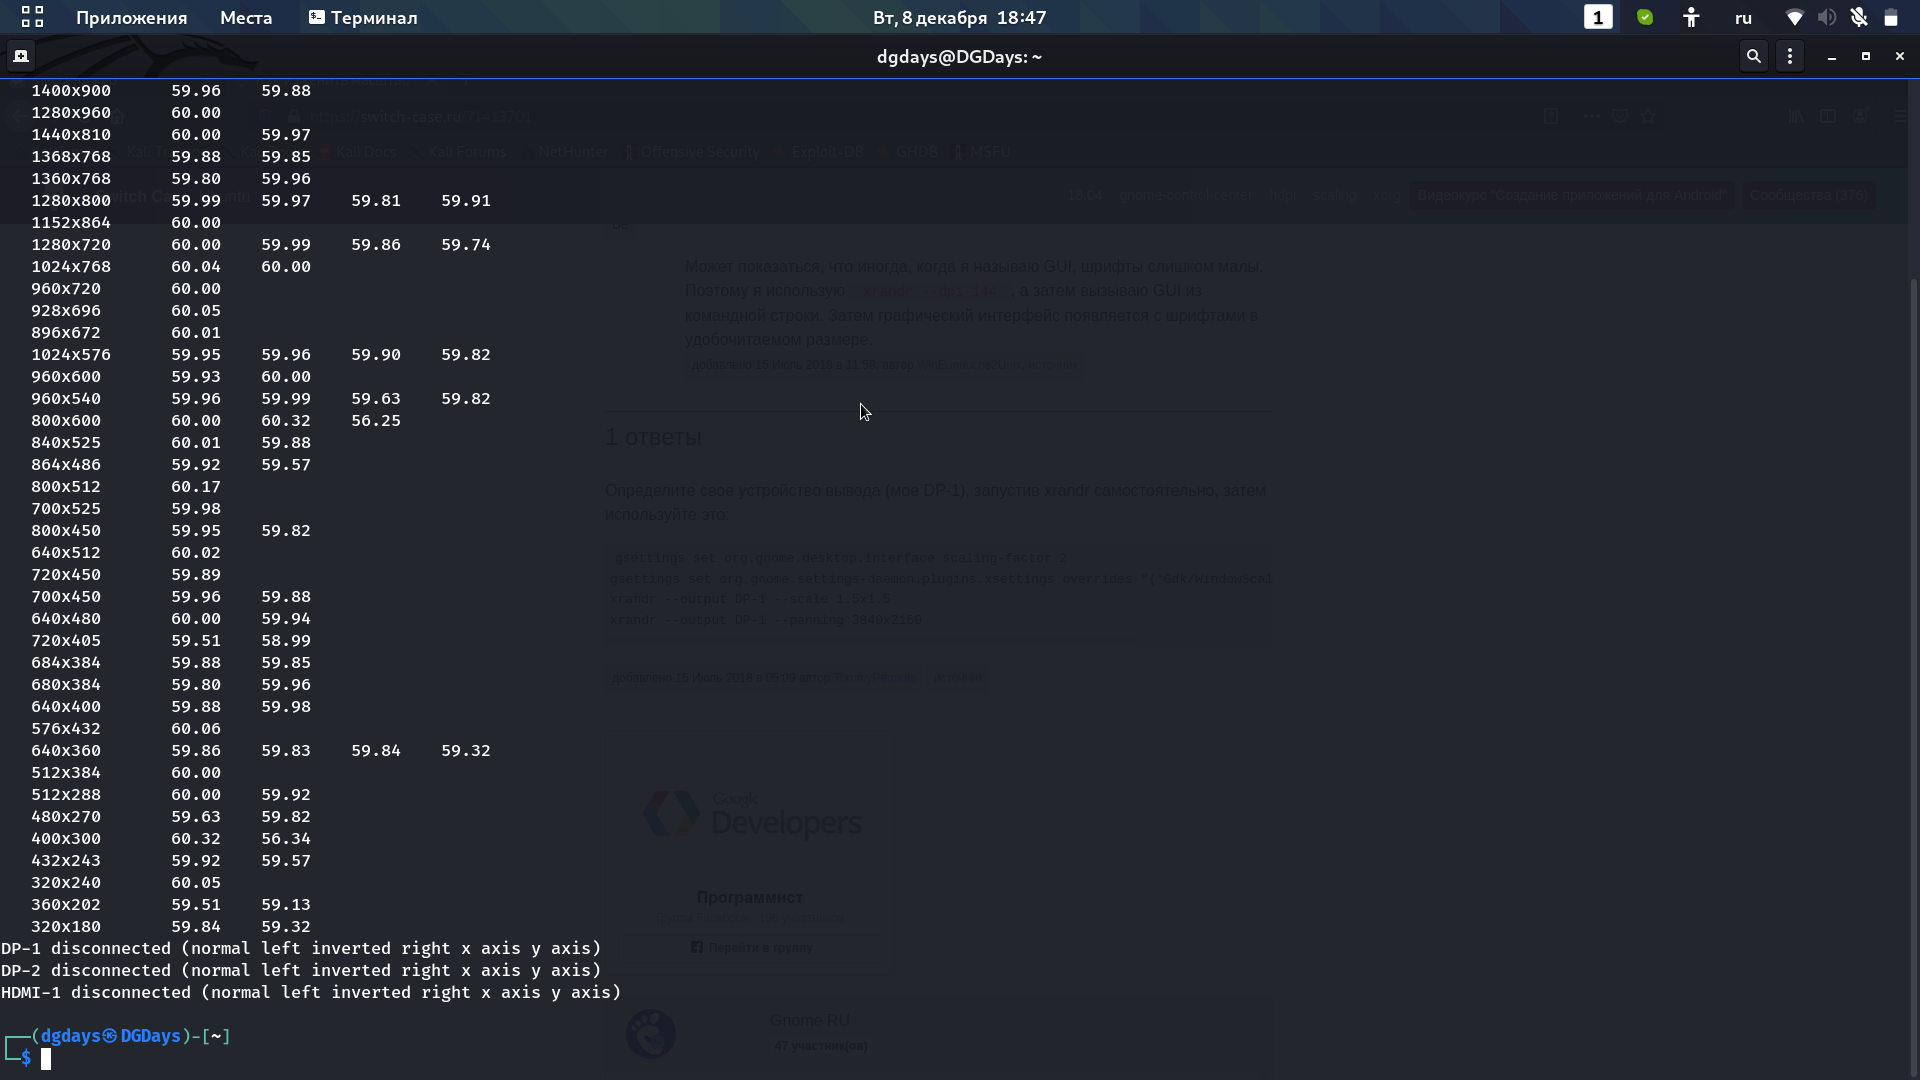
PS Кстати, что интересно, так это то, что xrandr не определяет монитор ноутбука -_-
Простой 13 комментариев

А какой DE у вас установлен? И где, собственно, масштаб менять нужно? В браузере (какой?), консоли, или в DE(?)

Олег Париев, Почему это xrandr не определяет?! Он в самом начале пишет, что определил.
А чтобы все увеличить, идите в настройка своего DE (Desktop Environment) и там ставьте тему и увеличение. И Вы так и не сказали, что у вас стоит (Gnome, KDE, XFCE, еще какая хрень).
Алексей Черемисин, знаю что в GNOME можно шрифт менять и тогда меняются масштабы, но не все. Да и хотелось бы без «колхоза»

Олег Париев, Эо и есть «без колхоза». В гноме все настройки можно сделать через ейный центр управления (или как он там называется) — масштаб (размер) шрифтов, тему, все прочее
JFYI: Не указывайте в будущем в тегах Kali — это чисто добрый совет такой, если не хотите получить в ответ пару-тройку фраз типа «ламер, зачем тебе кали?». Школота тут так уже задр###ла несчастную кали, что одно ее упоминание вызывает стойкую реакцию «йопт, еще один школойоп»
У гнома есть темы и настройка DPI , вот DPI и поставьте немного больше.
https://blog.abysm.org/2019/02/adjusting-scaling-f.
Но помогло то, что нашёл в интернете(спасибо что подсказали поискать повыше нужный мне монитор в xrandr): xrandr —output eDP-1 —scale 1.35×1.35