Best Linux Distributions that Look Like MacOS
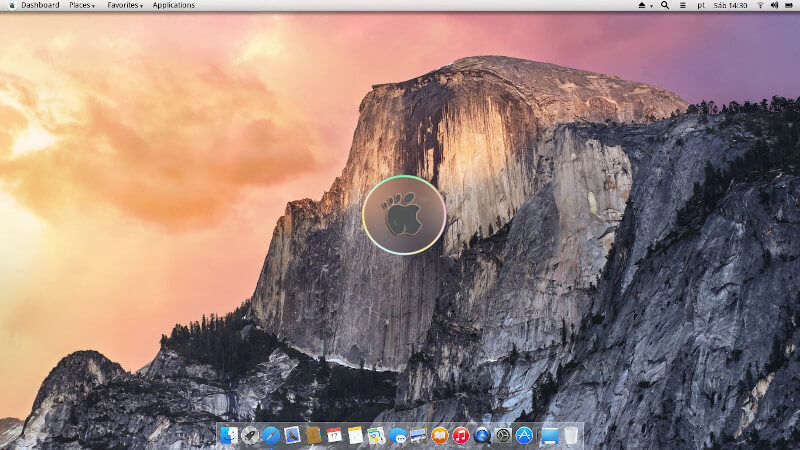
macOS is a brand of proprietary graphical operating Systems developed by Apple and marketed as the primary OS in Mac computers. Its latest release is macOS Catalina 10.5, a closed-source operating system with open-source components written in C, C++, Swift, and Objective C and available in 39 languages.
macOS has since come to be known for its modern and sleekly calm look and feel with applets boasting pleasant dropdown shadows, smooth animations & transitions, easy-on-the-eyes fonts, customization, and developer-friendly setup – to list the most prominent features.
The Linux world is filled with several distributions born of the desire to solve a specified problem using unique design and build approaches. There are distros created for chemists, astrologers, music producers, and there are ones created to emulate macOS.
Do you miss the UI/UX of your old Mac? Or do you want to turn up your computing experience by giving your laptop a shiny new look with an appearance difficult to distinguish from macOS? Today’s list is of the best Linux distributions that look like macOS.
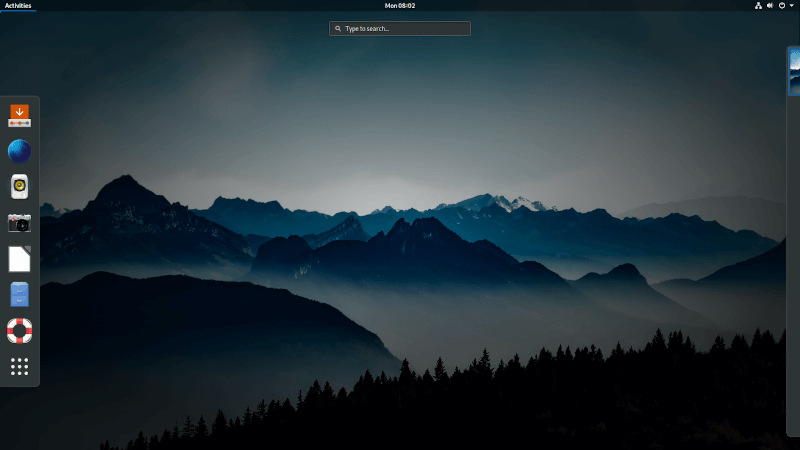
1. Ubuntu Budgie
Ubuntu Budgie is a distro built with a focus on simplicity, elegance, and powerful performance. It accomplishes this task by implementing its remake of the Budgie desktop environment (originally by the Solus project) to mimic the appearance of macOS with some extra sugar to it.
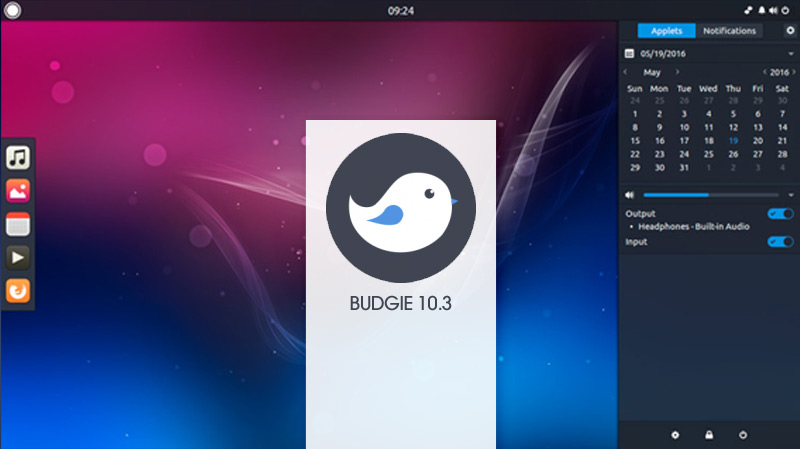
Ubuntu Budgie is more or less a macOS-fied version of Ubuntu – an operating system already known for its reliability, community support, and approval from professionals around the world. What’s cooler, is that Budgie comes with its own unique features. That’s why its a flavor.
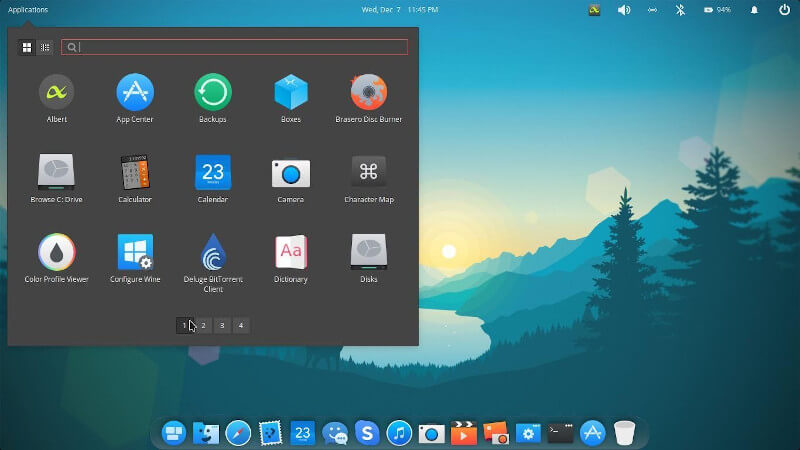
2. Zorin OS
Zorin OS is a distro designed to welcome new Linux users into the community by making it less likely for them to miss the aesthetics of their former Windows or macOS, especially with the app menus.

Just like macOS, Zorin OS respects user privacy, and it delivers reliable performance even on old hardware which makes it a good OS candidate for development, media production, simulations, and gaming.
An extra feature about Zorin OS is its ability to run many Windows applications so it doubles as a windows alternative. Ain’t that cool?
3. Solus
Solus is an independently developed operating system designed for home computing with a variety of tweaks that work to enable users to customize their desktop better. My favorite graphical features in Solus is ist light and dark theme modes coupled with its slide-in ‘Today‘ and ‘Notification‘ panel reminiscent of macOS.
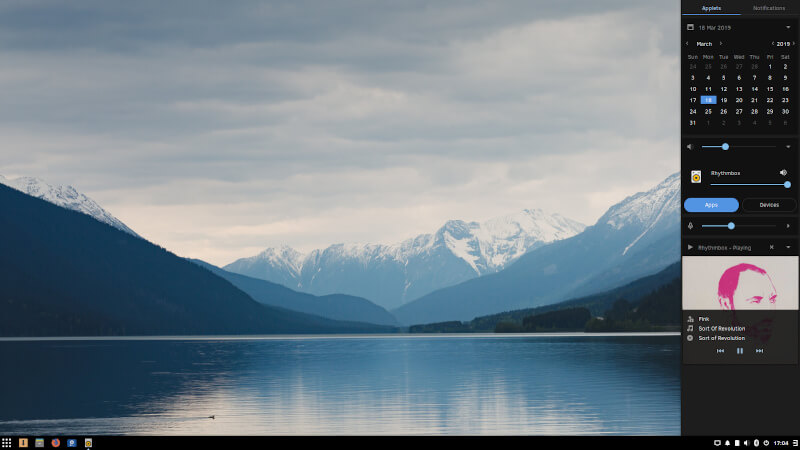
Its GUI is with thanks to custom made Budgie desktop which works nicely with its application bundle containing Firefox, Rhythmbox, GNOME MPV, Mozilla Thunderbird, etc.
4. Elementary OS
elementary OS is a privacy-focused distro with a custom-built desktop environment called Pantheon. It is designed to replicate the aesthetics of macOS with nice icons, fonts, animations, and wallpapers to compliment.
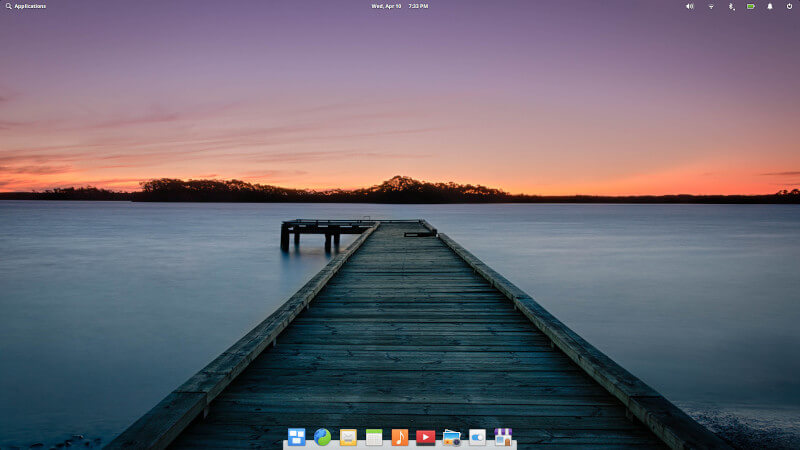
It prides itself with several beautiful features including a multitasking view, picture-in-picture, and do not disturb mode. Like other distros, it ships with a select collection of software to ensure you can get productive right away and an easy-to-use app center.
5. Deepin Linux
Deepin is an operating system designed with the main focus of providing Linux users with an elegant, reliable, and user-friendly computing environment. All its preinstalled applications are built from scratch or rewritten in-house to ensure a cohesive desktop experience across applications and activity flows.
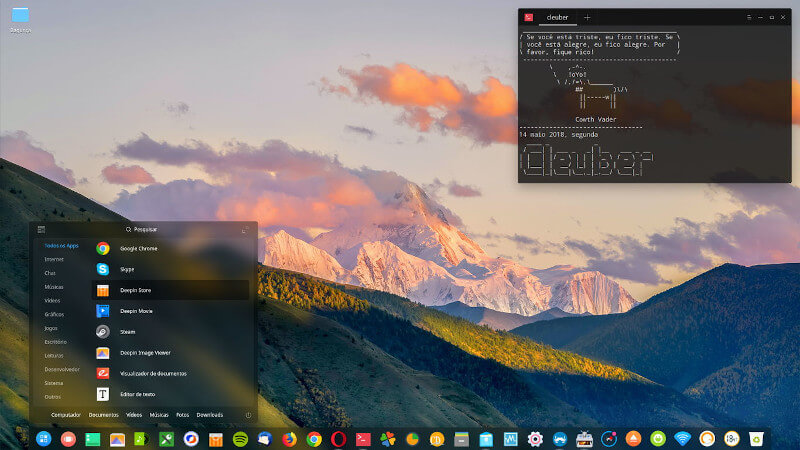
Deepin is easy to use as well as to customize and is hailed as an ideal replacement for new Linux from Windows and macOS.
6. PureOS
PureOS is a privacy & security-centric operating system developed by Purism to provide users with the latest technologies in the form of a modern, full-featured and user-friendly auditable OS without trading off performance or neglecting user rights.
It can be run as live media from a USB or CD with sone of its distinguishing features being its macOS GUI aesthetic, HTTPS Everywhere browser extension enabled on by default, and its automatically set engine to DuckDuckGo.
7. Backslash
Backlash is a relatively new Linux-based operating system created for 64-bit processors in 2016. It uses a custom User Interface designed to emulate the macOS look & feel using the awesome KDE and each new update ships with nice improvements to the UI.
As is expected of any note-worthy project, Backlash has comprehensive documentation online to help both users and developers get busy with it from beginner to advanced level. You should check it out.
8. Pearl OS
Pearl OS is a Linux distribution created to make users coming from macOS and Windows comfortable using Linux. It currently uses Xfce as its default desktop environment with the promise of delivering its very own PearlDE which will be a desktop environment created by mixing LXDE and Xfce. It is also available to use with LXDE, GNOME, and MATE.
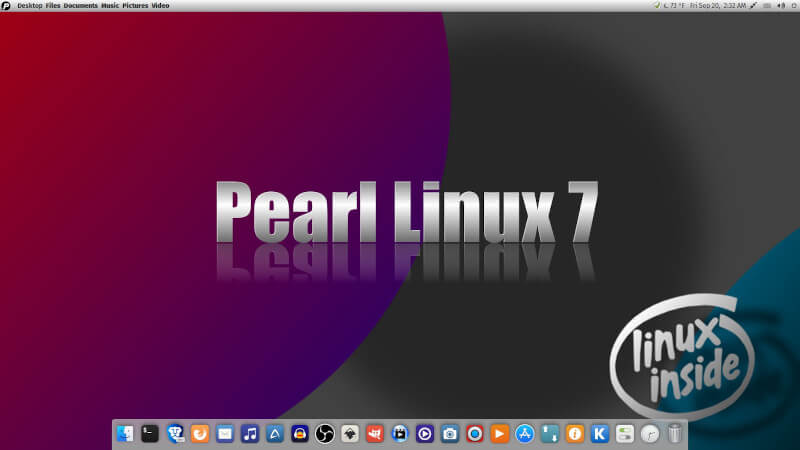
Pearl OS also uses Compiz for desktop customization and effects with a quick “Pearl-Compiz-Default-Settings” reset file in the home directory in case users go “overboard” with their customization settings.
Other Mentions
1. Trenta
Trenta is an operating system that existed to provide users with a Linux distro featuring the most competitive and innovative design. It doesn’t make it to the top 10 list because it has been discontinued due to the lack of support from the development community and its developers have diverted their attention to promoting Trenta icons and releasing 2 new products soon – Trenta Wallpapers and Trenta Tools.
2. Gmac
Gmac is unlike the other options because under the hood is Ubuntu running an immensely redecorated GNOME desktop environment that looks almost indistinguishable from macOS. Its logo is created by merging that of Apple and GNOME. If you’re cool with running a macOS-fied Ubuntu then you’re welcome.
Adding to the universal advantage of all the above-mentioned distros share (e.g. easy customization and sleek animations), they are qualified to be used both at home and in the office by developers, content creators, gamers, and users in all other fields.
On that note, we’re at the end of our list. I’m sure you’ve already selected one to give a test run when you’re done reading. Or maybe you have recommendations worthy to make it to the list, feel free to drop your comments below.
Ps. If your goal is just to make your desktop resemble macOS without performing a clean install then you can resort to using a macOS theme with any of these macOS like docks.
MacOS Monterey на Linux — быстро и просто?
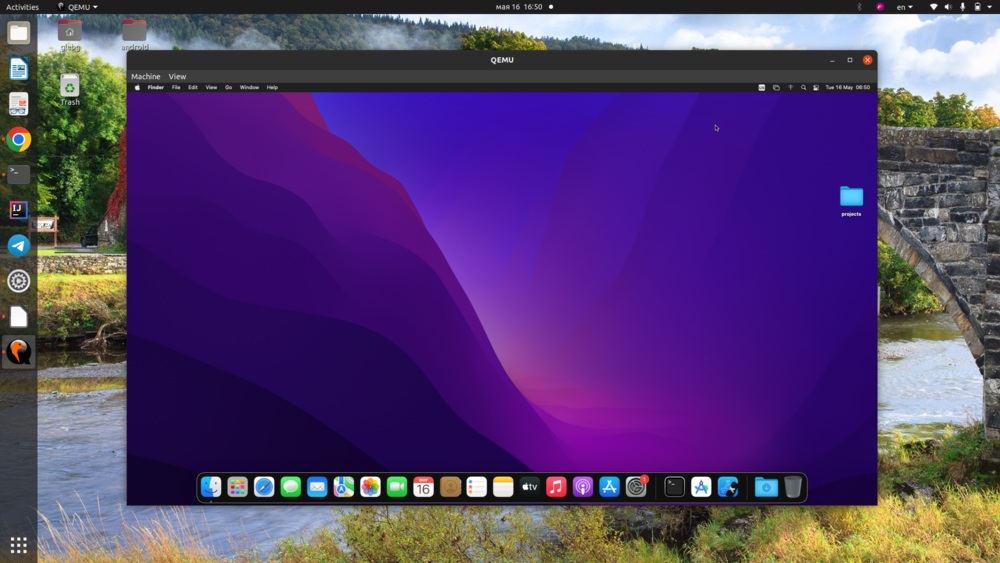
Что делать, если у вас возникло желание или необходимость заняться разработкой под MacOS или iOS, но под рукой нет макбука, а покупать его только чтобы открыть Xcode кажется делом сомнительным? Недавно я столкнулся с такой проблемой в одном из своих пет-проектов и решил ее достаточно просто и быстро. После выполнения нескольких достаточно примитивных шагов, мне удалось запустить MacOS Monterey как на скриншоте ниже.
Никакого Virtualbox, никакого Virtual Machine Manager. Из требований — только 100 Гб свободного места на диске и хотя бы 16 Гб оперативной памяти. В рунете я встречал описание похожих путей установки, вроде Docker-OSX или Sosumi. Но я бы хотел поделиться способом, который позволяет использовать актуальную версию MacOS (Sosumi — сразу минус) и не потратить уйму свободного времени на возню с конфигами и терминалом. Поехали.
Для начала установим все необходимые пакеты и добавим себя в группу kvm и libvirt:
sudo apt-get install qemu uml-utilities virt-manager git wget libguestfs-tools p7zip-full make dmg2img -y sudo usermod -aG kvm $(whoami) sudo usermod -aG libvirt $(whoami) sudo usermod -aG input $(whoami) Теперь склонируем репозиторий проекта OSX-KVM в домашнюю директорию пользователя:
cd ~ git clone --depth 1 --recursive https://github.com/kholia/OSX-KVM.git cd OSX-KVM git pull --rebase Приступим к самой установке. Скрипт fetch-macOS-v2.py позволит скачать образ операционной системы желаемой версии:
./fetch-macOS-v2.py 1. High Sierra (10.13) 2. Mojave (10.14) 3. Catalina (10.15) 4. Big Sur (11.7) - RECOMMENDED 5. Monterey (12.6) 6. Ventura (13) Скрипт выведет список версий ОС и предложит ввести номер. К сожалению, так и не удалось запустить MacOS Ventura из того образа, который предоставляется репозиторием. Я бы рекомендовал установить Monterey, чтобы пользоваться современными версиями Xcode и других инструментов.
После выбора версии скрипт скачает образ. Подождав завершения скачивания, запустим команду:
dmg2img -i BaseSystem.dmg BaseSystem.imgСледующий, третий, шаг в установке — создадим виртуальный жесткий диск. Желательный объем для установки — не меньше 100 Гб постоянной памяти, чтобы можно было не только установить виртуалку, но и что-то внутри нее.
qemu-img create -f qcow2 mac_hdd_ng.img 128GПеред тем, как запустить последнюю команду — отредактируем скрипт OpenCore-Boot.sh .
… чтобы использовать 8 Гб при запуске виртуальной машины, а не 4 Гб. При этом желательно, чтобы оперативная память виртуальной машины не превышала половины от общей RAM хоста.
Скорее всего, вам понадобится также закомментировать строку…
-global ICH9-LPC.acpi-pci-hotplug-with-bridge-support=off… потому что она была нужна в более ранних версиях, а сейчас выдаст ошибку.
Все, теперь мы полностью готовы к финальной стадии. Запускаем скрипт ./OpenCore-Boot.sh в терминале, который выдаст нам окно Qemu.
Как ни странно, именно на этом этапе что-то может резко пойти не так. Обычно англоязычные туториалы по теме именно в этот момент установки отписываются волшебной фразой «Отлично! Далее следуйте указаниям на экране», но я бы хотел подробно остановиться на основных моментах, на которых сам набил шишки.
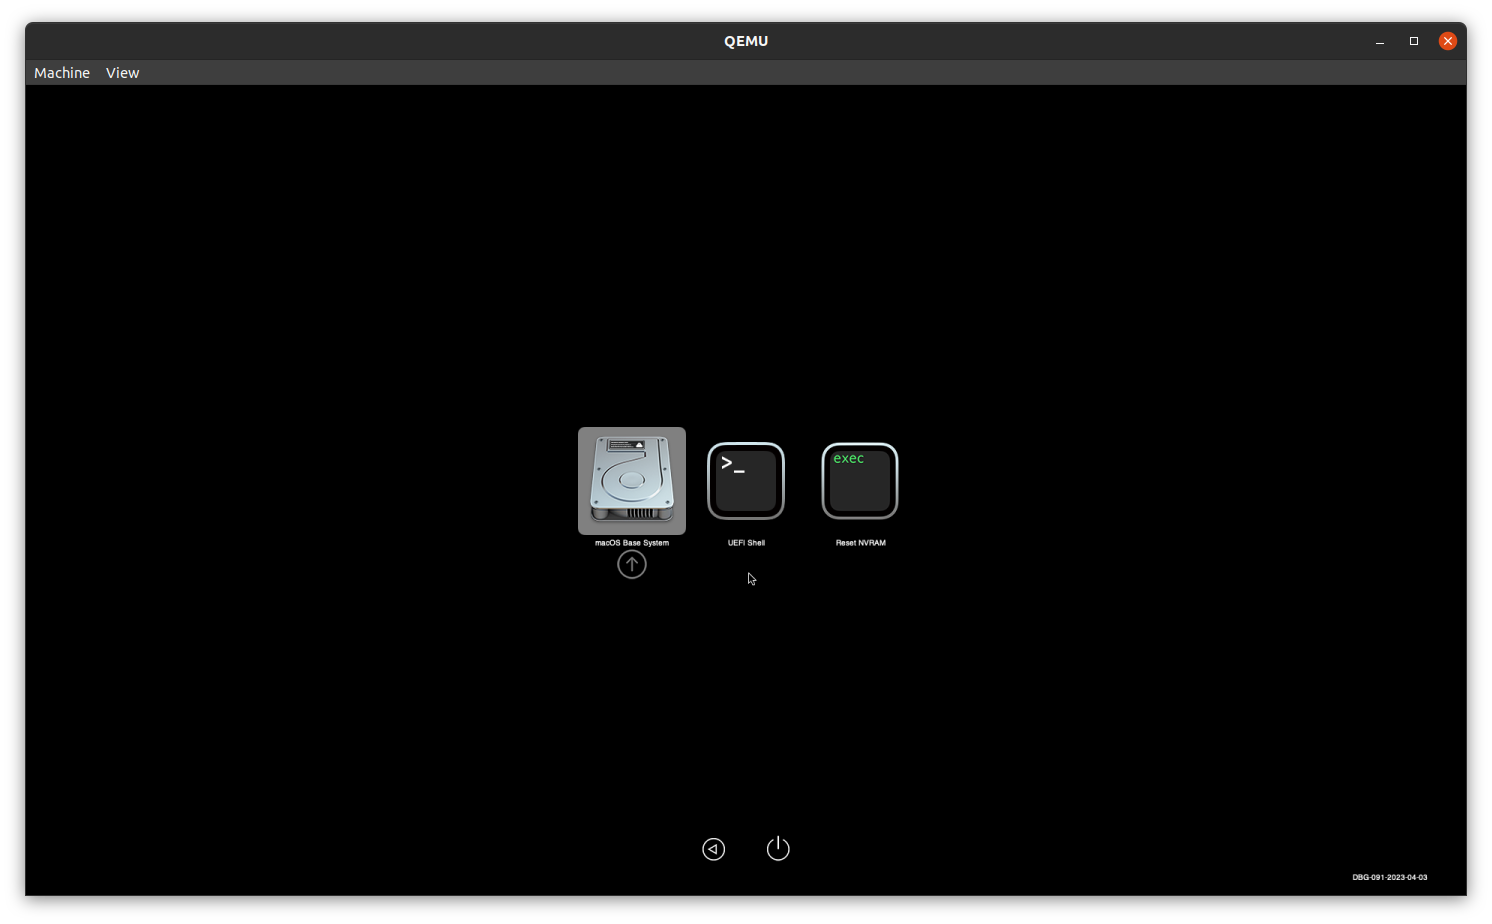
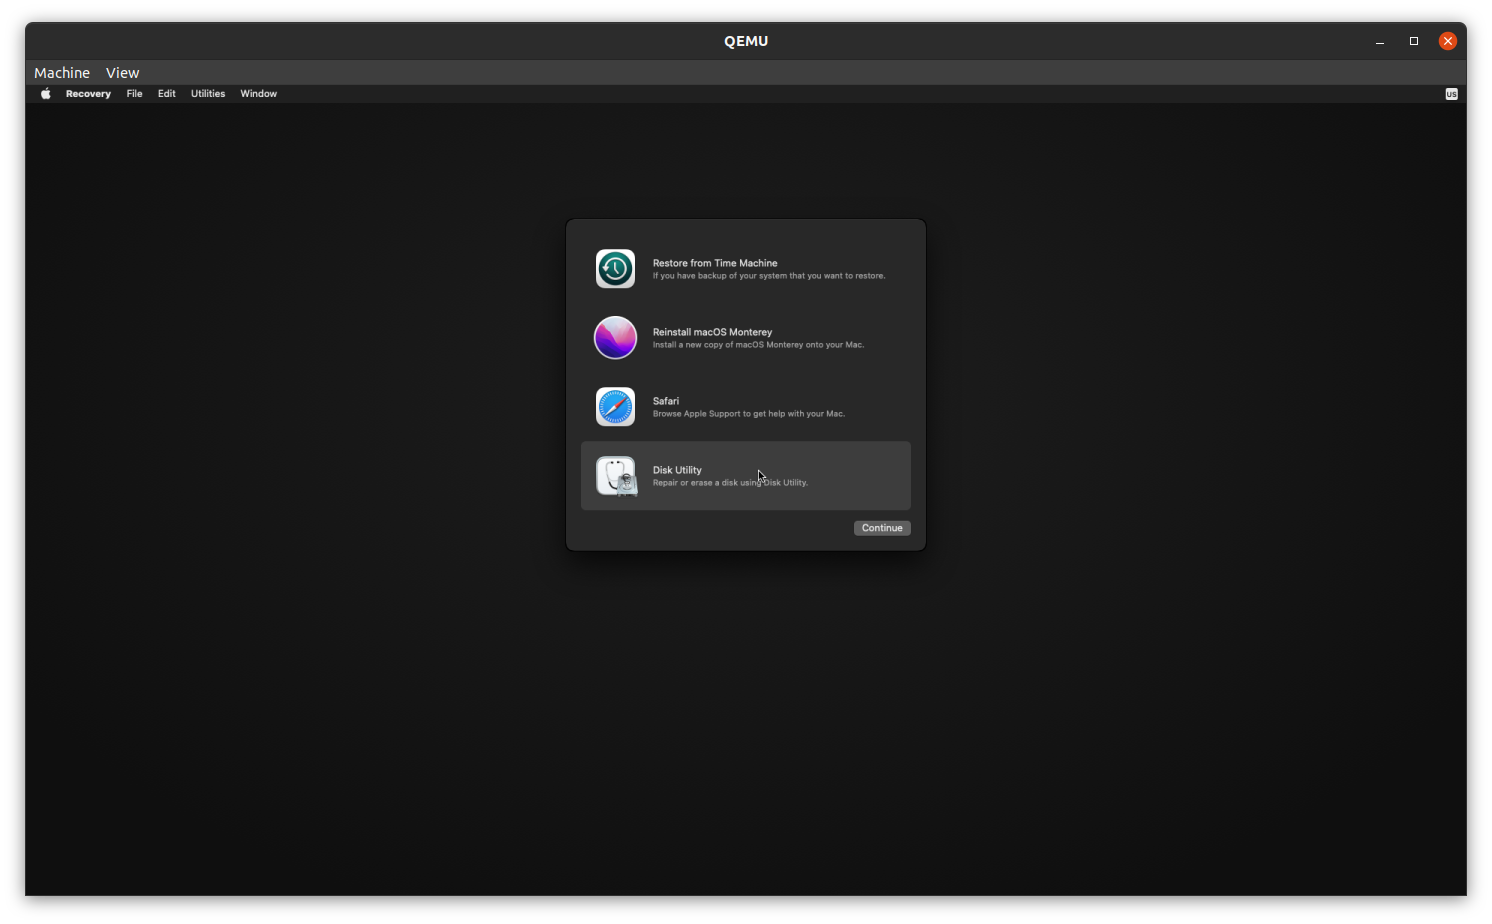
Первым появится экран с тремя опциями, из которых выберем macOS Base System:
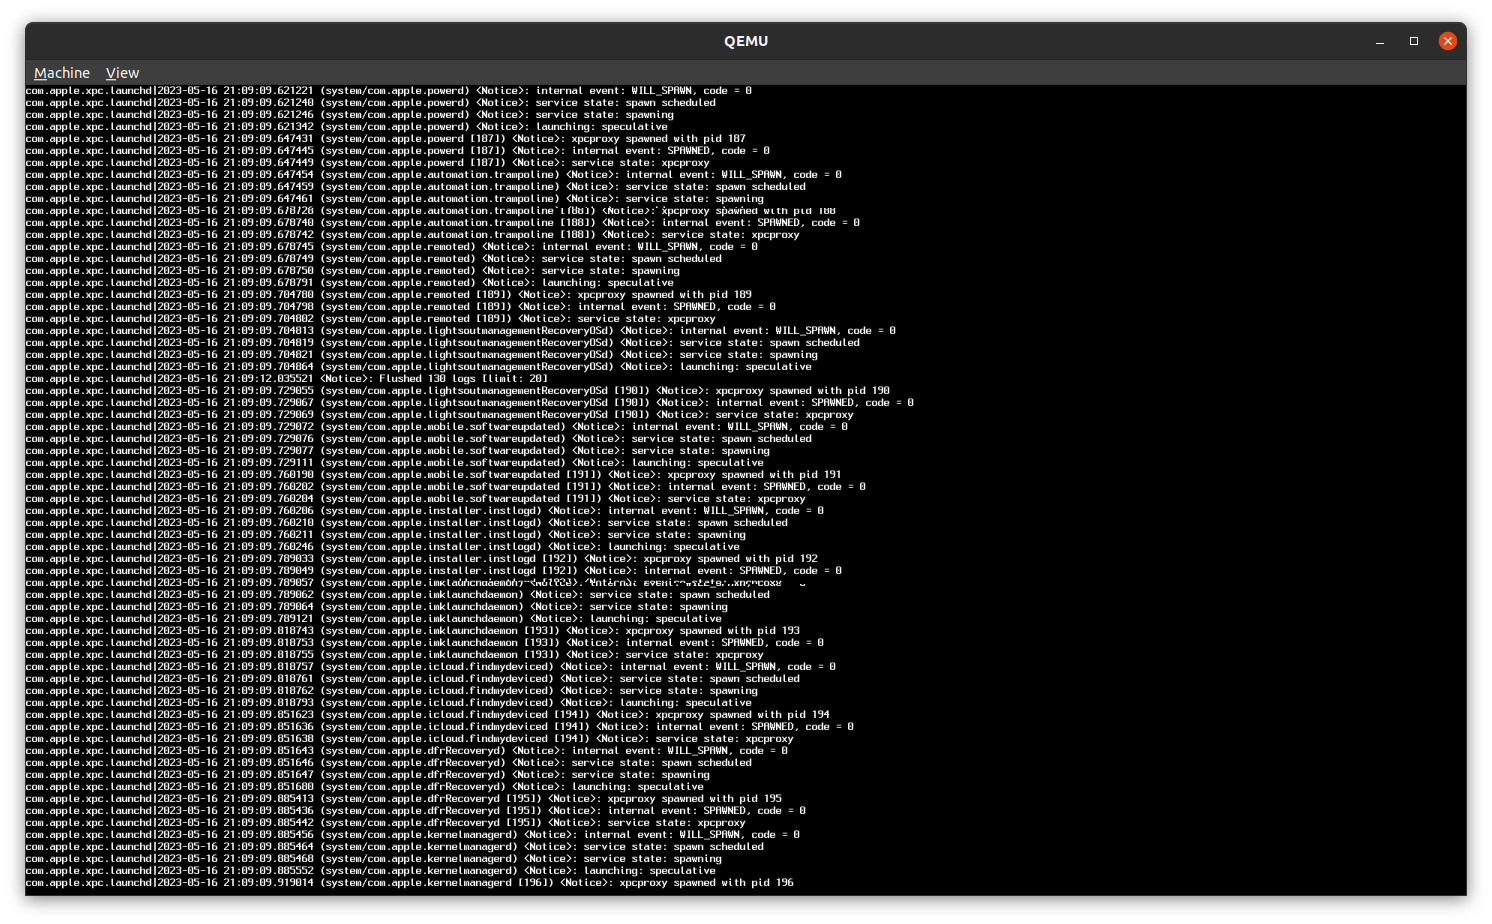
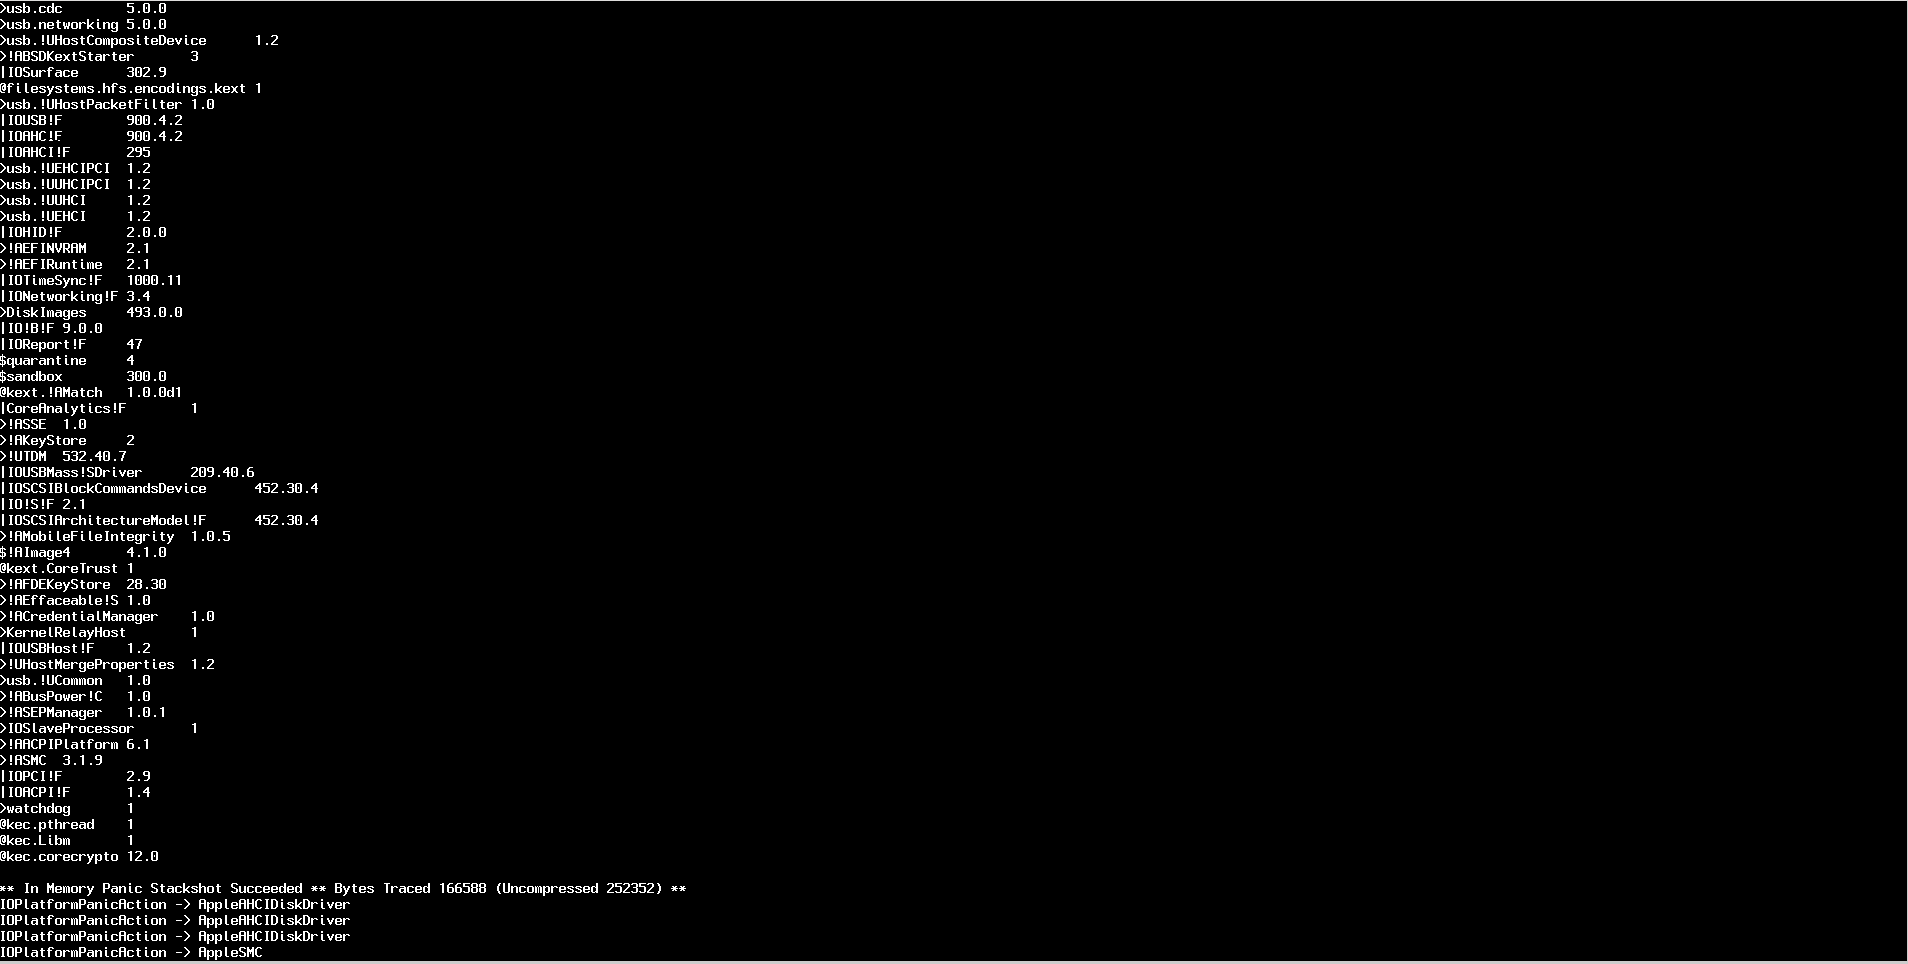
Далее вы увидите юзер-френдли терминал с тысячами строк белого текста на черном фоне — не переживайте, это так и должно быть…
Через буквально несколько секунд появится такая менюшка, в которой нужно перейти в Disk Utility:
В меню Utility в правой колонке выберем тот диск, который создали командой qemu-img . Самый простой признак — его размер будет больше 100 Гб. Здесь важно не ошибиться и не отформатировать не тот диск. Если это случится, придется начинать установку заново.
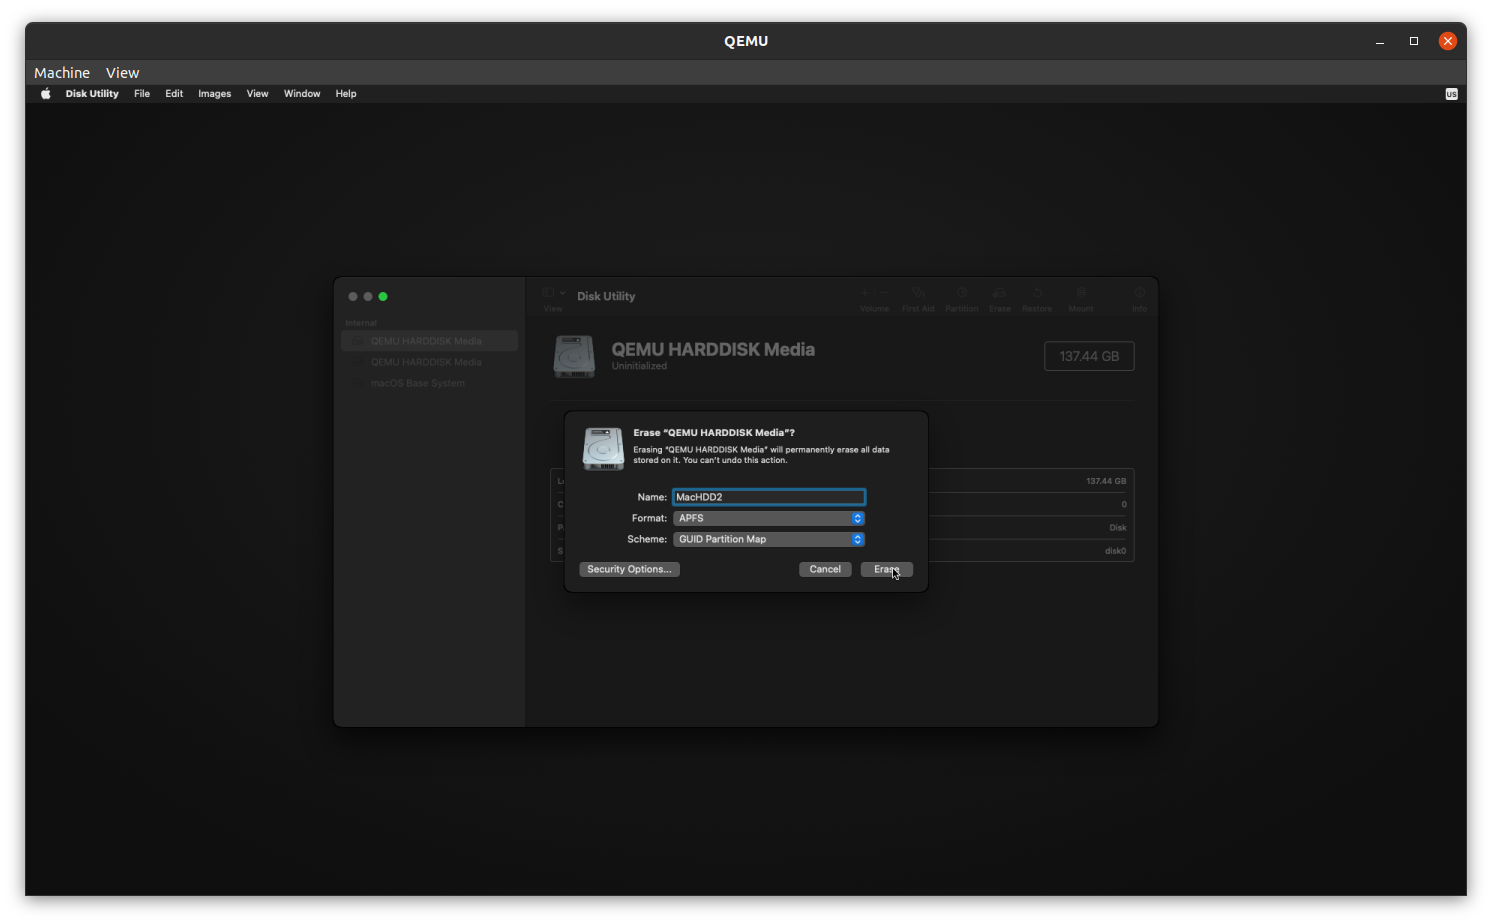
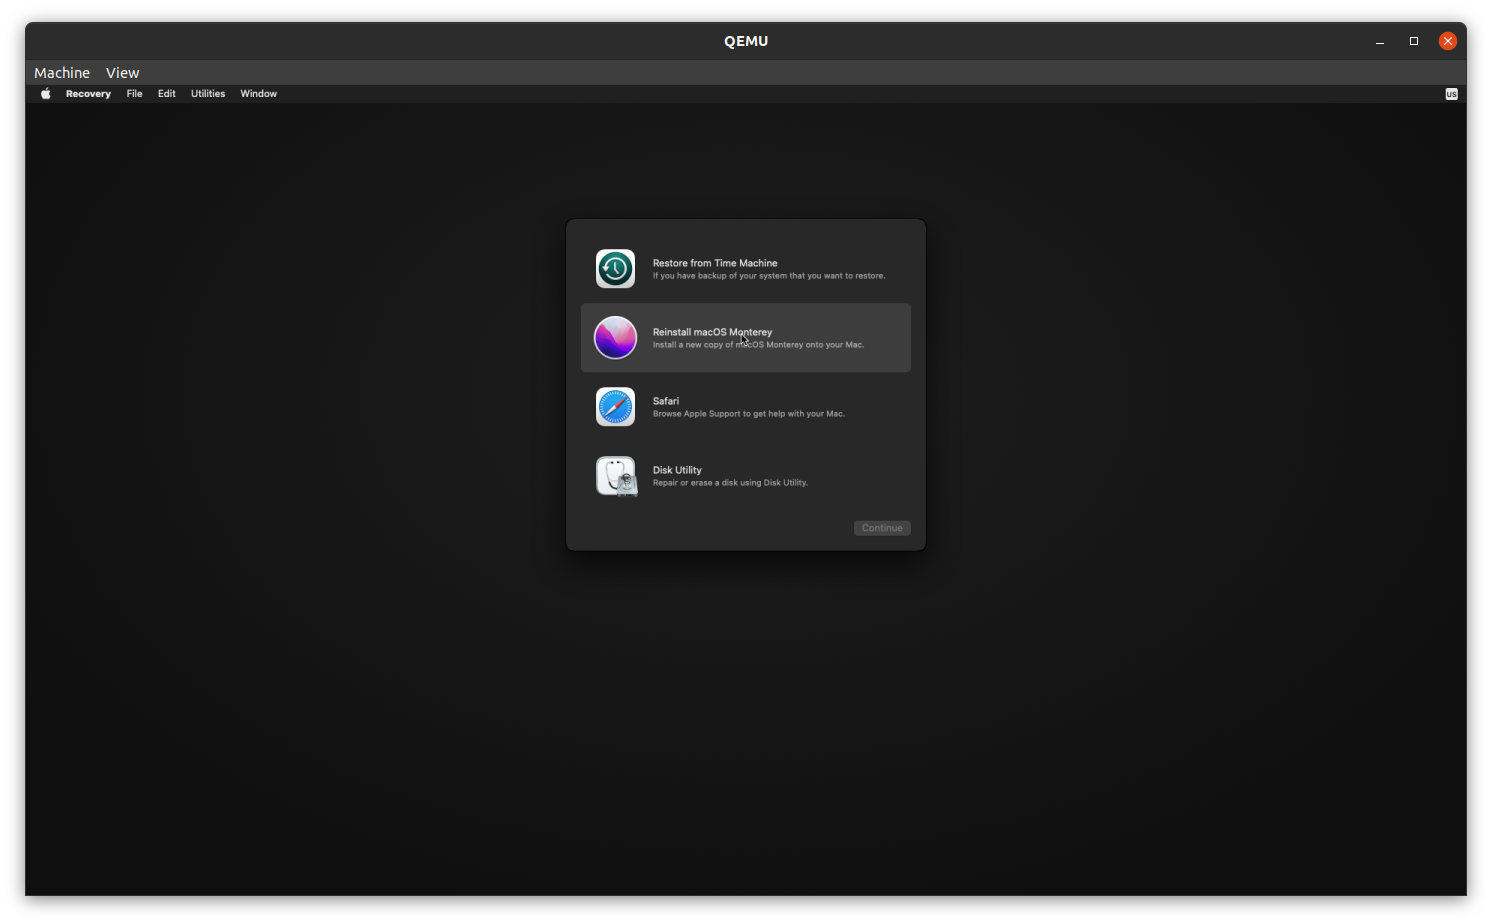
Переименовав диск и нажав Erase, закроем Disk Utility и вернемся к более раннему меню. После выбора Reinstall macOS Monterey нажимаем Agree и выбираем диск, который переименовали и отформатировали в Disk Utility:

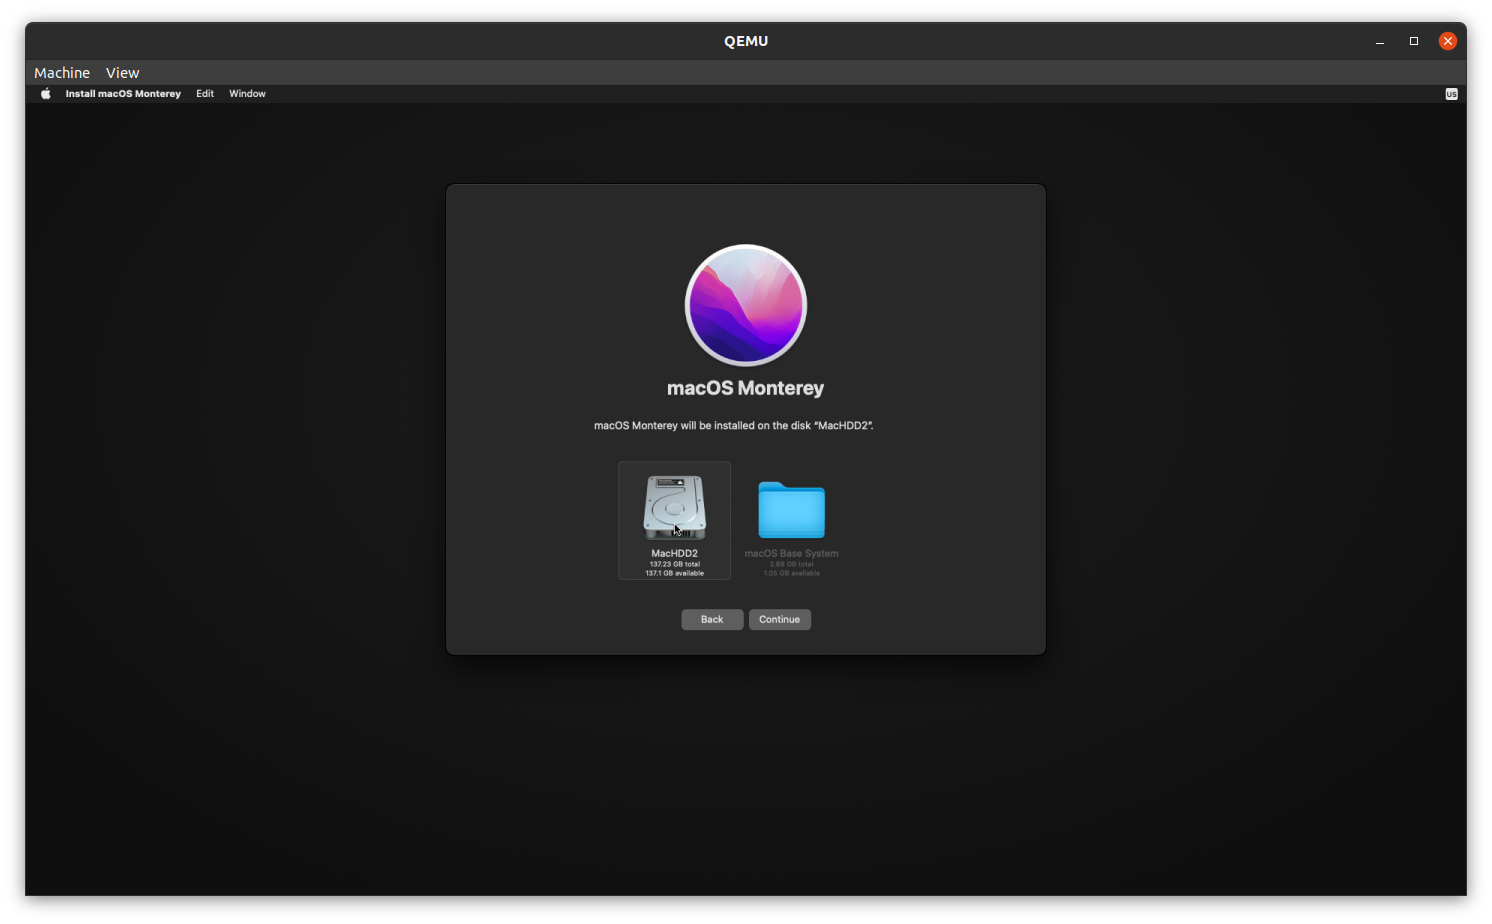
Далее появится прогрессбар установки, заполнение которого может занимать много, очень много времени. Рационально отключить у ноутбука спящий режим и оставить его на ночь для успешной установки. После ее окончания вы еще раз увидите немного бегущего белого текста на черном фоне и затем долгожданный экран первоначальной настройки macOS Monterey:

Вот и все, дальнейшие действия — как при обычной настройке macOS. Может быть, существуют еще более простые способы запускать Monterey или даже Ventura из-под линуксового хоста, но этот показался наиболее оптимальным по затратам времени и усилий лично мне.
В заключение упомяну, что при запуске уже установленной виртуальной машины можно столкнуться с такой проблемой:
В этой ситуации поможет просто перезапустить хост, причем именно выключить, подождать несколько секунд и включить снова, Restart не спас. К сожалению, ничего конкретного о причинах этой ошибки мне узнать не удалось.