- Linux and vmware server
- Short introduction
- What you need to know
- Packages
- Compilation
- Begin installation
- Unable to build the vmmon module
- Download the updates
- Apply the patch
- Xinetd super service missing error
- Problems with SSL certificates
- Problem with registering the serial number
- Installation successful!
- Summary
- Install packages
- Create SSL files
- Conclusion
- Установка Ubuntu Server 20.04 LTS на виртуальную машину VMware ESXi 6.7
- Ссылки
- Подготовка
Linux and vmware server
Supposedly, this should have been a trivial task. But it is not. On one hand, Ubuntu is a very modern, non-conventional Linux distributions that breaks quite a few classic conventions. On the other hand, VMware aims at the business segment where stability and backward support are more important than the latest innovations and, as such, makes its products compatible with older, more traditional kernels. When you try to install VMware Server on Ubuntu, you hit a few snags.
In this tutorial, I would like to show you how you can overcome the hail of problems that will arise when you try to install VMware Server on Ubuntu (64-bit). Let us begin.
Short introduction
I’ve been using VMware Server since its beta days, mostly on SUSE machines. I’ve never had a problem with this distro. Because SUSE retains backward compatibility for two whole versions and this means old things, scripts, libraries, and directories you’ve seen on versions 9 and 10 are also there on 11.
With Ubuntu, things are far more fluid, far more dynamic and a whole lot different than what your average, by-the-book Linux distro offer. Not surprisingly, I’ve been plagued with a variety of issues since Gutsy Gibbon, in regard to VMware Server, that is. With each new release, the problems only get more complicated, the pinnacle being my latest attempt with VMware Server 1.0.9 on Ubuntu 9.04 64-bit edition, which I installed on my shiny new laptop, a whole bunch thereof.
With a bit of online reading and some intuition, I’ve had VMware Server running, after only half a dozen botched installations. To save you the time and effort, I’ve compiled this guide, with all the little troubles I’ve seen and faced — so you will know how to avoid them and, if necessary, handle them quickly and painlessly.
What you need to know
VMware Server is available in two flavors: .rpm package and .tar.gz archive. Ubuntu, being Debian-based, cannot run .rpm packages out of the box. It needs to convert them, using the alien converter utility.
Because of this, plus the fact you have far less control over automated installations via RPM, I recommend you use the archive. It’s slower and supposedly more cumbersome, but it gives you a better understanding of what you’re doing.
Packages
The VMware Server has three components:
- The VMware Server itself (tar.gz package)
- The Management interface (MUI) (tar.gz package)
- The Server Console (both Windows and Linux packages inside a .zip file)
You need to install them in this order. You may also want to refer to my older VMware Server guide, which explains the procedure in some detail.
Compilation
The installation involves the compilation of VMware drivers on your host. This means you will have to have the compilation tools installed and ready. In Ubuntu, obtaining these package is very simple.
sudo apt-get install build-essential
And that is all. You are ready to attempt the installation.
Begin installation
Extract the VMware Server archive, cd into the created directory and run as sudo the vmware-install.pl script. The .pl extension stands for Perl. It has nothing to do with Poland.
The installer is a simple text-based script that asks you a lot of questions, like where you want to place the binaries, the documentation, the icon, etc. It’s a fairly standard thing, nothing too exciting or complicated. The real fun begins when the installer tries to compile one of its modules.
Unable to build the vmmon module
This is the first error you will encounter.
Reading online, you will a staggering list of possible patches, updates, some of which only work for VMware Server 2, others which only work for VMware Server 1 and all dependent on the kernel version.
Luckily, there’s one place where you can find all the required updates — insecure.ws. They are written well, they are very simple to use, and most importantly — they work as promised.
Download the updates
You will need to download the relevant updates and apply them before trying to install VMware Server again. Choose the one that matches your kernel version. You can discover your kernel version by typing uname -r on the command line. For more information on basic command line usage, you may want to take look at commands & configurations tutorial. I guess new updates will come as new versions of Ubuntu and/or VMware products are released. For now:
- For kernels 2.6.26-28, you have this — works for VMware Server & Workstation.
- For kernels 2.6.29-30, you have this — works for VMware Server & Workstation.
- For kernel 2.6.31, you have this — works for VMware Server & Workstation.
Apply the patch
Extract the archive and run the runme.pl script. It will patch the VMware package and relaunch the installer. This time, the vmmon module should successfully compile.
We’re past obstacle 1. Continue with the installation until you hit the next error:
Xinetd super service missing error
You’ll see an image like this:
The message is for inetd, but on modern Linux systems, the service is question is Xinetd. Ubuntu does not have Xinetd installed by default. Xinetd is a sort a super service that launches other services on demand. Since Ubuntu strategy is to ship with all ports closed as a security measure, i.e. no running services, the developers figured it would be the best idea to eliminate Xinetd as well, to make for an ever tighter security configuration.
However, VMware Server requires Xinetd to be installed. We will install it, then rerun the installer . again. You can install via Synaptic:
Or simply run apt-get from the command line:
sudo apt-get install xinetd
This will get us past obstacle 2. On to problem #3.
Problems with SSL certificates
VMware Server installation will fail again because the installer cannot find the rui.key and rui.crt files, necessary for the generation of the SSL certificate, which VMware Server uses for its own internal communication between the host and guests.
Solution: You need to create two files, rui.key and rui.crt .
sudo touch /etc/vmware/ssl/rui.key
sudo touch /etc/vmware/ssl/rui.crt
Let’s move on to problem 4.
Problem with registering the serial number
Next, the installer will complain about your serial number being invalid, even though it is perfectly all right. This will happen on 64-bit systems, because Ubuntu does not come with certain 32-bit libraries that the installer requires to do its job.
The solution is to install the missing libraries and rerun the installation script.
sudo apt-get install ia32-libs
A lots of dependencies will be automatically solved:
After you solve this one, your VMware installation should proceed smoothly.
Installation successful!
The next steps are to install the MUI and Server Console. Once you get past the four difficult steps in the Server installation, the other two packages will be carefree.
Within a few minutes, you should have the Server up and running:
Summary
You can make the procedure more pleasant by satisfying all the missing items before you launch the update (runme.pl) script. Here’s what you need to do:
Install packages
sudo apt-get install build-essential xinetd ia32-libs
Create SSL files
sudo touch /etc/vmware/ssl/rui.key
sudo touch /etc/vmware/ssl/rui.crt
You can also create a small script that does this for you. I am willing to write one, to help you automate your VMware installation. If you’re interested, drop me a line. Should the popular demand exceed the laziness threshold, I will write the script and upload it here.
Once you’ve run the three simple commands, run the update script and answer the prompts, including the configuration of your network, the location of your virtual machines, etc. After you complete the Server installation, install the MUI and Server Console, and you’re good to go.
Conclusion
I hope you have enjoyed this article. It provides a step-by-step, no nonsense solution to install VMware Server on Ubuntu. It deals with each problem that occurs during the installation and provides a simple solution.
Ubuntu and VMware Server do not sit well together, but with some loving goading and some patience, you’ll have the issues solved, from having the right tools for compilation, via missing packages (xinetd, ia32-libs) and creating SSL files, to running the update that patches the VMware sources and makes the installation possible.
Of course, you need to thank insecure.ws for the update, which makes it all possible. I’ve just polished the things up a little to make them presentable for the average user. Take care.
Установка Ubuntu Server 20.04 LTS на виртуальную машину VMware ESXi 6.7

Установим на виртуалку сервер Ubuntu Server 20.04 LTS 64-bit. Используем гипервизор ESXi 6.7 U3.
Ссылки
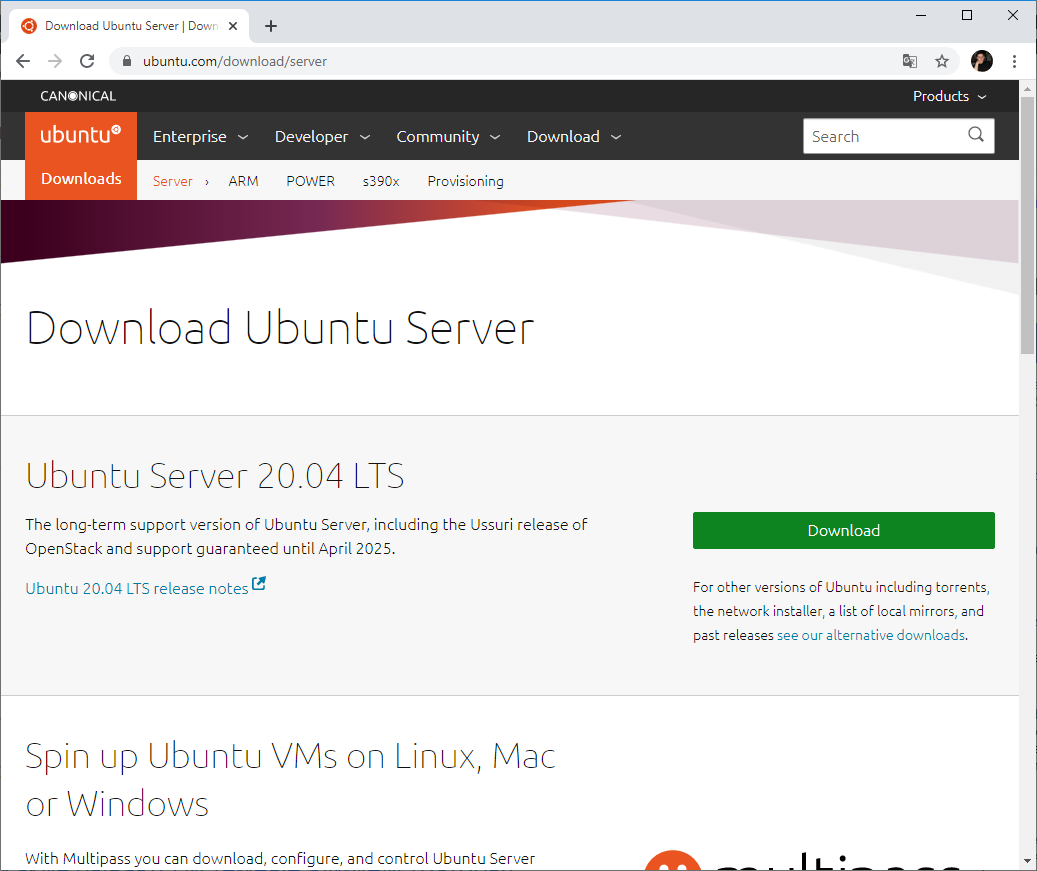
Дистрибутив Ubuntu Server скачиваем с сайта:
Ubuntu Server 20.04 LTS — гарантированная поддержка до апреля 2025 года.
Подготовка
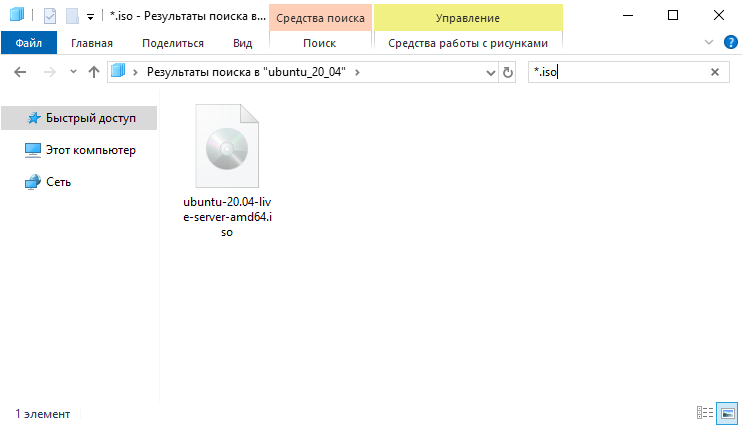
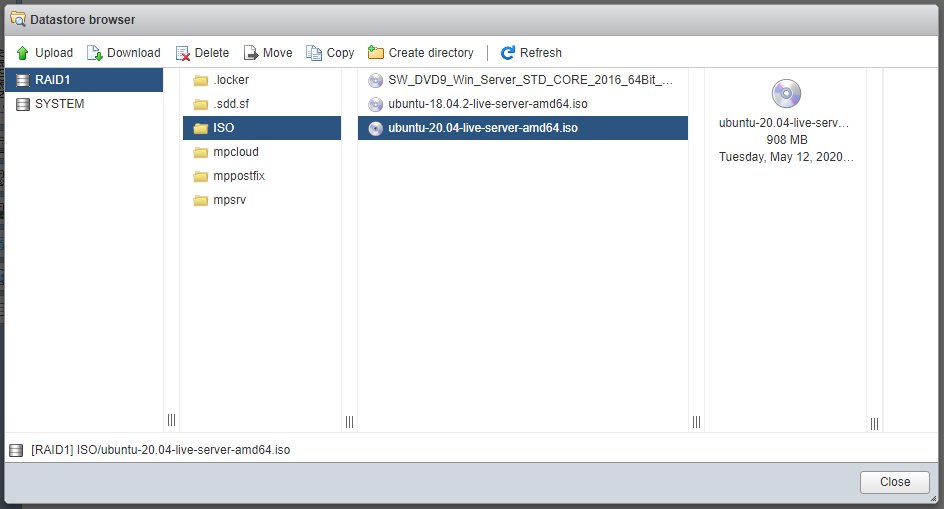
Скачиваю дистрибутив ubuntu-20.04-live-server-amd64.iso:
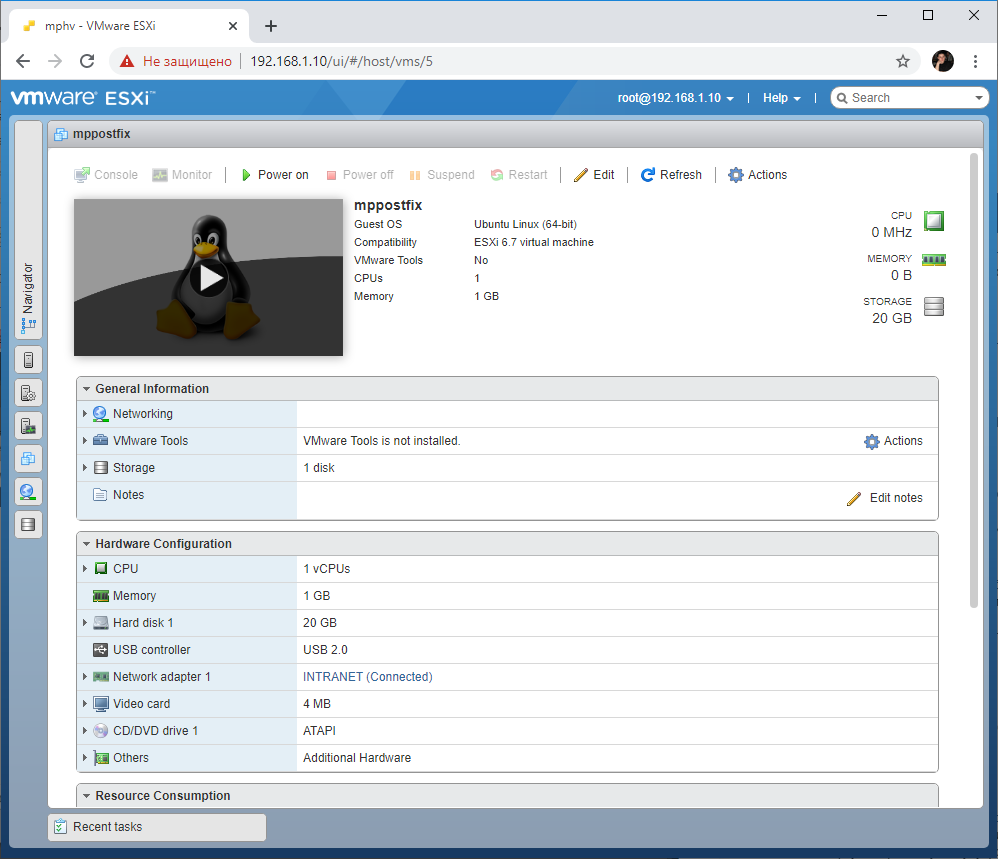
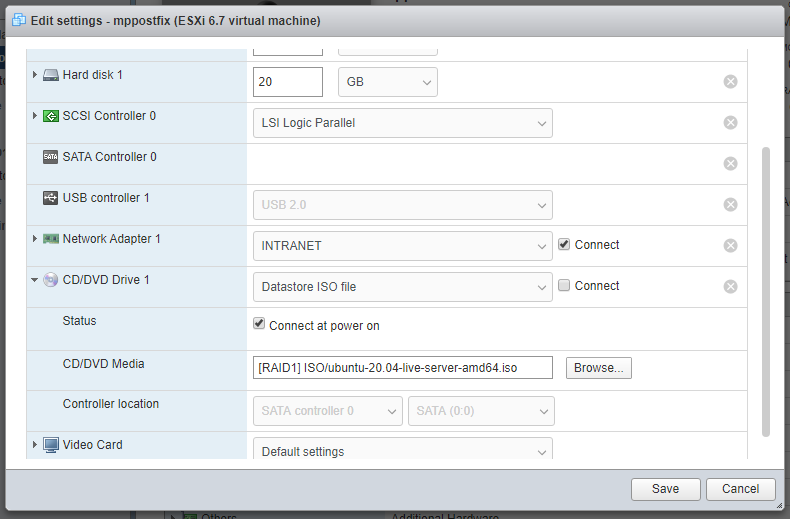
Создаю виртуальную машину. 1 процессор, 1Гб оперативки, 20 Гб жёсткий диск.
ISO образ дистрибутива загружаем в хранилище ESXi:
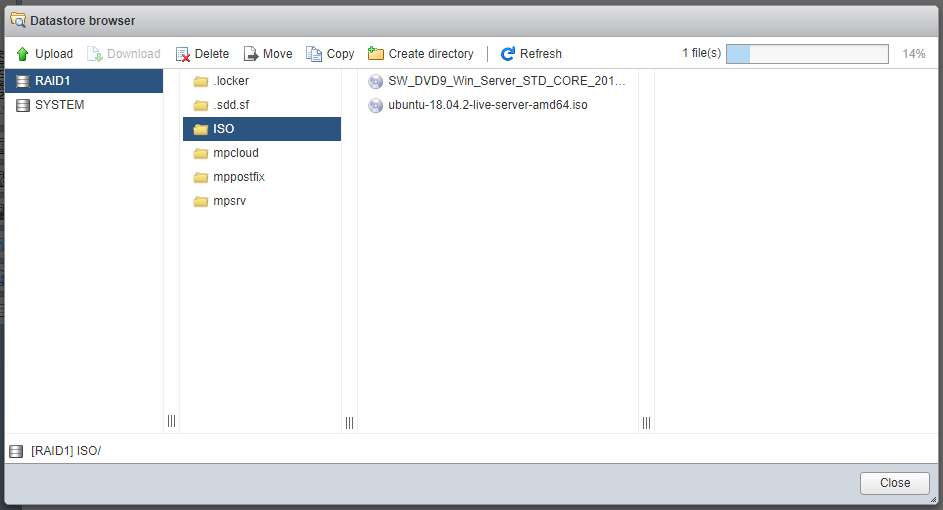
Через некоторое время образ Ubuntu 20.04 загружен в хранилище.
Загружаю виртуальную машину.
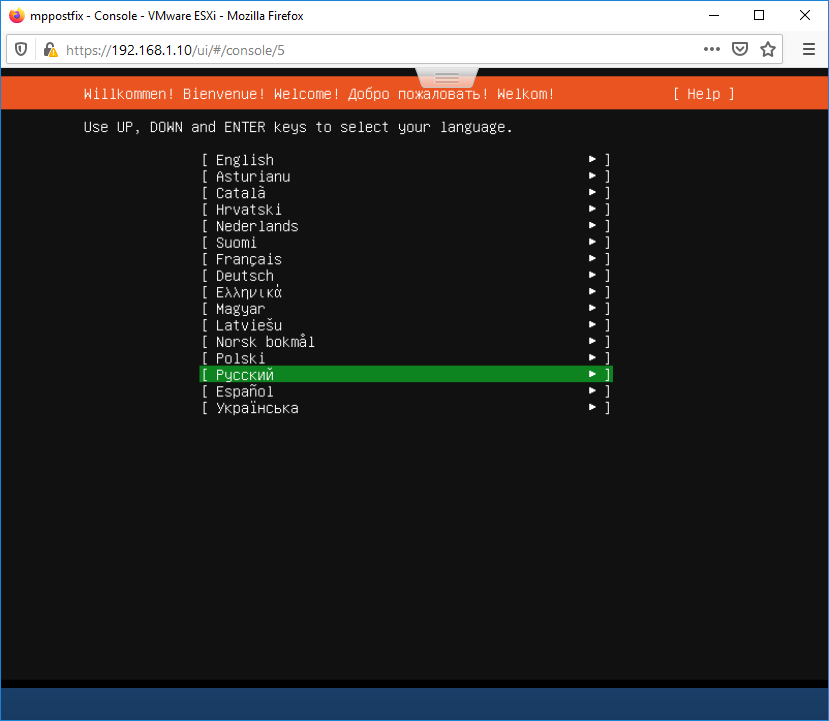
Выбираю язык — Русский. Enter.
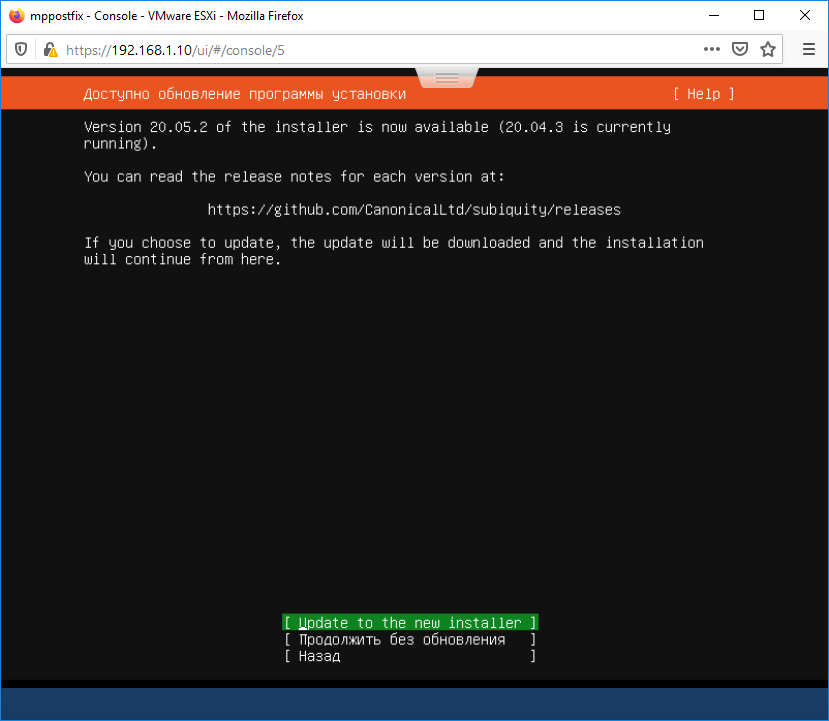
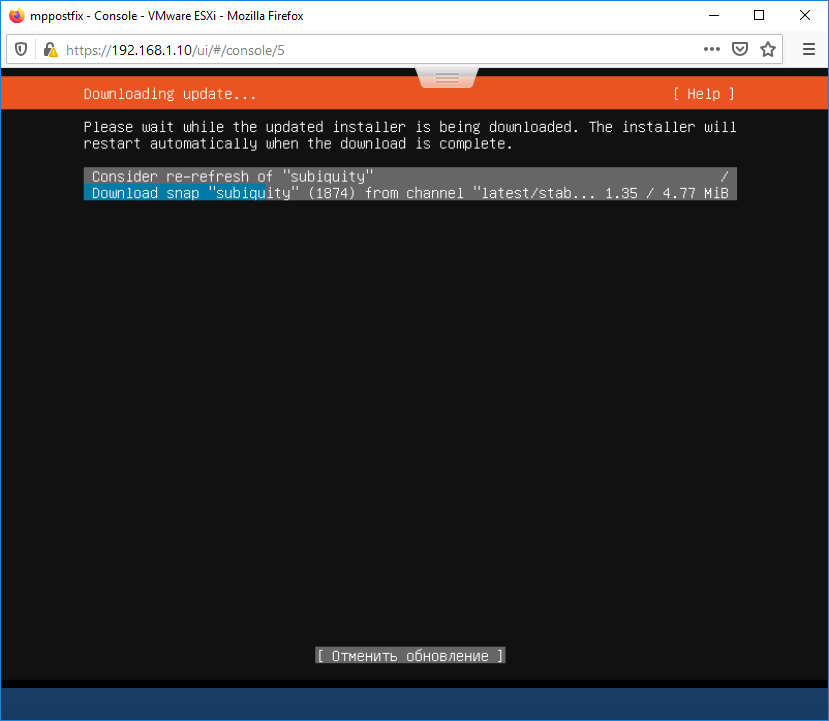
Найдена новая версия инсталлятора Subiquity, попробую обновиться, Update to the new installer.
Продолжаю установку. Странно, язык не везде русский, не продолжаю установку. Назад. Выбираю язык — Русский. Enter. Другое дело.
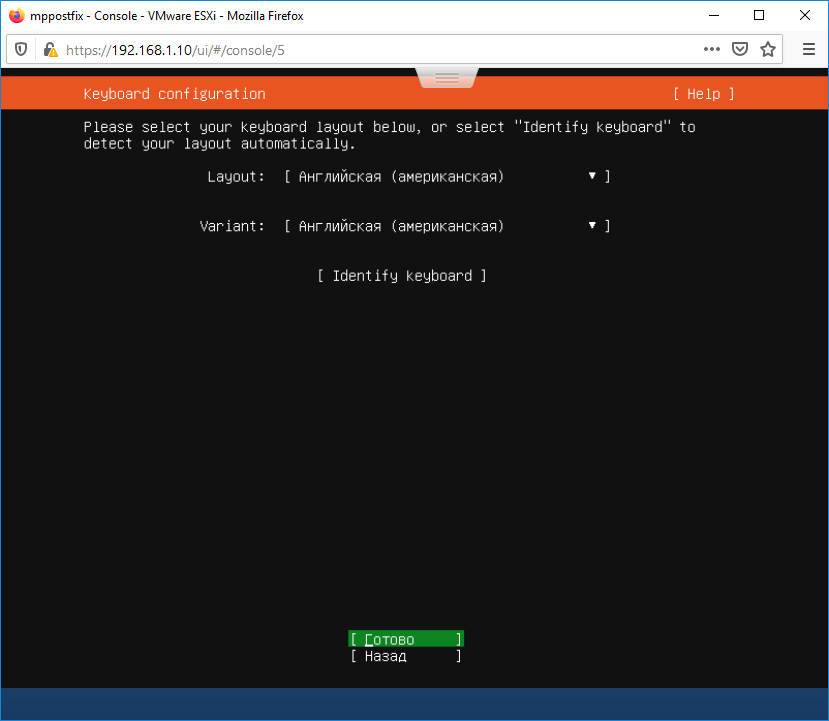
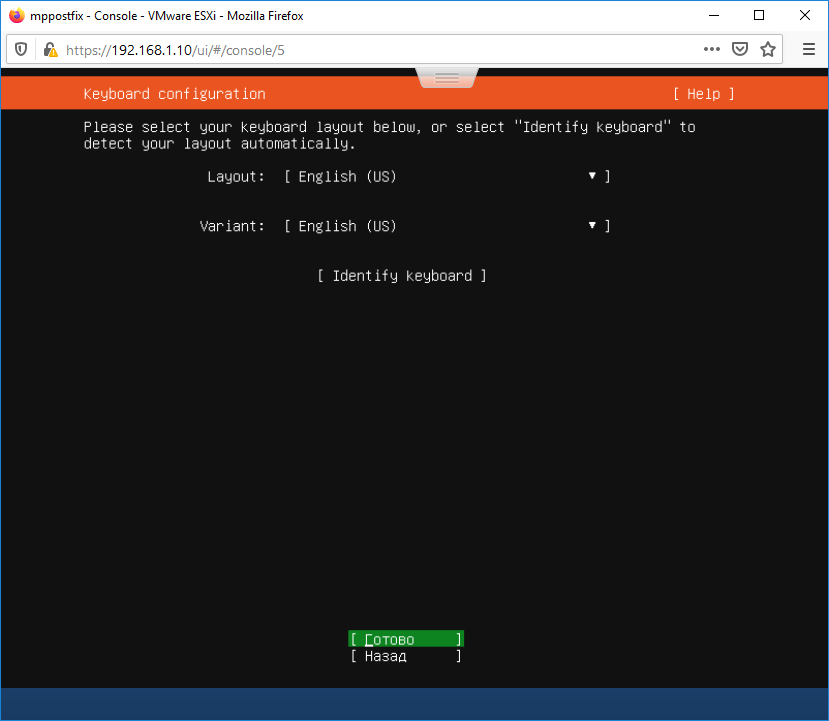
Выбираю раскладку клавиатуры. Я привык к Английской. Готово.
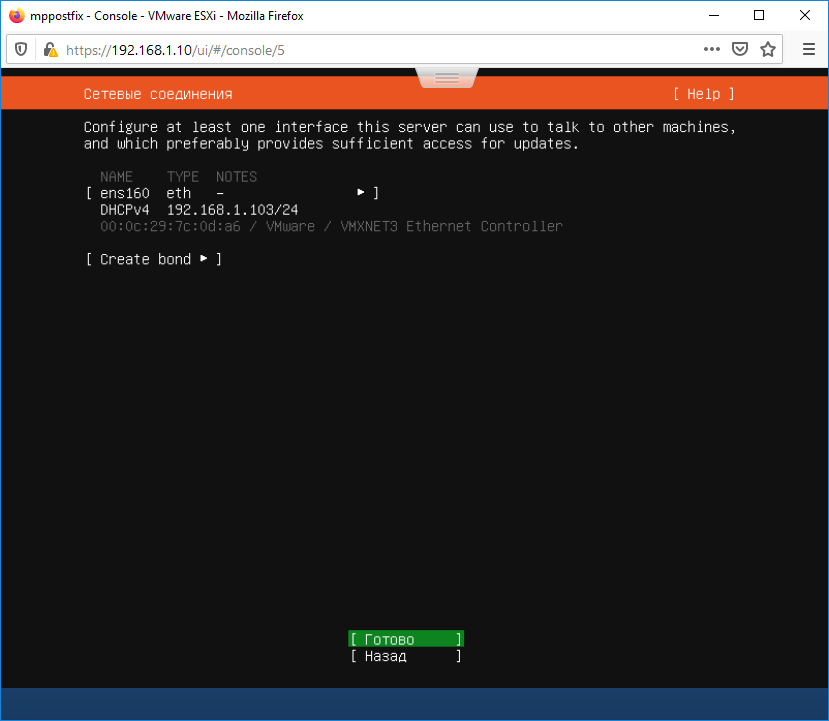
Настрою сеть. DHCP сервер уже выдал какой-то IP адрес, поэтому и смог обнаружиться новый установщик, но я хочу использовать статический IP адрес.
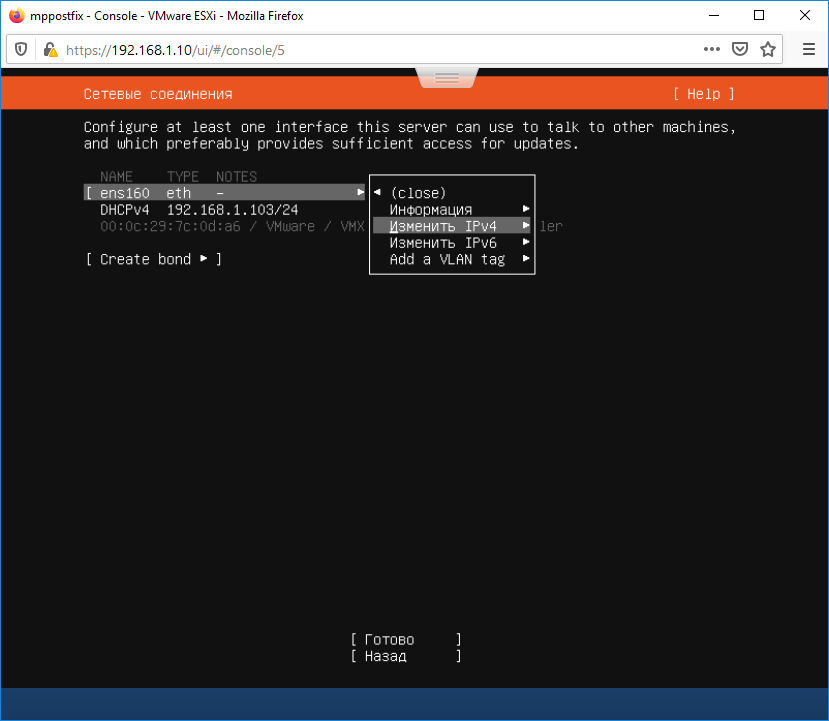
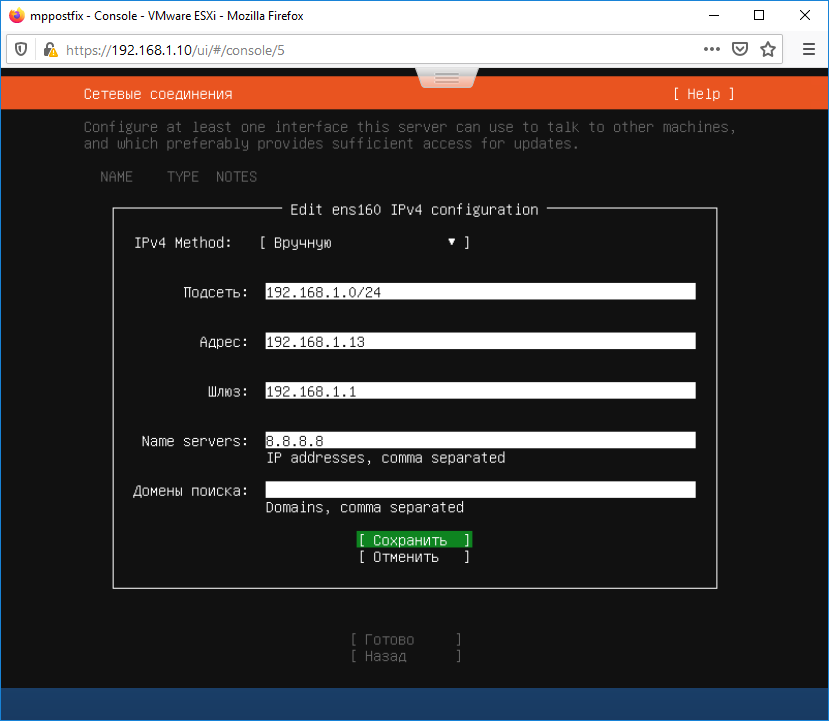
Указываю настройки сети. Сохранить.
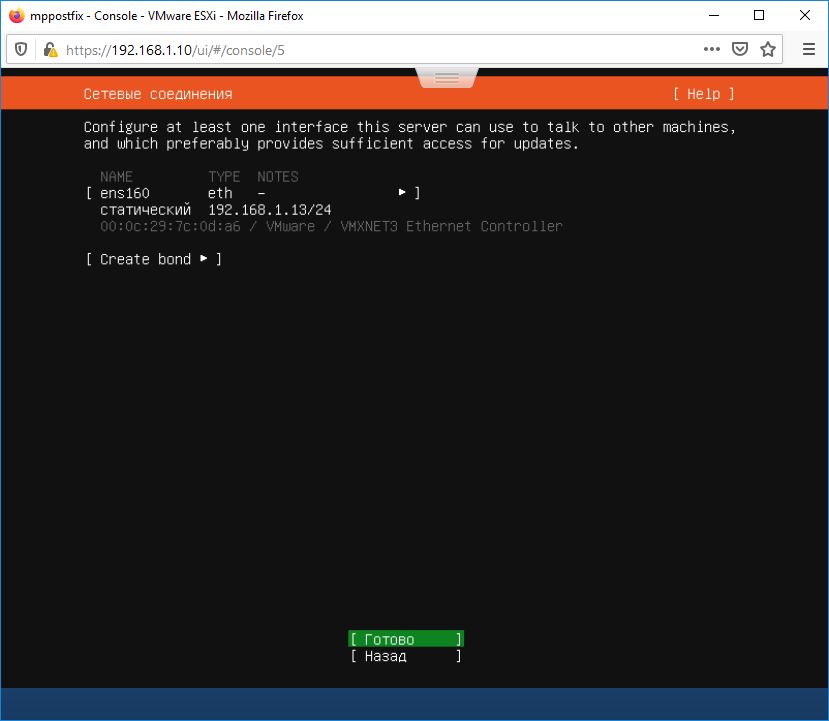
Здесь можно настроить агрегацию портов. Мне не нужно. Готово.
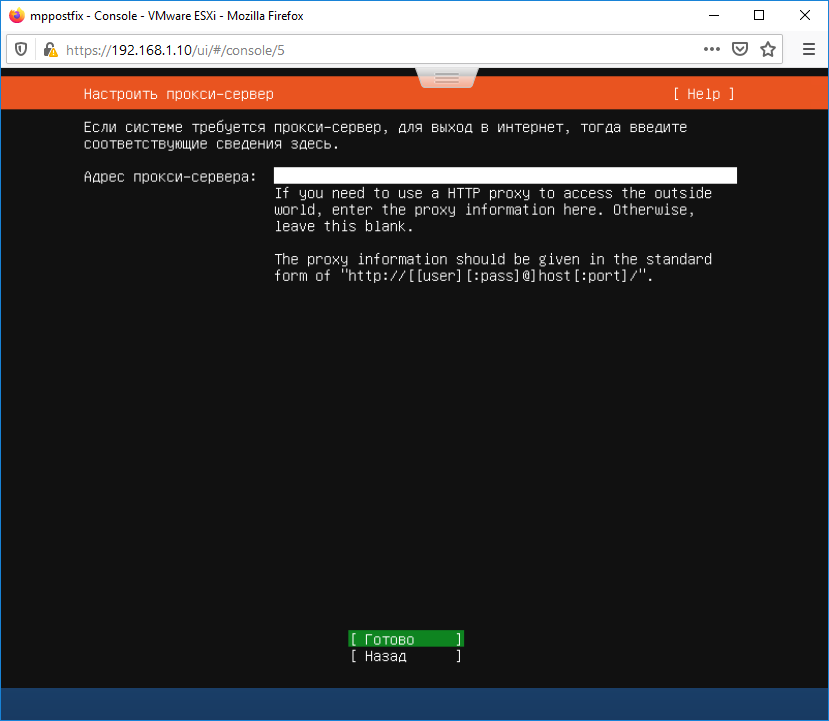
Настройка прокси. Мне не требуется. Готово.
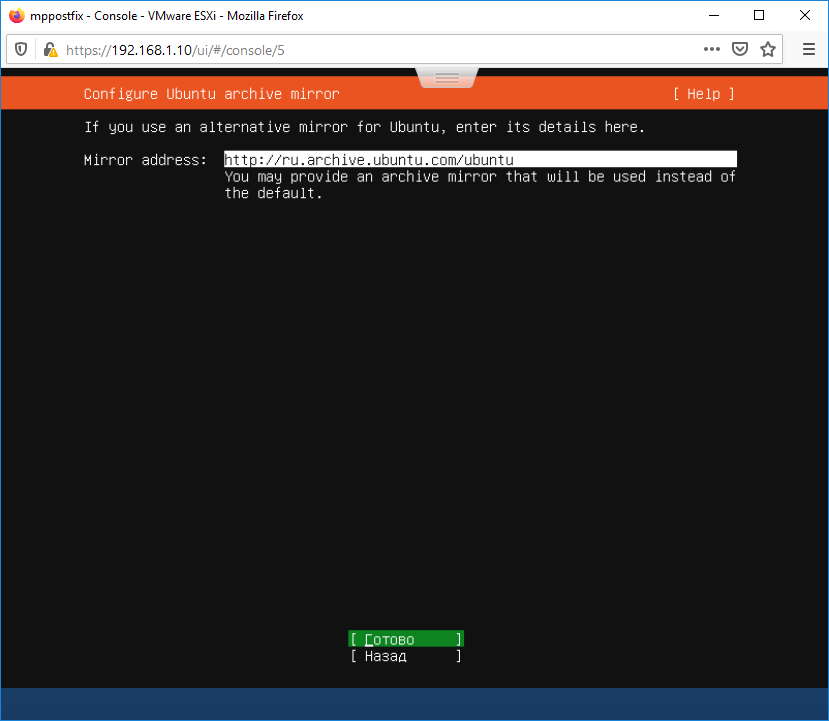
Можно указать зеркало для Ubuntu. Я оставляю значение по умолчанию. Готово.

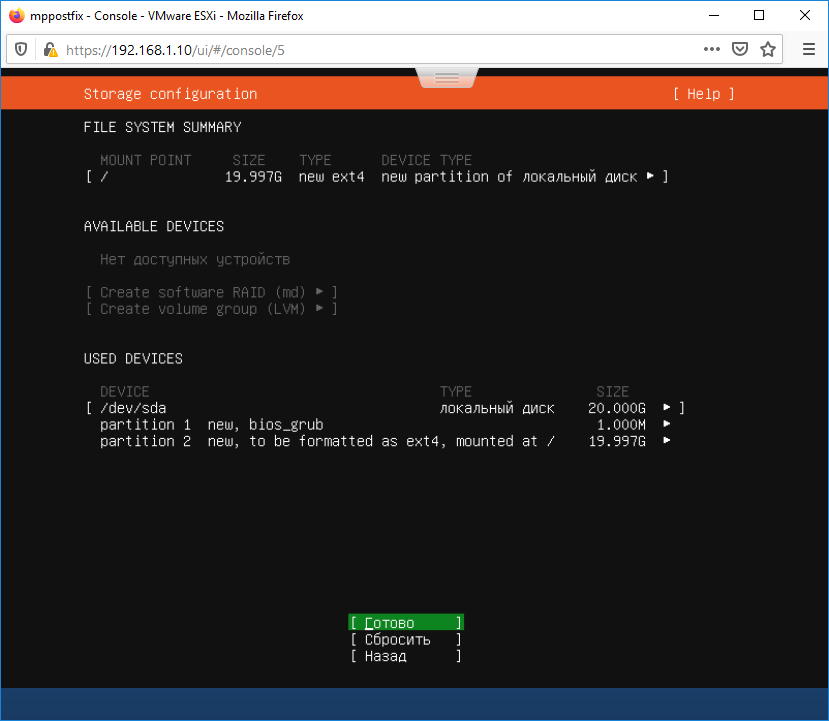
Use An Entire Disk — выделяю весь диск под систему.
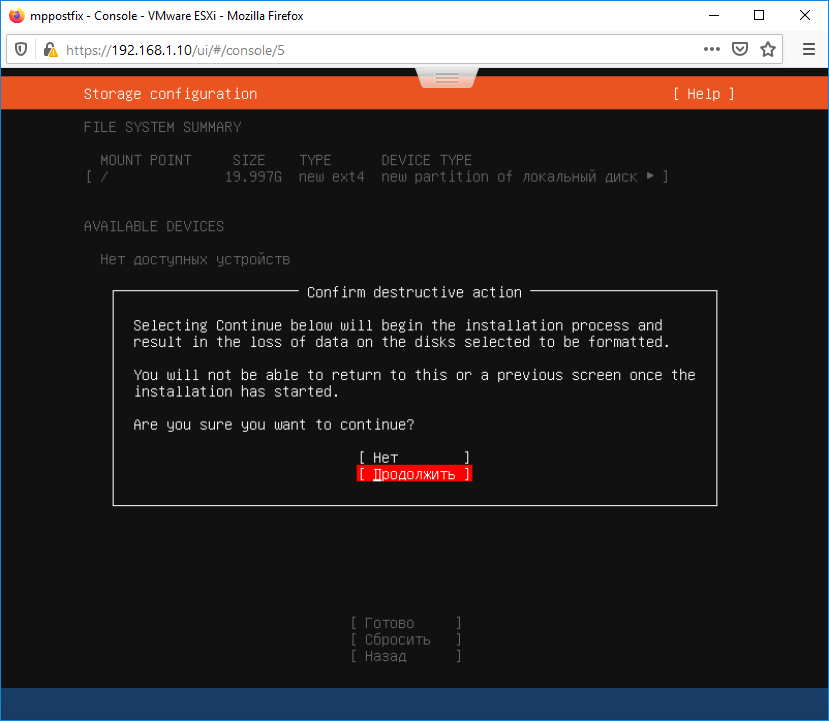
Подтверждаю очистку диска. Продолжить.
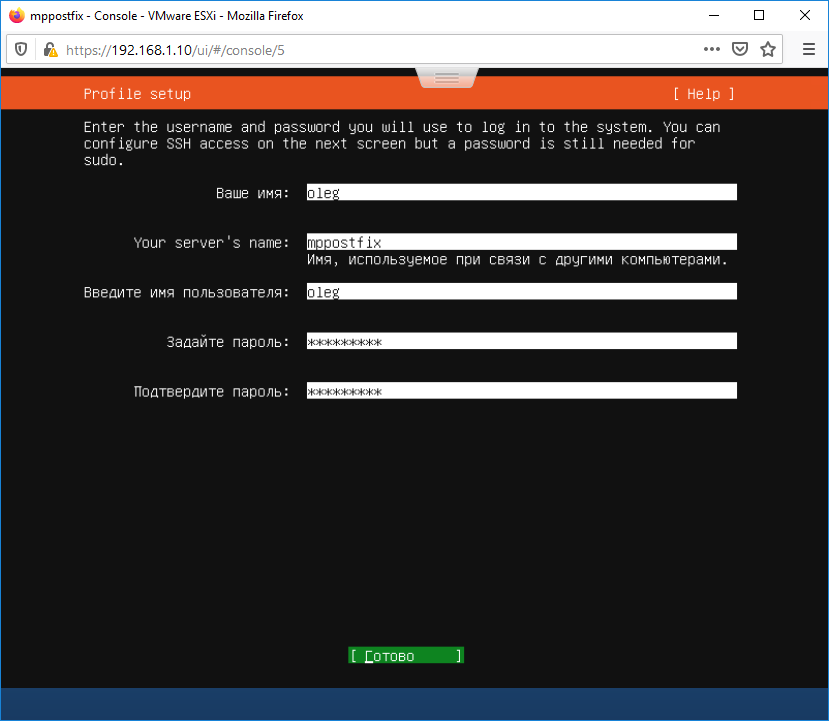
Указываю имя пользователя для входа в систему, пароль, hostname. Готово.
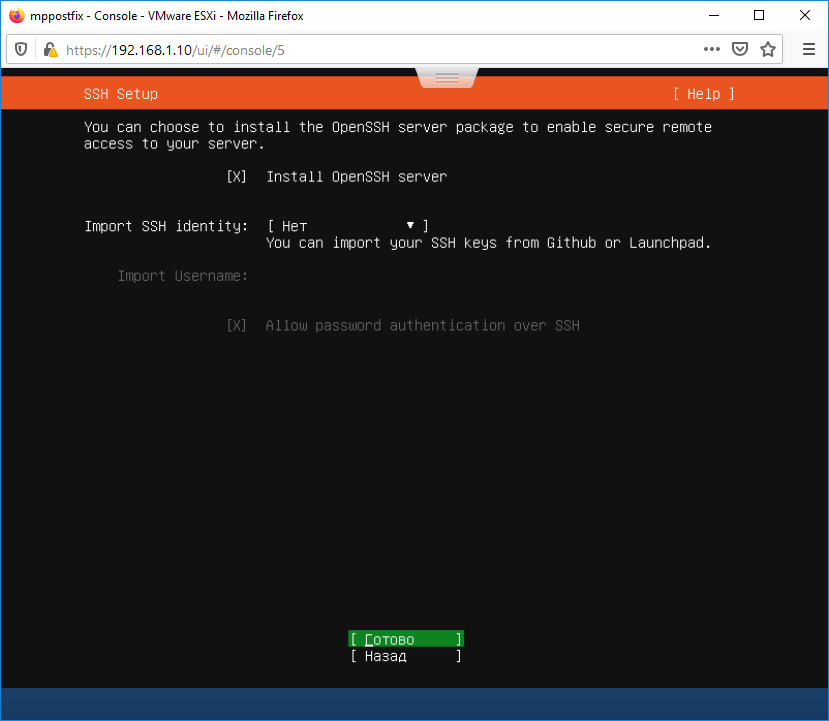
Выбираю галку Install OpenSSH server. Я планирую работать с сервером через консоль Putty. Здесь же можно при желании сразу импортировать SSH ключи. Готово.
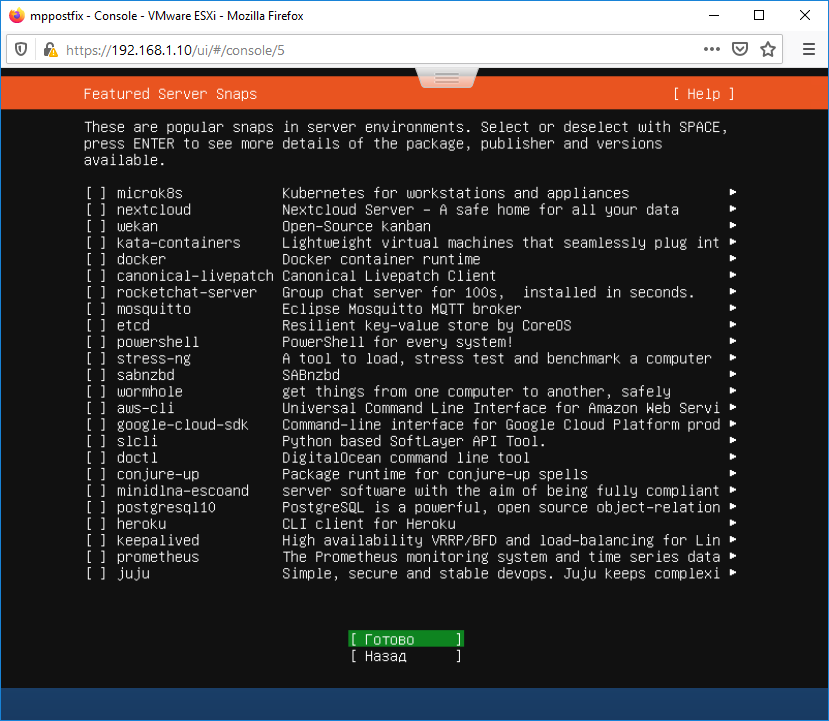
Предлагают установить дополнительные пакеты. Ничего из перечисленного мне не нужно. Готово.
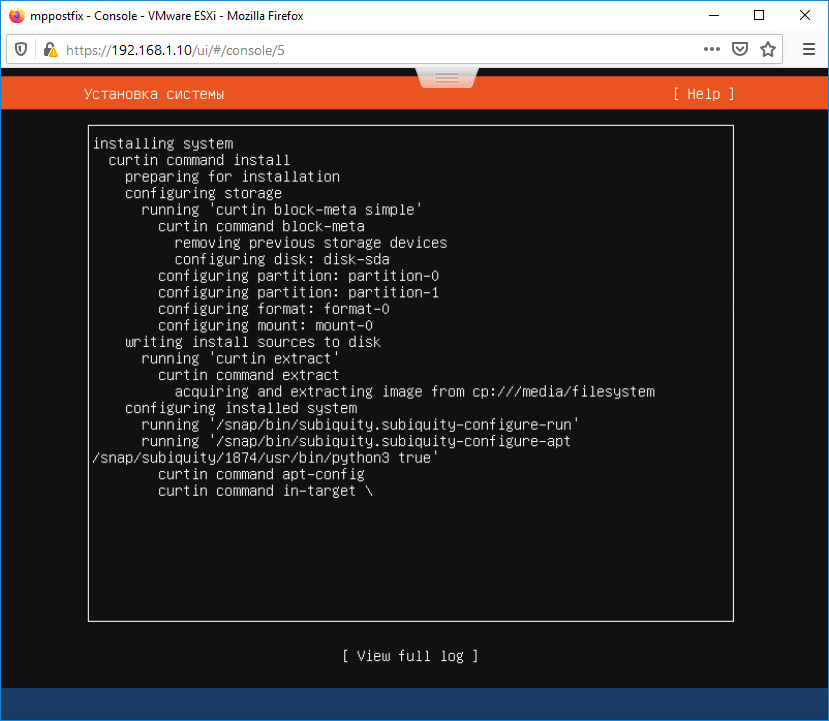
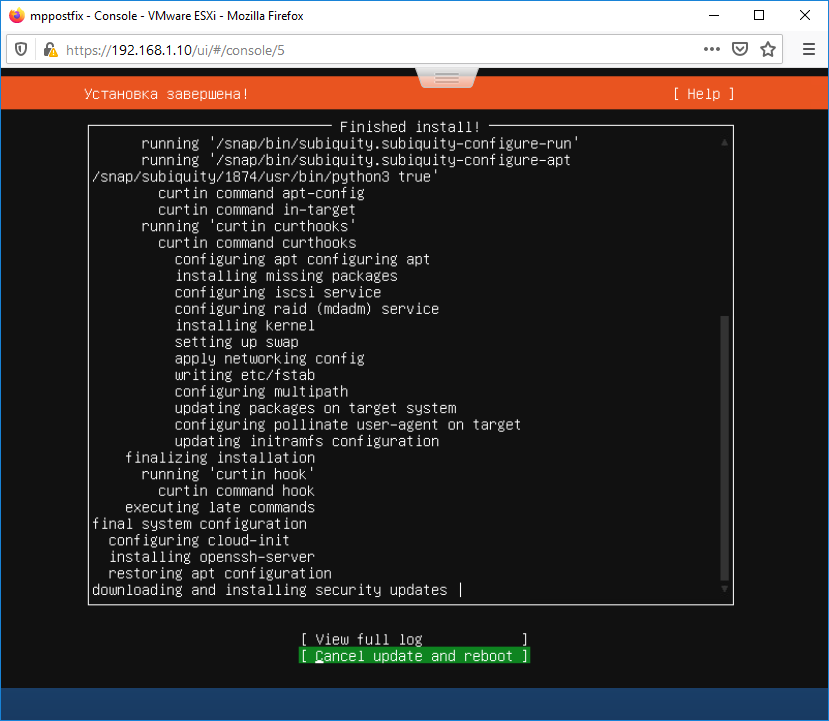
Установка завершена. Но почему-то продолжают скачиваться обновления безопасности. Подожду.

Установка подошла к завершающему этапу. Перезагрузить сейчас.
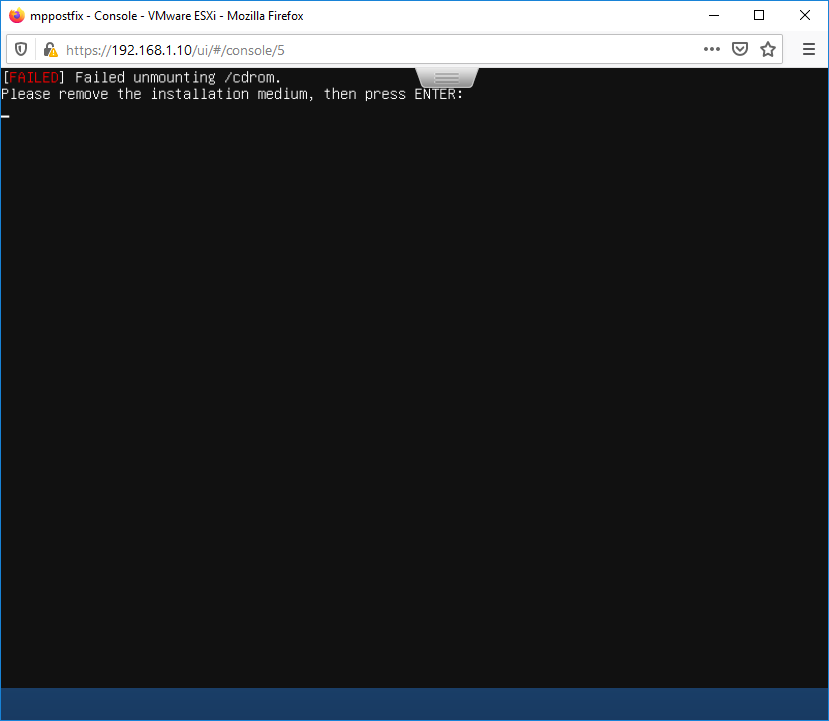
Please remove the installation medium, then press ENTER. Вытаскиваю ISO образ из CD/DVD ROM, нажимаю Enter. Сервер перезагружается.
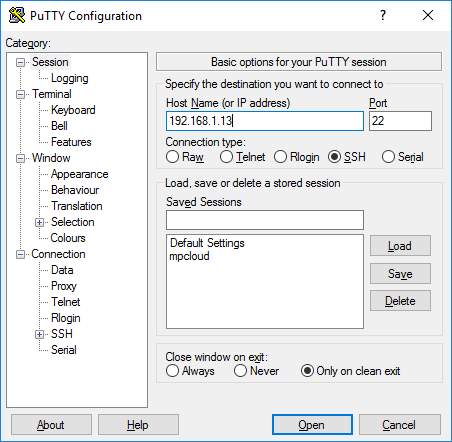
Пробую войти на сервер по SSH с помощью Putty.

Всё работает. Установка Ubuntu 20.04 LTS на виртуальную машину VMware ESXi 6.7 успешно завершена.