DevOps Automateinfra Learning
Most Trending and Quality DevOps Cloud Automation tutorials, guides and learning
Ultimate Guide on how to add apt-repository and PPA repositories and working with ubuntu repository
As a Linux administrator it is very important to know how you are managing your applications & Software’s. Every command and every installation of packages require critical attention before executing it.
So In this Ultimate guide we will learn everything you should know about ubuntu repositories , how to add apt-repository & PPA repositories and working with ubuntu repository and apt commands.
Table of Content
- What is ubuntu repository?
- How to add a ubuntu repository?
- Manually Adding apt-repository in ubuntu
- Adding PPA Repositories
- Working with Ubuntu repositories
- How apt or apt-get command work with Ubuntu Repository
- Conclusion
What is ubuntu repository?
APT repository is a network shared server or a local directory containing deb packages and metadata files that are readable by the APT tools. When installing packages using the Ubuntu Software Center or the command line utilities such as apt or apt-get the packages are downloaded from one or more apt software repositories.
On Ubuntu and all other Debian based distributions, the apt software repositories are defined in the /etc/apt/sources.list file or in separate files under the /etc/apt/sources.list.d/ directory.
The names of the repository files inside the /etc/apt/sources.list.d/ directory must end with .list .
How to add apt-repository in ubuntu ?
add-apt-repository is basically a python script that helps in addition of repositories in ubuntu.
Lets take a example to add a mongodb repository in ubuntu machine
sudo apt update sudo apt install software-properties-common
- Import the repository public key by running apt-key command
sudo apt-key adv --keyserver hkp://keyserver.ubuntu.com:80 --recv 9DA31620334BD75D9DCB49F368818C72E52529D4
- Add the MongoDB repository using the command below.
sudo add-apt-repository 'deb [arch=amd64] https://repo.mongodb.org/apt/ubuntu bionic/mongodb-org/4.0 multiverse'
Manually Adding apt-repository in ubuntu
To add repositories manually in ubuntu edit the /etc/apt/sources.list file and add the apt repository line to the file.
To add the repository open the sources.list file with your favorite editor
sudo vi /etc/apt/sources.list
Add the repository line to the end of the file:
sudo add-apt-repository 'deb [arch=amd64] https://repo.mongodb.org/apt/ubuntu bionic/mongodb-org/4.0 multiverse'Adding PPA Repositories
Personal Package Archives (PPA) allows you to upload Ubuntu source packages that are built and published with Launchpad as an apt repository.
When you add a PPA repository the add-apt-repository command creates a new file under the /etc/apt/sources.list.d/ directory.
Lets take a example of Addition of ansible PPA repository in ubuntu machine
sudo apt update sudo apt install software-properties-commonsudo apt-add-repository --yes --update ppa:ansible/ansible # PPA is Personal Package Archive


Working with Ubuntu repositories
Repositories in ubuntu machine are basically file servers or network shares under which it has lot of packages , it could be .deb packages or files which are readable by apt or apt-get command.
/etc/apt/sources.list or /etc/apt/sources.list.d
What does sources.list and sources.list.d contains ?
- Software in Ubuntu’s repository is divided into four categories or components – main, restricted, universe and multiverse.
- main: contains applications that are free software that are fully supported by ubuntu.
- multiverse: contains software’s that are not free that requires license.
- restricted: only to promote free software and ubuntu team cannot fix it & then provide it back to author if any issues are found.
- universe: They have all the possible software’s which are free and open sourced but ubuntu don’t provide regular patch guarantee.
deb http://us-east-1.ec2.archive.ubuntu.com/ubuntu/ bionic main restricted deb-src http://us-east-1.ec2.archive.ubuntu.com/ubuntu/ bionic main restricted deb http://us-east-1.ec2.archive.ubuntu.com/ubuntu/ bionic-updates main restricted deb-src http://us-east-1.ec2.archive.ubuntu.com/ubuntu/ bionic-updates main restricted deb http://us-east-1.ec2.archive.ubuntu.com/ubuntu/ bionic universe deb-src http://security.ubuntu.com/ubuntu bionic-security multiverse- deb or deb-src are either .deb packages or source code
- http://us-east-1.ec2.archive.ubuntu.com/ubuntu/ is the repository URL
- bionic , bionic-security , xenial are distributions code name.
- main, restricted, universe and multiverse are repository categories.

How apt or apt-get command work with Ubuntu Repository
APT stands for Advanced Packaging Tool which performs functions such as installation of new software packages, upgrade of existing software packages, updating of the package list index, and even upgrading the entire Ubuntu system by connecting with repositories stored under /etc/apt/sources.list or /etc/apt/source.list.d /
Let us see an example of how apt command works with ubuntu repositories.
apt install curl apt install wget apt install telnet- You will notice that all the above packages are already up to date and latest
- Now run the apt update command to update the repositories. apt command contains three types of lines.
- Hit: If there is no change in package version from the previous version
- Ign: It means package is being ignored.
- Get: It means it has a new version available. It will download the information about the version (not the package itself). You can see that there is download information (size in kb) with the ‘get’ line in the screenshot above.
- After completion of command it provides the details if upgrade is required by any package or not. In our case it shows 37 packages can be upgraded. Lets see the list of packages which can be upgraded by running the following command.
You can either upgrade a single package or upgrade all packages together.
To upgrade a single package use : apt install
To upgrade all packages use : apt upgrade
- You will notice that updating curl command upgraded 2 packages which were related to curl and rest of 35 are still not upgraded.
- Lets run apt update command again to verify if ubuntu still requires any software to be upgrade. Command output should look like “All packages are up to date”
In this tutorial we learnt everything about ubuntu repositories and how to add various repositories and how to work with them . Finally we saw how apt command works with ubuntu repositories.
This Ultimate Guide will give you a very strong understanding of package management which is most important thing for a Linux administrator. Hope you liked this tutorial and was helpful. Please share.
Как пользоваться apt
Пакетный менеджер Apt или Advanced Package Tool используется во множестве дистрибутивов, основанных на Debian или Ubuntu, а таких дистрибутивов сейчас очень много. Этот пакетный менеджер поддерживает все необходимые функции, вы можете устанавливать и удалять пакеты, обновлять то, что было уже установлено, искать пакеты, устанавливать их из файла или загружать без установки. При этом все зависимости будут разрешаться автоматически.
Утилита apt ничем не уступает пакетному менеджеру yum, используемому в RPM дистрибутивах, да, здесь все ещё не поддерживается частичное обновление пакетов, как в Zypper, но в целом всё выглядит очень неплохо. В этой статье мы подробно рассмотрим как пользоваться apt в Linux для решения задач работы с программами.
Синтаксис и опции apt
Синтаксис команды apt очень простой и похож на другие команды Linux:
$ apt опции команда параметры_команды
Опции указывают общее поведение утилиты, команда — действие, которое надо выполнить, а в параметрах команды обычно передается имя пакета, с которым следует работать, например, установить или удалить. Вот основные опции утилиты:
- -v, —version — выводит версию утилиты;
- -h, —help — выводит справку по использованию утилиты;
- -y, —yes — автоматически отвечать «да» на все возникающие вопросы;
- —assume-no — автоматически отвечать «нет» на все возникающие вопросы;
- -d, —download-only — только скачать пакеты и больше ничего не делать;
- -f, —fix-broken — исправить недостающие зависимости;
- —no-download — ничего не загружать, использовать только пакеты из кэша;
- -s, —simulate — режим симуляции, никакие операции не выполняются, только выводится информация на экран;
- —allow-unauthenticated — позволяет установить пакеты, из репозиториев, для которых нет GPG подписи;
- —no-install-recommends — не устанавливать рекомендованные пакеты, по умолчанию будут установлены;
- -m, —ignore-missing — игнорировать пакеты, которые существует;
- -q, —quiet — выводить минимум информации, не показывать прогресс бар;
- -V, —verbose-versions — показывать полные версии обновленных пакетов;
- —only-upgrade — не устанавливать новые пакеты, только обновлять;
- —allow-downgrades — разрешить откатывать версию пакетов;
- —reinstall — переустановить пакет если он уже установлен;
А теперь давайте пройдёмся по командам apt, которые вы можете использовать:
- install — установить пакет;
- remove — удалить пакет, конфигурационные файлы, которые были изменены в вашей системе удалены не будут;
- purge — полностью удалить пакет, вместе со всеми его конфигурационными файлами;
- autoremove — очистить ненужные пакеты;
- autoclean — очистить кэш пакетов;
- update — обновить списки пакетов из репозиториев;
- upgrade — обновить версию пакета до последней, если пакет не указан будут обновлены все пакеты;
- full-upgrade — полное обновление системы, включая удаление несовместимых или больше ненужных пакетов;
- list — список установленных пакетов;
- search — поиск пакетов;
- show — посмотреть информацию о пакете;
- download — скачать пакет в текущую папку;
- edit-sources — открыть с настройками репозиториев в текстовом редакторе.
- source — скачать исходный код пакета в текущую папку;
- build-dep — установить зависимости необходимые для сборки выбранного пакета;
Дальше рассмотрим несколько примеров работы с apt, которые пригодятся как начинающим, так и более опытным пользователям.
Как пользоваться apt
1. Обновление пакетов
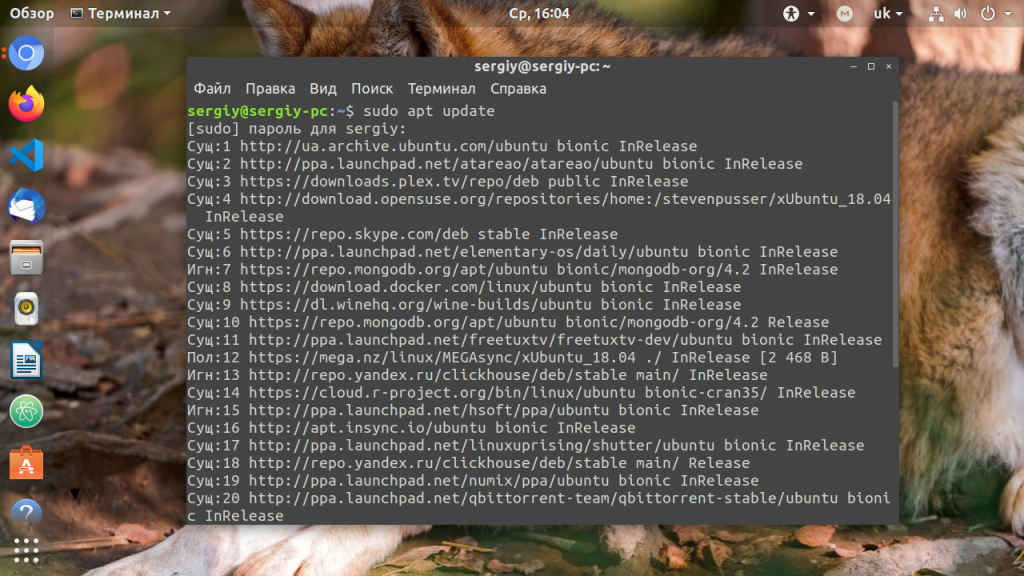
Сначала давайте обновим список пакетов apt из репозиториев. Репозитории находятся на удалённых серверах и когда утилита apt ищет пакет для установки, естественно, что она не обращается ко всем репозиториям подряд чтобы узнать где он находится. В системе уже есть сохранённых кэш информации о том, какие пакеты вообще есть и где их можно скачать. Для обновления этого кэша используйте команду update:
Во время загрузки URL репозиториев обозначаются специальными префиксами, вот что они означают:
- Hit (Сущ) — список не изменился с момента предыдущей загрузки;
- Ign (Игн) — репозиторий игнорируется, либо он слишком новый, либо произошла незначительная ошибка во время загрузки;
- Get(Пол) — доступна новая версия и она будет загружена.
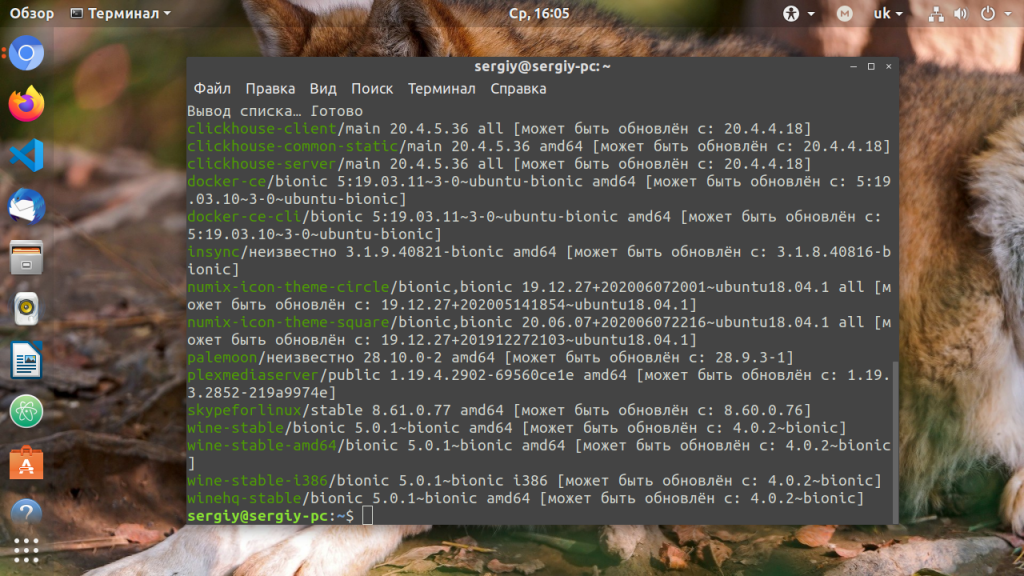
Когда кэш обновлен вы можете посмотреть для каких пакетов доступны обновления:
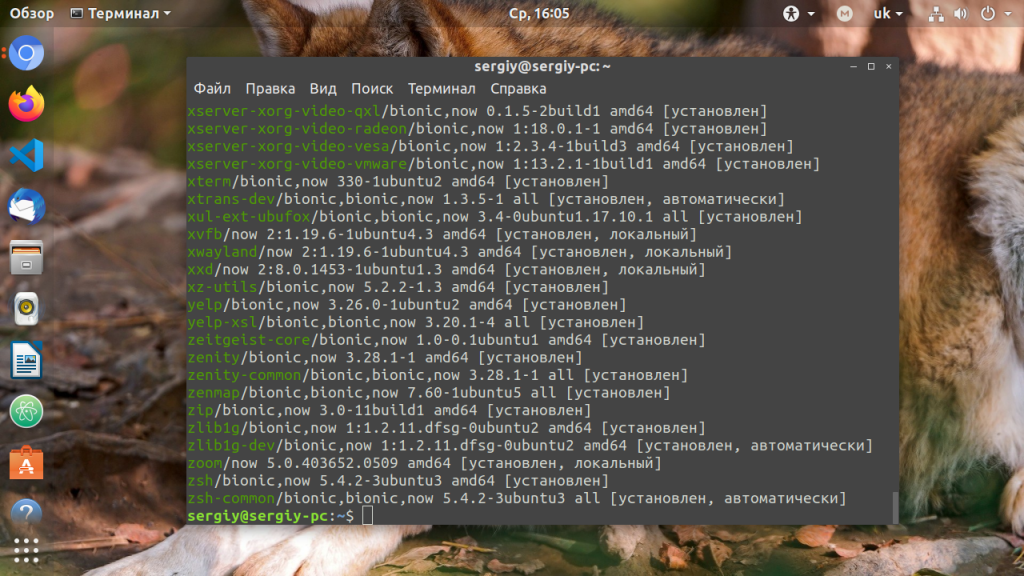
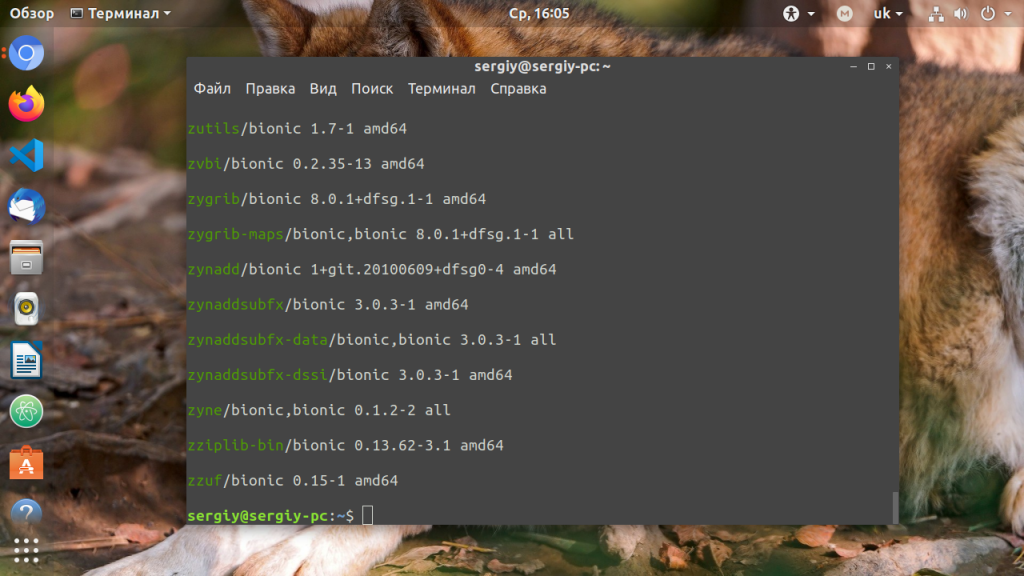
Аналогично можно посмотреть установленные пакеты apt:
sudo apt list —all-versions
Затем можно обновить все пакеты в системе: