Как пользоваться apt
Пакетный менеджер Apt или Advanced Package Tool используется во множестве дистрибутивов, основанных на Debian или Ubuntu, а таких дистрибутивов сейчас очень много. Этот пакетный менеджер поддерживает все необходимые функции, вы можете устанавливать и удалять пакеты, обновлять то, что было уже установлено, искать пакеты, устанавливать их из файла или загружать без установки. При этом все зависимости будут разрешаться автоматически.
Утилита apt ничем не уступает пакетному менеджеру yum, используемому в RPM дистрибутивах, да, здесь все ещё не поддерживается частичное обновление пакетов, как в Zypper, но в целом всё выглядит очень неплохо. В этой статье мы подробно рассмотрим как пользоваться apt в Linux для решения задач работы с программами.
Синтаксис и опции apt
Синтаксис команды apt очень простой и похож на другие команды Linux:
$ apt опции команда параметры_команды
Опции указывают общее поведение утилиты, команда — действие, которое надо выполнить, а в параметрах команды обычно передается имя пакета, с которым следует работать, например, установить или удалить. Вот основные опции утилиты:
- -v, —version — выводит версию утилиты;
- -h, —help — выводит справку по использованию утилиты;
- -y, —yes — автоматически отвечать «да» на все возникающие вопросы;
- —assume-no — автоматически отвечать «нет» на все возникающие вопросы;
- -d, —download-only — только скачать пакеты и больше ничего не делать;
- -f, —fix-broken — исправить недостающие зависимости;
- —no-download — ничего не загружать, использовать только пакеты из кэша;
- -s, —simulate — режим симуляции, никакие операции не выполняются, только выводится информация на экран;
- —allow-unauthenticated — позволяет установить пакеты, из репозиториев, для которых нет GPG подписи;
- —no-install-recommends — не устанавливать рекомендованные пакеты, по умолчанию будут установлены;
- -m, —ignore-missing — игнорировать пакеты, которые существует;
- -q, —quiet — выводить минимум информации, не показывать прогресс бар;
- -V, —verbose-versions — показывать полные версии обновленных пакетов;
- —only-upgrade — не устанавливать новые пакеты, только обновлять;
- —allow-downgrades — разрешить откатывать версию пакетов;
- —reinstall — переустановить пакет если он уже установлен;
А теперь давайте пройдёмся по командам apt, которые вы можете использовать:
- install — установить пакет;
- remove — удалить пакет, конфигурационные файлы, которые были изменены в вашей системе удалены не будут;
- purge — полностью удалить пакет, вместе со всеми его конфигурационными файлами;
- autoremove — очистить ненужные пакеты;
- autoclean — очистить кэш пакетов;
- update — обновить списки пакетов из репозиториев;
- upgrade — обновить версию пакета до последней, если пакет не указан будут обновлены все пакеты;
- full-upgrade — полное обновление системы, включая удаление несовместимых или больше ненужных пакетов;
- list — список установленных пакетов;
- search — поиск пакетов;
- show — посмотреть информацию о пакете;
- download — скачать пакет в текущую папку;
- edit-sources — открыть с настройками репозиториев в текстовом редакторе.
- source — скачать исходный код пакета в текущую папку;
- build-dep — установить зависимости необходимые для сборки выбранного пакета;
Дальше рассмотрим несколько примеров работы с apt, которые пригодятся как начинающим, так и более опытным пользователям.
Как пользоваться apt
1. Обновление пакетов
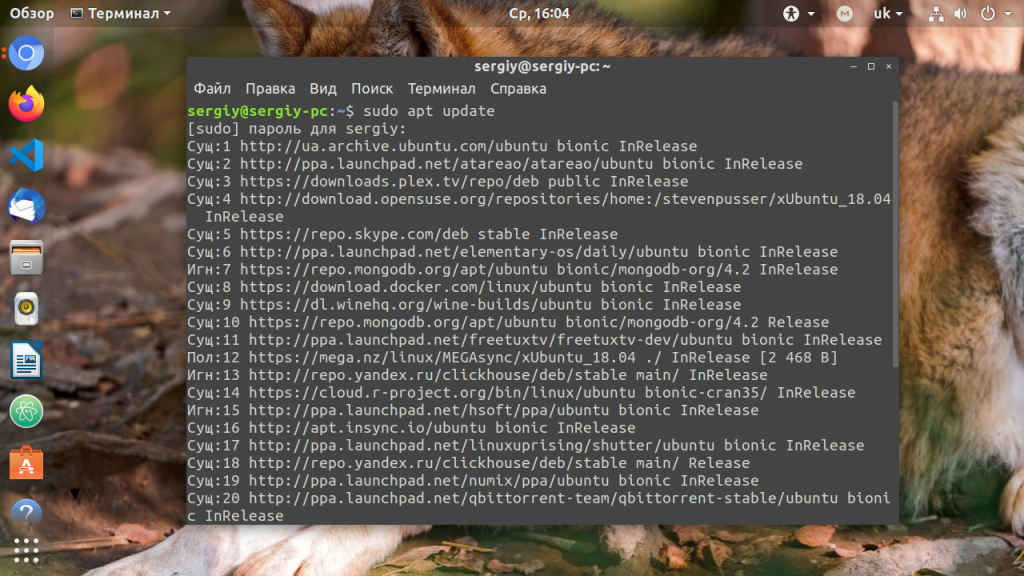
Сначала давайте обновим список пакетов apt из репозиториев. Репозитории находятся на удалённых серверах и когда утилита apt ищет пакет для установки, естественно, что она не обращается ко всем репозиториям подряд чтобы узнать где он находится. В системе уже есть сохранённых кэш информации о том, какие пакеты вообще есть и где их можно скачать. Для обновления этого кэша используйте команду update:
Во время загрузки URL репозиториев обозначаются специальными префиксами, вот что они означают:
- Hit (Сущ) — список не изменился с момента предыдущей загрузки;
- Ign (Игн) — репозиторий игнорируется, либо он слишком новый, либо произошла незначительная ошибка во время загрузки;
- Get(Пол) — доступна новая версия и она будет загружена.
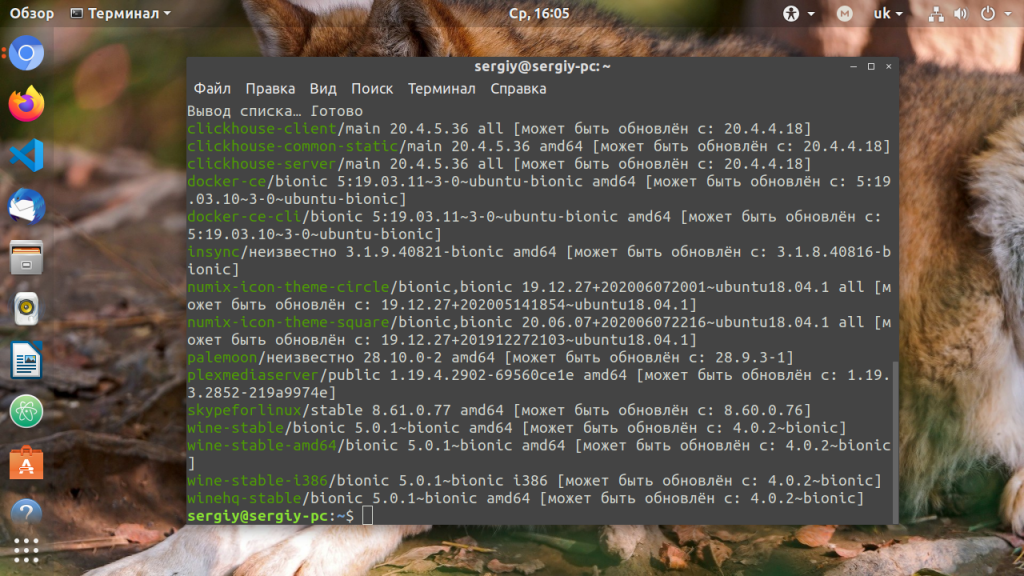
Когда кэш обновлен вы можете посмотреть для каких пакетов доступны обновления:
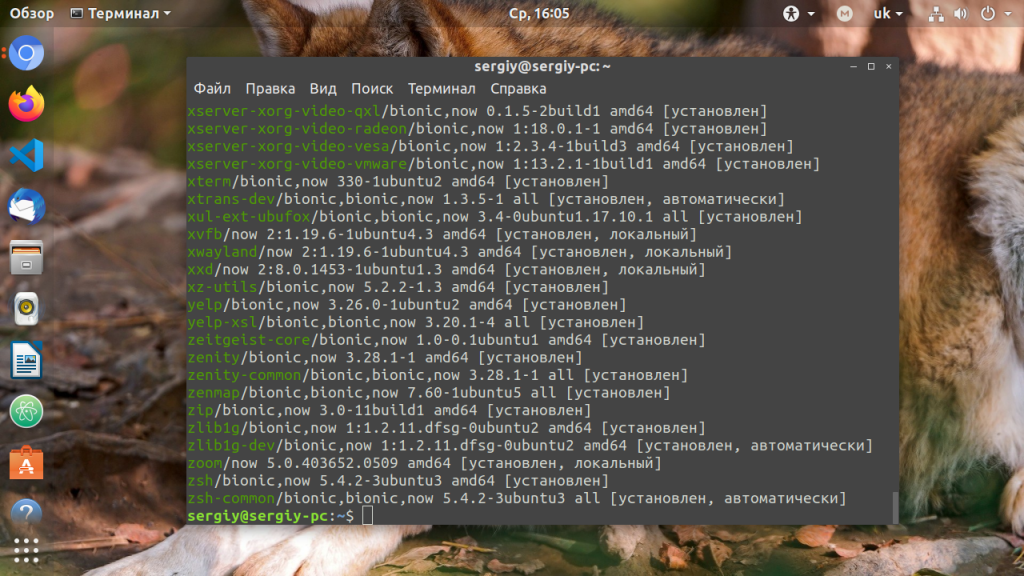
Аналогично можно посмотреть установленные пакеты apt:
sudo apt list —all-versions
Затем можно обновить все пакеты в системе:
How To Update All Packages On Ubuntu
If you are new to Ubuntu, you might be having a difficult time adjusting to the Gnome environment. If you are confused about what a package is, compare it to a real-life example. In real life, a package can be a box containing different items. You can access the items in the box by unpacking the said package. Similarly, a package in Ubuntu is a compressed file archive containing a list of files and scripts required to run a particular application. For Ubuntu to access those files, it needs to unpack or in computer terminology install/update the said package.
Updating packages in Ubuntu is, to be honest, quite a simple task that can be done with just two mouse clicks, or by typing two commands if you are updating via terminal. There are two major ways that you can go about completing this task. You can update your packages via command line, or if you like to perform tasks using GUI, you can update your packages graphically using Package Updater. The choice is yours to make.
Method 1:Via Terminal
On the Ubuntu desktop, go to the terminal by clicking the terminal icon in the shell or simple press Ctrl+Alt+T.
In the terminal type, the following command
After typing the above command, you will be asked for your password. Type the password in the terminal. No characters will be shown on the terminal when you are writing your password. After typing the password, hit enter.
Now contrary to popular belief, this command doesn’t update your system. Instead, it updates your Ubuntu repositories. So your system checks against the repositories. It checks if there are newer versions available of the program installed. It won’t update your existing packages right away; instead, it will update the information about the existing packages and their versions available. This is the reason that when this command finishes execution, Ubuntu shows you the number of packages that can be updated.
In the picture above, you can see that when this command finishes execution, Ubuntu shows you the list of packages that can be updated. In order to view these packages type the following command
You can update a particular package, or you can update all of the updatable packages on your Ubuntu. To update all your packages, just type the following command in the terminal.
After typing the above command again, Ubuntu will ask you for your password. Like before, type in the password and hit enter.
After 2 or 3 seconds Ubuntu will show you the amount needed to update these packages and will further ask for your confirmation. To continue, type y in the terminal and press enter. Once you do this, Ubuntu will start downloading and updating your packages.
This command will download and update all of the packages that need updating. A little pro tip here to make this updating task easy. You can also type the following command instead of typing in these two commands.
As the two commands require to run in succession, we can combine them into a single command. The && between the two commands combines them. So now the first command before the && sign runs. When the first command has completed execution, the rest of the command after the && is executed. The -y at the end will save you one keystroke where Ubuntu asks you whether you want to install the upgrades or not. You should run this command from time to time to keep your system up to date.
Method 2: Update using Package Updater:
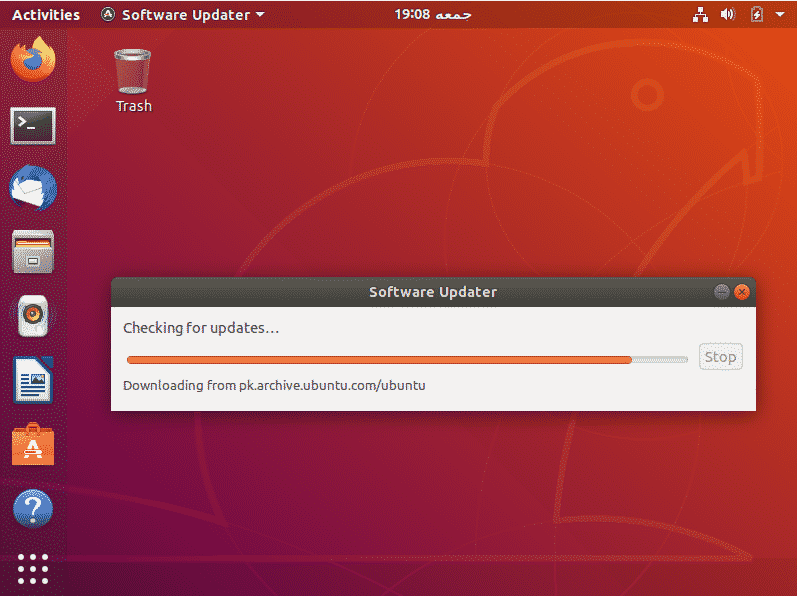
Go to the menu and in the search bar type “Software Updater.”. Now run it.
It will check if there are any packages on your system that can be updated.
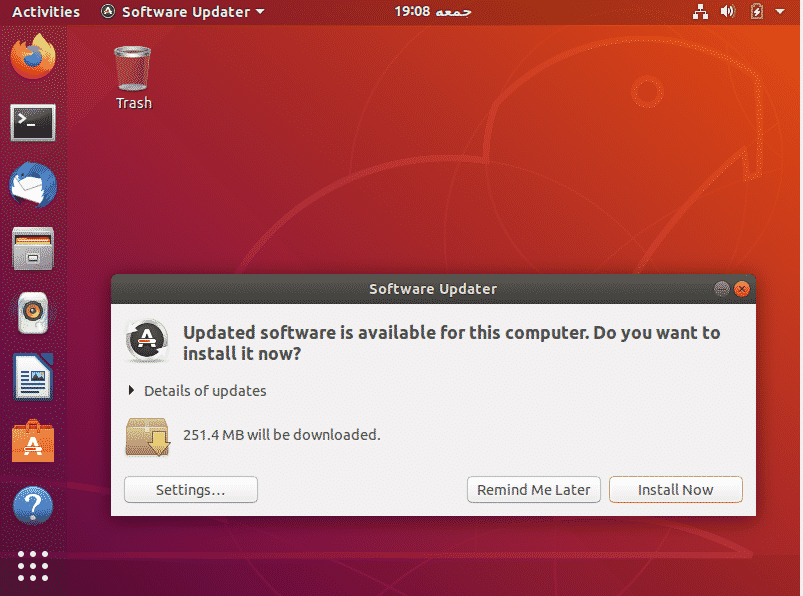
If there are any such packages, it will give you the option to install the updates
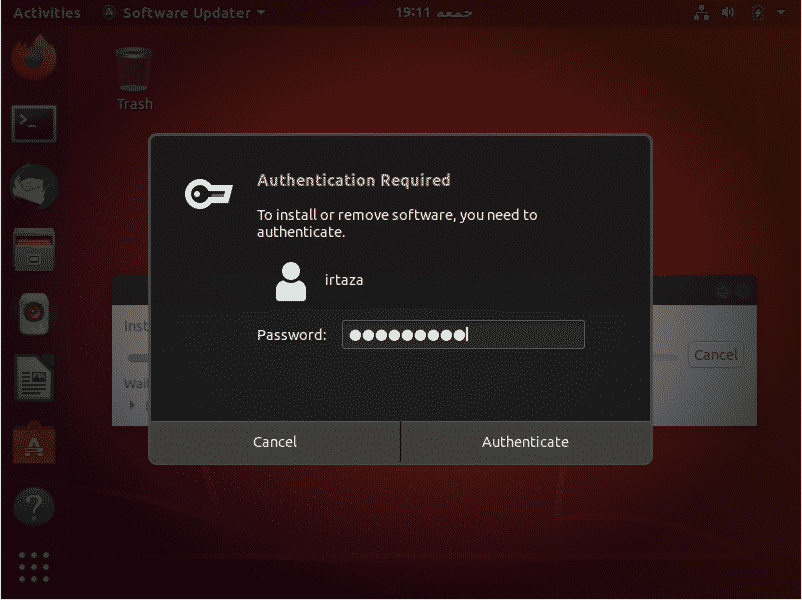
Click on Install Now. It will ask for your password. Type your password and hit Authenticate.
After authenticating, Ubuntu will start downloading and installing the updates.
In some cases, you might be asked to restart your system after the updates. This is so that the installed, updated packages can take full effect and function properly.
In most of the cases after updating, there are some packages the are of no further use to the user. You can delete them, which will free up your system space and keep your system clean and tidy, which is always a good thing. To do so type the following command in the terminal
This tutorial is valid for all the versions of Ubuntu and other Linux distros based on Ubuntu like Linux Lite, Linux Mint, etc.
Conclusion:
I hope this tutorial will be helpful to you. One of the many things you hear about Ubuntu is that it’s a lot safer than Windows. The proof can be seen when updating. Whenever you make any changes to the system, Ubuntu asks you your password for authentication. Updating packages in Ubuntu is quite simple. Bear in mind that this tutorial is for updating packages in Ubuntu. It doesn’t update your Ubuntu version. Also note that this tutorial, including the command line method, is valid for all the versions of Ubuntu and other Linux distros based on Ubuntu like Linux Lite, Linux Mint, etc.
