- How to Run a Script on Startup in Ubuntu?
- Method 1: Run Script on Startup Using Systemd File
- Method 2: Run Script on Startup Using Cron Job
- Method 3: Run Script on Startup Using rc.local File
- Conclusion
- Как добавить скрипт в автозагрузку Ubuntu 22.04
- Первый вариант: Добавить запись в cron системы
- Второй способ. Добавим скрипт для автозапуска в systemd
- RSS
- Автозагрузка скриптов Ubuntu 18.04/20.04 через systemd
How to Run a Script on Startup in Ubuntu?
Sometimes, we need to perform specific tasks every time the system starts or reboot the script is executed automatically on startup to avoid the user performing those tasks manually. The startup script allows the user to schedule and automate several tasks simultaneously.
To run the script on startup in Ubuntu, the executable files are put in the startup folder to perform a specific task when the system starts. This post will discuss how to modify the system files to run scripts on startup with the help of the following topics:
Method 1: Run Script on Startup Using Systemd File
We can modify the systemd file to run a script on startup by following the below steps:
Step 1: Create a Bash Script
Create a bash script file named “StartScript.sh” to get all the details about the user, which will run automatically on startup:
#!/bin/bash echo "Kernel Version: $(uname -a)" > /etc/kernelinfo.txt

Note: Make sure the script file is executable, using the following command:

Step 2: Create a systemd Service
Create a new startup Systemd File within the “/etc/systemd/system” system file having the “.service” extension.
For instance, /etc/systemd/system/ScriptService.service file is created using the following command in the nano editor:
$ sudo nano /etc/systemd/system/ScriptService.service
Write the below content to run the bash script “StartScript.sh” on startup:
[Unit] Description=Custom Startup Script [Service] ExecStart=/home/ubuntu/StartScript.sh [Install] WantedBy=default.target
- Unit: It stores the metadata and other information you want to store related to the script.
- Service: Tells the system to execute the desired service, which will run on startup.
- Install: Allows the service to run the WantedBy directory at the startup to handle the dependencies.
Step 3; Set Permissions of the Service File
Set the user executable file permissions (in this case, binary mode of permissions) for the Service unit file using the following command:
Note: In binary mode, Read=4, Write=2, and Execute=1.
$ chmod 644 /etc/systemd/system/ScriptService.service

- 6: Provides read and write permissions to the user.
- 4: Provides read permissions to the group and others.
Step 4: Enable the Service
Use the below-stated command to enable the customized service (which allows the execution on each startup):
$ systemctl enable ScriptService.service

Every time the system starts/reboots, the script file will execute automatically and display all the user information in the /etc/kernelinfo.txt file.
Method 2: Run Script on Startup Using Cron Job
The cron job can be created to run on startup. For instance, to run a script that executes the user details when the system reboot or restarts, follow the below steps:
Step 1: Open the crontab File
Open the crontab file by running this command in the terminal:
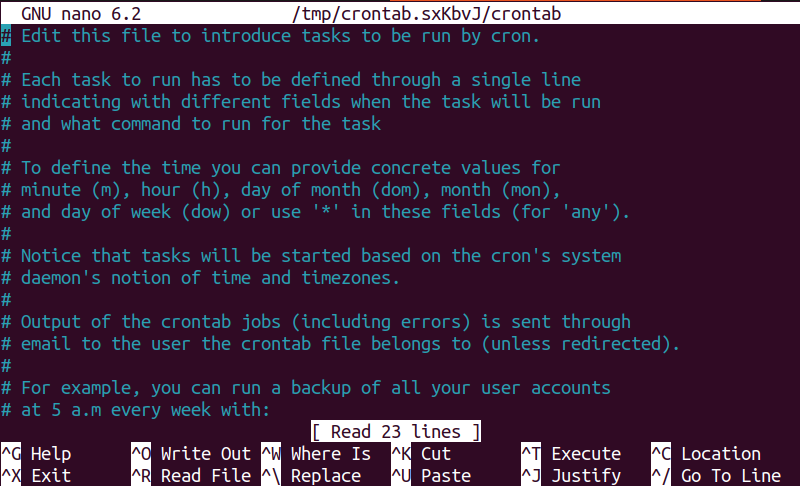
Note: If you are opening the crontab file for the first time, the system will ask you to specify the text editor in which the crontab will be opened. Select the desired editor by entering the number written in front of every editor.
Step 2: Add a cron Job
Add a new crontab job to execute on startup by entering the following code in the crontab file:
Note: StartScript.sh is the same script that was used in the last section; provide the full path of the script file.
$ @reboot sudo /home/ubuntu/StartScript.sh &

After adding the code, Press the “Ctrl + O” to save, then “Enter” to save the file name, and then press the “Ctrl + X” keys to exit the editor.
The cron job is successfully saved to run the script (print user details) on startup.
Method 3: Run Script on Startup Using rc.local File
The rc.local file can also be used to run the script on startup. To run the desired script on reboot/startup, use the following steps:
Note: The below first two steps will be performed in case there is no “/etc/rc.local” file which can be checked by using the “ls /etc/rc.local” command. In the absence of this directory, it will show blank output, else the directory path.
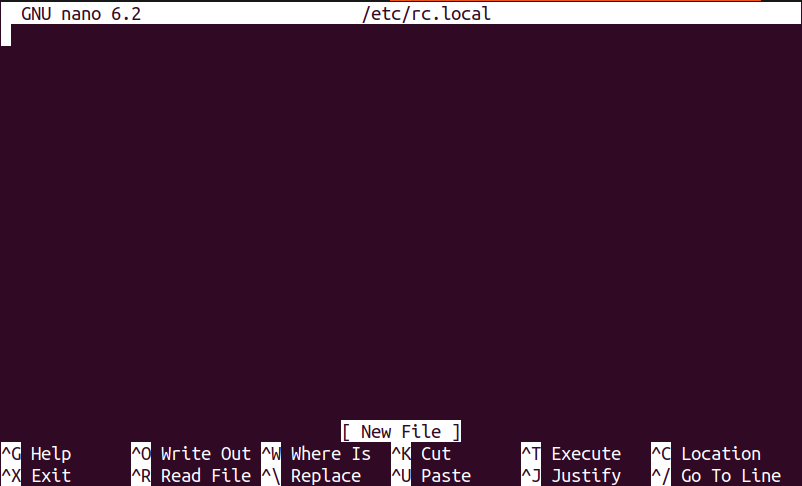
Step 1: Create rc.local File
Create the “/etc/rc.local” file in the nano editor using the below-mentioned command:
Press “Ctrl + O” to save the file, then press the “Enter” key to save the anime, and press the “Ctrl + X” key to exit the editor.
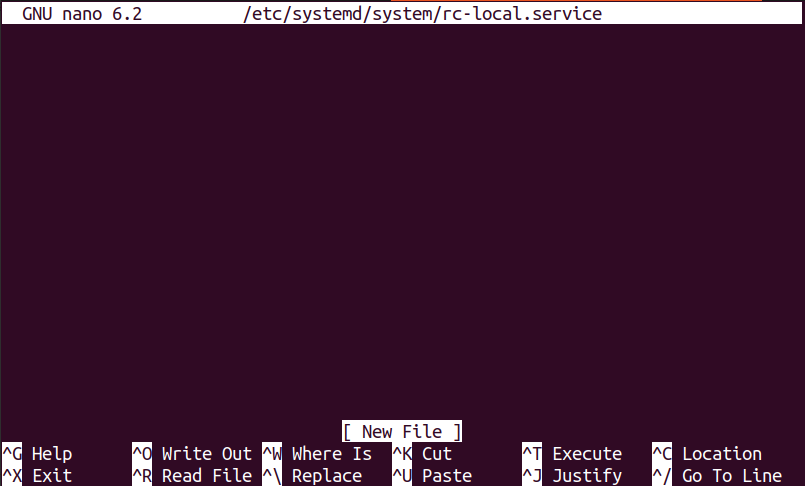
Step 2: Create an rc-local Service
Create the rc-local service file to manage this service in the default system file “/etc/systemd” by using this command:
$ sudo nano /etc/systemd/system/rc-local.service
Now, press the “Ctrl + O” to save, the “Enter” and “Ctrl + X” to exit.
Step 3: Make the rc.local File executable
Change the rc.local file permissions to make it executable by running the below command:

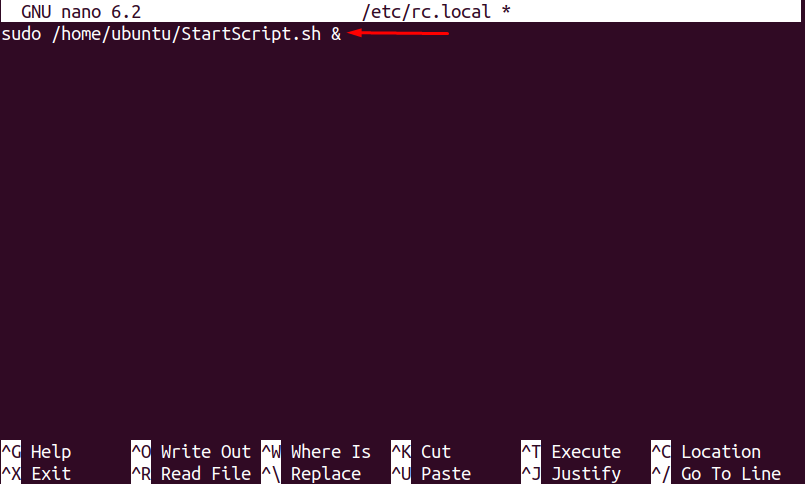
Step 4: Edit the rc.local File
Open the rc.local file in the nano editor (to add the startup script) by using the following command:
Add the following command in the rc.local file as shown in the below picture:
Note: Replace the “StartScript.sh” with your desired script file name.
sudo /home/ubuntu/StartScript.sh &
Press the “Ctrl + O” to save, the “Enter” and “Ctrl + X” to exit.
The script is saved in the rc.local file, which will automatically run every time the system reboots/starts.
Conclusion
To run the desired script on startup, several methods are used, which include modifying the “systemd”, “cron”, and “rc.local” files. In the systemd method, the desired script is created, added script as a service, and enabled the service to run on startup. Moreover, the script job is added to the crontab file, and the service is added to the rc.local file to run the scripts on startup. This post has addressed numerous methods to run a script on startup in Ubuntu.
Как добавить скрипт в автозагрузку Ubuntu 22.04

Сегодня рассмотрим примеры по добавлению скрипта в автозагрузку на Ubuntu 22.04|20.04|18.04.
Для того чтобы добавить ваш скрипт в автозагрузку можно пойти двумя путями:
Первый вариант: Добавить запись в cron системы
Логинимся в системе как root
Создаем скрипт myscript.sh
В конце добавляем следующую запись:
@reboot /home/myuser/myscript.shСтавим права на запуск нашего скрипта:
chmod +x /home/myuser/myscript.shПосле перезагрузки системы ваш скрипт будет запущен автоматически.
Второй способ. Добавим скрипт для автозапуска в systemd
Создадим сервис запуска для systemd:
sudo nano /etc/systemd/system/startscript.serviceЗаполним его в соответствии с моим листингом:
[Unit] Description=My script service After=network.target [Service] ExecStart=/home/myuser/myscript.sh [Install] WantedBy=default.targetСоздаем сам скрипт myscript.sh
Наполняем его необходимой информации, далее выставим права на наш скрипт
chmod +x /home/myuser/myscript.sh Перезапускаем демоны systemd
sudo systemctl daemon-reloadsudo systemctl enable startscript.service sudo systemctl start startscript.serviceЕсли есть вопросы, то пишем в комментариях.
Также можете вступить в Телеграм канал, ВКонтакте или подписаться на Twitter. Ссылки в шапке страницы.
Заранее всем спасибо.
RSS
Если вы нашли ошибку, пожалуйста, выделите фрагмент текста и нажмите Ctrl+Enter.
Сегодня в статье настроим и русифицируем Ubuntu Server 16.04/18.04/20.04. Чтобы поддерживался русский язык, и перевод системы стал русским

Начиная с сентября 2017 года удостоверяющим центрам предписано обязательно проверять CAA-записи в DNS перед генерацией сертификата
В этой статье рассмотрим пример обновления Ubuntu Server 16.04 до Ubuntu Server 18.04 Все наши действия нам придется выполнять из Читать
В связи с последними блокировками IP-адресов Роскомнадзором, встала необходимость завести свой собственный VPN сервер. Если VPN у вас ещё не Читать
Когда вы первый раз заходите с помощью соцсетей, мы получаем публичную информацию из вашей учетной записи, предоставляемой провайдером услуги соцсети в рамках ваших настроек конфиденциальности. Мы также автоматически получаем ваш e-mail адрес для создания вашей учетной записи на нашем веб сайте. Когда она будет создана, вы будете авторизованы под этой учетной записью.
Когда вы первый раз заходите с помощью соцсетей, мы получаем публичную информацию из вашей учетной записи, предоставляемой провайдером услуги соцсети в рамках ваших настроек конфиденциальности. Мы также автоматически получаем ваш e-mail адрес для создания вашей учетной записи на нашем веб сайте. Когда она будет создана, вы будете авторизованы под этой учетной записью.
Этот сайт использует Akismet для борьбы со спамом. Узнайте, как обрабатываются ваши данные комментариев.
Автозагрузка скриптов Ubuntu 18.04/20.04 через systemd
У всех была задача когда при запуске нужно запустить некий скрипт, например: монтирование дисков, настройка правил firewall или запуск определенных сервисов в определенный момент. /etc/rc.local — устаревший метод и не всегда работает, поэтому сделаем это через systemd.
Итак, требуется добавить некий скрипт в автозагрузку. Пусть он лежит в /etc/script.sh. Делать его исполняемым необязательно.
Чтобы добавить скрипт в автозагрузку, нужно создать файл сервиса systemd. Для этого создаем файл сервиса с таким содержимом:
nano /etc/systemd/system/autostartscript.service
[Unit] Description=This script runs at system startup After=network.target [Service] Type=oneshot ExecStart=/bin/bash /etc/script.sh [Install] WantedBy=multi-user.targetИмя файла можно выбрать произвольное, оно будет являться именем сервиса. Пройдемся по некоторым опциям:
- Description — произвольное описание сервиса, будет видно при выводе через service status.
- After — условие, после которого стартует наш скрипт. В данном случае после запуска сети.
- Type — тип сервиса, обозначающий, что требуется одноразовый запуск и все. Контроль процесса выполнения отключен.
- ExecStart — непосредственно путь выполняемого файла (bash, т.к. скрипт на bash’e) и путь до нашего скрипта.
- WantedBy — требования для запуска, в данном случае это отключает запуск в single-user (он же режим восстановления).
Далее нужно обновить список сервисов в системе и включить сервис с использованием имени:
systemctl daemon-reload
systemctl enable autostartscript
Готово. Теперь можно проверять. Скрипт будет запускаться один раз после запуска сети при обычной загрузке системы в многопользовательском режиме.
* Предполагается, что вы работаете под root’ом. При работе от имени root’а приглашение ввода заканчивается символом #. Если это не так, то перейдите в консоль от рута командой sudo -i и введя пароль пользователя.