- IT-SERVICES
- Calculate linux Scratch установка голой системы
- 2.9 Interactive System Build
- How Calculate builder works
- The process of system building
- Installation templates
- Saving changes
- System installation
- Examples
- Adding Opera browser to CLS at CD boot
- Installing CLS on a flash card and updating portages
- Adding XFCE window manager in CLS by installing the system on the hard drive
IT-SERVICES
Порой нужно установить «чистую» операционную систему без ненужных пользователю программ. Например, если железо не позволяет тянуть тяжелые оболочки, типо KDE, и в последнее время XFCE, мы можем установить openbox или lxde.
Calculate linux Scratch установка голой системы
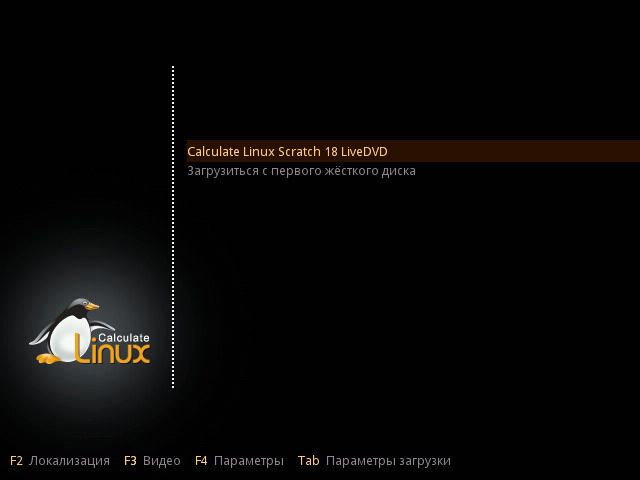
Скачаваем с офф. сайта дистрибутив и начинаем установку
Если у вас диск не разбит по разделам, то разбиваем как в обычном Линуксе(boot,swap, home,root). В нашем примере будет только swap и root, в котором будет хранится всё
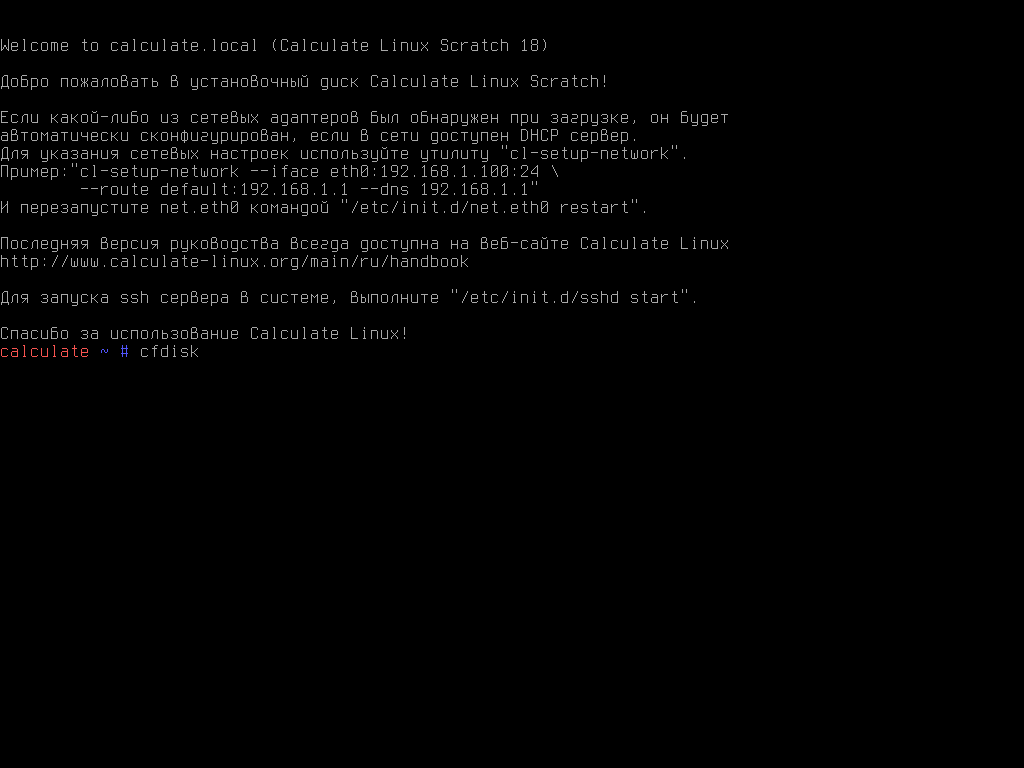
Вводим команду cfdisk для разбивки разделов:
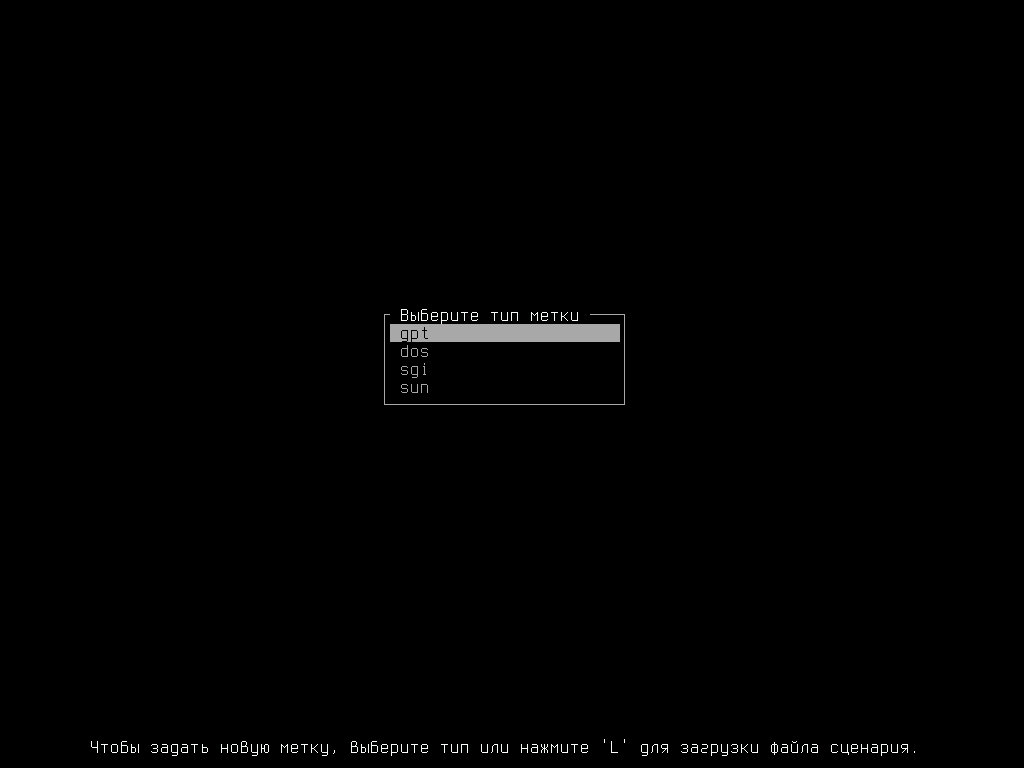
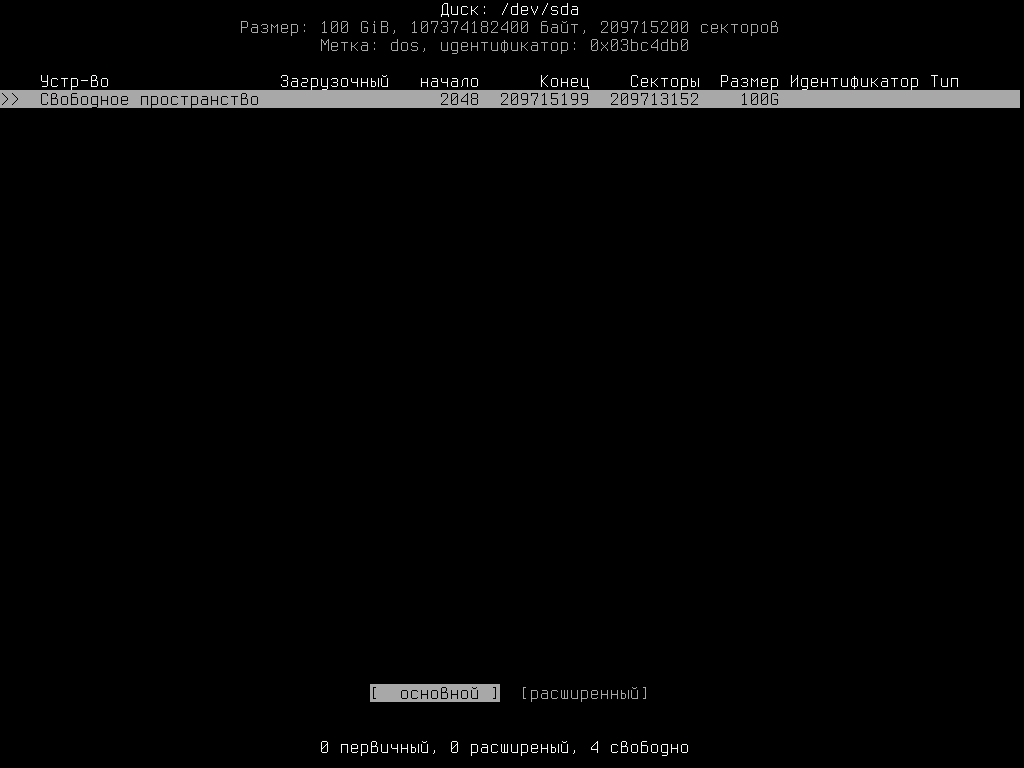
Выбираем требуемый раздел, в нашем случае, так как компьютер на старом железе, разметка dos
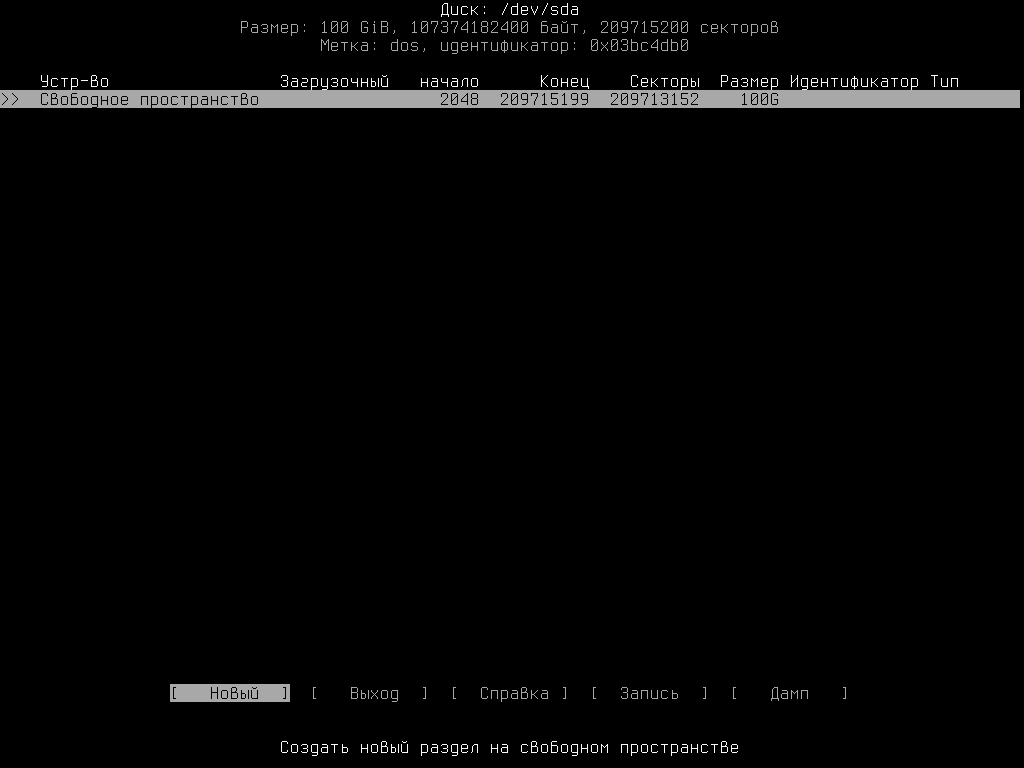
Видим неразмеченную область, разбиваем ее, выбрав «новый»
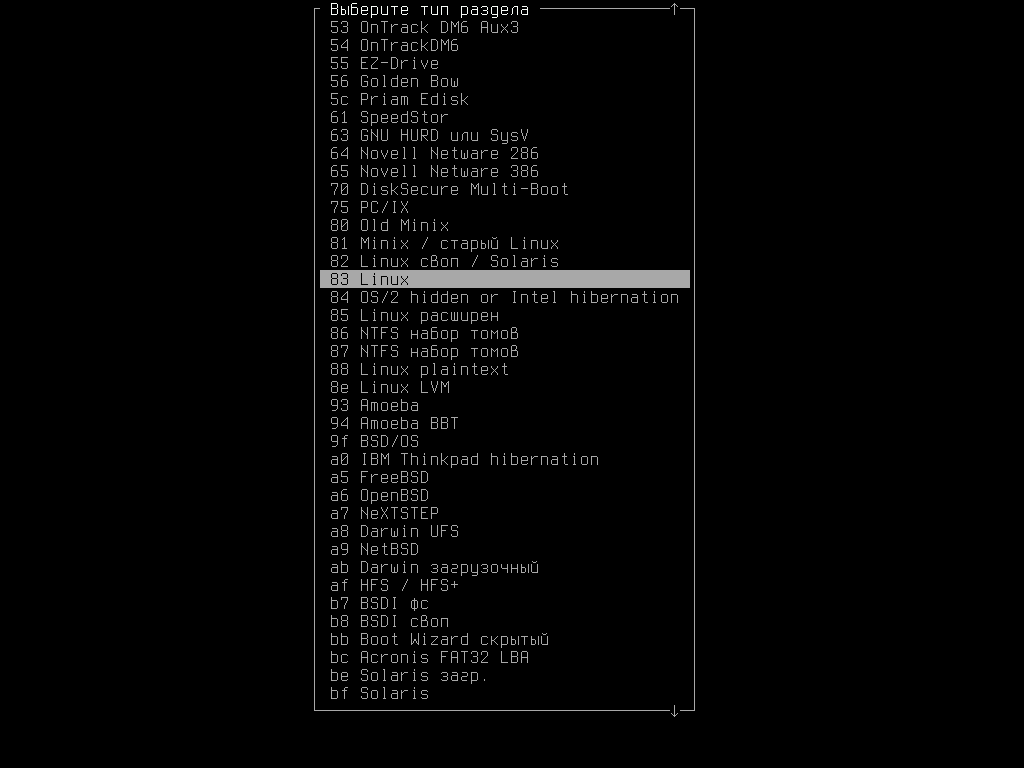
Далее нужно указать в 16-ричной кодировке ту файловую систему, которая нужна
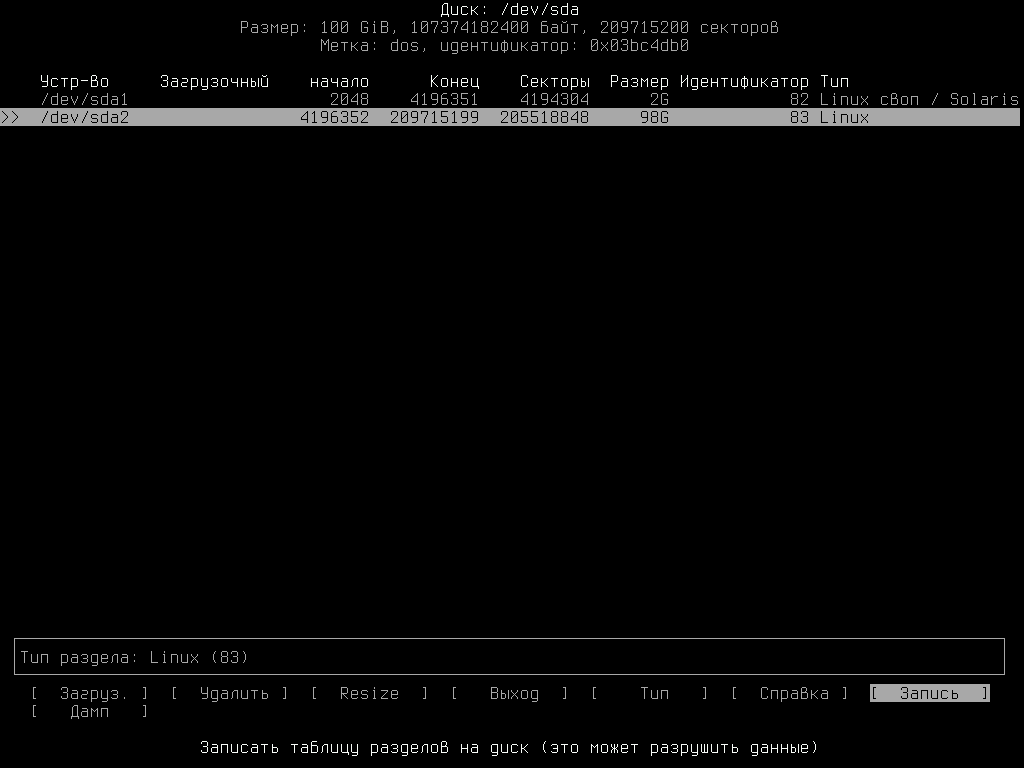
В итоге получаем, как на скрине, и записываем изменения на диск:
Вся установка происходит командой cl-install, чтобы посмотреть ее параметры, вводим:
Теперь ставим систему и создаем пользователя:
cl-install -d /dev/sda2 -d /dev/sda1:swap -u userвводим пароль сначала пользователя, затем root
Где поросить, отвечаем Yes
Перезагружаем систему и мы в «голой» ОС
2.9 Interactive System Build
Interactive system build is a new approach to create a startup disk image. You can collect necessary packages, test settings and monitor the result of your operations while testing the distribution.
- let anyone shape their own distributive of the system as they see it;
- make the process of system building easier.
How Calculate builder works
It is possible to use interactive building mode with all Calculate Linux distributives starting from v9.8. To do so you need either to install the system on your hard drive with the build option or use Builder load mode on a flash card or a livecd.
- The first layer (calculate) features the livecd.squashfs system image which is booted from an external media and is mounted in read-only mode. This is the basis for the future distributive.
- The second layer (delta) saves all changes made during building of the new distributive.
- The third layer (workspace) is a working layer where you change the source system.
All three layers will be available in the /mnt/scratch directory after boot.
You can run programs, change settings, create files; all your changes will be saved in the workspace layer without changing the final image of the new distribution.
The process of interactive building takes place in the /mnt/builder directory which results from meshing of calculate and delta layers. You can monitor current changes while testing preferred applications during the building process.
The process of system building
The calculate-builder package also includes the cl-builder utility used to switch to interactive building mode.
Execute »cl-builder» to prepare the system for building. The invitation in the command line will become brown (the color may depend on the terminal type) and you will be in chroot environment of /mnt/builder . The following directories: /proc , /dev , /dev/pts , /usr/calculate/share will be mounted from the system, resolv.conf will be transferred. Thus right after executing cl-builder you can start to change the system. You can update portages (command eix-update) and update, install, and delete programs. The result of programs installation will affect the booted system. And still all your operations in the booted system will not affect /mnt/builder and will stay only in workspace layer. To avoid software conflicts always execute cl-builder.
When building is completed, type exit in console or hit «Ctrl+D» to exit «chroot» environment.
Installation templates
Templates feature configuration files where changes of programs settings are saved. Templates may contain conditional blocks as well as inner variables for better configuration of the system.
Templates Calculate Utilities are stored in the /usr/share/calculate/templates directory. By analogy, you can create your templates in the /var/calculate/templates directory.
Saving changes
When you have finished changing the current distributive and exited chroot environment, you can create livecd startup image that includes all changes made. To do so please execute:
If you booted from a CD or a flash card you may have run out of RAM memory. In this case you will need to mount a free section from the hard drive or a network drive into the /var/calculate/linux directory, so that the file is created outside computer memory.
If you boot from a flash card, you can save changes in livecd.squashfs on the flash card. The sequence number of build will be added to the end of the file. The new image with all changes will be used at the next system start. Old files with images will be deleted after new builds.
System installation
The ISO image you got modifying the current system is 100% compatible with Gentoo and has all the features of Calculate Linux.
The system can be booted from livecd, installed on a hard drive, saved on a flashcard or even on a portable usb-hdd. It will still be possible to change the distributive via boot in «Builder» mode. Thus, you can change contents of packages by updating portages as often as you wish.
Examples
Adding Opera browser to CLS at CD boot
- boot from a CD in «Builder» mode;
- execute cl-builder in console;
- make sure the cursor has changed its color. Then enter emerge opera to install the browser;
- type exit to exit chroot;
- mount the hard drive section if needed: mount /dev/sdaX /var/calculate ;
- save changes in a new ISO image: cl-image iso .
Installing CLS on a flash card and updating portages
Updating portages may need a lot of memory, that is why this operation requires at least 2 Gb of RAM.
- boot from CD in the regular mode;
- install the system on a flash card: cl-install -d /dev/sdX1 (replace sdX1 with the relevant device name, for instance «sdb1»);
- restart your computer with the flashcard boot option, choose «Builder» mode start in the menu;
- execute cl-builder in console;
- make sure the cursor has changed its color, update portages with eix-sync ;
- type exit to exit chroot;
- update livecd.squashfs file with the cl-image squash command;
- restart your computer.
If there is not enough RAM memory you should install CLS on the hard drive in «Builder» mode; then all changes will be cached on the hard drive. The command «cl-image squash» will be unavailable in this case, and the result of your operations will be written in a new ISO image by command «cl-image iso».
Adding XFCE window manager in CLS by installing the system on the hard drive
- boot from CD in the regular mode;
- install the system in «Builder» mode on the hard drive with cl-install —build —disk=/dev/sdaX (replace sdaX with the name of the relevant hard drive partition);
- restart your computer and boot from the hard drive;
- execute cl-builder in console;
- make sure the cursor has changed its color, update portages with eix-sync ;
- enter emerge xfce-base/xfce4-meta to install XFCE;
- type exit to exit chroot.
- save changes in a new ISO image: cl-image iso ;
- save changes on DVD:
growisofs -Z /dev/cdrom=/var/calculate/linux/cls-10.9-i686.iso
Now replace «cls-10.9-i686.iso» with your own ISO file.

