- How to partition USB drive in Linux
- How to partition a USB drive on Linux via command line
- Initializing USB drive with a partition table
- Creating a partition
- Checking the partition alignment
- Resizing a partition
- Removing a partition
- How to partition a USB drive on Linux via GUI
- Create new partition
- Resize a partition
- Delete a partition
- Closing Thoughts
- Related Linux Tutorials:
How to partition USB drive in Linux
In order to access a USB drive on Linux, it needs to have one or more partitions on it. Since USB drives are usually relatively small, and only used for temporary storage or to easily transfer files, the vast majority of users will choose to configure just one partition that spans the entire USB disk. However, you can also logically separate the USB drive into different sections if you wanted to use multiple partitions.
In this tutorial, we will cover the step by step instructions to partition a USB drive on a Linux system. You will also learn how to create new partitions, delete partitions, and to shrink or expand existing partitions on the USB drive. You will see the steps for both command line and GUI methods, so you can follow along with set of instructions you are most comfortable with. Let’s get started.
In this tutorial you will learn:
- How to add partition USB drive from command line
- How to add partition USB drive from GUI
- How to add to, delete, and resize an existing partition table

| Category | Requirements, Conventions or Software Version Used |
|---|---|
| System | Any Linux distro |
| Software | parted, gparted |
| Other | Privileged access to your Linux system as root or via the sudo command. |
| Conventions | # – requires given linux commands to be executed with root privileges either directly as a root user or by use of sudo command $ – requires given linux commands to be executed as a regular non-privileged user |
How to partition a USB drive on Linux via command line
In the step by step instructions below, we will initialize a disk with a partition table, create a new partition, check the partition alignment, resize a partition, and remove an existing partition. This should cover a variety of scenarios depending on whether you are trying to partition a new USB drive or one with existing partitions.
Initializing USB drive with a partition table
The device we will be working with in these steps is /dev/sdX . To run in interactive mode we must launch parted with root permissions, passing as an argument to the command, the path of the USB drive we want to operate on, in this case:
GNU Parted 3.4 Using /dev/sdX Welcome to GNU Parted! Type 'help' to view a list of commands. (parted)
(parted) print Error: /dev/sdX: unrecognised disk label Model: SanDisk SanDisk Cruzer (scsi) Disk /dev/sdX: 16.2GB Sector size (logical/physical): 512B/512B Partition Table: unknown Disk Flags:
(parted) mklabel New disk label type? msdos
Creating a partition
Next, we will create our first partition on the USB drive. We will need to provide the partition type, choosing between primary or extended, the filesystem type (optional), the partition starting point and the partition ending point. Again if not provided directly, those values will be requested interactively. The command to create a partition is mkpart :
(parted) mkpart Partition type? primary/extended? primary File system type? [ext2]? ext4 Start? 0% End? 100%
(parted) print Model: SanDisk SanDisk Cruzer (scsi) Disk /dev/sdb: 16.2GB Sector size (logical/physical): 512B/512B Partition Table: msdos Disk Flags: Number Start End Size Type File system Flags 1 1049kB 16.2GB 16.2GB primary ext4 lba
Checking the partition alignment
The alignment of a partition is a very important factor to optimize performance. With parted , we can check two type of alignments, minimal and optimal . In minimal mode, the program checks that the partition respects the minimum alignment value to physical blocks, while in optimal mode, it checks if the partition is aligned to a multiple of the physical block size, to provide optimal performances. The command to use to perform those checks is align-check :
(parted) align-check alignment type(min/opt) [optimal]/minimal? minimal Partition number? 1 1 aligned
Resizing a partition
Resizing a partition is also a very dangerous operation, especially if the partition already contains a filesystem. Be aware that when changing the size of a partition, parted will never adapt the filesystem to it, therefore, especially when shrinking, you must use the dedicated tools to resize the filesystem in use first. The command used to perform a partition resize is resizepart . Our partition size currently consumes 100% of the disk; if for example, we would like to extend it to cover only 50% of the device instead, we would type:
(parted) resizepart Partition number? 1 End? [16.2GB]? 50% Warning: Shrinking a partition can cause data loss, are you sure you want to continue? Yes/No? yes
Removing a partition
Removing a partition is just as easy. Obviously we should perform such an operation with the greatest amount of caution. The command to use in this case is rm :
(parted) rm Partition number? 1
WARNING
There is no prompt for confirmation, so think twice before running this command to destroy an existing partition.
How to partition a USB drive on Linux via GUI
There are many GUI programs which can also be used to create or edit partitions for a USB drive on Linux. In this tutorial, we will focus on using gparted , which, as the name implies, is the GUI counterpart of the command line parted tool that we used above.
You can use the appropriate command below to install gparted with your system’s package manager.
To install gparted on Ubuntu, Debian, and Linux Mint:
To install gparted on Arch Linux and Manjaro:
After it is installed, follow the steps below to use gparted to create, resize, and delete partitions on your USB drive(s):
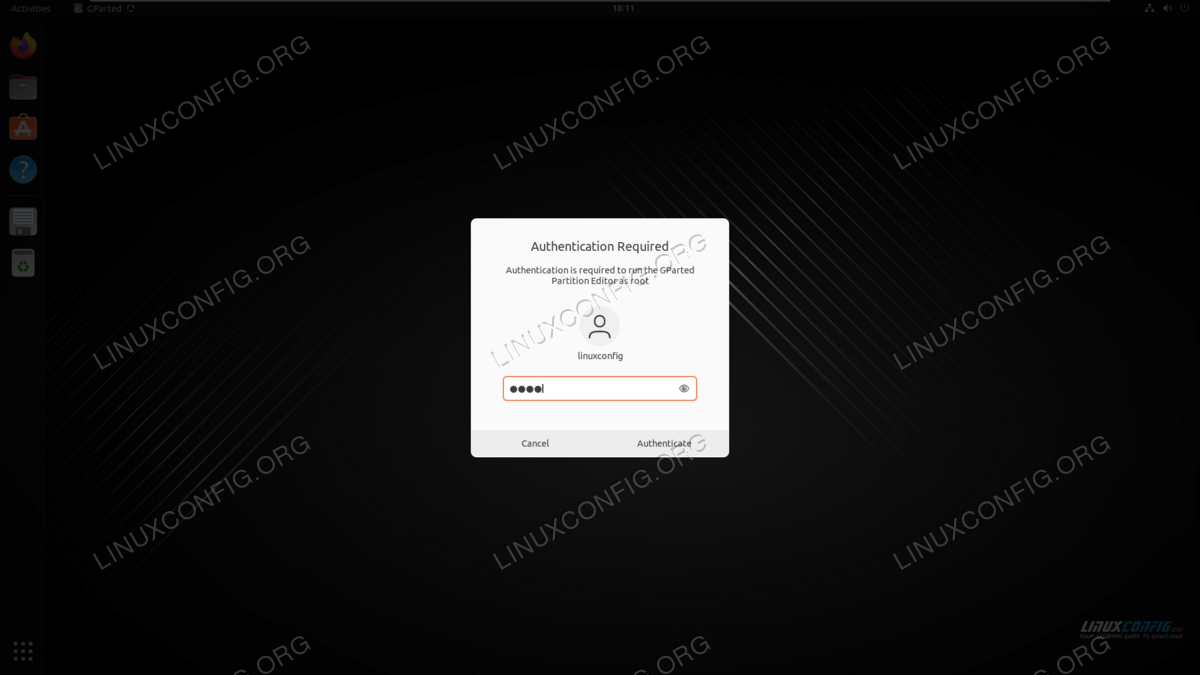
- Get started by searching for the gparted application in your desktop envrionment’s app launcher. You will be prompted for the root password upon opening the program.


Create new partition
As you can see, our USB drive currently has no partitions. Let’s add one by going to Device > Create Partition Table. 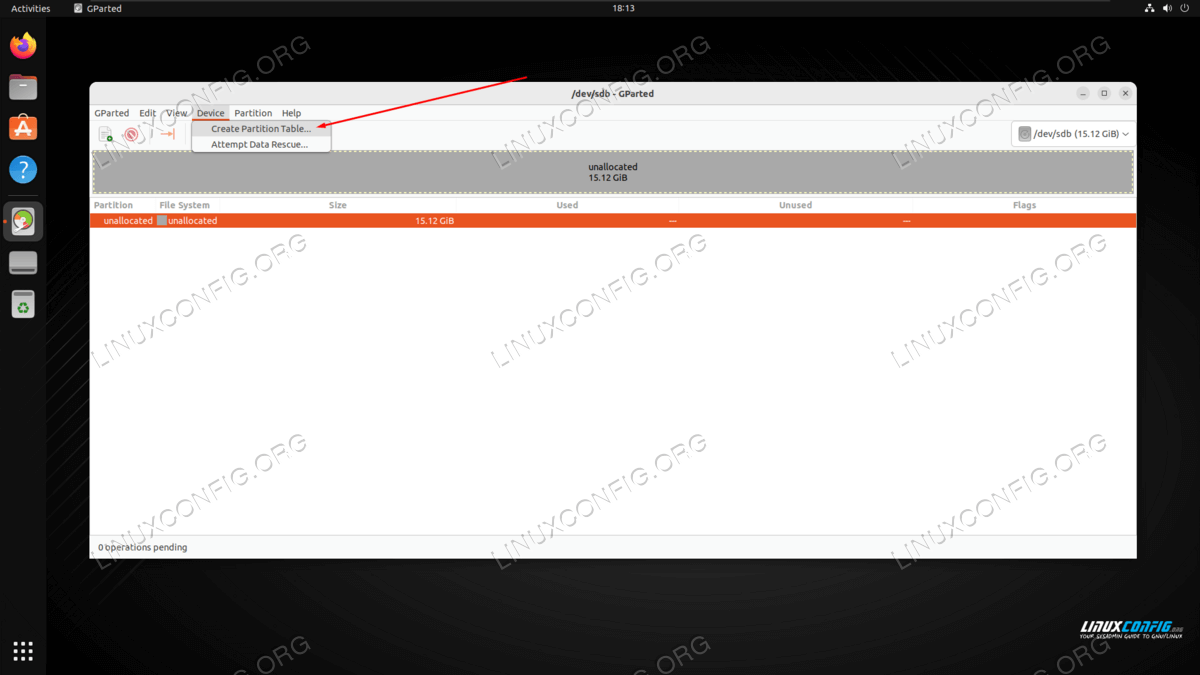

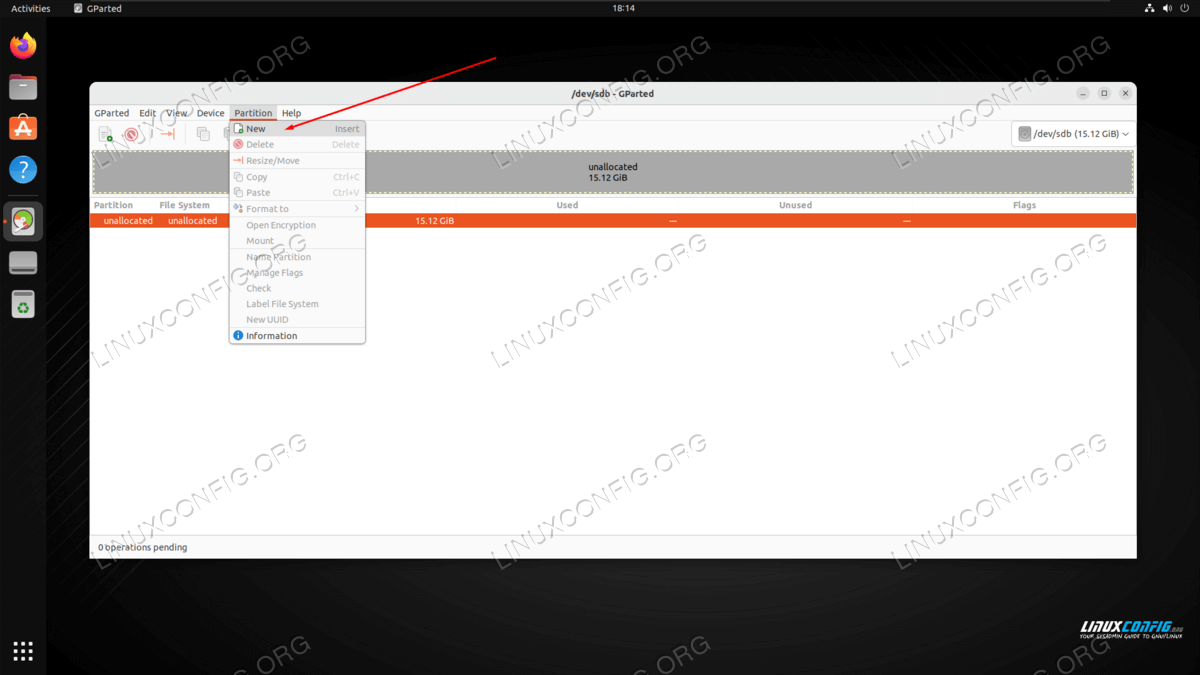
On this menu, we get to select the size of our new partition. Rather than working with exact values, feel free to use the sliders with your mouse in order to configure the size that you want. For our example, we will simply make one partition that spans the entire size of the USB drive. Click ‘Add’ when ready to proceed. 
NOTE
ext4 is the recommended file system to use on Linux systems, unless you have a special reason to format the USB drive with some other kind. NTFS would be recommended if you also plan to use the USB drive with Windows systems.
Resize a partition
Click on Partition > Resize in order to resize the currently selected partition. 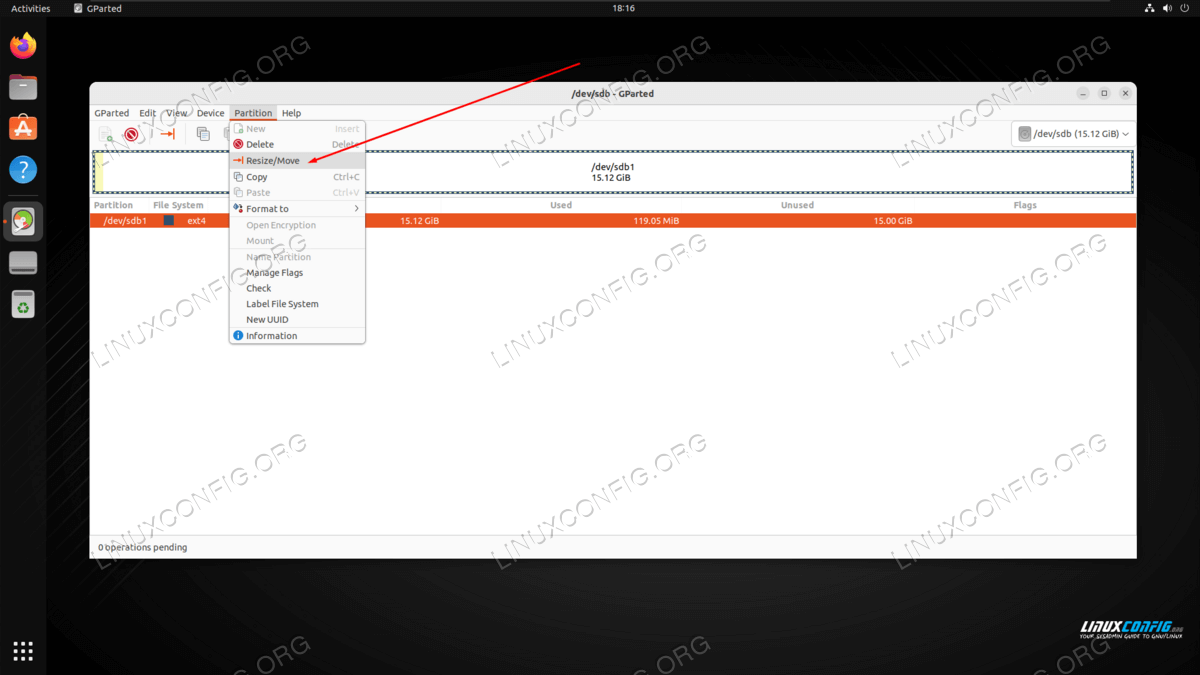

Delete a partition

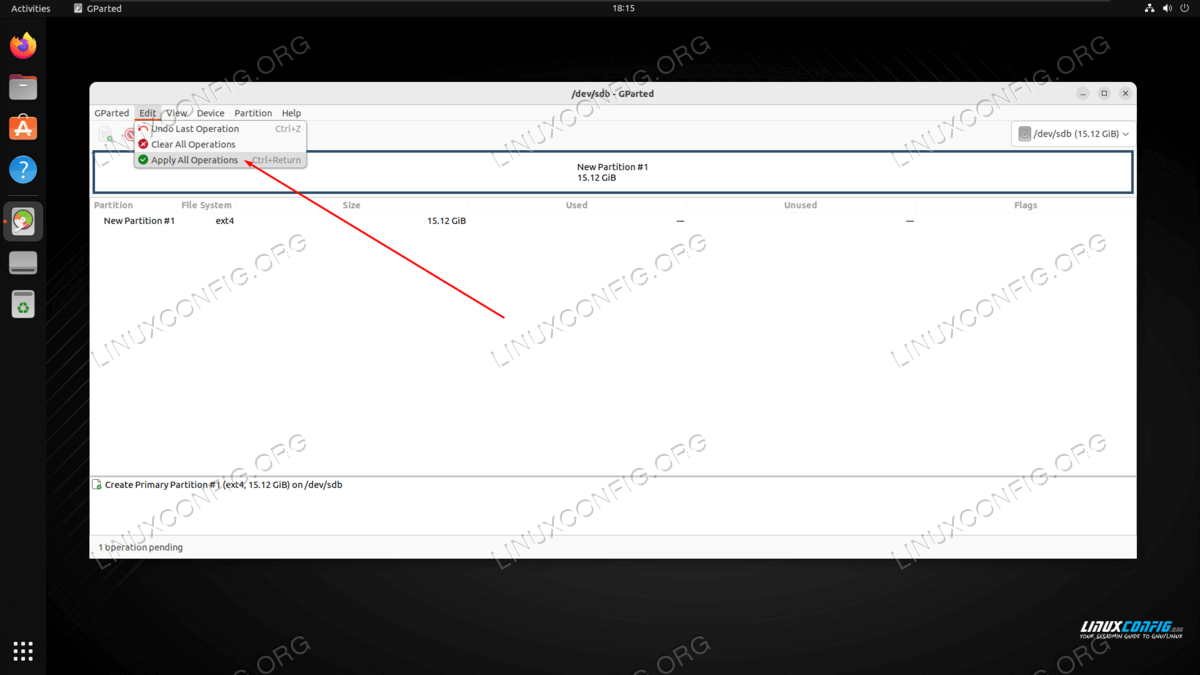
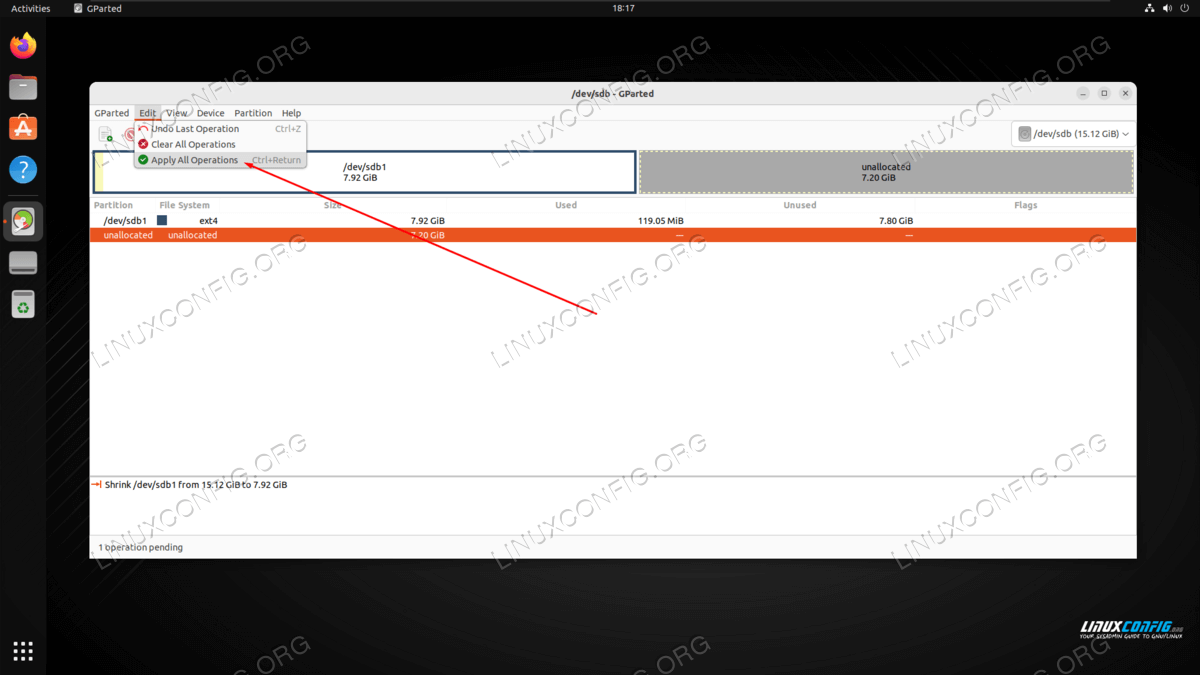
To delete the partition, just select it in gparted and navigate to Partition > Delete. When done, click Edit > Apply All Operations to confirm the changes.
Closing Thoughts
In this tutorial, we saw how to partition a USB drive from command line and GUI on a Linux system. Most users will choose to simply have one partition on their USB drive, but there is no reason that you can’t have many if you want to. Multiple partitions could also allow you multiple file systems, (e.g. an ext4 partition for your Linux files and an NTFS partition for your Windows files).
Related Linux Tutorials:
Comments and Discussions