Introduction
Ubuntu can be installed from a USB flash drive. This may be necessary for most new portable computers without DVD drives and is handy for others because a USB flash drive is so convenient. Also, you can configure Ubuntu on the USB flash drive to save changes you make, unlike a read-only CD/DVD disk.
Booting from a USB flash drive created with usb-creator alias Startup Disk Creator and mkusb will behave just as if you had booted from the install CD. It will show the language selection and then the install menu, from which you can install Ubuntu onto the computer’s hard drive or launch the LiveCD environment. Other utilities, e.g. UNetbootin, may create slightly different boot drives or if on UEFI might not work at all with Debian iso files due to a bug
Note: This article uses the term «USB flash drive» alongside USB stick, USB drive, USB device, USB pendrive and thumb drive.
Prerequisites
- a 4 GB USB flash device/drive/stick. If the iso file is smaller than 2 GB, it is possible to use a 2 GB USB device, at least with some of the methods. Files on this USB device will be erased, so backup the files you want to keep before making the device bootable. Some of the tools require that this USB device is properly formatted and mounted while other tools will overwrite whatever is on the target device. Please follow the instructions for each tool.
- an Ubuntu flavour ISO file downloaded from an official web page, ubuntu.com/download or http://releases.ubuntu.com, stored in your running computer (for example in the directory Downloads in the internal drive, not in the USB flash drive that you want to make into a USB boot drive).
- Check with md5sum (or another checksum tool) that the download was good. In Linux there is the tool ‘md5sum’. In Windows you can do it with Rufus: click on the circle with a tick mark (more about Rufus here.)
Dummy headlines
After a major remake of this help page the following headlines are kept here because they may be linked to from other web sites. Several other headlines further down in the page are also kept for this reason.
Creating a Bootable Ubuntu UEFI USB Drive
Creating a boot USB for UEFI is super easy. Follow this step by step guide to create your own.
Table of Contents
Before you begin there are a few things you’re going to need:
- USB drive you don’t mind erasing (>8GB in size)
- ISO file for the OS you want to make bootable
- We’re going to use Ubuntu 18.04.1 for this example from Ubuntu.com, but the exact same method can be used for a Windows 7+ ISO, you just need the ISO file so you can extract the contents to your USB drive
- Updated February 24, 2019: Creating a bootable USB for the October 2018 update for Windows 10 can no longer be accomplished using the below instructions. Please see the tutorial Creating a Bootable Windows 10 UEFI USB Drive Using Linux for updated information.
Formatting the USB Drive
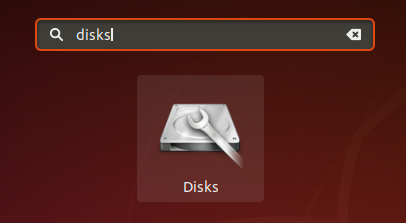
- Insert your USB drive, then open the “Disks” utility

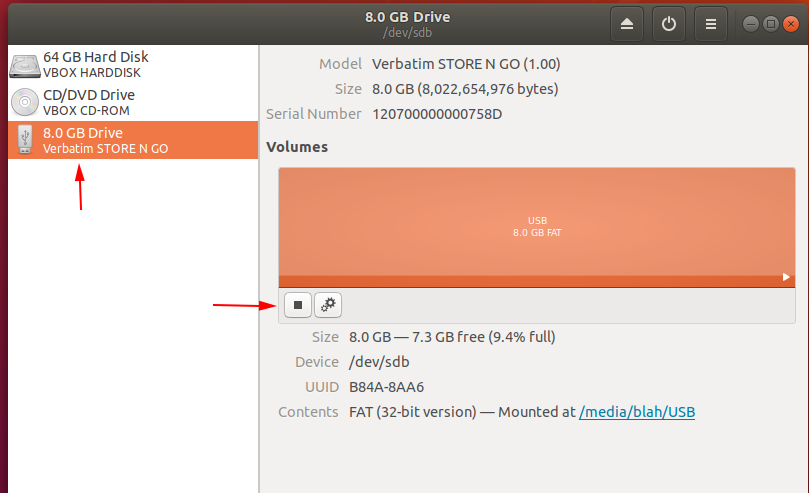
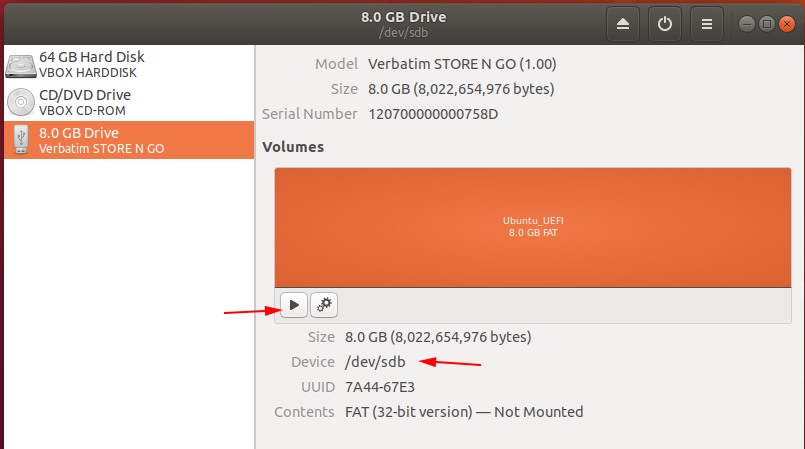
- Choose your USB drive from the available drives on the left then click the stop button to unmount the drive
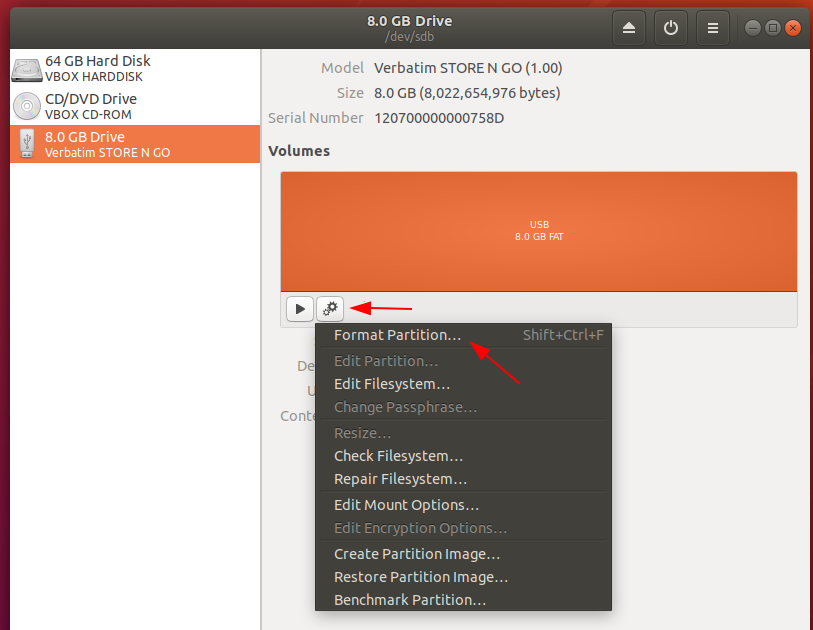
- Click the “gear” icon and then click Format Partition
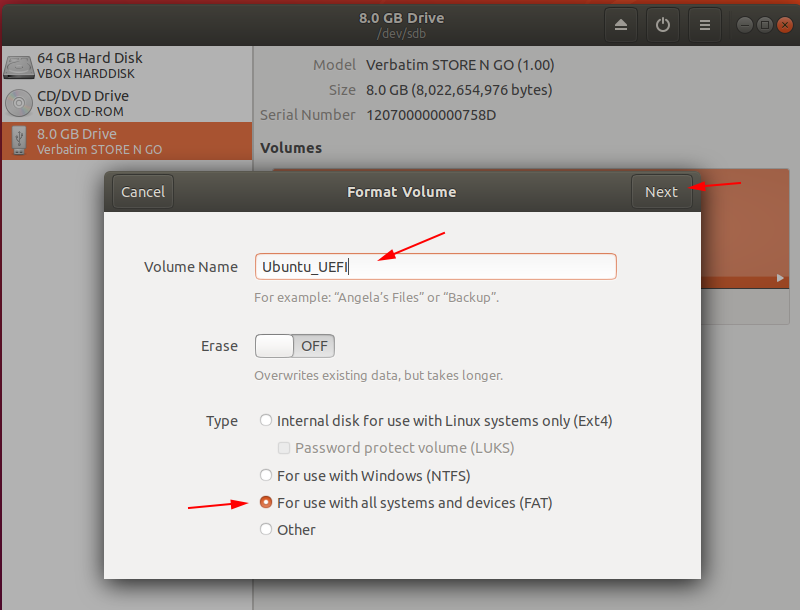
- Give the volume a name. Spaces are allowed but sticking with underscores (_) and hyphens (-) will make things easier to reference from the command line. Let’s give it the name of “Ubuntu_UEFI”. Make sure the “FAT” option is chosen, then click Next
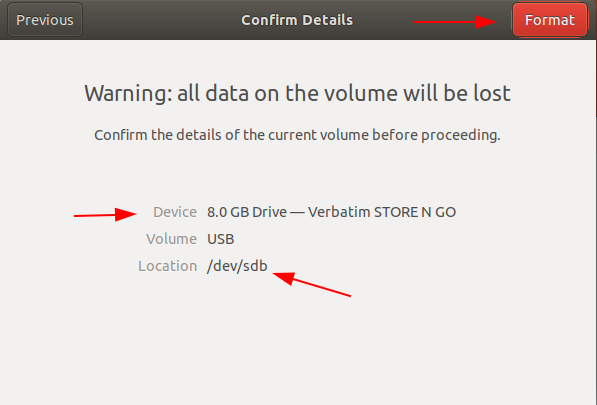
WARNING Clicking “Apply” on the following screen WILL delete ALL data on the selected partition. Ensure the correct drive/partition is chosen as choosing the wrong drive WILL DELETE ALL DATA on that drive. You have been warned.
- A summary warning screen will appear asking you to confirm the details. When you are ready click “Format”
- When the format is complete you can click the “Play” button to mount the drive
- Open a terminal window
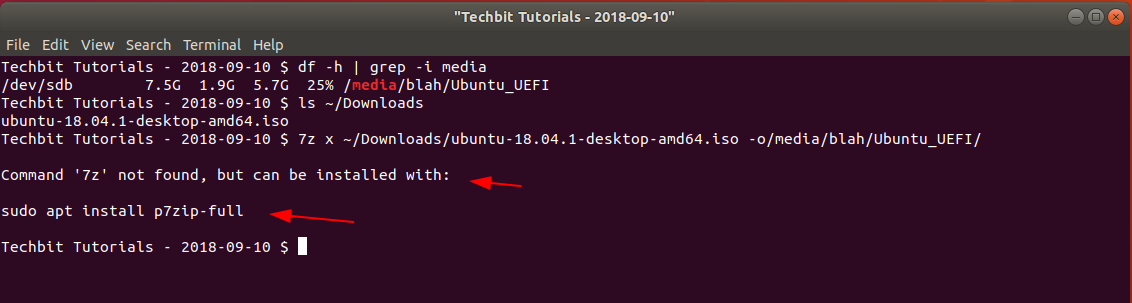
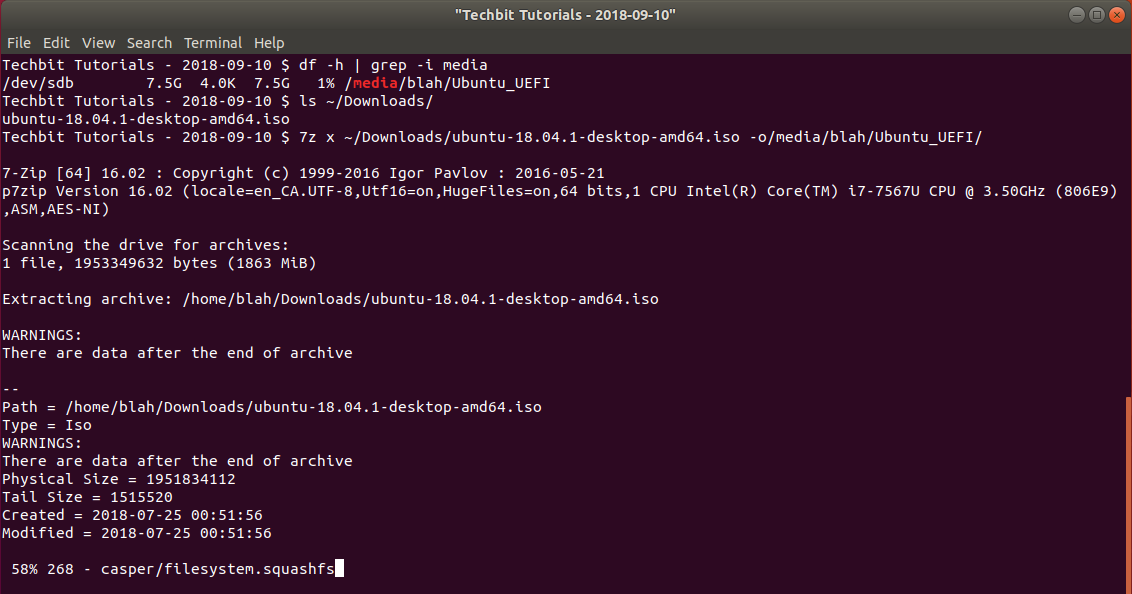
- Before we copy the files to our USB stick using 7-zip (‘7z x’ command), let’s display our USB drive info and Downloads folder listing so we have an easy reference
Creating the UEFI Bootable USB
Now that we have a freshly formatted FAT USB drive, we can proceed to creating the UEFI bootable USB
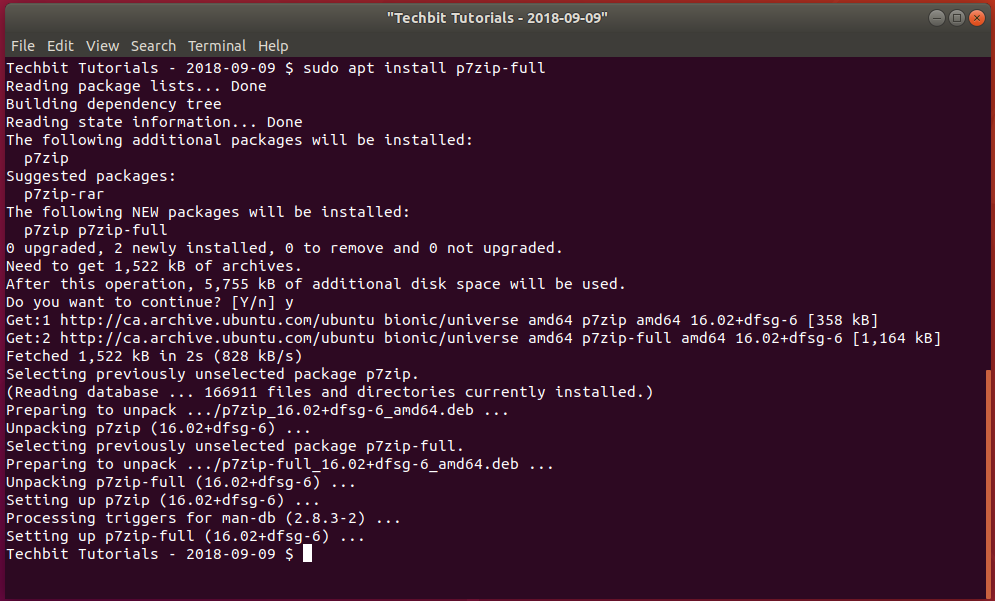
$ df -h | grep -i media $ ls ~/Downloads $ 7z x ~/Downloads/ubuntu-18.04.1-desktop-amd64.iso -o/media/blah/Ubuntu_UEFI/Looks like 7-zip is not installed on this system. That’s ok, let’s go ahead and install it now with the following commmand:
$ sudo apt install p7zip-fullNow let’s run our extract command again and we should receive a status screen from 7-zip for the extracting files
$ 7z x ~/Downloads/ubuntu-18.04.1-desktop-amd64.iso -o/media/blah/Ubuntu_UEFI/ - We’re going to use Ubuntu 18.04.1 for this example from Ubuntu.com, but the exact same method can be used for a Windows 7+ ISO, you just need the ISO file so you can extract the contents to your USB drive
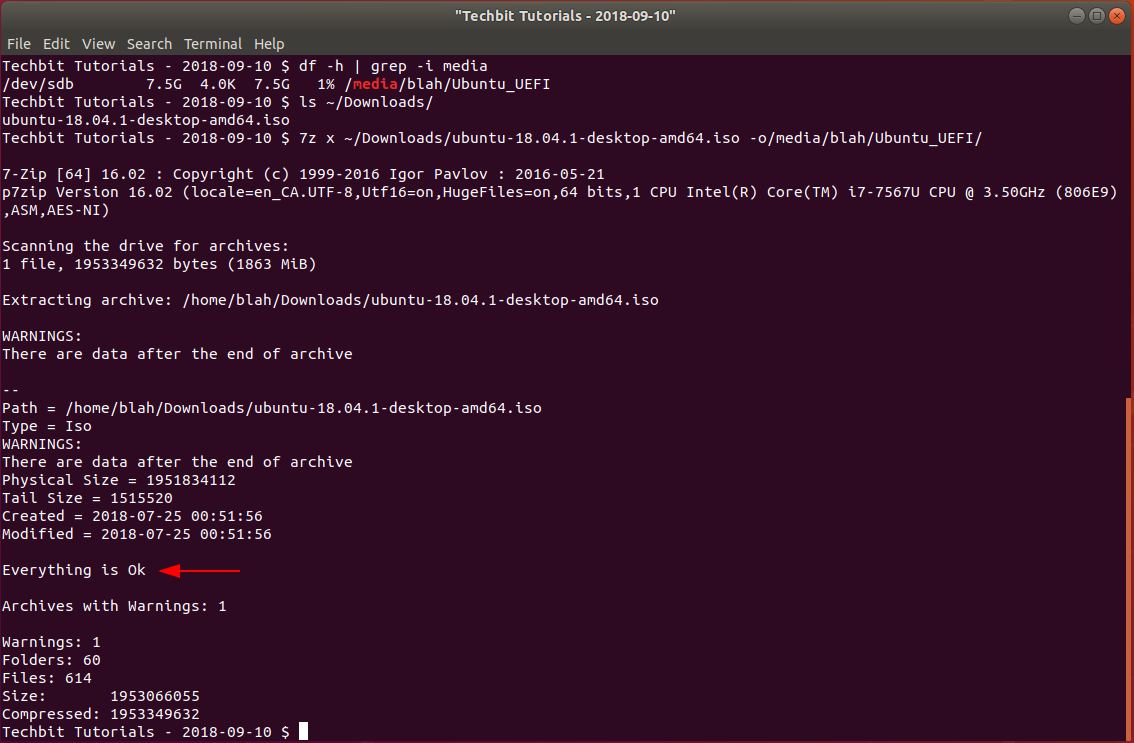
- After the extraction is finished you should see the message “Everything is OK”
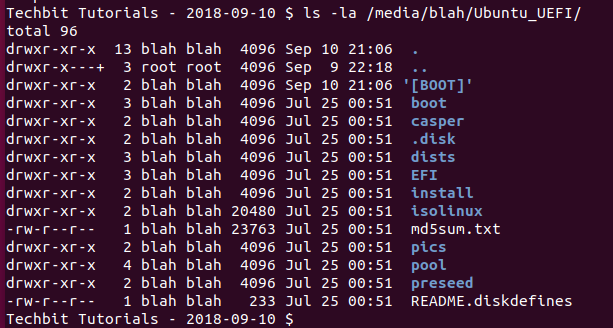
- Check to see if the USB drive now contains files with the ‘ls’ command
$ ls -la /media/blah/Ubuntu_UEFI/ Congratulations, you should now have a UEFI bootable USB Drive built of a Ubuntu 18.04.1 OS : )
If you have any questions/comments please leave them below.
Thanks so much for reading ^‿^
If this tutorial helped you out please consider buying me a pizza slice!