- Install Nvidia Drivers on Debian/Ubuntu
- Ensure the GPUs are Installed
- Disable Nouveau
- Blacklist Nouveau in Modprobe
- Update Grub to Blacklist Nouveau
- Prerequisites
- Close X Server
- Install Drivers Only
- Troubleshoot the Nvidia Installer
- Other Reference Material
- Test the Nvidia Installation
- Multiple Driver Failure
- Restart X Server
- Install NVIDIA Drivers on Debian 11
- Table of Contents:
- Finding Out Whether You Have NVIDIA GPU Installed:
- Enabling contrib and non-free Repositories:
- Updating Package Repository Cache:
- Installing NVIDIA Drivers:
- Checking if NVIDIA Drivers are Installed Correctly:
- Conclusion:
- About the author
- Shahriar Shovon
Install Nvidia Drivers on Debian/Ubuntu
This section will provide instructions on installing Nvidia drivers in a Debian/Ubuntu environment, if the target servers have Nvidia GPUs.
Ensure the GPUs are Installed
Ensure that the lspci command is installed (which lists the PCI devices connected to the server):
sudo apt-get -y install pciutils
Perform a quick check to determine what Nvidia cards have been installed:
The output of the lspci command above should be something similar to:
00:02.0 VGA compatible controller: Intel Corporation 4th Gen . 01:00.0 VGA compatible controller: Nvidia Corporation .
If you do not see a line that includes Nvidia, then the GPU is not properly installed. Otherwise, you should see the make and model of the GPU devices that are installed.
Disable Nouveau
Blacklist Nouveau in Modprobe
The nouveau driver is an alternative to the Nvidia drivers generally installed on the server. It does not work with CUDA and must be disabled. The first step is to edit the file at /etc/modprobe.d/blacklist-nouveau.conf . Something like:
Then, run the following commands:
echo options nouveau modeset=0 | sudo tee -a /etc/modprobe.d/nouveau-kms.conf sudo update-initramfs -u
Update Grub to Blacklist Nouveau
Backup your grub config template:
sudo cp /etc/default/grub /etc/default/grub.bak
Then, update your grub config template at /etc/default/grub . Add rd.driver.blacklist=grub.nouveau and rcutree.rcu_idle_gp_delay=1 to the GRUB_CMDLINE_LINUX variable. For example, change:
GRUB_CMDLINE_LINUX="quiet rd.driver.blacklist=grub.nouveau rcutree.rcu_idle_gp_delay=1"
Then, rebuild your grub config:
sudo grub2-mkconfig -o /boot/grub/grub.cfg
Prerequisites
The following prerequisites should be installed before installing the Nvidia drivers:
sudo apt-get -y install linux-headers-$(uname -r) make gcc-4.8 sudo apt-get -y install acpid dkms
Close X Server
Before running the install, you should exit out of any X environment, such as Gnome, KDE or XFCE. To exit the X session, switch to a TTY console using Ctrl-Alt-F1 and then determine whether you are running lightdm or gdm by running:
sudo ps aux | grep "lightdm|gdm|kdm"
Depending on which is running, stop the service, running the following commands (substitute gdm or kdm for lightdm as appropriate):
sudo service lightdm stop sudo init 3
Install Drivers Only
To accommodate GL-accelerated rendering, OpenGL and GL Vendor Neutral Dispatch (GLVND) are now required and should be installed with the Nvidia drivers. OpenGL is an installation option in the *.run type of drivers. In other types of the drivers, OpenGL is enabled by default in most modern versions (dated 2016 and later). GLVND can be installed using the installer menus or via the --glvnd-glx-client command line flag.
This section deals with installing the drivers via the *.run executables provided by Nvidia.
To download only the drivers, navigate to http://www.nvidia.com/object/unix.html and click the Latest Long Lived Branch version under the appropriate CPU architecture. On the ensuing page, click Download and then click Agree and Download on the page that follows.
The Unix drivers found in the link above are also compatible with all Nvidia Tesla models.
If you’d prefer to download the full driver repository, Nvidia provides a tool to recommend the most recent available driver for your graphics card at http://www.Nvidia.com/Download/index.aspx?lang=en-us.
If you are unsure which Nvidia devices are installed, the lspci command should give you that information:
Download the recommended driver executable. Change the file permissions to allow execution:
chmod +x ./NVIDIA-Linux-$(uname -m)-*.run
Run the install. If you are prompted about cryptographic signatures on the kernel module, answer Sign the Kernel Module and then Generate a new key pair. At the end, DO NOT update your X config if it asks. Note that the following attempts to diagnose a common problem where the installer fails to correctly detect and deal with the situation where the kernel has been signed, but signed kernel modules are not required.
grep CONFIG_MODULE_SIG=y /boot/config-$(uname -r) && \ grep "CONFIG_MODULE_SIG_FORCE is not set" /boot/config-$(uname -r) && \ sudo ./NVIDIA-Linux-$(uname -m)-*.run -e || \ sudo ./NVIDIA-Linux-$(uname -m)-*.run
If there are any issues with the installation, the installer should notify you where the log is kept; the default location is usually:
Troubleshoot the Nvidia Installer
One common issue with installing the Nvidia driver is that it will fail out because the Nvidia driver taints the kernel. The issue is that the driver is not signed and the default install does not attempt to sign it, but the kernel is expecting a signed driver. If you encounter this error, you should re-run the install in expert mode:
When prompted about cryptographic signatures on the kernel module, answer Sign the Kernel Module and then Generate a new key pair. Again, at the end, make sure to answer No when asked if you want the installer to update your X configuration.
This situation is usually detected during the above install step, but if there are issues, you can run this command separately.
Another issue that may arise is that if the kernel development version and the system kernel version don’t match up, the Nvidia driver install will not proceed after accepting the license. To fix this issue:
sudo apt-get update && sudo apt-get install linux-headers-$(uname -r) sudo reboot now
Other Reference Material
Nvidia has a large readme online at:
http://us.download.nvidia.com/XFree86/Linux-//README/index.html
For example, on x86 for version 375.26, the readme is online at:
http://us.download.nvidia.com/XFree86/Linux-x86_64/375.26/README/index.html.
Test the Nvidia Installation
After the Nvidia drivers are installed, you can test the installation by running the command:
Which should return something similar to:
+------------------------------------------------------+ | NVIDIA-SMI 361.42 Driver Version: 361.42 | |-------------------------------+----------------------+----------------------+ | GPU Name Persistence-M| Bus-Id Disp.A | Volatile Uncorr. ECC | | Fan Temp Perf Pwr:Usage/Cap| Memory-Usage | GPU-Util Compute M. | |===============================+======================+======================| | 0 Quadro K1100M Off | 0000:01:00.0 Off | N/A | | N/A 44C P0 N/A / N/A | 8MiB / 2047MiB | 0% Default | +-------------------------------+----------------------+----------------------+ +-----------------------------------------------------------------------------+ | Processes: GPU Memory | | GPU PID Type Process name Usage | |=============================================================================| | No running processes found | +-----------------------------------------------------------------------------+
Multiple Driver Failure
If an error is returned, stating:
Failed to initialize NVML: GPU access blocked by the operating system
there may be multiple versions of the Nvidia drivers on the system. Try running:
dpkg --list | grep -E "cuda|nvidia"
Review any versions listed and remove them as needed. Also run:
locate libnvidia | grep ".so."
Confirm that the files all end with either a 1 or the version of the Nvidia driver that you installed, for example .375.21.
Restart X Server
If you had to stop the X Server to install your Nvidia driver, the simplest way to get back into X is to reboot the server:
Install NVIDIA Drivers on Debian 11
![]()
If you have an NVIDIA GPU installed on your computer, installing the NVIDIA GPU drivers is the first thing you would want to do after installing Debian 11 on your computer.
In this article, I will show you how to install NVIDIA drivers on Debian 11. So, let’s get started.
Table of Contents:
Finding Out Whether You Have NVIDIA GPU Installed:
You can check whether your computer has an NVIDIA GPU installed or not with the following command:

As you can see, I have an NVIDIA GeForce GTX 1050 Ti GPU installed on my computer. You may have a different NVIDIA GPU installed.

Enabling contrib and non-free Repositories:
NVIDIA drivers are available in the official contrib and non-free package repositories of Debian 11. The official contrib and non-free package repositories are not enabled by default. But you can easily enable them.
To enable the contrib package repository, run the following command:

To enable the non-free package repository, run the following command:

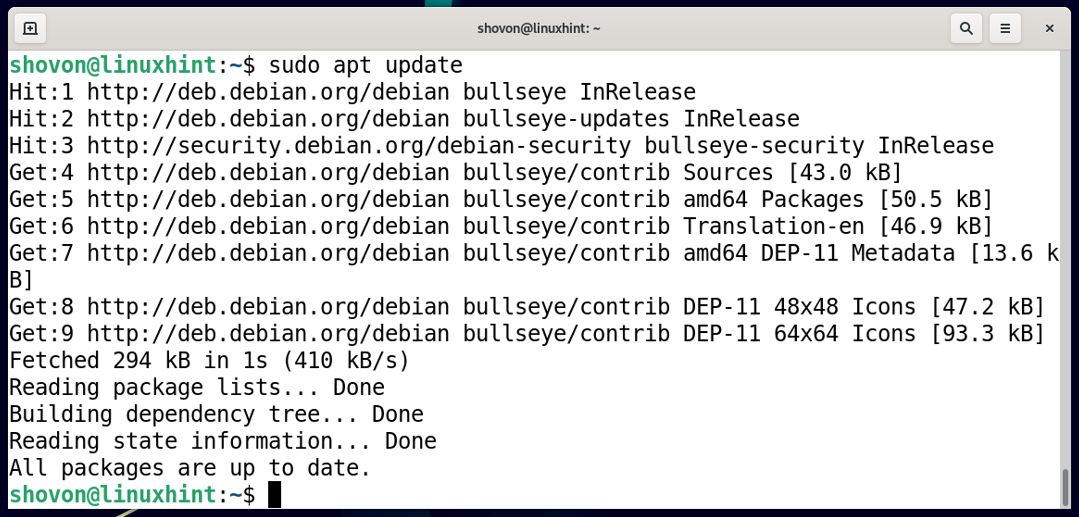
Updating Package Repository Cache:
To update the APT package database, run the following command:

The APT package database should be updated.
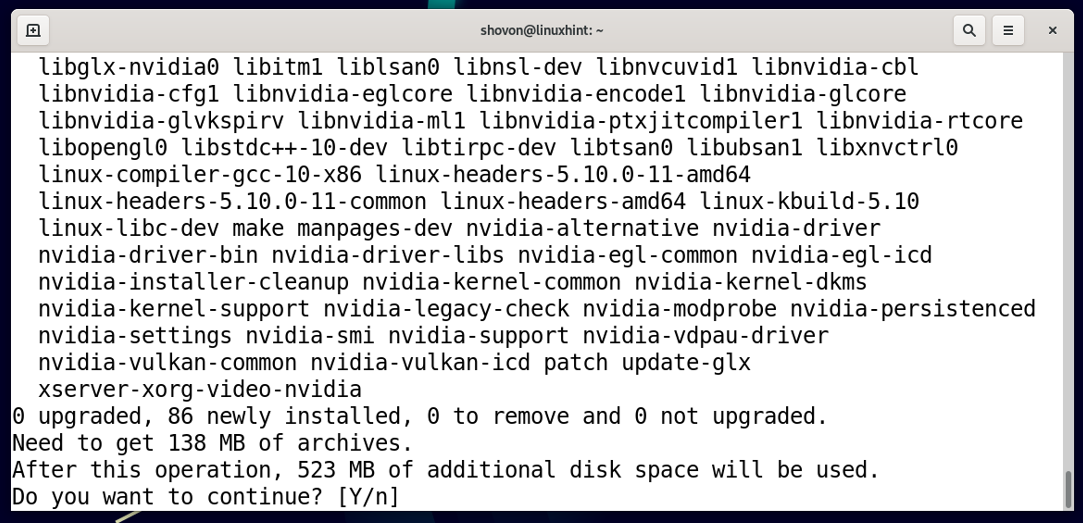
Installing NVIDIA Drivers:
To install NVIDIA drivers, run the following command:

To confirm the installation, press Y and then press .
NVIDIA drivers and all the required packages will be downloaded from the internet. It will take a while to complete.
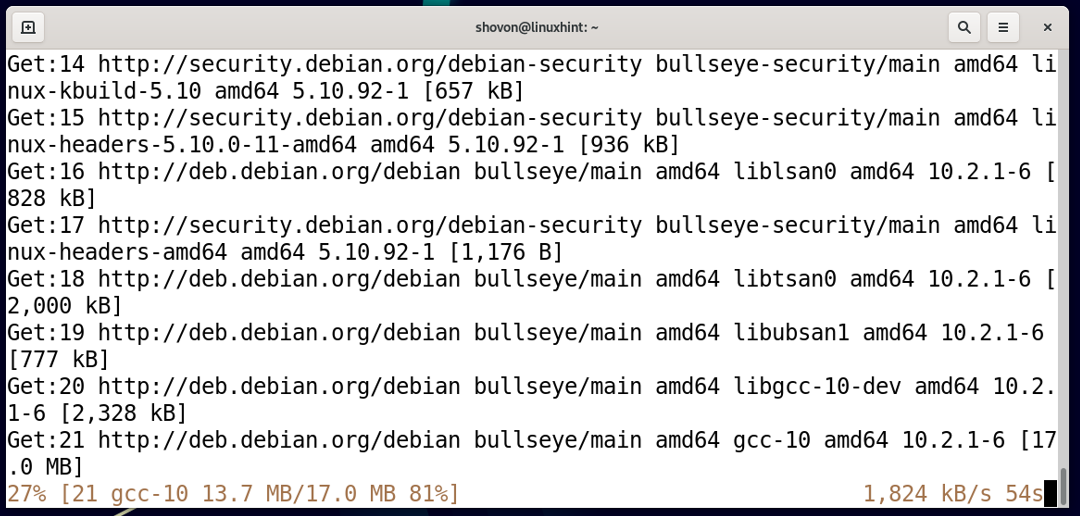
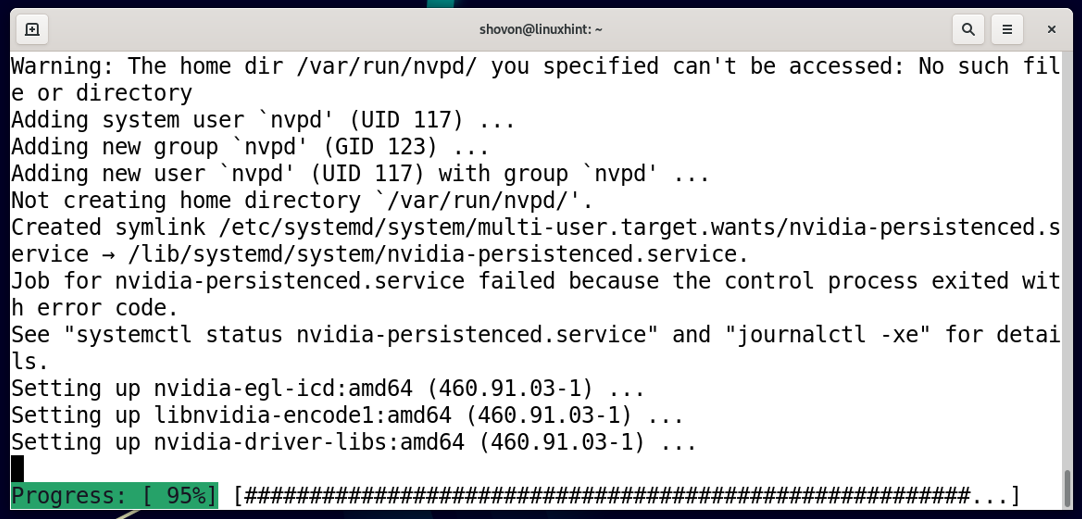
Once all the packages are downloaded, the APT package manager will install them one by one. It will take a while to complete.
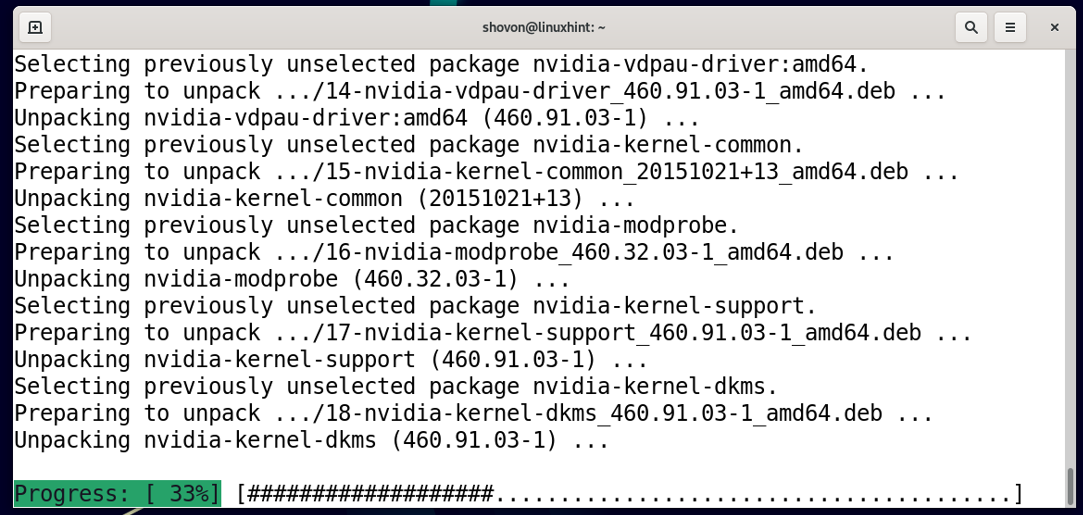
Once you see the following prompt, navigate to and press .

The installation should continue.
At this point, NVIDIA drivers and all the required dependencies should be installed.
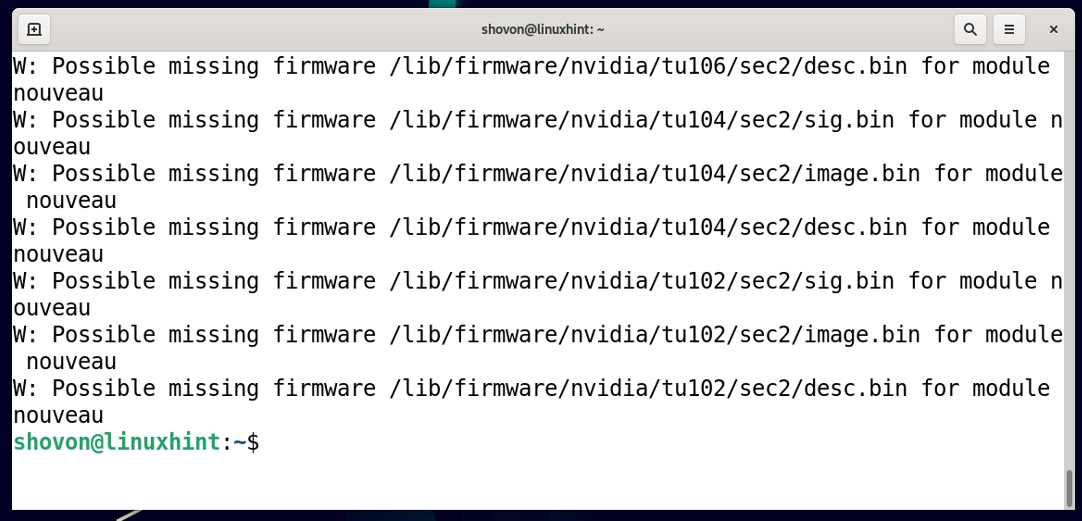
For the changes to take effect, reboot your computer with the following command:

Checking if NVIDIA Drivers are Installed Correctly:
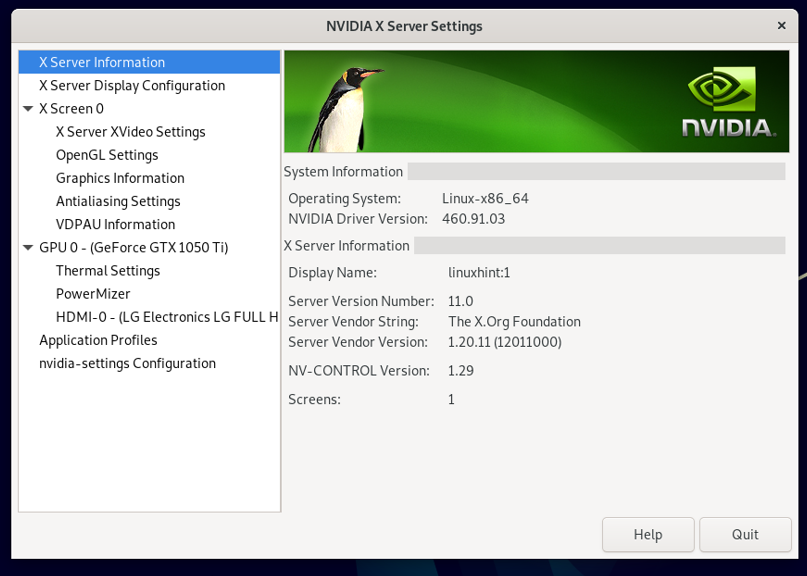
Once your computer boots, you should find the NVIDIA X Server Settings app in the Application Menu of Debian 11. Click on the NVIDIA X Server Settings app icon as marked in the screenshot below.

If the NVIDIA drivers are installed correctly, the NVIDIA X Server Settings app should run without errors and show you information related to your NVIDIA GPU, as you can see in the screenshot below.
NVIDIA driver kernel modules are loaded correctly, as you can see in the screenshot below.

Conclusion:
In this article, I have shown you how to install NVIDIA GPU drivers on Debian 11 and check that it’s working correctly.
About the author
Shahriar Shovon
Freelancer & Linux System Administrator. Also loves Web API development with Node.js and JavaScript. I was born in Bangladesh. I am currently studying Electronics and Communication Engineering at Khulna University of Engineering & Technology (KUET), one of the demanding public engineering universities of Bangladesh.