- How to Add and Delete Users on Ubuntu 20.04
- Prerequisites
- Adding a User
- Granting a User Sudo Privileges
- Adding the New User to the Sudo Group
- Specifying Explicit User Privileges in /etc/sudoers
- Testing Your User’s Sudo Privileges
- Deleting a User
- Conclusion
- Добавление нового пользователя в Ubuntu
- Добавляем нового пользователя в Ubuntu
- Способ 1: Терминал
- Способ 2: Меню «Параметры»
How to Add and Delete Users on Ubuntu 20.04

Adding and removing users on a Linux system is one of the most important system administration tasks to familiarize yourself with. When you create a new system, you are often only given access to the root account by default.
While running as the root user gives you complete control over a system and its users, it is also dangerous and possibly destructive. For common system administration tasks, it’s a better idea to add an unprivileged user and carry out those tasks without root privileges. You can also create additional unprivileged accounts for any other users you may have on your system. Each user on a system should have their own separate account.
For tasks that require administrator privileges, there is a tool installed on Ubuntu systems called sudo . Briefly, sudo allows you to run a command as another user, including users with administrative privileges. In this guide, you’ll learn how to create user accounts, assign sudo privileges, and delete users.
Prerequisites
To complete this tutorial, you will need access to a server running Ubuntu 20.04. Ensure that you have root access to the server and firewall enabled. To set this up, follow our Initial Server Setup Guide for Ubuntu 20.04.
Adding a User
If you are signed in as the root user, you can create a new user at any time by running the following:
If you are signed in as a non-root user who has been given sudo privileges, you can add a new user with the following command:
Either way, you will be required to respond to a series of questions:
- Assign and confirm a password for the new user.
- Enter any additional information about the new user. This is optional and can be skipped by pressing ENTER if you don’t wish to utilize these fields.
- Finally, you’ll be asked to confirm that the information you provided was correct. Press Y to continue.
Your new user is now ready for use and can be logged into with the password that you entered.
If you need your new user to have administrative privileges, continue on to the next section.
Granting a User Sudo Privileges
If your new user should have the ability to execute commands with root (administrative) privileges, you will need to give the new user access to sudo . Let’s examine two approaches to this task: first, adding the user to a pre-defined sudo user group, and second, specifying privileges on a per-user basis in sudo ’s configuration.
Adding the New User to the Sudo Group
By default, sudo on Ubuntu 20.04 systems is configured to extend full privileges to any user in the sudo group.
You can view what groups your new user is in with the groups command:
By default, a new user is only in their own group because adduser creates this in addition to the user profile. A user and its own group share the same name. In order to add the user to a new group, you can use the usermod command:
The -aG option tells usermod to add the user to the listed groups.
Please note that the usermod command itself requires sudo privileges. This means that you can only add users to the sudo group if you’re signed in as the root user or as another user that has already been added as a member of the sudo group. In the latter case, you will have to precede this command with sudo , as in this example:
Specifying Explicit User Privileges in /etc/sudoers
As an alternative to putting your user in the sudo group, you can use the visudo command, which opens a configuration file called /etc/sudoers in the system’s default editor, and explicitly specify privileges on a per-user basis.
Using visudo is the only recommended way to make changes to /etc/sudoers because it locks the file against multiple simultaneous edits and performs a validation check on its contents before overwriting the file. This helps to prevent a situation where you misconfigure sudo and cannot fix the problem because you have lost sudo privileges.
If you are currently signed in as root, run the following:
If you are signed in as a non-root user with sudo privileges, run the same command with the sudo prefix:
Traditionally, visudo opened /etc/sudoers in the vi editor, which can be confusing for inexperienced users. By default on new Ubuntu installations, visudo will use the nano text editor, which provides a more convenient and accessible text editing experience. Use the arrow keys to move the cursor, and search for the line that reads like the following:
Below this line, add the following highlighted line. Be sure to change newuser to the name of the user profile that you would like to grant sudo privileges:
root ALL=(ALL:ALL) ALL newuser ALL=(ALL:ALL) ALL Add a new line like this for each user that should be given full sudo privileges. When you’re finished, save and close the file by pressing CTRL + X , followed by Y , and then ENTER to confirm.
Testing Your User’s Sudo Privileges
Now your new user is able to execute commands with administrative privileges.
When signed in as the new user, you can execute commands as your regular user by typing commands as normal:
You can execute the same command with administrative privileges by typing sudo ahead of the command:
When doing this, you will be prompted to enter the password of the regular user account you are signed in as.
Deleting a User
In the event that you no longer need a user, it’s best to delete the old account.
You can delete the user itself, without deleting any of their files, by running the following command as root:
If you are signed in as another non-root user with sudo privileges, you would use the following:
If, instead, you want to delete the user’s home directory when the user is deleted, you can issue the following command as root:
If you’re running this as a non-root user with sudo privileges, you would run the same command with the sudo prefix:
If you previously configured sudo privileges for the user you deleted, you may want to remove the relevant line again:
Or use the following command if you are a non-root user with sudo privileges:
root ALL=(ALL:ALL) ALL newuser ALL=(ALL:ALL) ALL # DELETE THIS LINE This will prevent a new user created with the same name from being accidentally given sudo privileges.
Conclusion
You should now have a fairly good handle on how to add and remove users from your Ubuntu 20.04 system. Effective user management will allow you to separate users and give them only the access that they are required to do their job.
For more information about how to configure sudo , check out our guide on how to edit the sudoers file.
Thanks for learning with the DigitalOcean Community. Check out our offerings for compute, storage, networking, and managed databases.
Добавление нового пользователя в Ubuntu

Во время инсталляции операционной системы Ubuntu создается только один привилегированный пользователь, имеющий рут-права и любые возможности по управлению компьютером. После завершения установки появляется доступ для создания неограниченного количества новых юзеров, установив каждому свои права, домашнюю папку, дату отключения и многие другие параметры. В рамках сегодняшней статьи мы постараемся максимально детально рассказать об этом процессе, приведя описание каждым присутствующим в ОС командам.
Добавляем нового пользователя в Ubuntu
Вы можете создать нового юзера одним из двух способов, причем каждый метод имеет свои определенные настройки и будет полезен в разных ситуациях. Давайте подробно разберем каждый вариант осуществления поставленной задачи, а вы, исходя из своих потребностей, выберите наиболее оптимальный.
Способ 1: Терминал
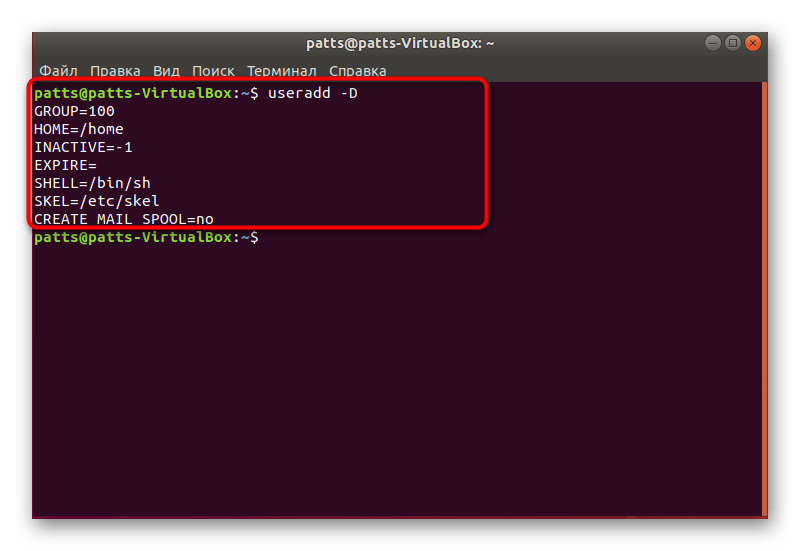
Незаменимое приложение в любой операционной системе на ядре Linux — «Терминал». Благодаря этой консоли производится множество самых разнообразных операций, в том числе и добавление пользователей. Задействована при этом будет всего лишь одна встроенная утилита, но с разными аргументами, о которых мы расскажем ниже.
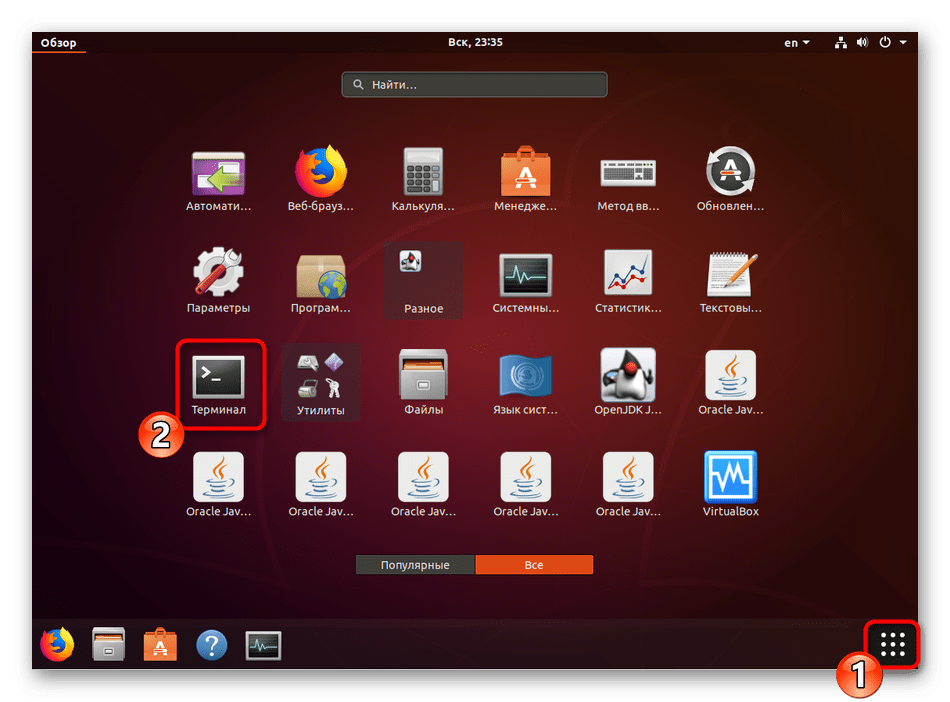
- Откройте меню и запустите «Терминал», либо же вы можете зажать комбинацию клавиш Ctrl + Alt + T.
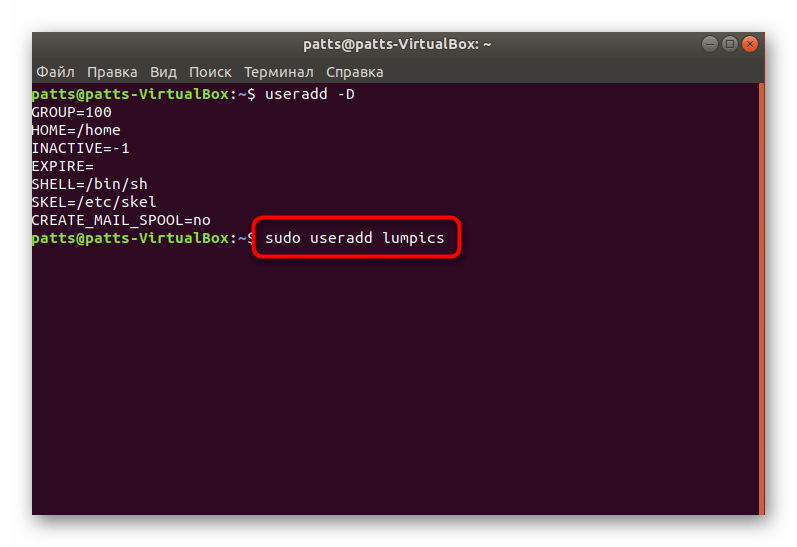
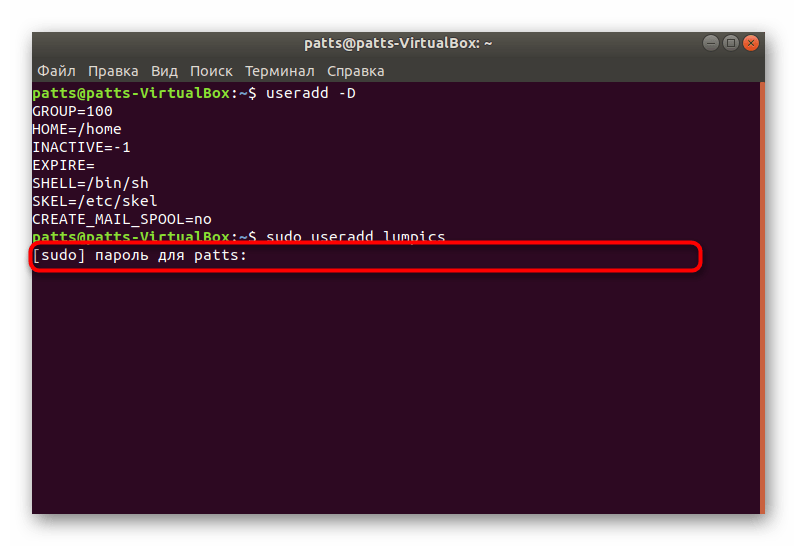
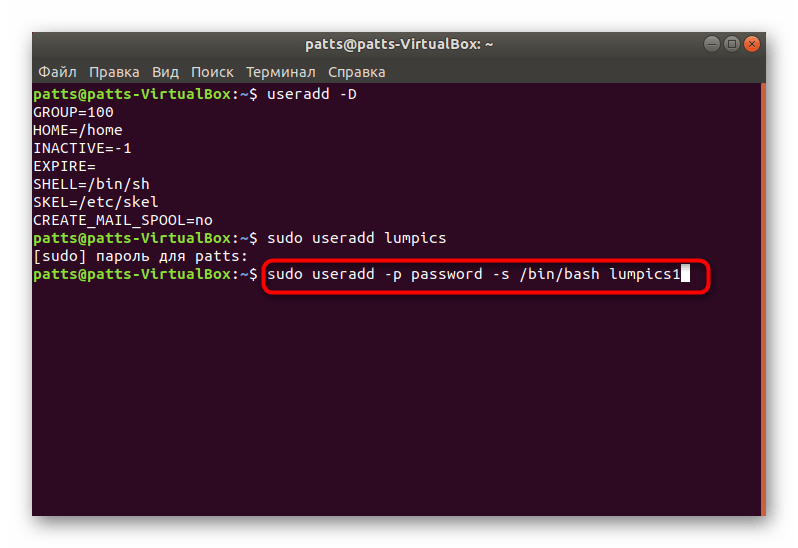
На этом процедура создания учетной записи со стандартными параметрами успешно завершена, после активации команды отобразится новое поле. Здесь вы можете ввести аргумент -p, указав пароль, а также аргумент -s, задав используемую оболочку. Пример такой команды выглядит так: sudo useradd -p password -s /bin/bash user , где passsword — любой удобный пароль, /bin/bash — расположение оболочки, а user — имя нового пользователя. Таким образом создается юзер с применением определенных аргументов.
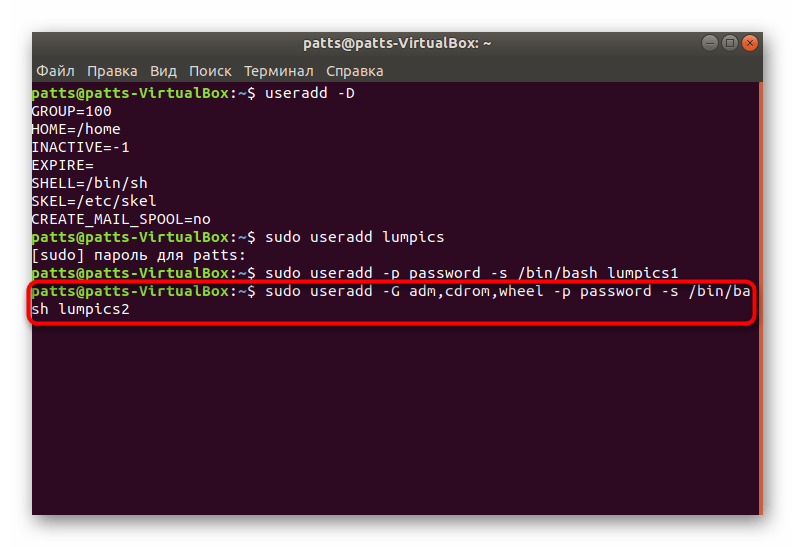
Отдельно хотелось бы обратить внимание и на аргумент -G. Он позволяет внести учетную запись в соответствующую группу для работы с определенными данными. Из основных групп выделяются такие:
| Группы | Описание |
|---|---|
| adm | Разрешение на прочтение логов из папки /var/log |
| cdrom | Позволяется использовать привод |
| wheel | Возможность использовать команду sudo для предоставления доступа к определенным задачам |
| plugdev | Разрешение на монтирование внешних накопителей |
| video, audio | Доступ к аудио и видеодрайверам |
На скриншоте выше вы видите, в каком именно формате вводятся группы при использовании команды useradd с аргументом -G.
Теперь вы ознакомлены с процедурой добавления новых учетных записей через консоль в ОС Ubuntu, однако мы рассмотрели не все аргументы, а лишь несколько основных. Другие популярные команды имеют следующие обозначения:
| Аргументы | Описание |
|---|---|
| -b | Использование базовой директории для размещения файлов юзера, обычно это папка /home |
| -c | Добавление комментария к записи |
| -e | Время, через которое созданный юзер будет заблокирован. Заполнять следует в формате ГГГГ-ММ-ДД |
| -f | Блокировка юзера сразу после добавления |
С примерами присвоения аргументов вы уже были ознакомлены выше, оформлять все следует так, как указано на скриншотах, используя пробел после введения каждой фразы. Стоит также отметить, что каждая учетная запись доступна для дальнейшего изменения через все ту же консоль. Для этого задействуйте команду sudo usermod user , вставив между usermod и user (имя пользователя) необходимые аргументы со значениями. Не относится это только к изменению пароля, он заменяется через sudo passwd 12345 user , где 12345 — новый пароль.
Способ 2: Меню «Параметры»
Далеко не всем удобно задействовать «Терминал» и разбираться во всех этих аргументах, командах, к тому же, это не всегда и требуется. Поэтому мы решили показать и более простой, однако менее гибкий метод добавления нового юзера через графический интерфейс.
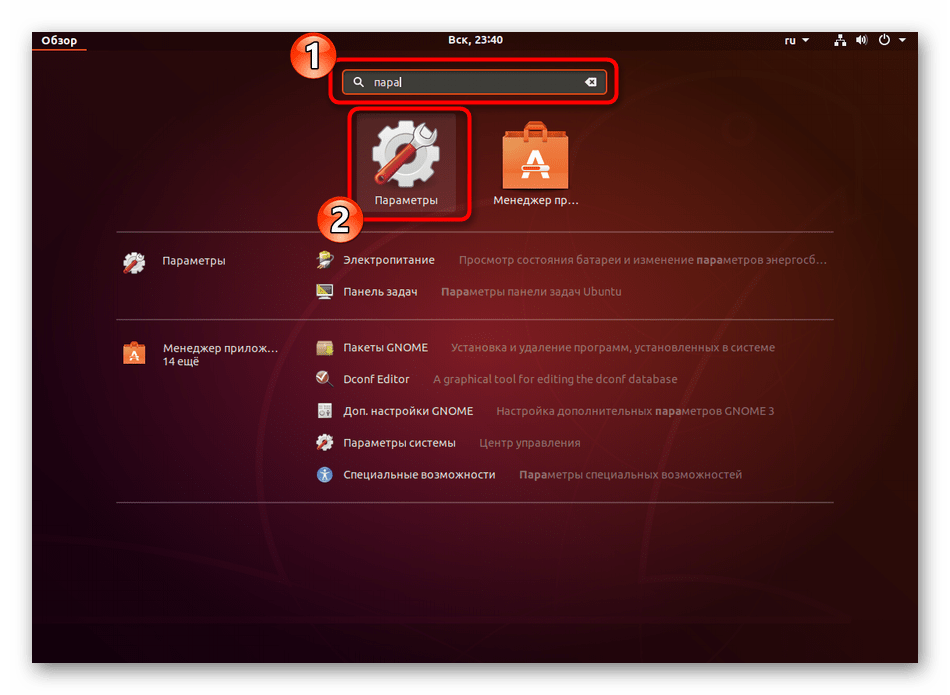
- Откройте меню и через поиск отыщите «Параметры».

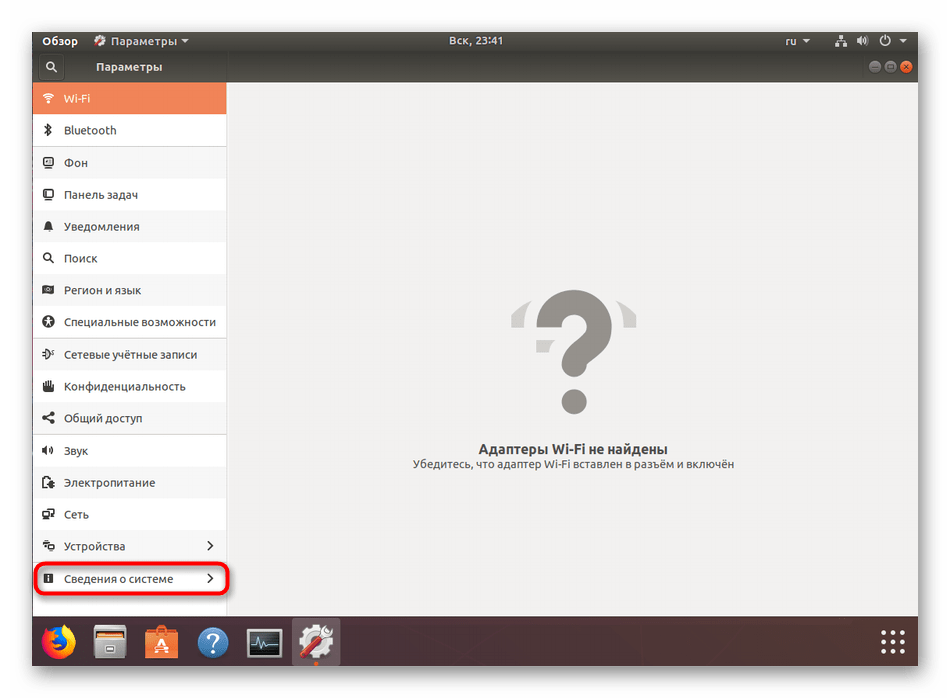
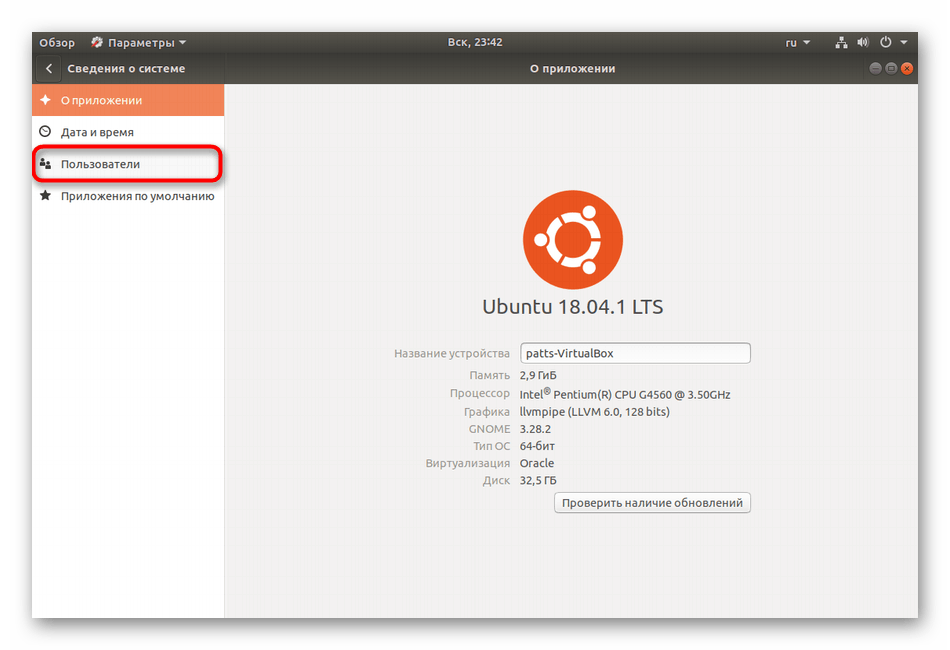
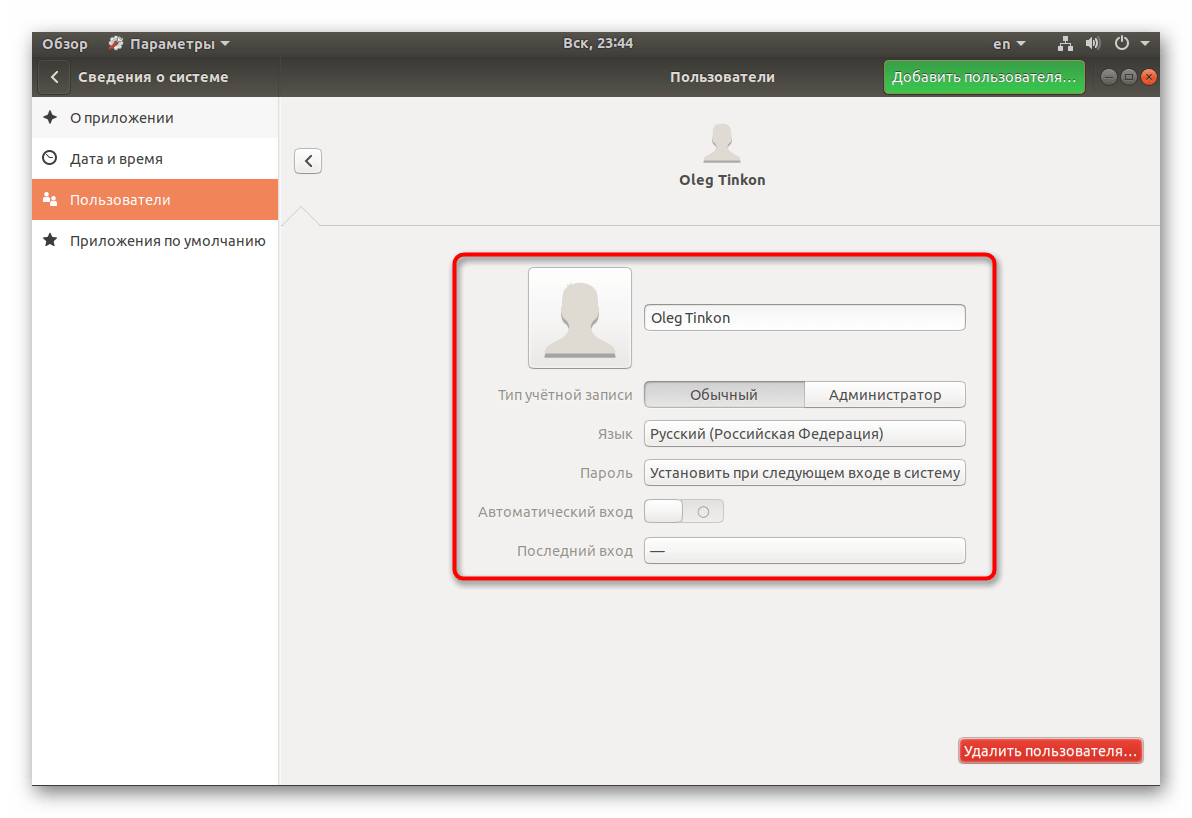
- На панели снизу нажмите на «Сведения о системе».

- Перейдите в категорию «Пользователи».

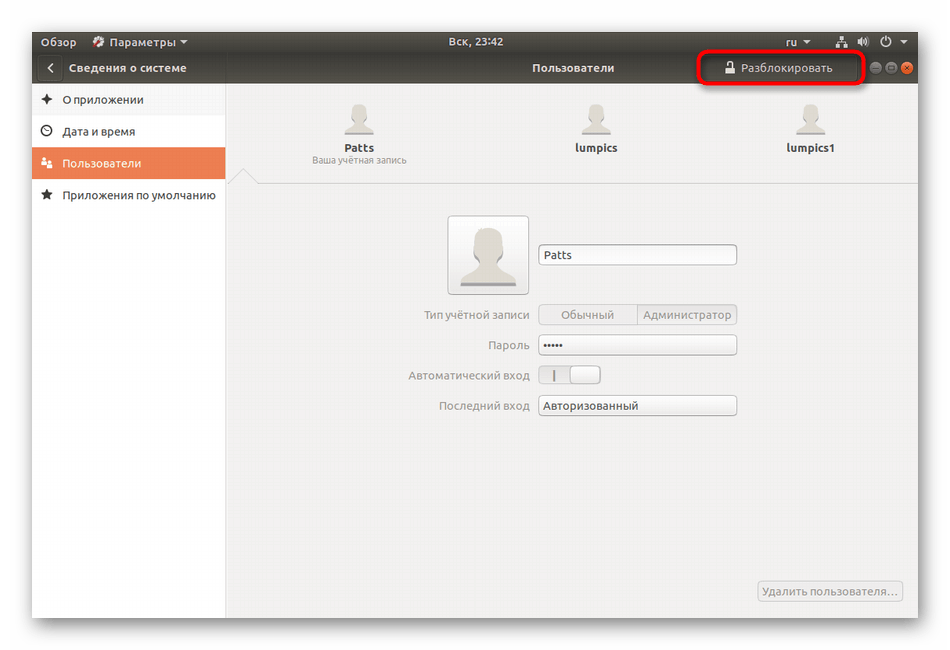
- Для дальнейшего редактирования потребуется разблокировка, поэтому кликните на соответствующую кнопку.
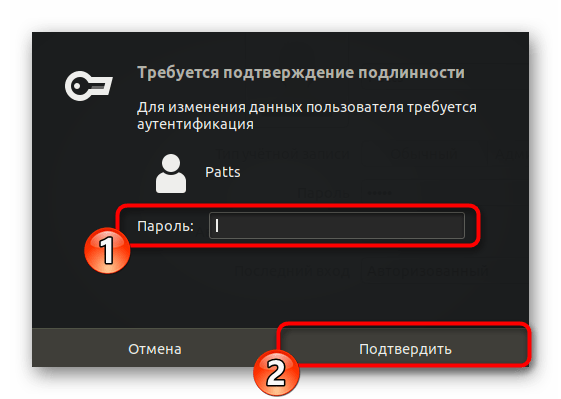
- Укажите свой пароль и щелкните на «Подтвердить».

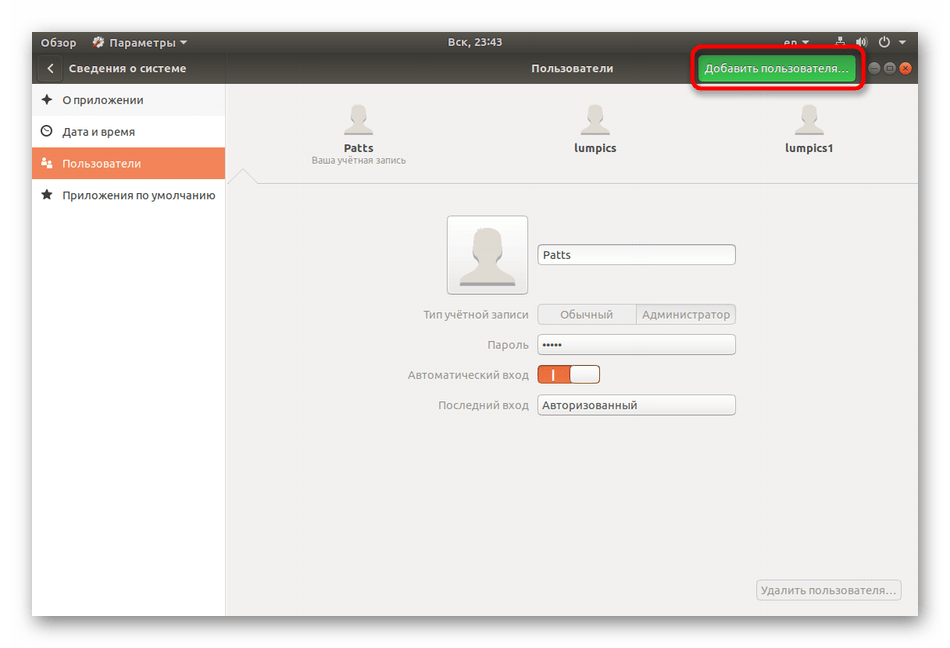
- Теперь активируется кнопка «Добавить пользователя».

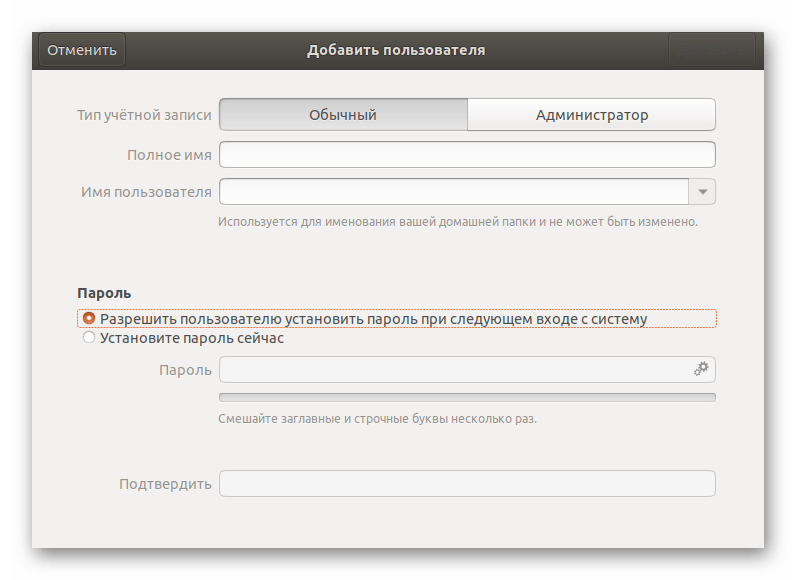
- Первоочередно заполните основную форму, указав тип записи, полное имя, название домашней папки и пароль.

- Далее отобразится «Добавить», куда и следует нажать левой кнопкой мыши.

- Перед выходом обязательно сверьте всю введенную информацию. После запуска операционной системы юзер сможет войти в нее под своим паролем, если он был установлен.


Приведенные выше два варианта работы с учетными записями помогут правильно настроить группы в операционной системе и выставить каждому юзеру свои привилегии. Что касается удаления ненужной записи, производится она через то же меню «Параметры» либо командой sudo userdel user .