- Emulating Linux binaries under Mac OS X
- 7 Answers 7
- Securely run operating systems on your Mac
- Windows. Linux. Meet Apple Silicon.
- Emulate classic operating systems.
- Virtualize macOS as well.
- Designed for macOS
- QEMU without the headache
- What’s the difference in the Mac App Store version?
- How do I contribute?
- Can I run games?
- Будни программиста
- Что такое QEMU
- Устанавливаем QEMU
- Дополнительное приседание на Big Sur
- Создание виртуальной машины с Ubuntu 20.10
- Установка Ubuntu
- Запуск Ubuntu
Emulating Linux binaries under Mac OS X
How do I run Linux binaries under Mac OS X? Googling around I found a couple of emulators but none for running Linux binaries on a Mac. There are quite a few posts about running Mac OS X on Linux and that kind of stuff — but that’s the opposite of what I want to do. Update: Thanks for all the answers! I am fully aware of MacPorts and Fink or any of the other things; and no, I do not want any of these utilities, and I do not want any of the package managers, I prefer to compile things myself. I also have Parallels and could set up virtual machines and all that jazz. The only thing I want to do is to find a way to run a binary that I do not have the source code for and has been compiled for Linux, but I do not want to run it under Linux but under Mac OS X. Therefore my question about emulators.
If your just looking to run software from the *nix/POSIX world it will probably compile provided it doesn’t depend on OS specific libraries. Fink or MacPorts can help with this somewhat.
I can’t think of any software that’s available for Linux, but not for Mac (sadly, since I’m a Linux guy). Why are you looking for such a thing?
Great question! I too, have a piece of enterprise software that runs in Linux, but my development machine is a Mac. Hopefully someone comes up with a solution — emulation layer for Linux binaries on Mac.
7 Answers 7
Well there is a project introducing something like Linux’s binfmt_misc to OS X so now what you need is an ELF loader, a dynamic linker that can load both Mach-O and ELF, and some mechanism to translate Linux calls to OS X ones.
Just for inspiration, you can implement the dynamic linker in the fashion that it ignores filename extension — both libfoo.so.1 (as an Linux ELF) and libfoo.1.dylib (as an Mach-O) can be loaded so that OS X versions of system libraries can be reused so that you do not need to write a «hosted on OS X» libc.so and syscalls can be handled by an kext that translates Linux calls to OS X ones in kernel.
Or, in an more elegant way, implement a stripped down Linux kernel as a kext that makes the OS X kernel a dual-purpose. However that will require you to use two sets of libraries. (Binaries do not clash so it is largely okay)
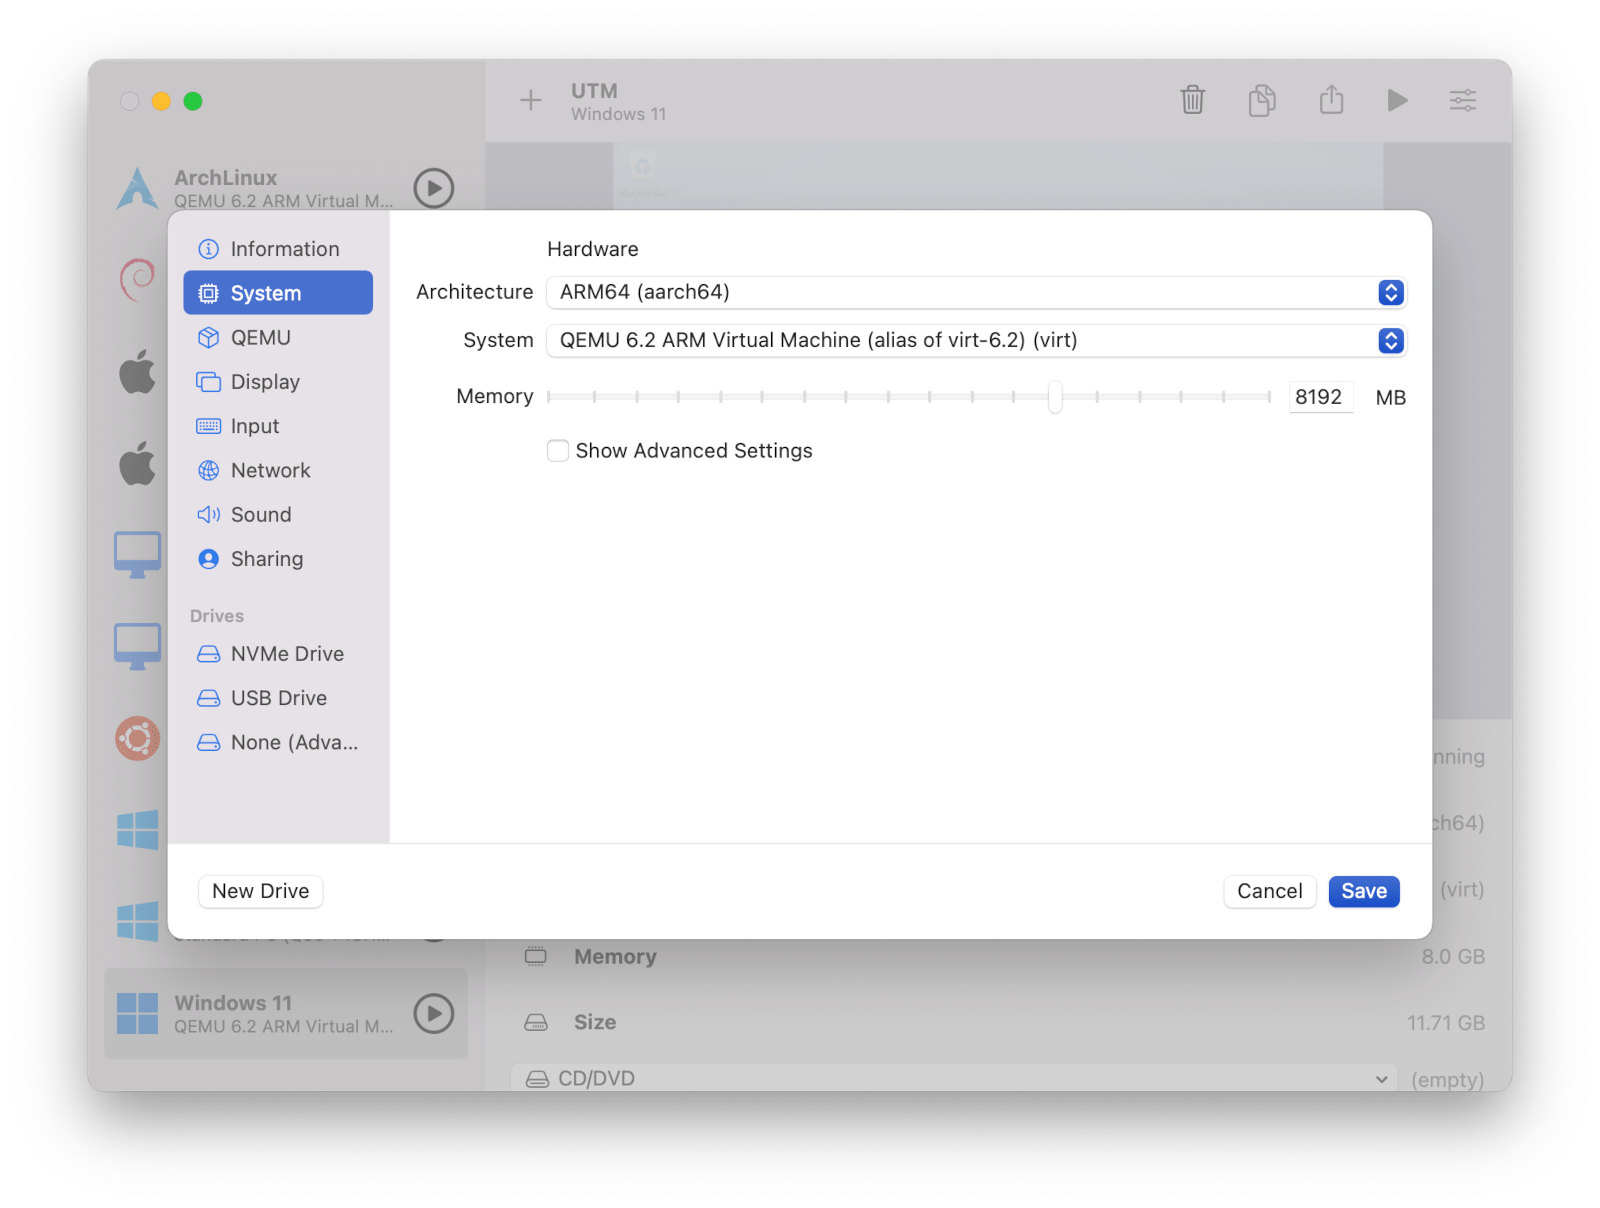
Securely run operating systems on your Mac
Windows. Linux. Meet Apple Silicon.
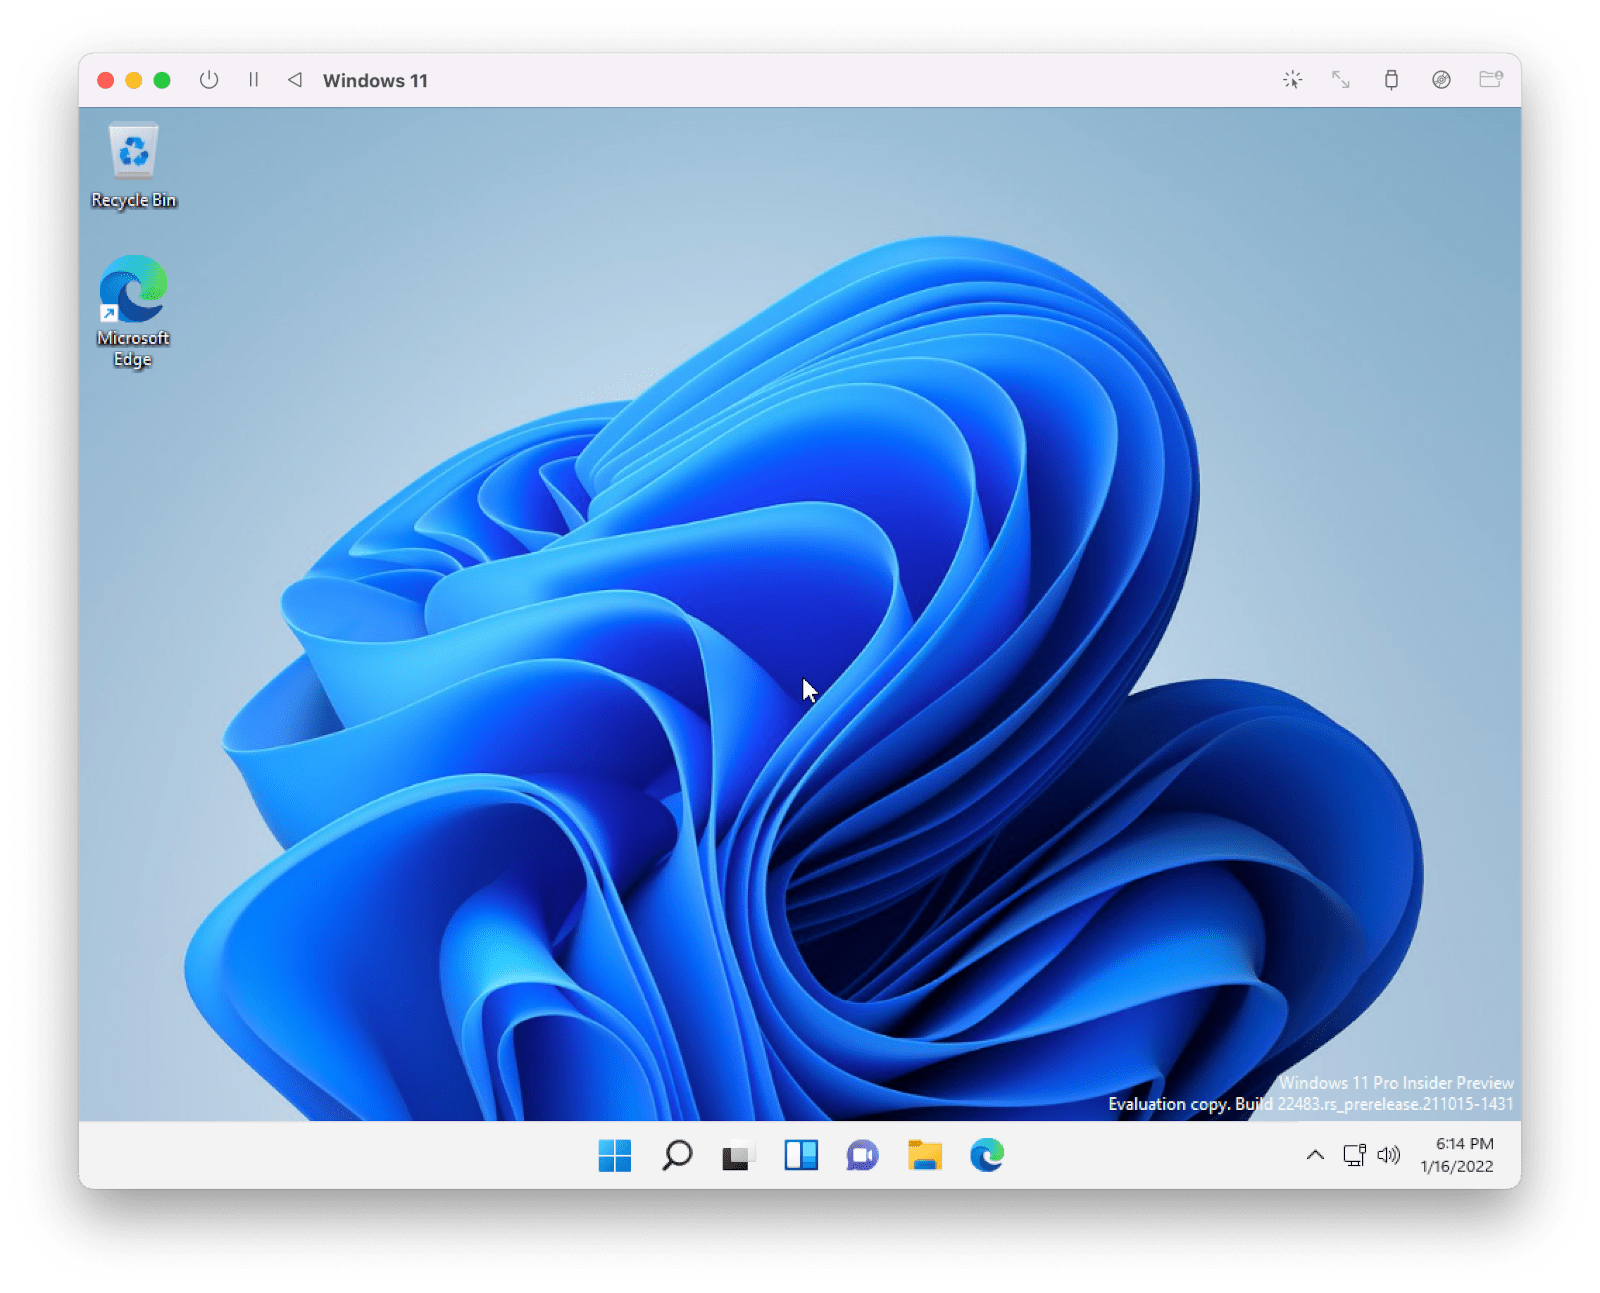
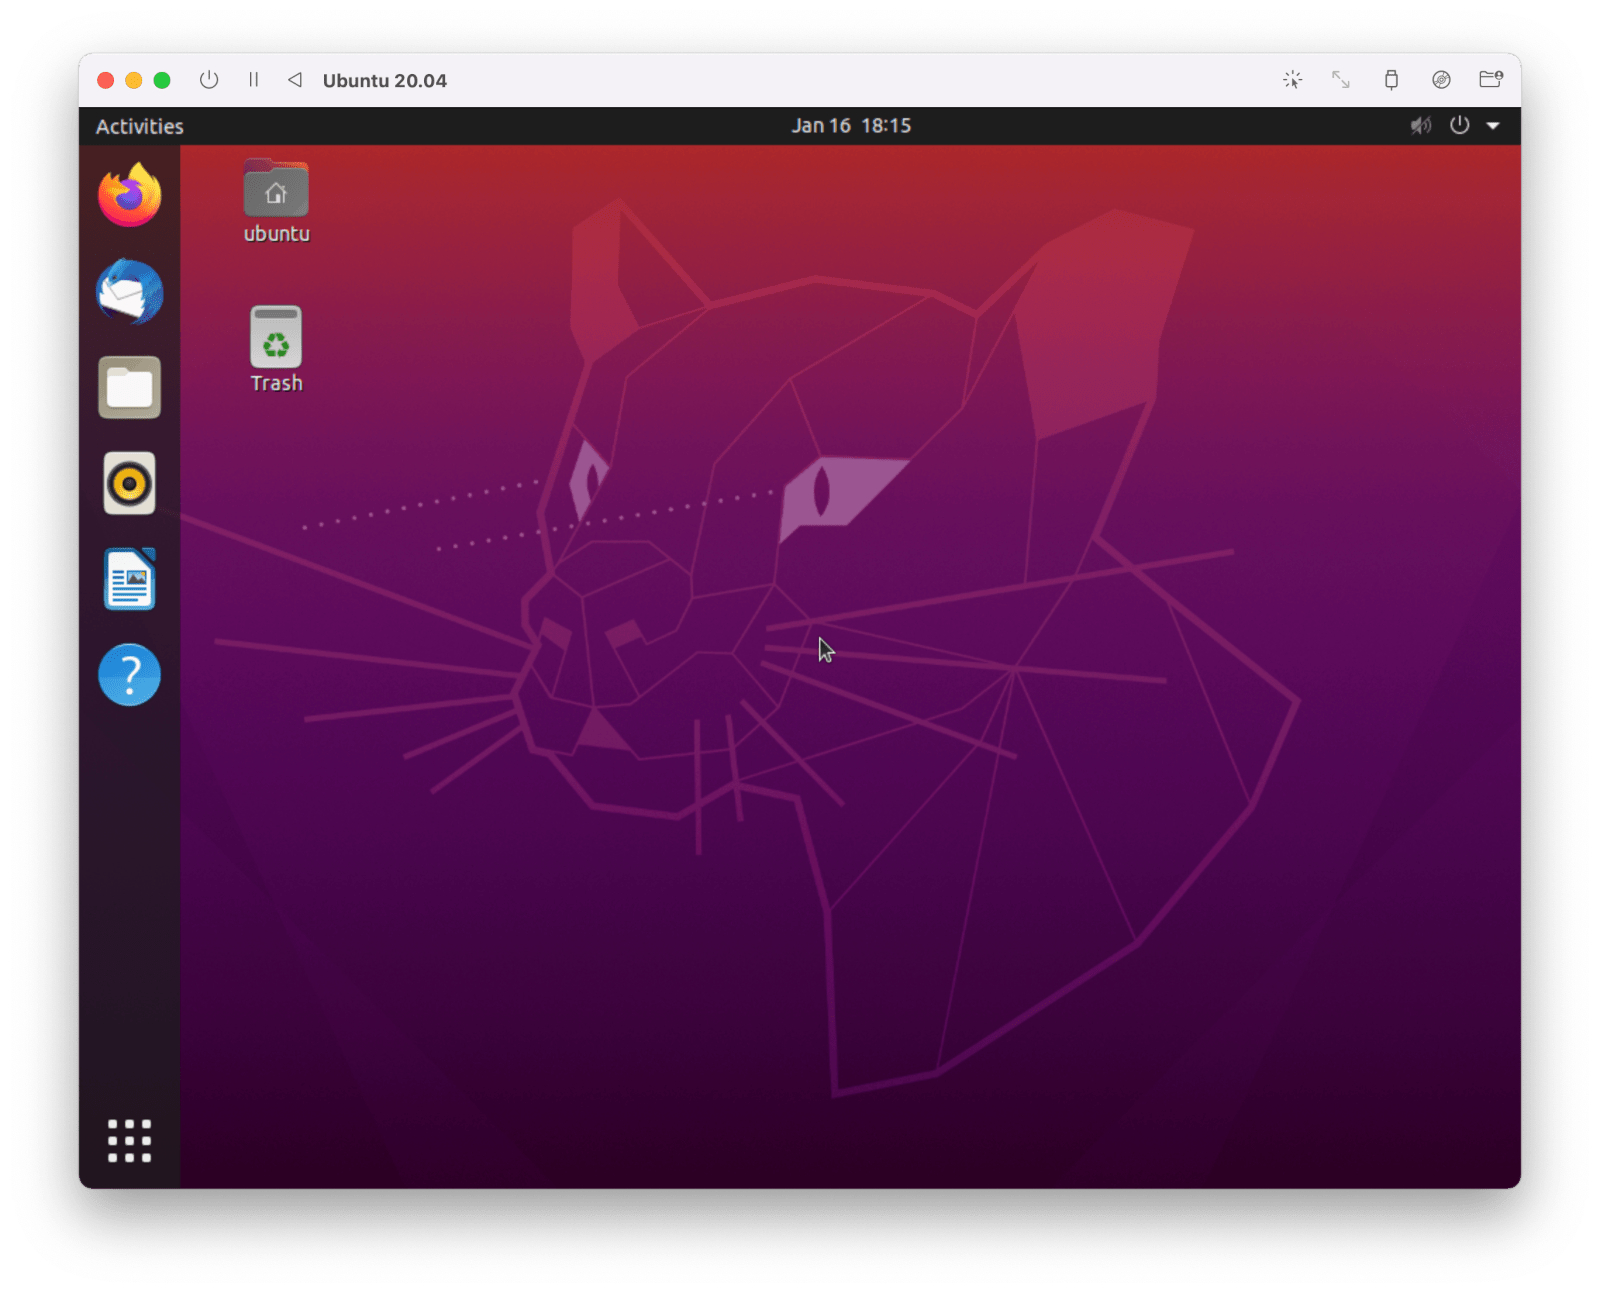
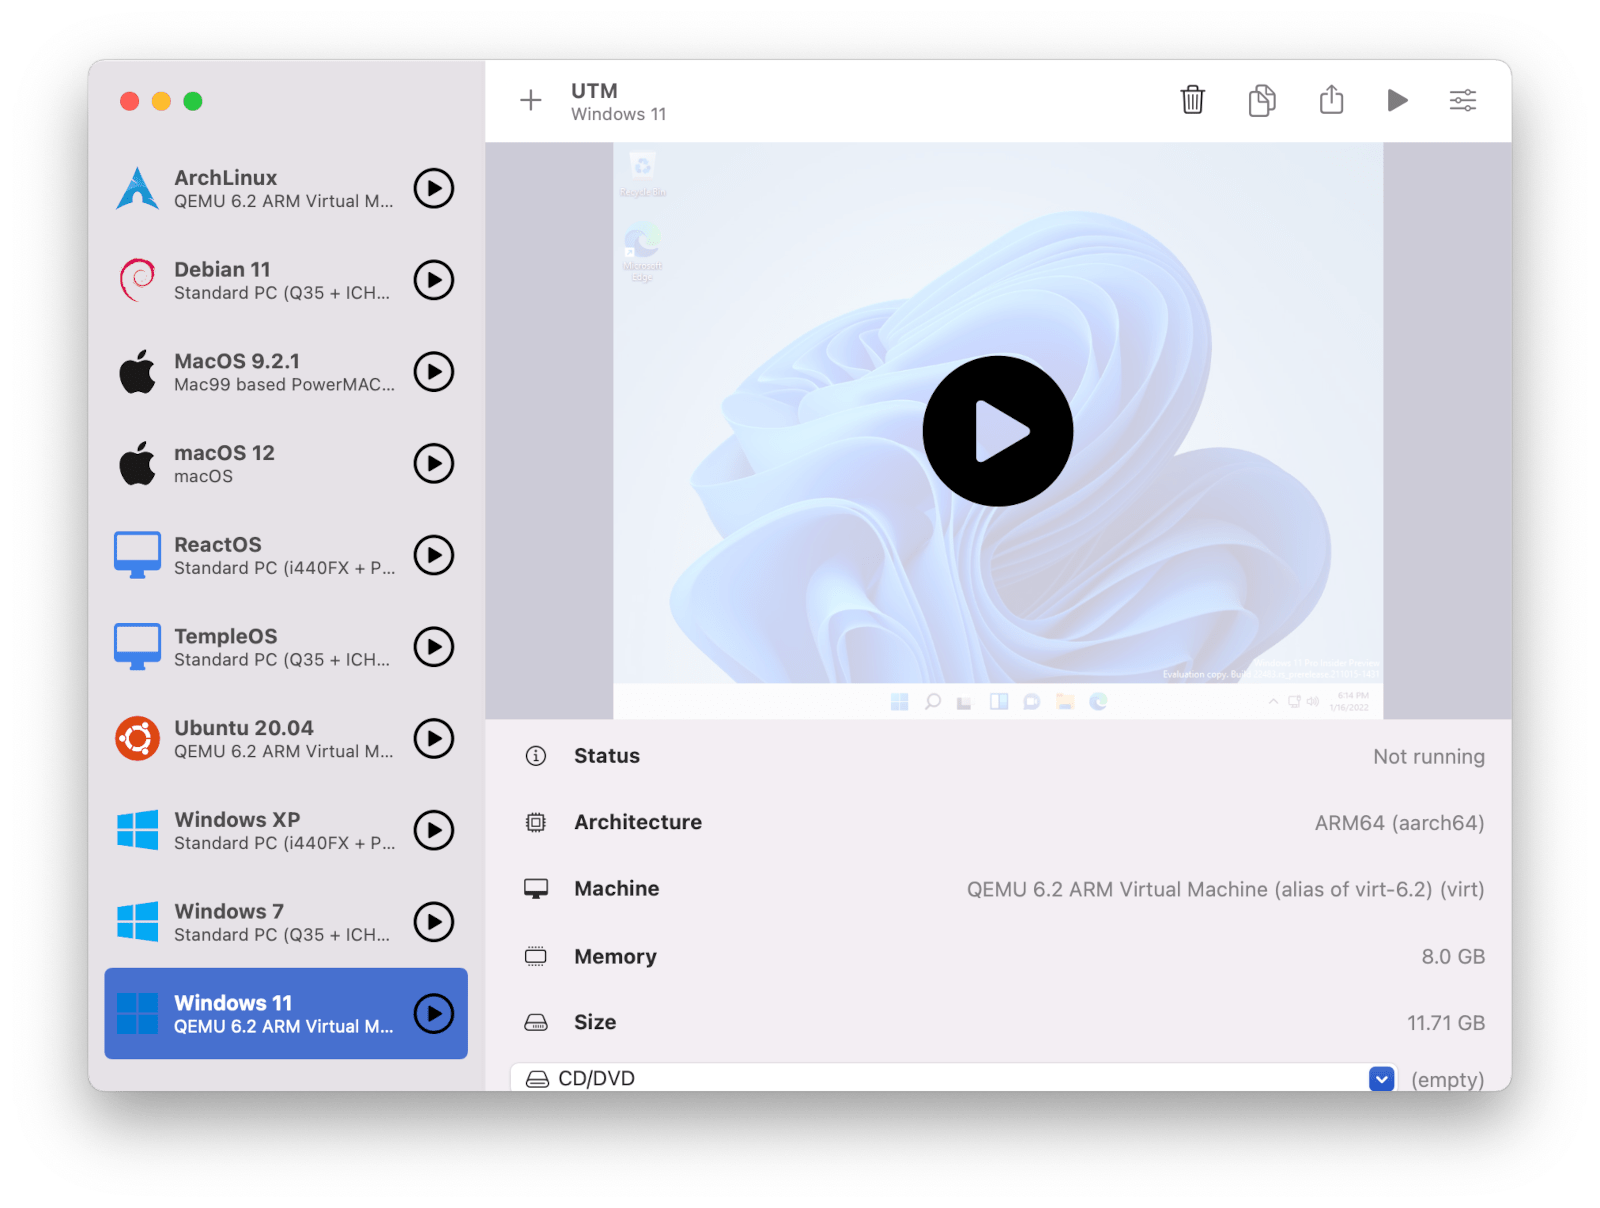
UTM employs Apple’s Hypervisor virtualization framework to run ARM64 operating systems on Apple Silicon at near native speeds. On Intel Macs, x86/x64 operating system can be virtualized. In addition, lower performance emulation is available to run x86/x64 on Apple Silicon as well as ARM64 on Intel. For developers and enthusiasts, there are dozens of other emulated processors as well including: ARM32, MIPS, PPC, and RISC-V. Your Mac can now truly run anything.
Emulate classic operating systems.
Not only can you run the latest and greatest operating systems, you can also emulate older operating systems whether it’s on PowerPC, SPARC, or x86_64. Check out the gallery for some examples of what you can run.

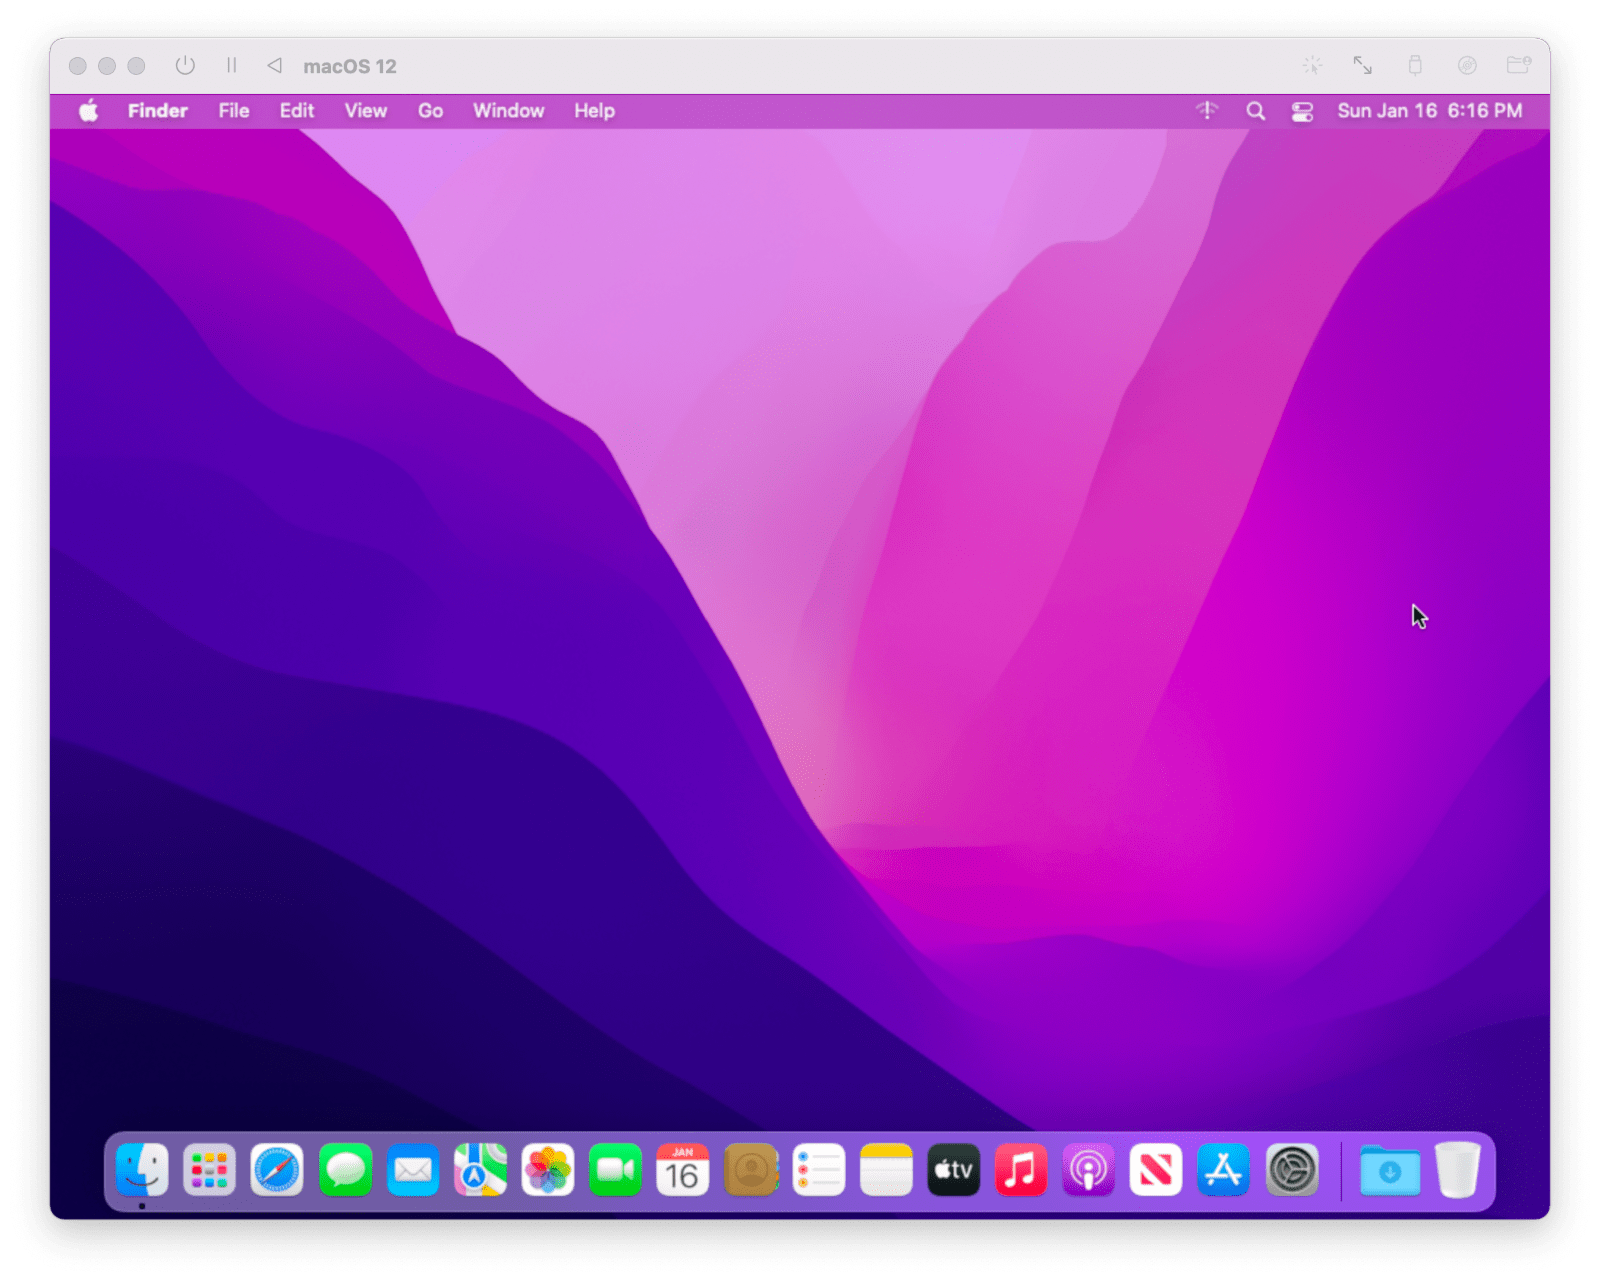
Virtualize macOS as well.
Run multiple instances of macOS on your Apple Silicon Mac with UTM. This can be useful for developers as well as security conscious users. Note that macOS VM support is limited to ARM based Macs running macOS Monterey or higher.
Designed for macOS
Unlike other free virtualization software, UTM was created for macOS and only for Apple platforms. It is designed completely from the ground up for the new style introduced in Big Sur. UTM looks and feels like a Mac app with all the privacy and security features you expect as well.
QEMU without the headache
Under the hood of UTM is QEMU, a decades old, free and open source emulation software that is widely used and actively maintained. While QEMU is powerful, it can be difficult to set up and configure with its plethora of command line options and flags. UTM is designed to give users the flexibility of QEMU without the steep learning curve that comes with it.
What’s the difference in the Mac App Store version?
UTM is and always will be completely free and open source. The Mac App Store version is identical to the free version and there are no features left out of the free version. The only advantage of the Mac App Store version is that you can get automatic updates. Purchasing the App Store version directly funds the development of UTM and shows your support .
How do I contribute?
You can find UTM on GitHub. You can also contribute to the QEMU project.
Can I run games?
No, probably not. UTM does not currently support GPU emulation/virtualization on Windows and therefore lacks support for 3D acceleration (e.g. OpenGL and DirectX). You may be able to run older games with software rendering options, but nothing with hardware acceleration. There is experimental support for hardware OpenGL acceleration on Linux through Virgl.
Будни программиста
В этой статье я хочу рассказать и показать как создать и запускать виртуальную машину с Ubuntu 20l.10 при помощи QEMU на MacOs (BigSur).
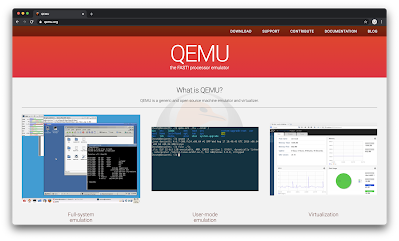
Что такое QEMU
Quick EMUlator (QEMU) это эмулятор «железа» с открытым исходным кодом (лицензия GPLv2), который для ускорения работы виртуальных машин может использовать различные акселераторы. На Linux это KVM, который встроен в ядро операционной системы, На MacOS — это HVF. На сайте QEMU утверждается, что производительность виртуальных машин на основе QEMU близка к производительности таких машин на физическом железе. Давате проверим :).
Устанавливаем QEMU
Установить QEMU на MacOS можно разными способами. У меня стоит Homebrew, с его помощью я и установил QEMU
Проверить, установлен ли QEMU можно запросив версию программы.
Если установка закончилась успешно, то вы получите что-то вроде такого сообщения.

Дополнительное приседание на Big Sur
Идем дальше. Для корректной работы QEMU на Big Sur его надо вначале «пропатчить».Для этого создайте файл entitlements.xml с таким вот содержимым
Далее надо подписать qemu-system-x86_64 этим файлом
codesign -s — —entitlements entitlements.xml —force /usr/local/bin/qemu-system-x86_64
Теперь qemu-system-x86_64 готова для работы на Big Sur
Создание виртуальной машины с Ubuntu 20.10
Теперь переходим к созданию виртуальной машины для Ubuntu. Для инсталляции Ubuntu на виртуальную машину потребуется ее дистрибутив в формате ISO, который можно скачать с официального сайта. Предположим, что он у нас находится в директории qemu-ubunut20. Все последующие команды я буду выполнять из этой директории.
Далее для инсталляции Ubuntu нам потребуется создать файл диска виртуальной машины, где Ubuntu будет установлена. Я буду использовать формат QCOW2 и создам файл на 15 Гб. Он не будет занимать сразу 15 Гб, он изначально будет значительно меньше однако его предел — 15 Гб. Это значение можно будет изменить позже. Для создания файла диска воспользуемся командой
qemu-img create -f qcow2 ubuntu-20.10-desktop-amd64.qcow2 15G
Установка Ubuntu
Как только файл диска готов можно запустить виртуальную машину с подключённым QCOW2 диском и ISO-образом Ubuntu вот такой вот командой
Давайте разберем параметры этой команды
- machine — Эмулируемая машина и тип акселератора. q35 — это один из последних типов машин, а HVF — это акселератор для MacOS.
- smp — Число процессоров для виртуальной машины
- m — Размер оперативной памяти для виртуальной машины
- hda — Ссылка на файл диска
- cdrom — Ссылка на ISO-файл
- vga — Графическая карта
- usb — Разрешает доступ к USB-порту
- device — Добавляем «usb-tablet» как устройство ввода, иначе мышь может не заработать 🙂
- display — Включаем отображение курсора мыши на экране. Отключено по умолчанию.
После загрузки виртуальной машины запустится инсталлятор Ubuntu.

По окончанию инсталляции Ubuntu система предложит перезагрузиться. Вместо этого лучше закройте терминал с QEMU по Ctrl+C на MacOS.
Запуск Ubuntu
Теперь для запуска виртуальной машины нам больше не нужен файл ISO-образа Ubuntu. По этому немного модифицируем команду запуска виртуальной машины, убрав из нее параметр cdrom. Команда для запуска достаточно объёмная, советую скопировать ее в sh-файл и хранить его в том же директории где и файл виртуальной машины. Так будет удобнее запускать. Для этого создаем файл скрипта командой
Копируем содержимое в файл run.sh
Далее надо сделать файл скрипта исполняемым
Теперь можно запустить скрипт для старта виртуальной машины