- How to Flush the DNS Cache on Ubuntu
- Method 1: Using systemd-resolve to flush DNS-Cache
- Method 2: Using dns-clean to flush DNS-Cache
- Search
- About This Site
- Latest Tutorials
- Flush DNS Cache on Ubuntu
- How DNS Works:
- DNS Caching:
- Problems with DNS Caching:
- Checking If DNS Caching is Enabled:
- Flushing DNS on Ubuntu 18.04 LTS:
- Flushing DNS Cache on Ubuntu 16.04:
- About the author
- Shahriar Shovon
- How to Flush DNS Cache on Ubuntu
- Why and how to clear DNS cache?
- Ubuntu Clear DNS Cache
- NSCD command
How to Flush the DNS Cache on Ubuntu

The DNS or the Domain Name Server can be characterized as one of the most essential parts of your link to the internet. The DNS translates the domain names to and from the IP addresses so that we don’t need to remember or keep a list of all the IP addresses of the websites we ever want to access. Our systems also maintain a list of DNS records so that we can access our frequently visited websites faster through a quick resolution of IP addresses. This cache on our system needs to be flushed from time to time. This is required because websites may change their addresses time and again, so it is a good idea to avoid IP conflict by clearing the cache. Flushing the cache is also a good way to clear unnecessary data residing on our systems.
So let us see how we can flush the DNS cache on our Ubuntu Systems.
We have executed the commands and procedures mentioned in this article on an Ubuntu 22.04 LTS system. Since we are using the Linux command line-the Terminal to flush the cache, you can open it through the system Dash or the CTRL+ALT+T shortcut.
Method 1: Using systemd-resolve to flush DNS-Cache
Most Ubuntu and Debian systems are running the systemd-resolve daemon. Your system already uses it for a lot of things. So let us use it for flushing the cache through the following command:
$ sudo systemd-resolve --flush-caches

You can then check the statistics in order to make sure that your cache size is now zero, thus cleared. Run the following command in order to view the statistics:
$ sudo systemd-resolve --statistics

You cache size 0 in the above output shows that the DNS cache has been cleared.
Method 2: Using dns-clean to flush DNS-Cache
Another way to clear the DNS cache is by starting the dns-clean utility. Run the following command in your Terminal to do so:
$ sudo /etc/init.d/dns-clean start

You have now learned two effective methods to clear your DNS cache. In both the cases, the process is pretty simple and does not require you to restart your Linux system.
Search
About This Site
Vitux.com aims to become a Linux compendium with lots of unique and up to date tutorials.
Latest Tutorials
Flush DNS Cache on Ubuntu
![]()
The full form of DNS is Domain Name System. It is used to translate domain names to IP addresses. It seems really simple, but without it the internet won’t be what it is today. Can you imagine memorizing thousands of IP addresses? Can you imagine a world without google.com or yourwebsite.com? DNS makes everything about the internet very easy for us.
This article is about flushing DNS on Ubuntu. But to understand why it is necessary, first you have to understand how DNS works and a little bit about DNS caching.
How DNS Works:
Simply, DNS can be thought of a table of domain names and IP addresses as given below:
| Domain Name | IP Address |
| linuxhint.com | 1.2.3.4 |
| support.linuxhint.com | 3.4.5.7 |
| google.com | 8.9.5.4 |
| www.google.com | 8.9.5.4 |
Please know that, none of the data in this table is real. It’s just for the purpose of demonstration. So let’s get back to our original topic.
When you visit, let’s say, linuxhint.com, the browser asks the DNS server (set on your computer) a few questions.
Your Computer: Hey, do you know linuxhint.com?
DNS Server: No, I do not. But the DNS server 4.4.4.4 may know about it.
Your Computer: Contacts the DNS server 4.4.4.4 and asks, “hey, do you know linuxhint.com?”
DNS Server 2: Yes, I do. What can I do for you?
Your Computer: I need the IP address of linuxhint.com. Can I have it?
DNS Server 2: No fear, that’s why I am here. Here is the IP address of linuxhint.com 1.2.3.4.
Your Computer: You’re a life saver. Thanks.
Now your computer connects to 1.2.3.4 and your favorite website linuxhint.com shows up. That was really hard, wasn’t it?
The next time you visit linuxhint.com, the same thing happens again.
DNS Caching:
In the earlier section, you saw how a domain name is resolved to IP addresses. This journey through the DNS servers takes a while and till it’s complete and a domain name can be resolved to IP addresses, you won’t be able to connect to any website or server on the internet.
To solve this issue, DNS caching is used. Here, when you try to resolve a domain name to IP addresses for the first time, it takes a little bit longer. But once the domain name is resolved, the IP addresses are stored in your own computer. So, the next time you need to resolve the same domain name, it won’t take as long as it did on the first time.
Problems with DNS Caching:
DNS caching is good. How come DNS caching is problematic? Well, the world of internet is so dynamic that the DNS information is changing constantly. It may have changed a few times even while I am writing this article.
So, what happens when the DNS information changes and we are using the DNS information that is cached on our own computer? Well, that’s where it gets problematic. In that case, we will be using the old DNS information. We may have connectivity issues, false redirection issues and many other issues.
To solve this problem, we have to delete the cache (also called DNS flushing) and rebuild it. This is the topic of this article.
Checking If DNS Caching is Enabled:
You can check whether DNS caching is enabled very easily on Ubuntu. You need to have the nslookup or dig utility installed on your computer for this to work.
nslookup or dig command may not be available by default on your Ubuntu machine. But you can easily install it from the official package repository of Ubuntu.
First, update the APT package repository cache with the following command:

The APT package repository cache should be updated.

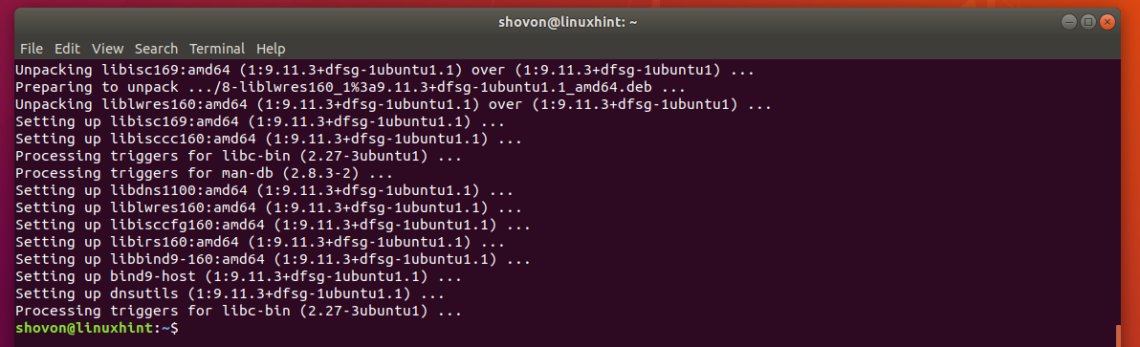
Now install the nslookup and dig with the following command:

Now press y and then press to continue.
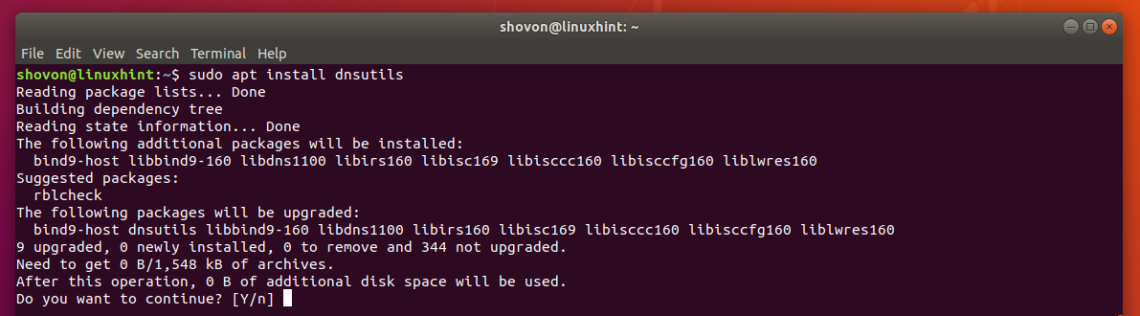
nslookup and dig commands should now be available.
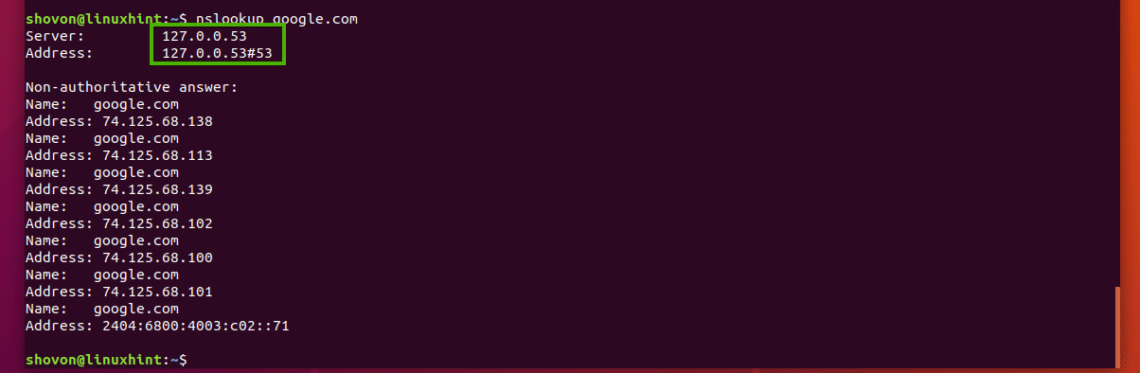
Now to test whether caching is enabled, run the following command:
As you can see, the DNS server used to resolve the domain name is 127.0.0.53, which is a loopback IP address. So DNS caching is enabled. If you have it disabled, then the DNS server should be anything other than 127.0.0.X.
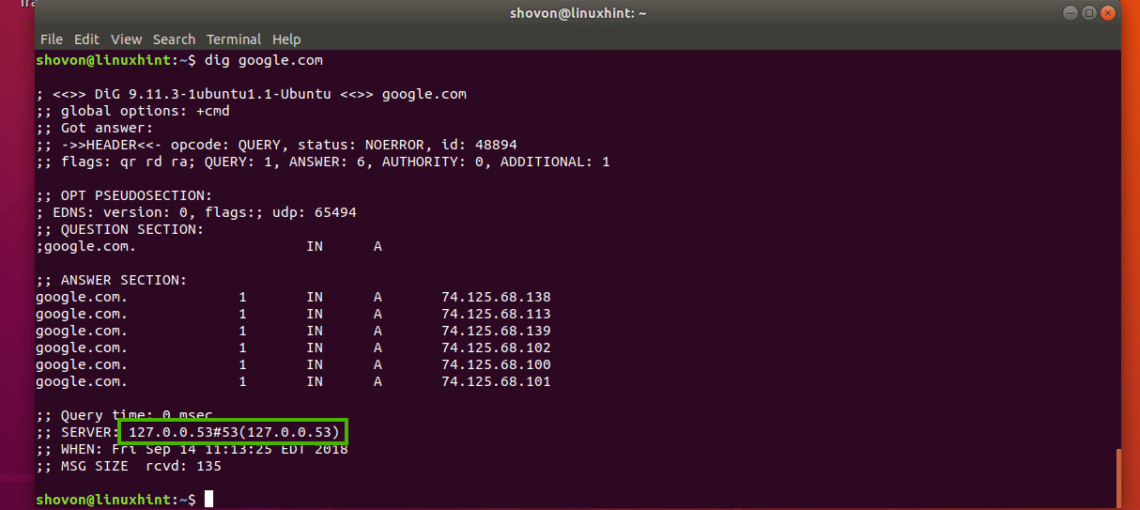
You can check the same thing with the dig command as well as follows:
As you can see, the loopback IP addresses is used as the DNS server addresses here as well. So, DNS caching is enabled.
Flushing DNS on Ubuntu 18.04 LTS:
Ubuntu 18.04 LTS uses a local DNS server and caches DNS queries by default. Ubuntu 18.04 LTS uses systemd for this purpose.
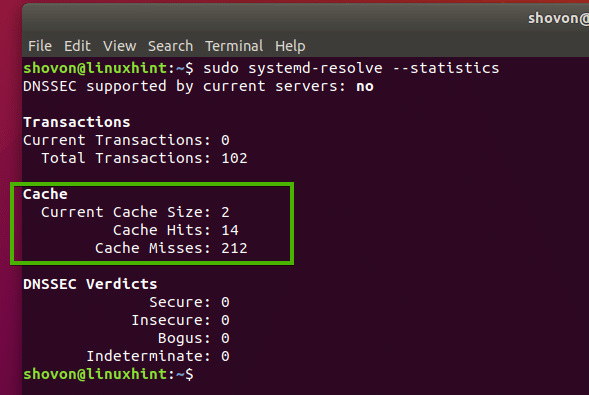
You can run the following command to check how many DNS entries are cached and many other information on Ubuntu 18.04 LTS:

As you can see, information about DNS cache is listed in the marked section of the screenshot below.
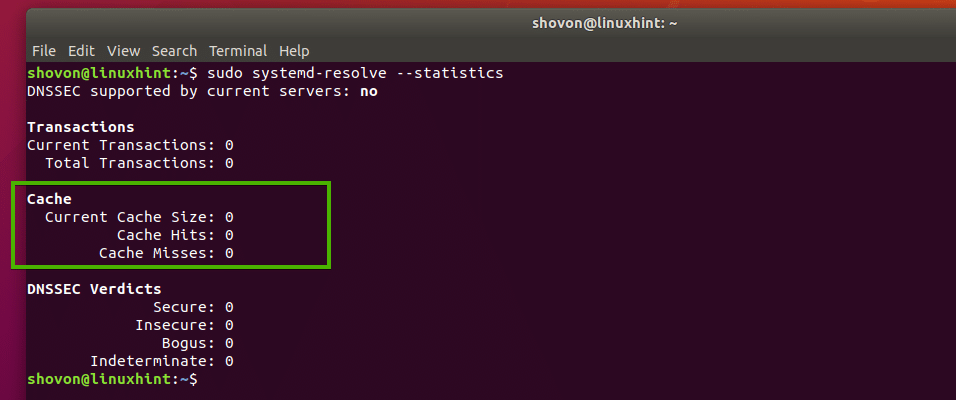
To flush the DNS cache on Ubuntu 18.04 LTS, run the following command:

You can also restart the systemd-resolved service to flush the DNS caches on Ubuntu 18.04 LTS.
To restart the systemd-resolved service, run the following command:

As you can see, the caches are cleared.
Flushing DNS Cache on Ubuntu 16.04:
On Ubuntu 16.04 LTS, DNS cache is not enabled by default. But some applications like bind, dnsmasq, nscd etc. may cache it.
If you’re using nscd for caching DNS queries, then you can flush the DNS cache by simply restarting the nscd service.
You can restart the nscd service on Ubuntu 16.04 LTS to flush DNS caches with the following command:
If you’re using dnsmasq for caching DNS, then restarting dnsmasq service with the following command should flush the DNS cache.
So, that’s how you flush DNS cache on Ubuntu 18.04 LTS and 16.04 LTS. Thanks for reading this article.
About the author
Shahriar Shovon
Freelancer & Linux System Administrator. Also loves Web API development with Node.js and JavaScript. I was born in Bangladesh. I am currently studying Electronics and Communication Engineering at Khulna University of Engineering & Technology (KUET), one of the demanding public engineering universities of Bangladesh.
How to Flush DNS Cache on Ubuntu

Are you using the latest version of Ubuntu and looking for a way to clear your DNS cache? Then you’ve come to the right place. In the following tutorial, you will learn how to clear the DNS cache in Ubuntu 20.04 and Ubuntu 22.04. We’ll also explain why you should clear your DNS cache from time to time. So let’s start with the process
Why and how to clear DNS cache?
A DNS cache can occasionally get corrupted. The reason may be technical errors or other viral attacks that add invalid DNS records to the database, which may result in a user being redirected to another website with a lot of advertisements or even malware when visiting a website. If the cache is corrupted, the user is advised to clear the DNS cache
Ubuntu Clear DNS Cache
Some Debian Linux like Ubuntu still uses systemd-resolve. This resolve is already built into the system in Ubuntu and is automatically used by the operating system for many things without the user knowing about it. It is already installed and set up in Ubuntu. All the user has to do is enter the command to flush the DNS and it’s done.
First, you need to open the terminal and type:
sudo systemd-resolve --flush-caches

When you enter the command, the terminal does not give any confirmation that the cache has been flushed, to confirm that you have to enter another command that would show the user the statistics, the command is as follows:
sudo system-resolve --statistics
After you enter the command, the statistics will be displayed in the terminal. If you see that the “current cache size” is zero, you will get confirmation that your DNS cache has been cleared.
If you are using a version of Linux other than Ubuntu, you can also use the following command:
NSCD command
If you are not using Ubuntu, but another Linux, you can also use nscd. Arch Linux mostly uses nscd. If that’s the case, you just need to type the following command to clear your DNS cache in that Linux.
sudo systemctl restart nscd

You can use the method described above to clear the DNS cache in Ubuntu. As mentioned earlier, you should clear your DNS cache from time to time because it can cause various problems, such as web pages not loading properly or web scripts not working properly. All these problems are caused by a corrupted DNS cache. Clearing and resetting it will probably fix the problem.
Have you tried the method described above for clearing the DNS cache? Did it work for you? If not, please let us know which method you used in the comments section.