- How to Install Proprietary Graphics Drivers on Ubuntu Linux
- Does Linux require a graphics driver?
- How to Install Proprietary Graphics Drivers on Ubuntu Linux?
- Step 1: Open Software & Updates Application
- Step 2: Enabling Proprietary Graphics Drivers
- Step 3: Installing Proprietary Graphics Drivers
- How to install graphics drivers in Linux Mint
- Check current driver for graphics cards
- Install nvidia driver via Driver Manager
- Install latest nvidia driver via PPA
- Install driver for AMD graphics cards via Driver Manager
- Install latest AMD driver via PPA
- Updating your kernel
- Final words
- Related Posts
- How to disable threaded conversations in Thunderbird
How to Install Proprietary Graphics Drivers on Ubuntu Linux
The graphics card (also referred to as a GPU or video card) has become one of the most important parts of today’s computing technology. The most widely known graphics card manufacturers are Nvidia, Radeon, and Intel, which are integrated into major desktop/laptop systems.
Does Linux require a graphics driver?
Assembling them does not allow them to function properly until the appropriate driver is installed, and most of these graphics card drivers are proprietary (closed-source). And as you know, Linux is famously known for being open-source and providing FOSS software.
So, it’s become challenging for Linux distributions to have proprietary drivers, so they replace them with an alternative open-source driver. Sometimes, this open-source driver malfunctions and behaves unusually, which can only be resolved by installing proprietary drivers.
How to Install Proprietary Graphics Drivers on Ubuntu Linux?
Ubuntu and other major Linux distributions automatically detect the system graphics card and install their open-source driver by default. To install a proprietary driver, you need to perform a few more steps.
Step 1: Open Software & Updates Application
First, search for software in the Ubuntu application launcher menu, as shown below.
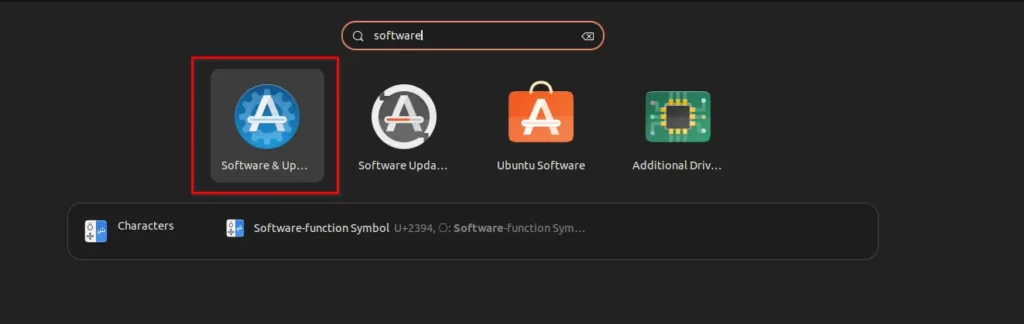
Click on the Software & Updates icon, or you can directly launch it using the below command.
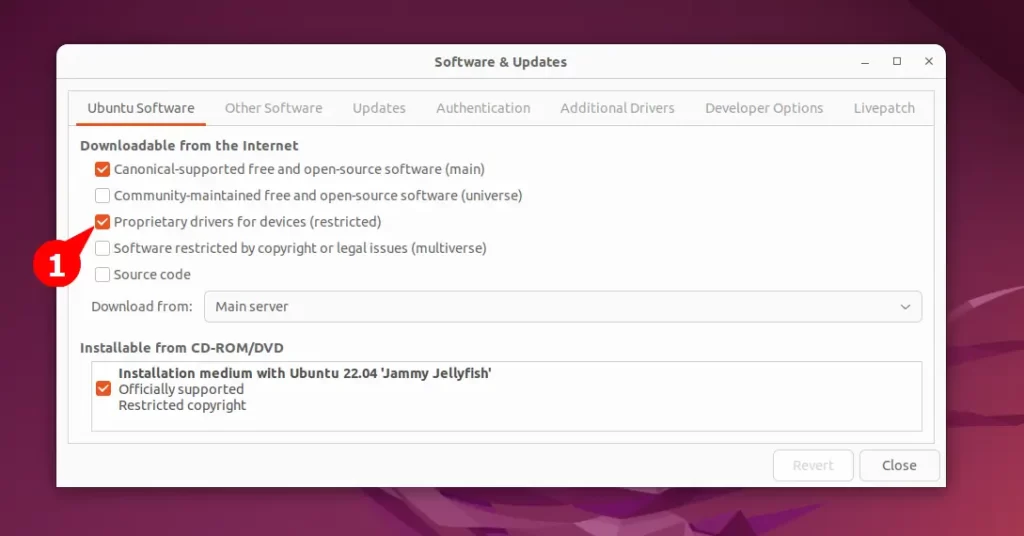
$ software-properties-gtkStep 2: Enabling Proprietary Graphics Drivers
From the Downloadable from the Internet section, check the box in front of Proprietary drivers for devices (restricted).
Step 3: Installing Proprietary Graphics Drivers
Now, navigate to the Additional drivers section, as shown below.
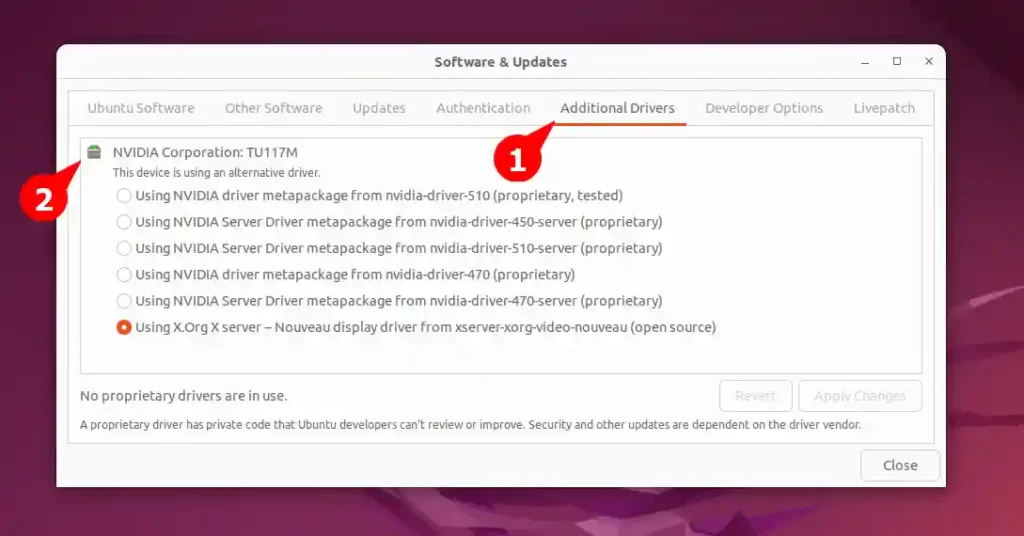
It will list the drivers for all connected devices like graphics cards, sound cards, wireless (WiFi), etc. As you can see, it shows the NVIDIA Corporation: TU117M hardware in the system.
Currently, the open-source Nouveau driver is installed, which might lack some functionality. However, you can check any other driver available for the same device.
In this case, I will install the first driver by checking the box in front of nvidia-driver-510, but you can change it according to the device assembled in your system.
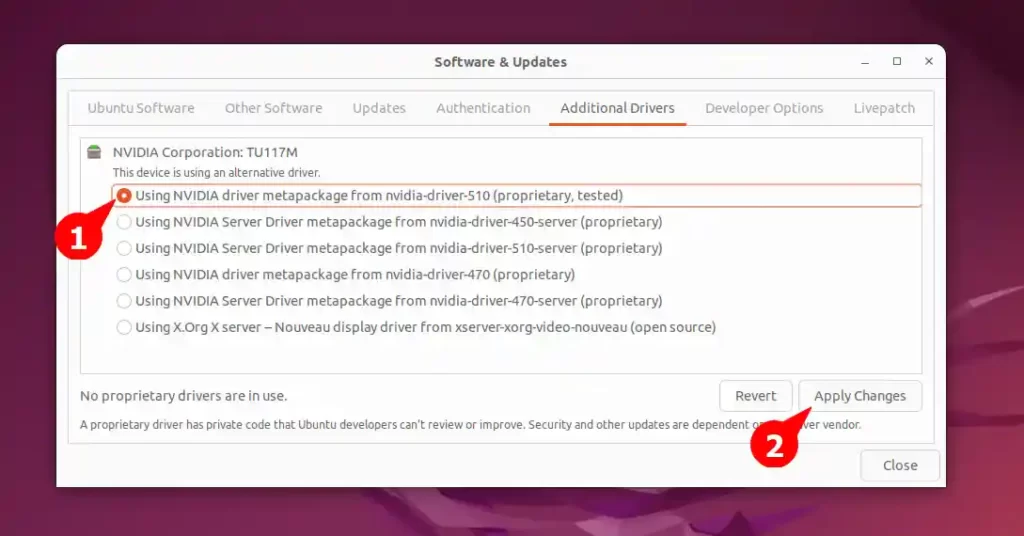
After you choose the graphic driver you want to install, click on the Apply Changes button and wait for a few minutes. Lastly, reboot your system to let it properly reflect the new changes.
These can be short articles but can be effective. If you want to know more about this topic, then definitely let us know in the comment section.
Innovative tech mind with 12 years of experience working as a computer programmer, web developer, and security researcher. Capable of working with a variety of technology and software solutions, and managing databases.
How to install graphics drivers in Linux Mint
The modern Linux distributions have out of the box terrific support for most of the available hardware components, like graphics cards, printers and WiFi adapters. But it is always possible that the setup procedure doesn’t come up directly with the correct or most optimized drivers. In this tutorial I will show you how to install graphics drivers in Linux Mint.
Check current driver for graphics cards
When you installed Linux Mint and you actually see icons and colors and text on your display you would probably think that the operating system installed the correct driver for your graphics card. And the chances are that the correct driver has indeed been installed, but it is always best to have a look if the that’s is actually the case or maybe some generic driver has been chosen that will not give you the maximum feasible performance. To see what choices the operating system made for your graphics card you can first do the following:
1) Connect your computer via a network cable or via Wifi.
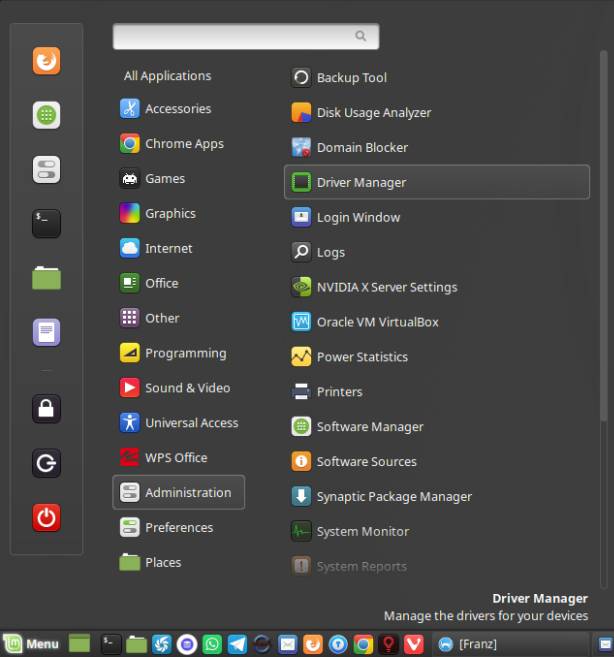
2) Open the applications menu.
3) Choose Driver Manager under the Administration category and enter your password.
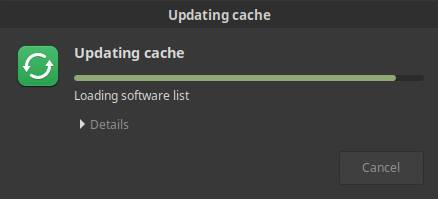
First a cache update takes place, so the most recent software list will be gathered.
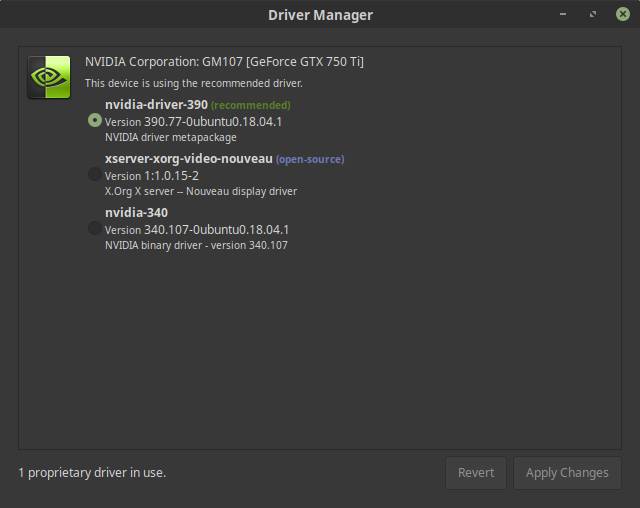
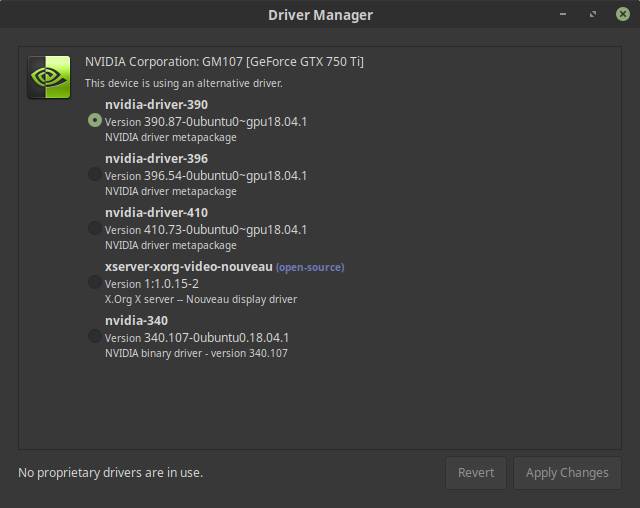
After the standard cache update takes place, Driver Manager displays an overview of device components that require a driver. Now probably both open source and proprietary drivers will be shown for your graphics card.
Install nvidia driver via Driver Manager
As the previous image shows the operating system recognizes a GTX 750 Ti graphics card and gives you the option to install an open source driver or a proprietary nvidia driver.
1) Choose the recommended driver (indicated with highest number and Recommended).
2) Click on Apply changes.
Install latest nvidia driver via PPA
When you have a very new graphics card it is possible that the Driver Manager will not give you the most recent driver. A sign for that is if the Driver Manager only shows an open source option for your graphics card. But also in the before mentioned example of the GFX 750 Ti, which is already a couple of years old, there are newer drivers available. You can check if there is a newer version on the nvidia drivers page.
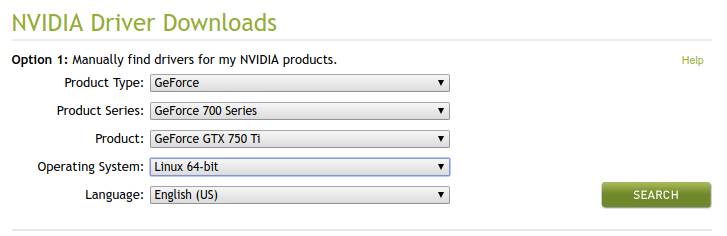
1) Go to the nvidia driver page.
2) Fill in your product type, product series, product and operating system.
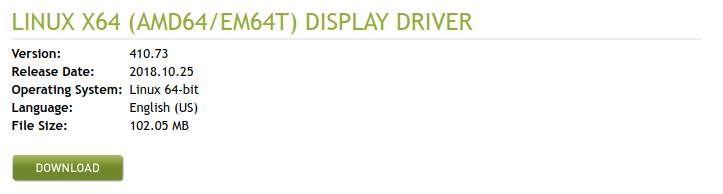
Here we see that there is a newer driver (410), as the driver that was available in the previous example was version 390.
The most convenient way to get access to the newer driver is not by installing the driver from the nvidia website, but by using the PPA (Personal Package Archive) “ppa:graphics-drivers”. Although I said in earlier tutorials that I want to stay away as much as possible from the command line, now we actually need it.
To add the PPA do the following:
1) Open a terminal via Ctrl + Alt + T or by search for terminal in the applications menu search bar.
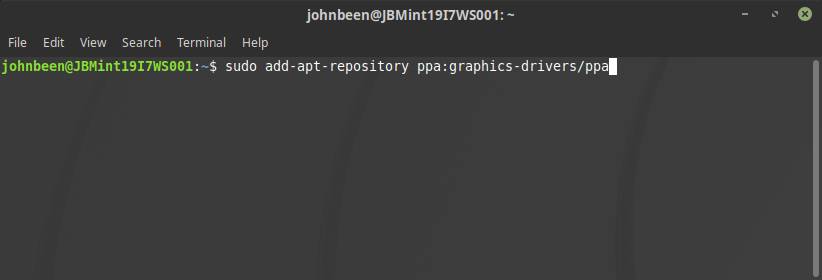
2) type the following command in the terminal and hit enter:
sudo add-apt-repository ppa:graphics-drivers/ppa
3) You will get the message “Press Enter to continue or Ctrl+C to cancel”. Hit enter to continue.
4) When the command has been finished type in the terminal the following command and hit enter:
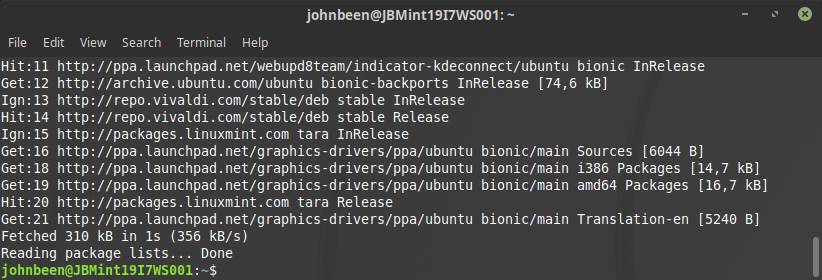
When the command has been finished you can set the correct driver.
5) Open the applications menu.
6) Choose Driver Manager under the Administration category and enter your password.
Now you will see that there are more driver alternatives available, including the newest nvidia-driver-410.
7) Select the newest driver, in this case 410, and click Apply Changes.
8) When changes have been applied click on Restart…
After your computer has been restarted the newest driver should be active.
Install driver for AMD graphics cards via Driver Manager
If you have an AMD graphics card and you did the steps in the first paragraph “Check current driver for graphics cards” then your graphics card probably has been recognized and gives you the option to install an open source driver or a proprietary AMD driver, indicated with fglrx.
1) Choose the recommended driver (indicated with highest number and Recommended indicator).
2) Click on Apply changes.
Install latest AMD driver via PPA
Although your AMD graphics card will probably work fine out of the box in Linux Mint, there could be different reasons to install a more recent driver. It is possible to install AMD proprietary drivers that can be downloaded from the AMD drivers page, but in Linux it is a bit of a tricky process. Much easier is to add the available PPA to your operating system.
To add the PPA do the following:
1) Open a terminal via Ctrl + Alt + T or by search for terminal in the applications menu search bar.
2) type the following command in the terminal and hit enter:
sudo add-apt-repository ppa:oibaf/graphics-drivers

You will get the message “Press Enter to continue or Ctrl+C to cancel”.
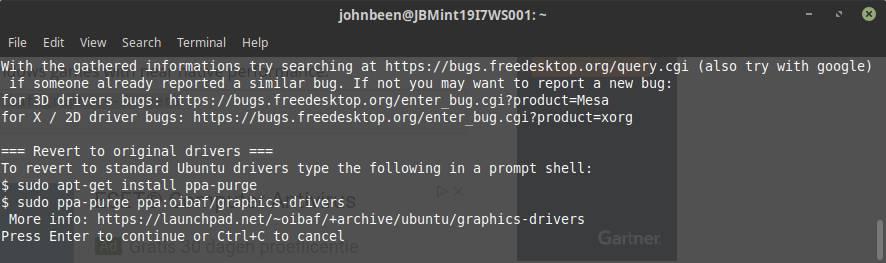
3) Hit enter to continue.
4) When the command has been finished type in the terminal the following command and hit enter:
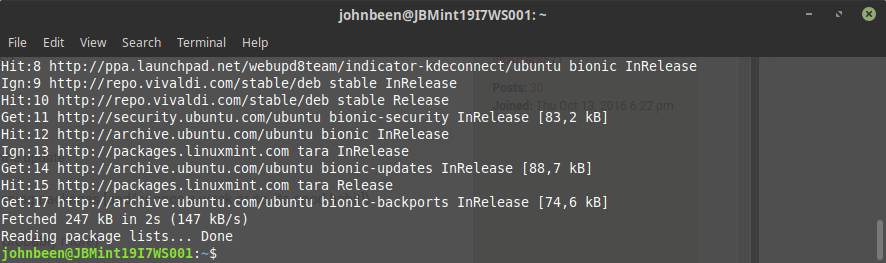
When the command has been finished you can set the correct driver.
5) Open the applications menu.
6) Choose Driver Manager under the Administration category and enter your password.
Now you will see that there are more driver alternatives available.
7) Select the newest driver and click Apply Changes.
8) When changes have been applied click on Restart…
After your computer has been restarted the newest graphics driver should be active.
Updating your kernel
Another option to have better driver support is probably not the first thing you’ve thought about, namely upgrading to a newer kernel. If you are already on a recent release of your distribution, you probably already have very up to date drivers, but if you are using for example Linux Mint 17, which was released in May 2014, it is based on an old kernel. When you use an old Linux Mint distribution you can upgrade to the most recent version. If you are already on the most recent version you can still upgrade the kernel, as new kernels are released frequently and often contains driver updates. Upgrading a kernel deserves a completely separate tutorial, so I mention it here for information only.
Final words
Although people have the tendency to always want the newest and greatest, with everything it is advisable to think first about why you actually want to update to the latest drivers or the most recent Linux distribution or the most recent application. If it is not broken don’t fix it, is a frequently recurring saying. If your current distribution recognizes your graphics card out of the box and everything works fine, just be happy. But only if it doesn’t work properly or if you have specific performance related or feature related requirements for your graphics card, of course than you should try to setup the latest drivers. Or as I wrote in the previous paragraph, it maybe is safer to upgrade the Linux kernel, as there are newer graphics driver already available.
Related Posts