- How to Make Disk Images in Linux with DD Command
- Install LSSCSI Utility
- Check Disk Information
- Create a Clone Disk Image
- Restore the Drive from Clone Image
- Conclusion
- About the author
- Aqsa Yasin
- Acronis Disk Director 12
- 1 загрузочный носитель на основе linux, Параметры ядра – Инструкция по эксплуатации Acronis Disk Director 12 — User Guide
How to Make Disk Images in Linux with DD Command
![]()
Whenever it comes to wiping, backing up, or restoring Linux files, you have few tools. Although there is one alternative that still works, regardless of the Linux distribution you’re using, and that is the DD command. Creating an image of a partition or cloning a complete hard disk drive are simply the acts of making a copy of the whole disk or partition, and it is very simple with the dd command. The DD command is good for cloning disks, backups, and restoration, among other things. In this guide, we will see how to make a disk image using the DD command. Make sure you have the Ubuntu Linux system installed.
DD circumvents this by making an identical replica of the whole hard drive or partitions. So if you recover this backup, your machine will be restored to its original state. You’ll regain access to your folders, games, browser history, and sometimes even device settings. We’ll want another drive with more capacity than the one we’re cloning to replicate your drive. There would most probably be a big hard drive for this purpose.
Install LSSCSI Utility
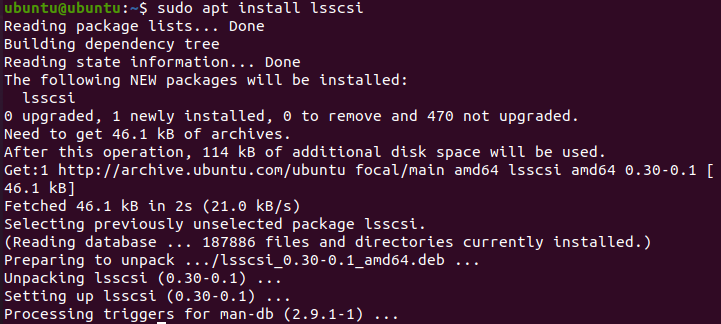
Open the command-line terminal of the Ubuntu 20.04 Linux system. Make sure to have the “lsscsi” utility installed on your system. If it is not installed, try to install it using the below “apt” command followed by the keyword “install” and “lsscsi”. It will take not more than 5 minutes to get installed, and you are good to go.
After installing the “lsscsi” utility, now it’s time to use it for listing all the storage devices of our Linux system. To list the storage drives and DVD’s execute the below command. You can see we have one disk drive and one cd/DVD device in our system.

Check Disk Information
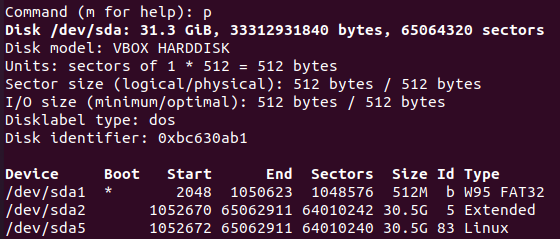
Firstly, we have to find out some information regarding the disk drive “/dev/sda”. And for this reason, we have to use the “fdisk” instruction in our command-shell with sudo privileges as below.

It will navigate to its command theme. Type “p” to check the information of disks as below. You can see it shows the total memory of the “/dev/sda” drive, its sectors, and bytes. It is showing the disk type as DOS. On the other hand, the last three lines of the snapshot show the partitions of the /dev/sda drive and their further information.
Create a Clone Disk Image
Now you have almost every piece of information regarding the “/dev/sda” drive. Press “q” to exit the commanding theme. Now, you are ready to make a disk image using the DD command. So, make yourself clear that the DD command always needs “sudo” privileges to execute. As we already know from the above image, the “/dev/sda” has three partitions, and we will make an image of one of them. So, we choose “sda1” for making its clone. You have to execute the below “DD” command followed by the “if” path and “of” path. The “if” path is of the input disk drive, which is meant to be cloned and the “of” path is for the output device disk, where it would be copied as an image. So, from this, you can understand that “sda1.img” is the cloned file for disk and sda1 is the actual drive. We have specified the bytes per second to be copied from one location to another. We assigned it a value of 1000. The command is as follows:
The output shows the number of records inputted and outputted from two locations, e.g., source and destination. It also shows the number of bytes with time seconds, copied into a destination in MB’s. This means that the clone has been effectively done.

Let’s check the destination image file to see if all the data from the source drive has been cloned into it properly or not. Use the below list command along with the path of an image file of the drive as:
The output shows the rights assigned to this image file, its size, and location. You can say that it has similar rights and size as the original disk drive have.

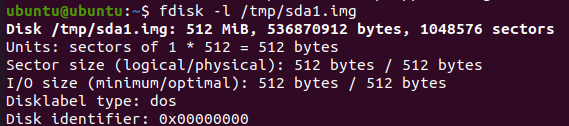
To see some more information regarding the disk image file, you have to try the below “fdisk” command followed by the flag “-l” as below.
The output shows the exact same information regarding this image file as we have seen for the original disk drive before creating this image file. It shows the size of the image drive, its total number of bytes, and total sectors.
Restore the Drive from Clone Image
Now, if you want to restore your original disk drive along with all the data it has, you have to use the DD command again to do so. While using the DD command, there is a little change in it. You have to swipe the input and output paths this time. This means you have to place the image disk file path into the “if” path, and in the “of” output path, you have to mention the location where you want to restore the image file data. Here is the command to restore the drive data from the image file:
The output shows the transfer of backup files into their actual destination. You can see the input and output number of total records and some further information regarding the numbers of bytes transferred, the total size of the disk image, and the time taken to transfer it.

Conclusion
Indeed, The method discussed before is the easiest and simplest way to clone a disk into an image file and restore the backup to get all the files and folders back.
About the author
Aqsa Yasin
I am a self-motivated information technology professional with a passion for writing. I am a technical writer and love to write for all Linux flavors and Windows.
Acronis Disk Director 12
В предыдущих статьях мы рассмотрели создание загрузочных носителей программы Acronis Disk Director 12 на базе WinPE и WIM-образа. В этой статье рассмотрим создание образа диска Acronis на базе Linux.
В чем состоит отличие данного образа от ранее созданных? Прежде всего загрузчик Linux позволяет позволяет объединить 32-х битные и 64-х битные образы программы в одном диске, а также добавить на этот диск загрузочные диски других продуктов Acronis, помогая таким образом получить на руки готовый инструмент для полного комплекса работ с жестким диском компьютера или ноутбука.
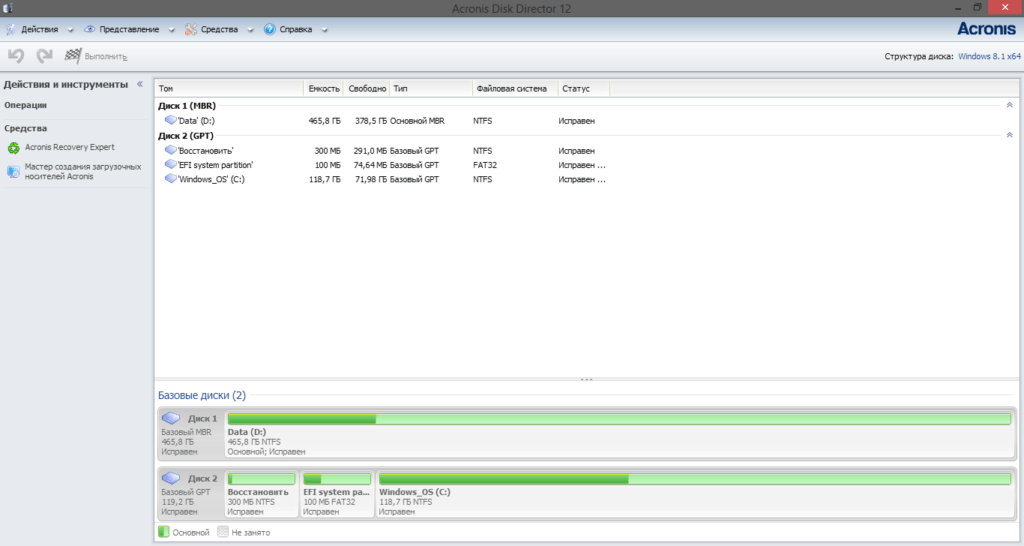
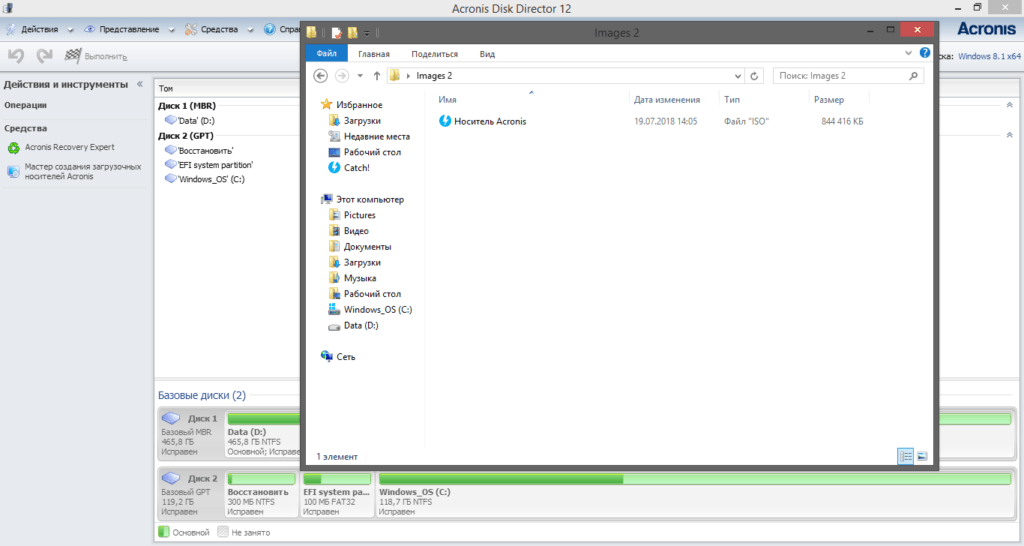
Запускаем программу Acronis Disk Director 12
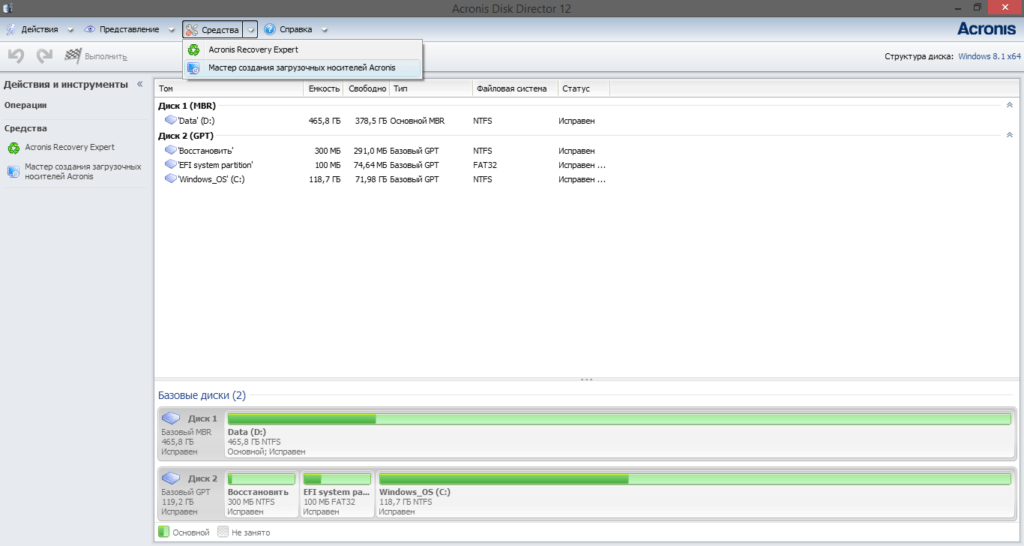
После открытия главного окна программы открываем вкладу Средства и запускаем Мастер создания загрузочных носителей.
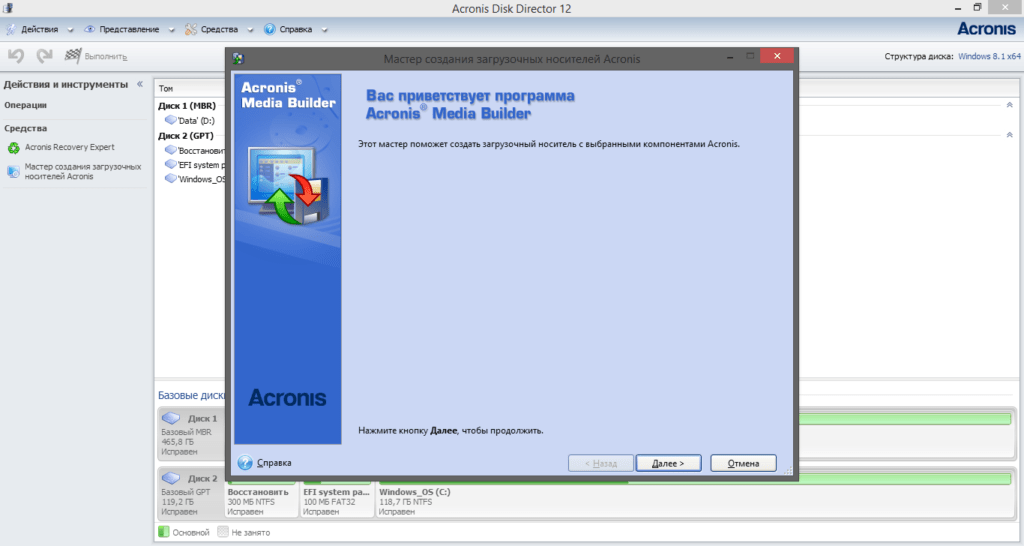
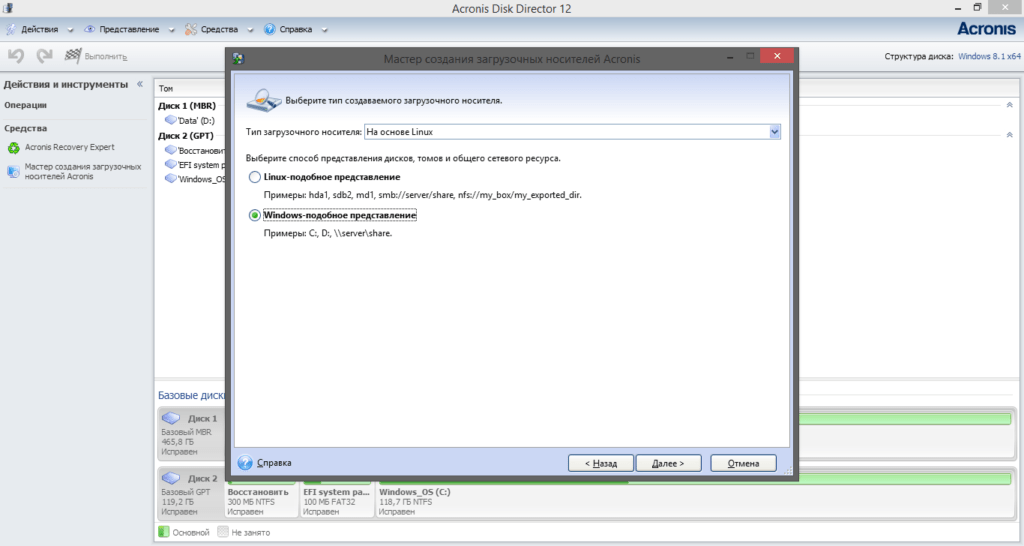
Начинаем создавать образ диска. Поскольку мы планируем использование загрузочного диска с компьютерами или ноутбуками с операционной системой Windows оставляем Windows-подобное представление. Для работы с операционными системами Linux лучше выбирать Linux-подобное представление. Эта разница обусловлена разным типом файловой системы и разделов жесткого этих операционных систем. Нажимаем Далее.
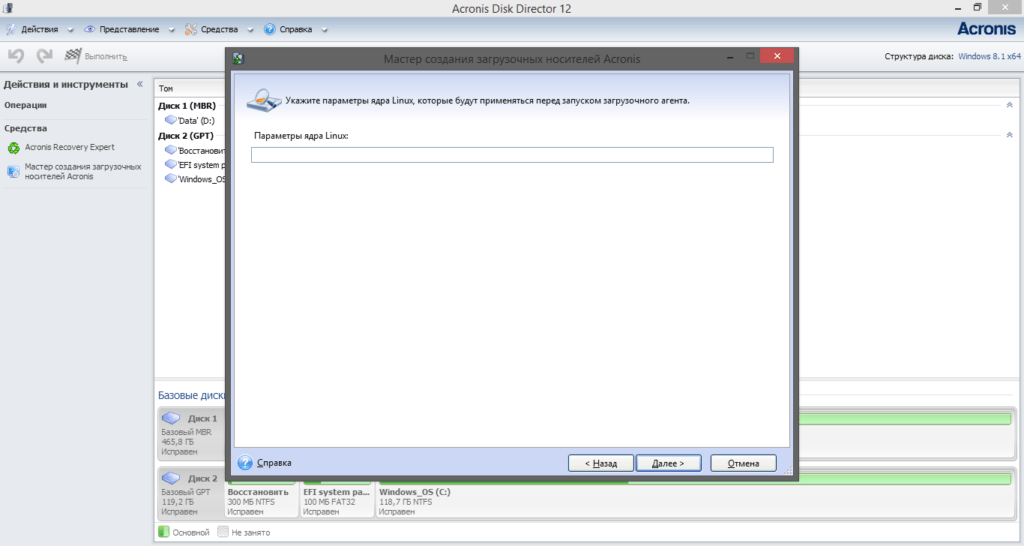
В этом окне можно добавить параметры ядра Linux. Подробнее об этом можно почитать в справке программы.
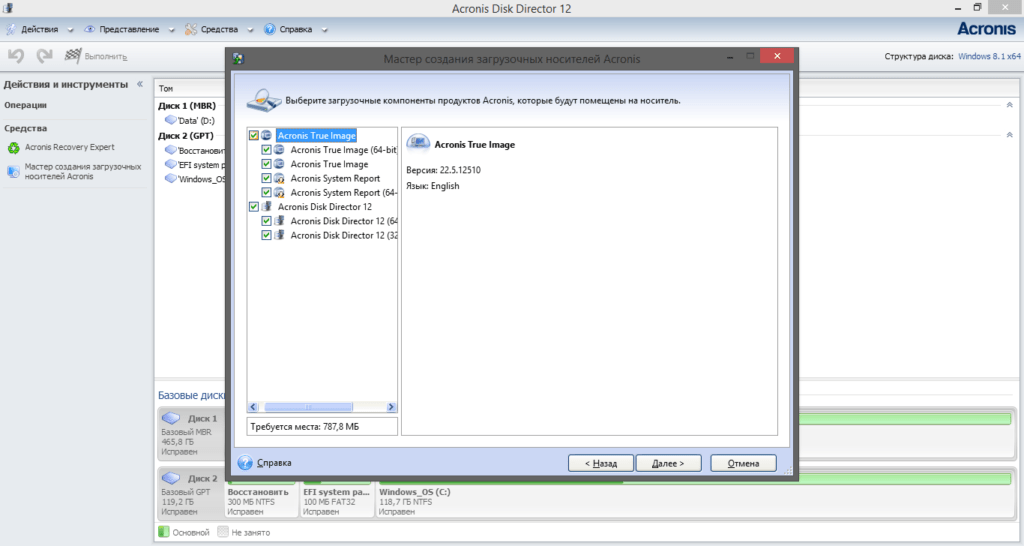
В следующем окне нам открывается возможность добавления других программ Acronis на создаваемый загрузочный носитель для обеспечения наиболее полного функционала работы с жестким диском компьютера или ноутбука.
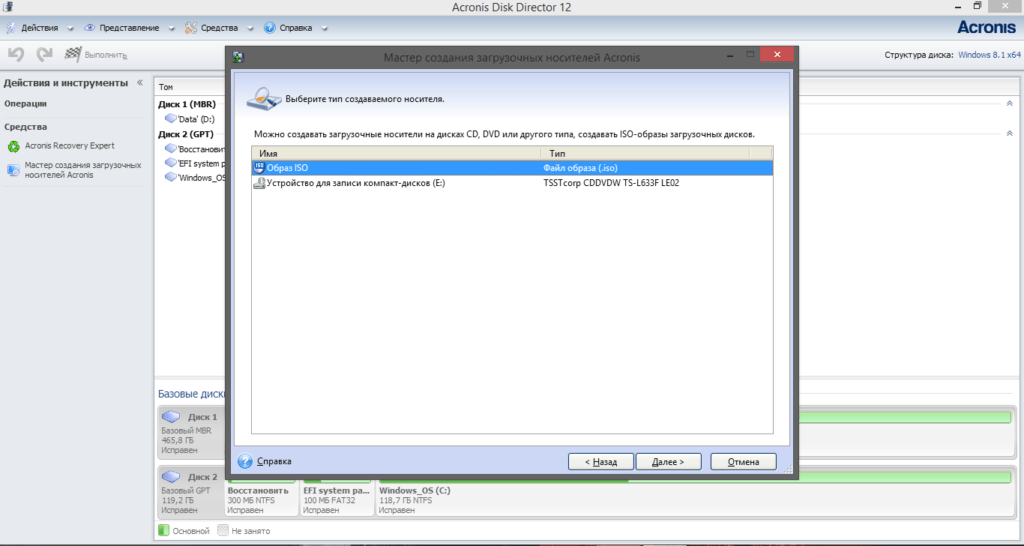
Выбираем создание ISO-образа загрузочного носителя. Если хотите можете сразу записать создаваемый образ на оптический диск.
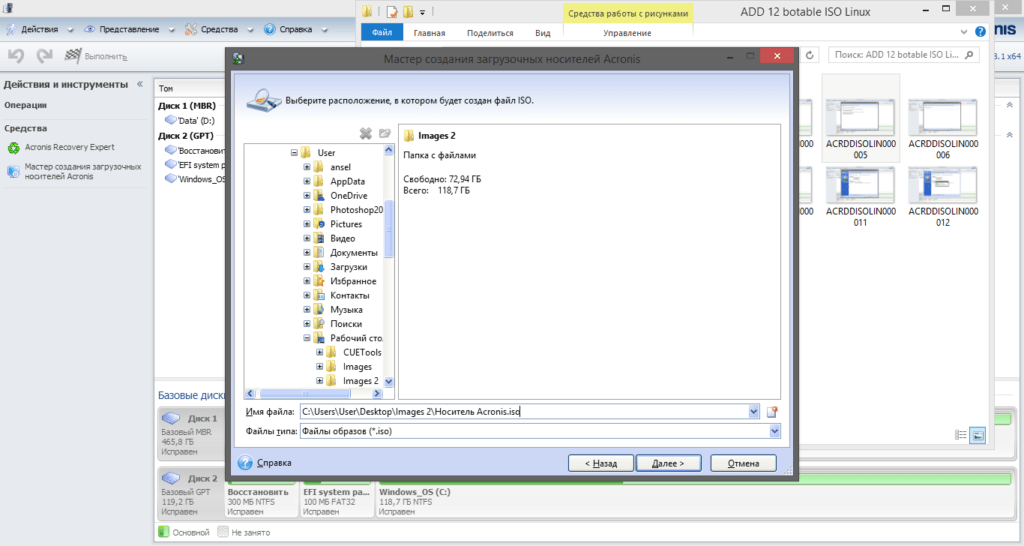
Выбираем место сохранения образа на компьютере. На данном этапе не рекомендую переименовывать создаваемый образ.
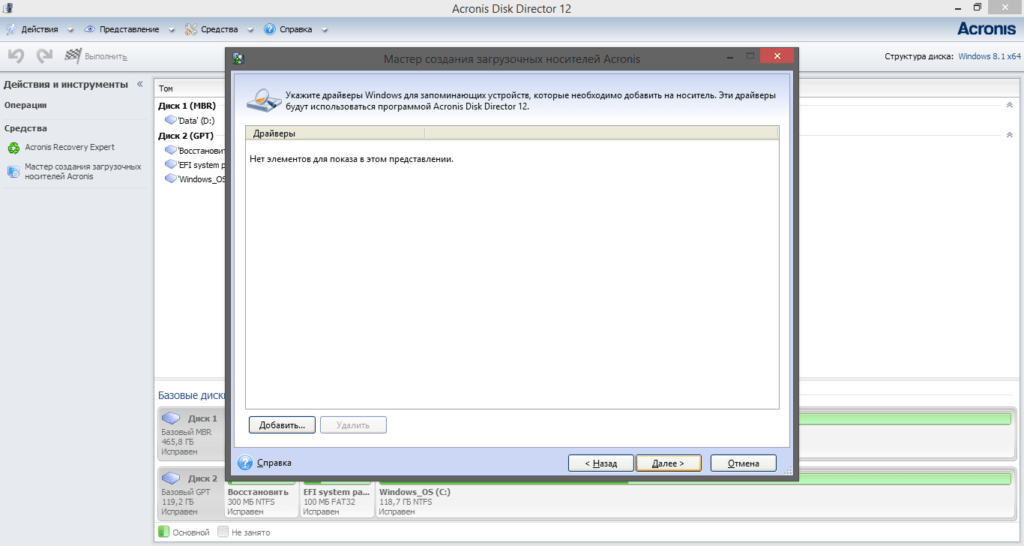
В этом окне можно добавить пользовательские драйвера запоминающих устройств, например, поддержку USB 3.0 или поддержку UEFI/EFI. В данном случае создается загрузочный диск на компьютере с поддержкой UEFI, встраивание дополнительных драйверов не требуется. Просто нажимаем Далее.
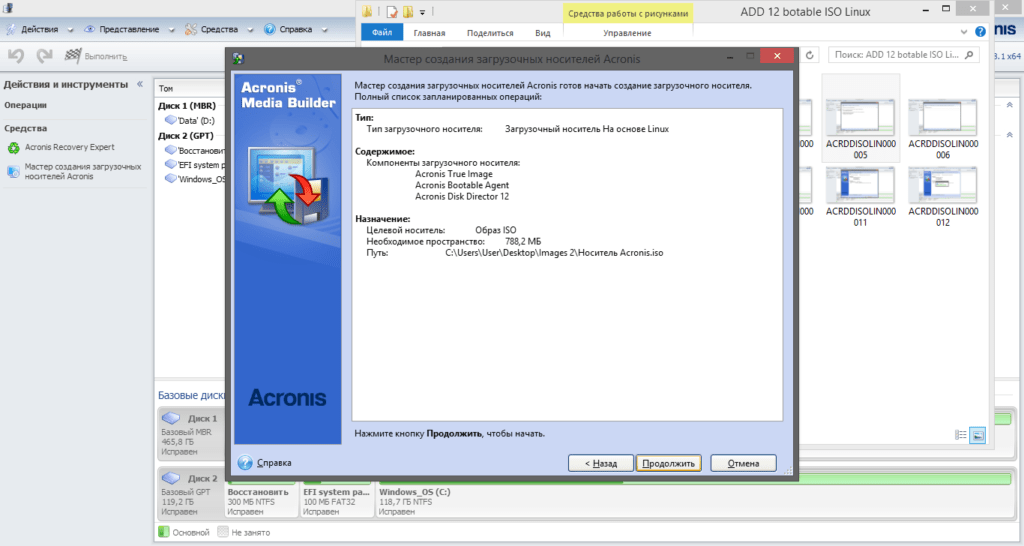
Программа еще раз покажет содержание будущего образа и место его сохранения.
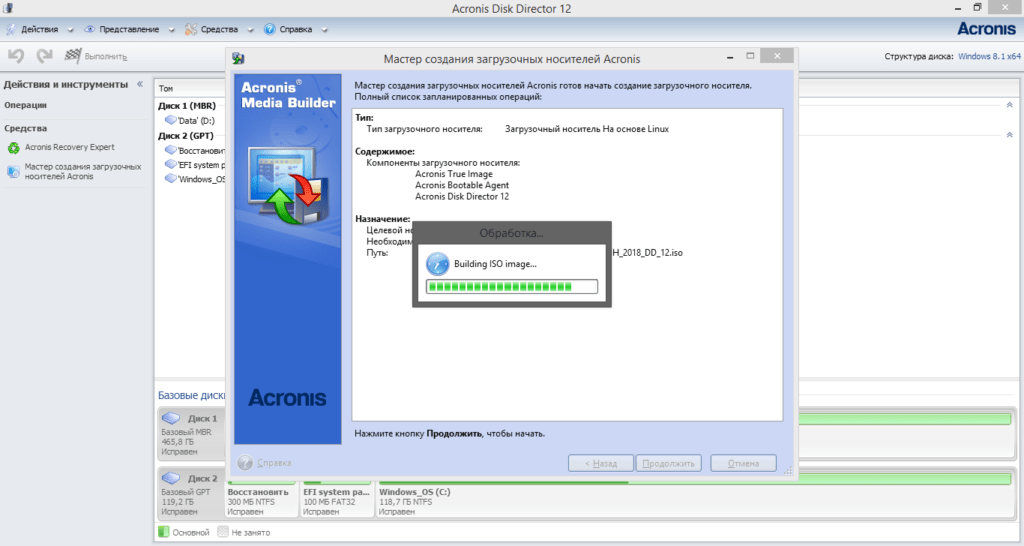
Нажимаем Продолжить и дожидаемся завершения создания и сохранения загрузочного образа.
По завершении работы программа уведомит нас о создании образа.
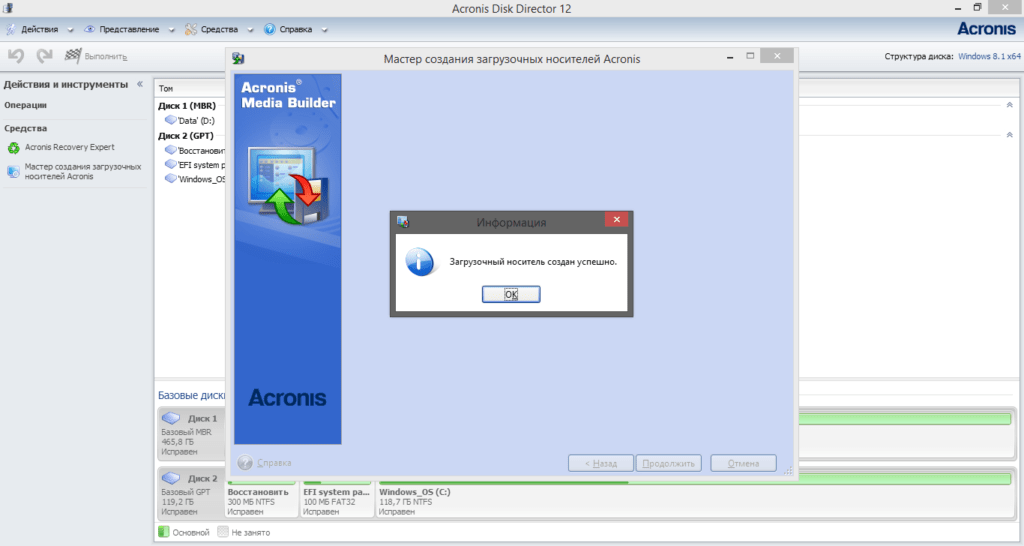
Готовый образ можно теперь переименовать и записать на оптический диск.
Таким образом, всего за несколько минут мы создали загрузочный диск Acronis для работы с жестким диском и его разделами. Что мы имеем на борту? Для 32-х битных систем — Acronis True Image 2018 32-bit, Acronis Disk Director 32-bit, для 64-х битных систем, соответственно, Acronis True Image 64-bit, Acronis Disk Director 64-bit. Держите его всегда под рукой и Вы сможете помочь своим родственникам и друзьям в случае необходимости.
1 загрузочный носитель на основе linux, Параметры ядра – Инструкция по эксплуатации Acronis Disk Director 12 — User Guide

1. [Необязательно] Параметры ядра Linux. Несколько параметров разделяются пробелами.
Например, чтобы при каждой загрузке с носителя иметь возможность выбирать режим
экрана для загрузочного носителя Acronis Disk Director, введите: vga=ask
Список параметров см. в разделе Параметры ядра (стр. 60).
2. Загружаемые компоненты Acronis, которые нужно поместить на носитель.
Acronis Disk Director
Загрузочная версия продукта почти с такой же функциональностью, как у Acronis Disk
Director для операционных систем Windows (см. подробности в разделе Работа с
загрузочным носителем (стр. 63)).
3. [Необязательно] Время ожидания для меню загрузки и компонент, автоматически
запускаемый по истечении времени ожидания.
Если это не задано, загрузчик Acronis ждет, пока кто-то выберет, загружать
операционную систему (если есть) или компонент Acronis.
Например, если указать 10 сек, Acronis Disk Director запускается через 10 секунд после
4. Тип создаваемого носителя. Можно сделать следующее:
создать CD-, DVD- или другой загрузочный носитель, например съемный
флэш-накопитель USB, если BIOS машины позволяет загружаться с таких носителей;
создать ISO-образ загрузочного диска, чтобы позже записать его на чистый
5. Путь к ISO-файлу носителя.
Это окно позволяет указывать параметры для ядра Linux. Они будут применены автоматически
при запуске загрузочного носителя.
Обычно эти параметры используются при наличии проблем с работой загрузочных носителей.
Как правило, это поле оставляется пустым.
Кроме того, можно указать любой из этих параметров, нажав клавишу F11 в меню загрузки.
Если задается несколько параметров, они должны быть разделены пробелами.
Отключает интерфейс ACPI. Этот параметр может использоваться при наличии проблем с
определенной конфигурацией оборудования.
Copyright © Acronis International GmbH, 2002-2014