- Display the last lines of a file in Unix
- Related documents
- How to display the last part of the file in the Linux system?
- Syntax
- Using tail Command in Linux
- How to use the tail command in Linux
- Tail command examples
- 1. Print the last N lines
- 2. Print everything from the N line
- 3. Print the filename with the output
- 4. Use multiple files with the tail command
- 5. Monitor changes made to file live
- Quick summary of tail command options
- 🖥️ Practice what you learn
- Print the last line of a file, from the CLI
Display the last lines of a file in Unix
Use the Unix command tail to read from standard input or a file and send the result to standard output (that is, your terminal screen). The format for using the tail command is:
Everything in brackets is an optional argument. If you don’t specify a filename, tail uses standard input.
Tail begins at distance +number from the beginning or -number from the end of the input. The number is counted in units of lines, blocks, or characters, according to the appended options -l , -b , or -c . When you don’t specify a unit, tail operates based on lines.
Specifying -r causes tail to print lines from the end of the file in reverse order. The default for -r is to print the entire file this way. Specifying -f causes tail not to quit at the end of the file, but rather to reread the file repeatedly (useful for watching a «growing» file such as a log file).
For example, given a file containing the English alphabet with each letter on a separate line, the command:
You can use tail with pipes. For example, to see the sizes of the last few files in the current directory, you could enter at the Unix prompt:
To save this information in a file in the current directory named mylist , at the Unix prompt, enter:
For more detailed information on tail , consult the Unix manual page by entering at the prompt:
At Indiana University, for personal or departmental Linux or Unix systems support, see Get help for Linux or Unix at IU.
Related documents
This is document acrj in the Knowledge Base.
Last modified on 2023-07-14 09:11:02 .
How to display the last part of the file in the Linux system?
To display the last part of the file, we use the tail command in the Linux system.
The tail command is used to display the end of a text file or piped data in the Linux operating system. By default, it displays the last 10 lines of its input to the standard output. It is also complementary of the head command.
Syntax
The general syntax of the tail command is as follow −
Brief description of options available in the tail command.
| Sr.No. | Option & Description |
|---|---|
| 1 | -c, —byte = [-]NUM Display the last NUM bytes of each file. Or -c +NUM to display starting with byte NUM of each file. |
| 2 | -f, —follow [ = ] Display appended data as the file grows. |
| 3 | -F Same as —follow =name —retry |
| 4 | -n, —lines [-]NUM Display the last NUM lines instead of the first 10. |
| 5 | —max-unchanged-starts = N With —follow = name, reopen a FILE which has not |
| 6 | —pid = PID With -f option, terminate after process ID, PID dies |
| 7 | -q, —quiet, —silent Never prompt headers giving file names |
| 8 | —retry Keep trying to open a file if it is not accessible |
| 9 | -v, —verbose Always display headers giving file names |
| 10 | -z, —zero-terminated Line delimiter is NULL, not newline |
| 11 | —help Displays a help message and then exits. |
| 12 | —version It gives info about the version and then exits. |
By default, the tail command prints the last ten lines without any option as shown in this example.
First, we will create a file containing more than ten lines using the cat command in the Linux system as shown below.
$ cat >text.txt First line. Second line. Third line. Fourth line. Fifth line. Sixth line. Seventh line. Eighth line. Ninth line. Tenth line. Eleventh line.
Then, we will use the tail command in the Linux system to display the last ten lines.
$ head text.txt Second line. Third line. Fourth line. Fifth line. Sixth line. Seventh line. Eighth line. Ninth line. Tenth line. Eleventh line.
To prints the last n lines, we use -n or —lines option with the head command as shown below.
Suppose we want to display the last four lines of the text.txt file then we have to execute the command as shown below.
To check more information about the tail command, we use the —help option with the head command in the Linux operating system as shown below.
To check version information of the tail command, we use the —version option with the tail command in the Linux operating system as shown below.
Using tail Command in Linux
The tail command is one of the several ways to display file contents or part of it. You can also live monitor changes made to files with it. Here are some common examples.
There are several commands to view the contents of a file in Linux. Tail command is one of them. And as the name suggests, the tail command is used to print the end part of a file. This can be useful when dealing with config files where the new changes are made to the end of the file. The tail command also allows you to view the changes made to a file live. This is extensively used for monitoring log files in real-time while troubleshooting issues. In this tutorial, I will show how you can use the tail command by sharing some practical examples of it.
How to use the tail command in Linux
To use any command in the terminal, execution of the command in the right syntax is compulsory, so let’s start with its syntax first.
- [option] allows you to tweak the default behavior of the command.
- [file] is where you’d enter the file name that you want to pair with the tail command.
To make things easy to understand, I will be using the Haruki.txt text file containing the following line:
Hear the Wind Sing (1979) Pinball, 1973 (1980) A Wild Sheep Chase (1982) Hard-Boiled Wonderland and the End of the World (1985) Norwegian Wood (1987) Dance Dance Dance (1990) South of the Border, West of the Sun (1992) The Wind-Up Bird Chronicle (1994) Sputnik Sweetheart (1999) Kafka on the Shore (2002) After Dark (2004) 1Q84 (2009-2010) Colorless Tsukuru Tazaki and His Years of Pilgrimage (2013) Men Without Women (2014) Killing Commendatore (2017)And when the tail command is executed without any options, it prints the last 10 lines of the file:
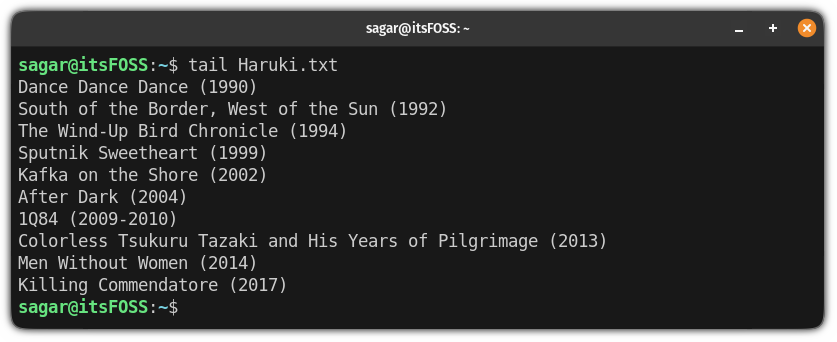
Quite obviously, if there are less than 10 lines, tail command will display all the lines by default.
But you can do more than just this! Let me tell you how.
Tail command examples
In this section, I will share different examples of the tail command, using its different options.
You’ll see some command examples with text inside <>. This indicates that you need to replace the content along with < and >with a suitable value.
1. Print the last N lines
As I mentioned earlier, the tail command prints the last ten lines by default but you may not always want the same behavior.
To print the desired number of last N lines, all you have to do is use the -n flag and append the number of the last N lines you want to be printed:
For example, here, I printed the last three lines of my text file named Haruki.txt :
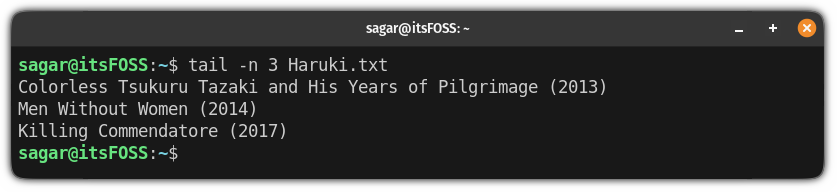
You can also use a number higher than 10 here.
2. Print everything from the N line
So if you want the output from a specific point, this can be very handy.
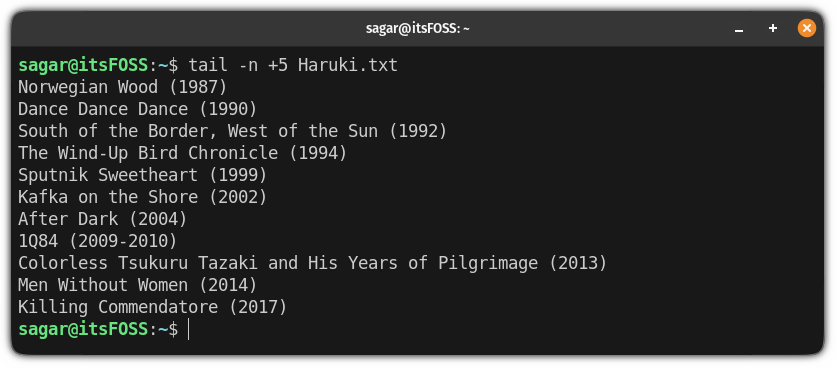
To do so, you’d have to use the -n flag and append the line number from where you want to print the file with the + sign:
So let’s say I want to print everything from the 5th line in the text file Haruki.txt then, I will use the following command:
3. Print the filename with the output
You may find yourself in a situation where you want to print the filename with the output given by the tail command.
A good example will be while redirecting the output of multiple files with tail commands to a single file and you want to separate the output.
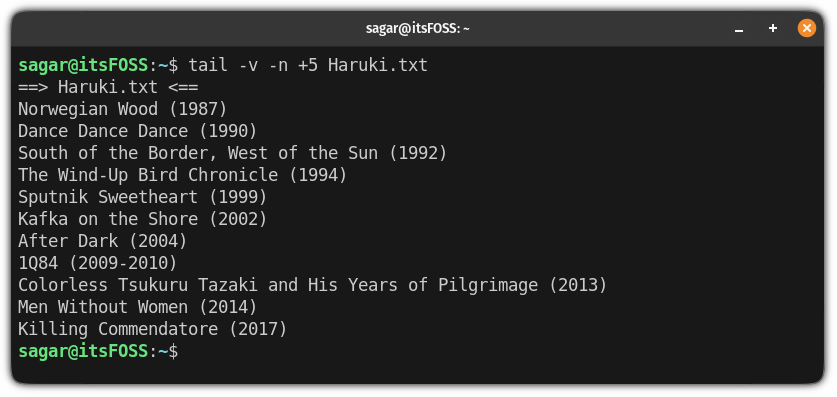
To do so, you’d have to use the -v flag, which will get you a verbose output:
Here, I used the previous example, but this time, I added the option for the verbose output:
4. Use multiple files with the tail command
Sometimes, you may want to use multiple files with the tail command, and it’s pretty simple! All you have to do is use the multiple filenames and the tail command will take care of the rest:
For example, here, printed the last three lines of the two different text files: Haruki.txt and Premchand.txt :
tail -n 3 Haruki.txt Premchand.txt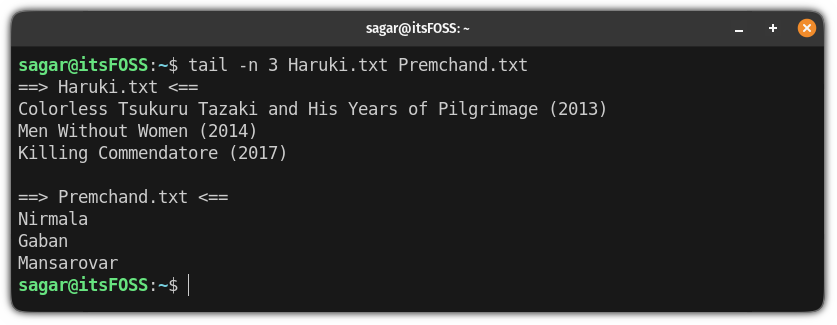
And if you notice carefully, it prints the filename by default, which is nice.
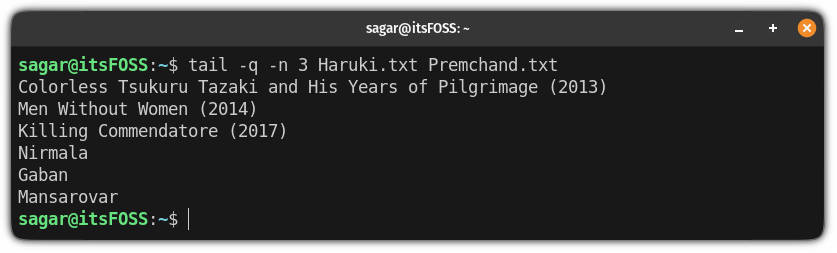
If you want to skip the filename from the output, use the -q flag (quiet mode):
5. Monitor changes made to file live
This is an excellent feature of the tail command. Not only you can see the last few lines, but it can also display any new lines added to it. How cool is that!
To do so, use the -f (follow) flag with the tail command:
Here’s an example where I used multiple windows in a single terminal. I executed the tail command in one and in the other one, I used the echo command to append the text in the file:
Sysadmins and developers use it to watch log files in real-time. It helps in troubleshooting.
The tail -F is lesser known but slightly better option. In some server configurations, the log files are rotated and created (with the same name again). The tail -f command will not track changes if the file was recreated. However, tail -F will wait for the file to be created and continue monitoring it.
Quick summary of tail command options
Here’s a brief summary covering everything I’ve mentioned so far in this tutorial:
| Option | Description |
|---|---|
| -n | Display N lines from the end of the file |
| -n + | Print everything from the Nth line |
| -v | Include filename in the output header |
| -q | Removes the filenames from the output |
| -f | Monitor the changes made to the file in real-time |
| -F | Monitor changes in real-time, wait for file to be (re)created |
🖥️ Practice what you learn
If you want to test your recently learned knowledge of the tail command, here’s some exercise for you.
- Print the last 12 lines of the file
- Print only the last line of the file
- Add the filename to output while displaying the lines starting from line 15
- Print only the 11th line (combine it with the head command)
You can discuss the practice questions in the community:
If you are absolutely new to the command line, we have a good starting point for you.
🗨 We’ll be sharing more Linux command examples every week. Stay tuned for more. And if you have questions or suggestions, the comment section is all yours.
Print the last line of a file, from the CLI
I think the original question specified «awk» but since the question changed to be more generic, this answer made no sense. So I improved the answer a little bit. Overall, «tail» is a great solution, but «awk» might offer more nuanced control.
Use the right tool for the job. Since you want to get the last line of a file, tail is the appropriate tool for the job, especially if you have a large file. Tail’s file processing algorithm is more efficient in this case.
If you really want to use awk,
EDIT : tail -1 file deprecated
Is it a must to use awk for this? Why not just use tail -n 1 myFile ?
@yael Not at all; tail -1 will be way faster than awk for a large file. I tried on an ~3m line file; tail was instantaneous while awk took .44s
@yael. tail is specifically meant for processing the file from the «end». Therefore, its faster than awk. Because awk processes files from the beginning. The algorithms are different.
@yael is right — in the sence that awk (3B) is faster to type than tail (4B). When it comes to speed — well tail has a simpler task, and no script to parse before execution. However, @ghostdog74 is not right about «working from the end». If the input is piped, tail also needs to work from the beginning. And not to mention tail -n +N .
I wanted the first field of the last line of the file ( awk ‘END < print $1 >‘ ). While it’s not what the OP asked, the question helped and was easier to search for than «first field of last line of file»