- How to install Kali Linux on Lenovo Miix 320 from USB
- About Lenovo Miix 320
- About Kali Linux
- Advantages of installing Kali Linux
- Installation Prerequisites
- Instructions to install Kali Linux on Lenovo Miix 320
- 1. Download Kali Linux
- 2. Create a Bootable USB drive
- 3. Change boot-order to boot from USB in Lenovo Miix 320
- 4. Install Kali Linux on your Lenovo Miix 320
- Welcome To Lenovo Miix 320 Kali Linux
- Installing Ubuntu Linux on Lenovo Miix 320 Hybrid Laptop
- UPDATE!! Please read Link to heading
- Choosing a Linux Distro Link to heading
- Preparing a Bootable USB drive Link to heading
- Making room for our installation Link to heading
- The installation Link to heading
- Disable Secure Boot Link to heading
- Boot it up! Link to heading
- Fixing stuff Link to heading
- Disable touchpad while typing Link to heading
- Fix the touch screen Link to heading
- Install Xubuntu Link to heading
- Fixing the brightness Link to heading
- Powersaving Link to heading
- Footnotes Link to heading
- So, what works? Link to heading
- What doesn’t work? Link to heading
How to install Kali Linux on Lenovo Miix 320 from USB
Here is How to Install Kali Linux on Lenovo Miix 320. All the advantages and disadvantages of installing Kali Linux has been provided below.
About Lenovo Miix 320
- Lenovo Miix 320 comes with a 10.1-inch display with a resolution of 1920 by 1200 pixels.
- It is powered by Intel Atom x5 Z8350 Processor with the RAM of 2GB DDR3 RAM and the storage of 128GB.
- Lenovo Miix 320 has a battery life of 10 hours.
- Lastly, Windows 10 Home 64-bit Edition is pre-installed.
About Kali Linux
Kali Linux is a Debian-based Linux distribution which is based on security tasks such as Penetration Testing, Computer Forensics, Security research, and Reverse Engineering. The operating system is developed and maintained by Offensive security. Furthermore, there are more than 600 penetration testing tools included in Kali Linux. Lastly, it has many advantages over other operating systems available which are discussed below,
Advantages of installing Kali Linux
There are many advantages of installing Kali Linux on you Lenovo Miix 320 which is as follows,
- Advanced Penetration tools available: There are more than 600+ advanced penetration tools available on Kali Linux.
- Open-sourced: Kali Linux is an open-sourced system where all the codes can be easily seen and developed by others. The open development tree helps users to see the development at each and every step.
- Free Tools: This the main reason why people use Kali Linux.
- Wireless support nowhere possible: Kali Linux provides to connect as many as WiFi spots or USB ports at one time. It also makes to be compatible with numerous USB.
- Multiple language support: Multiple language support is not possible in other operating systems where users can get the support of their local language.
- Support for both ARMEL and ARMHF systems: ARM-based controllers like Rasberry Pi and ARMH is supported by Kali Linux.
Installation Prerequisites
- A minimum of 20 GB disk space for the Kali Linux install.
- RAM minimum: 1GB, and recommended: 2GB or more.
- USB or CD-DVD Drive boot support.
Instructions to install Kali Linux on Lenovo Miix 320
1. Download Kali Linux
- Download Kali Linux from the official website if you have not downloaded yet
- Boot the ISO file from USB by following instructions below.
- Lastly, change the boot order to the USB drive from BIOS settings.
2. Create a Bootable USB drive
Download Rufus-3.4 for Windows

- After installing Rufus simply select the ISO file from the file manager and accept all settings when the popup window appears.
- Select MBR partition scheme for BIOS or UEFI and If your laptop has UEFI bios then select the other two options.
- For the Filesystem select NTFS option and select if your PC has UEFI bios then select FAT32.
- The default Cluster size option should be selected.
- Make sure all three options including Quick Format, Create a Bootable disk using and Create extended labels and icon files are selected.
- Finally, start the process and this software will automatically format and create bootable USB flash drive.
3. Change boot-order to boot from USB in Lenovo Miix 320
- You will need to update BIOS to the latest version
- Turn your Lenovo Miix 320 off
- Now connect the bootable USB stick to the port.
- To enter into BIOS press Power + volume up as BIOS keys.
- Now Turn secure boot off.
- Save and Exit
- Restart, Boot again and press Fn + F12 to get a list of bootable options.
- Finally, Reboot your Laptop
4. Install Kali Linux on your Lenovo Miix 320
- After booting your USB or CD drive you can turn off your computer and insert the bootable USB in your Laptop.
- Now turn on the PC and continue with the process of installing Kali Linux on Lenovo Miix 320.
- You can either install Kali Linux or run it live by using your bootable USB stick. But Kali Live will not save your data so it’s better to install Kali Linux completely. In case, you don’t want to lose the windows data prefer Dual-Booting Kali Linux with Windows.
- Let’s continue with the graphical install option provided above.
- After clicking on continue the image will get installed in the hard drive in your system. Next, it will be asking the hostname where you can provide any name such as Kali.
- Now enter the password for the root account.
- Set the time zone. Now the installer will provide 4 options for the Partition disks where you should choose “Guided-use entire disk and set up encrypted LVM”.
- Select the disk to be partitioned. Either you can keep all the files in one partition or keep all the files in different partitions. If you are not sure about how to create separate partitions then keep all the files in one partition.
- This is the last chance to review all the options you have selected after clicking on continuing the process installing Kali Linux on Lenovo Miix 320 will start and complete.
- Click yes to the network mirrors option NOTE! If you select “NO” option in this screen, you will NOT be able to install packages from Kali Linux repositories.
- Now install GRUB Boot Loader on the hard disk.
- Finally, click on Continue to reboot into your new Kali Linux installation on your Lenovo Miix 320.
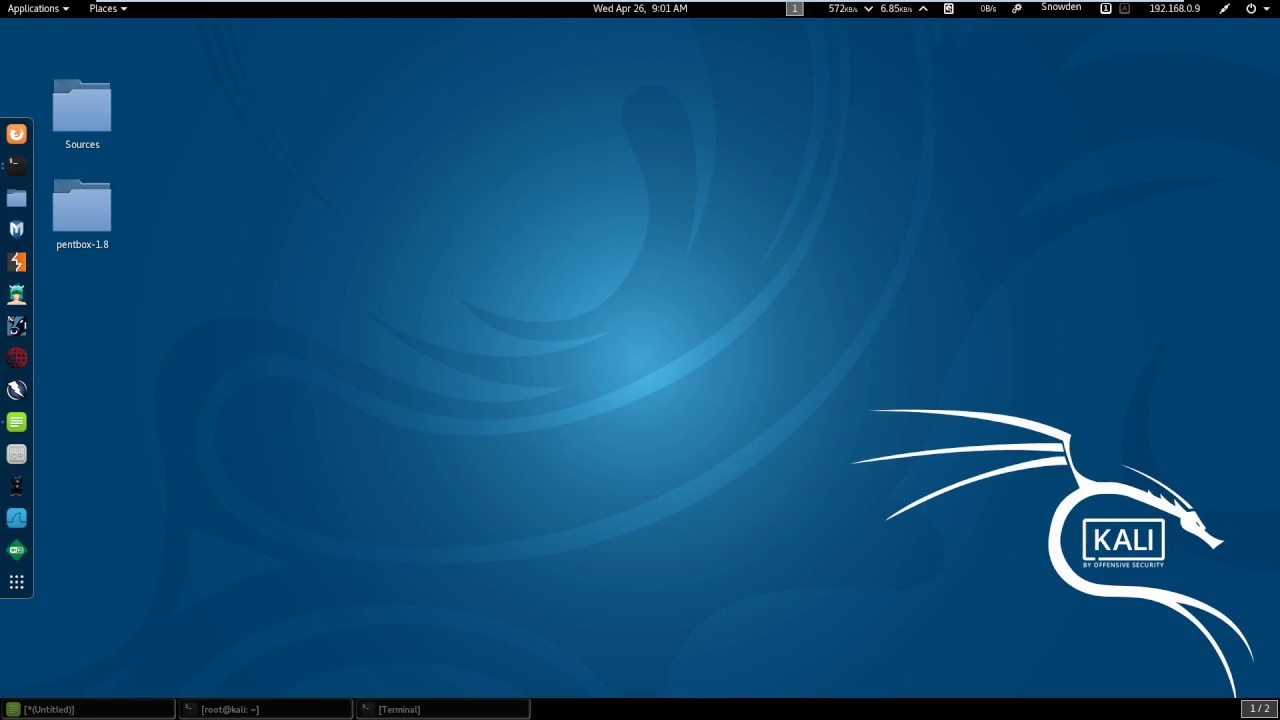
Welcome To Lenovo Miix 320 Kali Linux
Read some installation guides:
Installing Ubuntu Linux on Lenovo Miix 320 Hybrid Laptop
Lenovo Miix 320 is a tiny convertible laptop that doesn’t put a hole in your wallet. It’s an amazing piece of hardware with one major flaw — It comes with Windows 10. But, worry not, I was able to successfully install and use Ubuntu 18.04 on this tiny laptop, and it is pretty neat.
UPDATE!! Please read Link to heading
The original blog post was about installing Ubuntu 18.04 on your Miix 320. It took lot of effort to get the system to a usable state. But, I came across Pop OS by System76 (Someone mentioned it in the comments) and I gave it a shot. Surprisingly, everything works out of the box Go HERE and download the Intel version.
You can use the instructions below to make the bootable disk etc. But, you don’t need to edit any configuration files. It should work out of the box
Choosing a Linux Distro Link to heading
I chose Ubuntu 18.04 ( as of now, it is still in beta — not a public stable release ) because it will have the latest possible Kernel, which means better hardware support. Lenovo Miix 320 was released very recently and because of that, old Kernels doesn’t play nice with the hardware. Even with the latest available hardware, we need to do quite some work to get some stuff (like, boot!) working properly. Let’s get started
Preparing a Bootable USB drive Link to heading
Go ahead and download the Ubuntu iso from HERE. Make sure you download the 64bit version. If you are too lazy to do that, HERE is the direct link to the ISO Now that we have the ISO, we need to write it to a flash drive. I use Etcher which is an amazing open source tool to flash OS images. Go ahead and download Etcher and prepare the bootable flash drive
Making room for our installation Link to heading
It is not a good idea to wipe the disk and install just Linux as things are not pretty yet. If you rely on this laptop to get things done, I recommend you keep Windows10 until you are sure that the Ubuntu installation works great for you. If you plan to keep Windows 10, boot into it, launch the disk management tool and shrink your C drive. The maximum shrinkable size depends on the current usage of the Disk. We need at least 10GB of free space in the new partition. If you are not able to get 10GB out, try deleting some files and try to shrink it again.
Note: Just leave the free partition as it is. We will format it from Ubuntu, so, we don’t have to anything to it from Windows
The installation Link to heading
Disable Secure Boot Link to heading
Press the power button (hold it for a second to power it on) and then press Fn+F2 to get into the BIOS In the BIOS, use the right arrow to go to the Configuration and then disable Secure Boot from there.
Boot it up! Link to heading
Connect the USB, power on the Laptop and press Fn+F12 to get the boot menu. Choose your USB drive and press enter.
The thing is, with the default boot parameters, it just won’t boot in this particular laptop. We need to change some boot paramaters so that it comes up. In the grub menu, press e to edit the entry. Above the line that starts with linux , add the following
nomodeset i915.modeset=1 fbcon=rotate:1 What nomodeset does is, it tells the kernel not to load the video drivers until the sytem has finished booting. Also fbcon=rotate:1 rotates the display clockwise. We need to do this because, otherwise Ubuntu will be in portrait mode. We don’t want that. So, the resulting screen would look something like this
set gfxpayload=keep linux /casper/vmlinuz.efi file=/cdrom/preseed/ubuntu.seed boot=casper quiet splash nomodeset i915.modeset=1 fbcon=rotate:1 --- Press Ctrl+X to continue with the boot. It will go to the normal Ubuntu installation screen. I guess you know how to handle the installation. Once the installation is finished, Reboot your laptop. Do not forget to remove the USB drive.
IMPORTANT: Once you are at the Grub menu again, press e and do exactly the same as we did just above.
NOTE: After the boot, chances are you will be greeted with a black screen. Just close the lid for a second and open it again and you should see the login screen
GRUB_CMDLINE_LINUX="nomodeset i915.modeset=1 fbcon=rotate:1" GRUB_GFXPAYLOAD_LINUX=keep This will update your Grub with the parameters and you won’t have to edit anything next time you boot.
NOTE: Someone in the comment suggested to use xrandr -o right to rotate the display and this command is universal across distros. Thank you Taylor
Fixing stuff Link to heading
Disable touchpad while typing Link to heading
This can be very annoying. By default, it doesn’t disable the touchpad while typing. So, there is a good chance that you might end up touching your touchpad and cause a tragedy. Use the following command to disable touchpad while typing
Fix the touch screen Link to heading
Good news is that, the touch screen works nice. But, it is twisted to the right. You’d come to understand it if you try to scroll/touch the screen. The following command should fix that and you should be able to use the touch screen properly in landscape.
xinput set-prop "04F3224A:00 04F3:237D" 'Coordinate Transformation Matrix' 0 1 0 -1 0 1 0 0 1 If this doesn’t work for you, your ‘ID’ might be different. Use the following command to find out the correct ID
xinput set-prop "your device id here" 'Coordinate Transformation Matrix' 0 1 0 -1 0 1 0 0 1 Install Xubuntu Link to heading
By default, Ubuntu 18.04 has Gnome as the desktop environment. While it is all shiny, it’s quite heavy. For a tiny laptop like the Miix 320, we’d need something light.
sudo apt-get update sudo apt-get install xubuntu-desktop Fixing the brightness Link to heading
Yeah, so another thing that doesn’t work yet is the brightness control. But, we can have a hack for now. Please note that this thing doesn’t help with the battery as it is more like an overlay that reduces the light intensity. But, surely it can help your eyes
sudo add-apt-repository ppa:apandada1/brightness-controller sudo apt-get update sudo apt-get install brightness-controller-simple Powersaving Link to heading
So, another bad thing is that the battery life would be not great. The following tool might help a bit.
sudo add-apt-repository ppa:linrunner/tlp sudo apt-get update sudo apt-get install tlp tlp-rdw smartmontools ethtool Footnotes Link to heading
While Ubuntu 18.04 in the Lenovo Miix 320 hybrid laptop is not perfect, it works great. It works much much faster than Windows 10, and you can actually get some work done in this tiny little laptop.
So, what works? Link to heading
- Keyboard
- Touchpad
- Touchscreen
- Sound
- Battery indicator
- WiFi
- All Major functions
What doesn’t work? Link to heading
Well, that’s all about it. Let me know if you have question in the comments and I’ll try to address it. 🙂