- How to Install Linux Mint 20 Alongside Windows 10 or 8 in Dual-Boot UEFI Mode
- Download Linux Mint 20
- Step 1: Shrink HDD Space for Dual-Boot
- Step 2: Installation of Linux Mint 20
- Linux Mint Forums
- Tutorial on a UEFI Mint 19.x Install (Not for dual Boot)
- Tutorial on a UEFI Mint 19.x Install (Not for dual Boot)
How to Install Linux Mint 20 Alongside Windows 10 or 8 in Dual-Boot UEFI Mode
Linux Mint 20 has been released in wild by the Linux Mint project development team as a new long term support edition which will receive support and security updates until 2025.
This tutorial will guide you on how you can install Linux Mint 20 in dual-boot with a variant Microsoft Operating System, such as Windows 8, 8.1 or 10, on machines with EFI firmware and a pre-installed version of Microsoft OS.
If you’re looking for a non-dual-boot installation on Laptop, Desktop, or Virtual Machine, you should read: Installation Guide of Linux Mint 20 Codename ‘Ulyana’.
Assuming that your laptop or desktop system comes pre-installed with Windows 10 or Windows 8.1 or 8 you should enter the UEFI menu and disable the following settings: Secure Boot and Fast Boot features.
If the computer has no pre-installed OS and you intend to use Linux and Windows in dual-boot, first install Microsoft Windows and then proceed with Linux Mint 20 installation.
Download Linux Mint 20
In case you own a UEFI computer stay away from the 32-bit version of Linux Mint because it will only boot and work with BIOS machines, while the 64-bit ISO image can boot with BIOS or UEFI computers.
Step 1: Shrink HDD Space for Dual-Boot
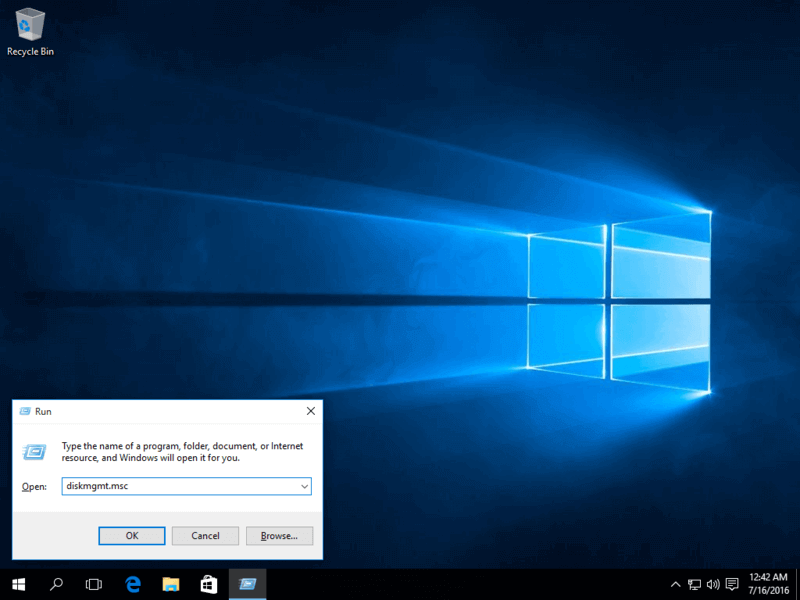
1. In case your computer comes pre-installed with Microsoft Windows on a single partition, logon to Windows system with a user who has administrator privileges, press [Win+r] keys to open run prompt and type the following command in order to open Disk Management tool.
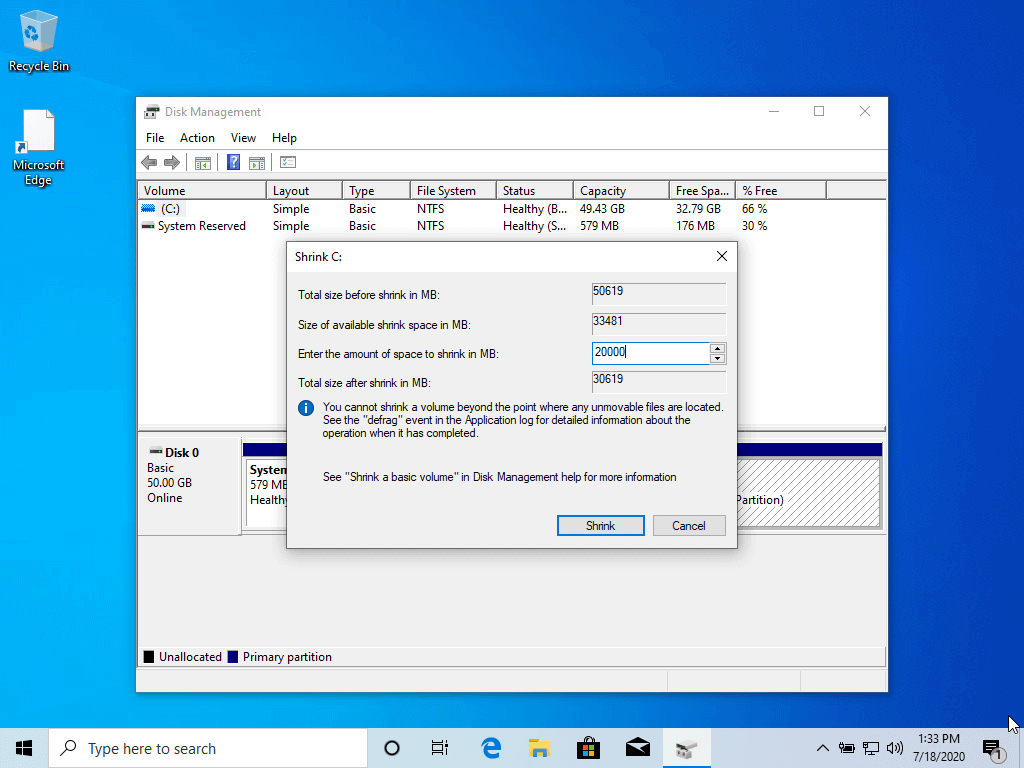
2. Right-click on C: partition and select Shrink Volume in order to resize the partition. Use a value best-suited for you, depending on your HDD size, on the amount of space to shrink MB field (minimum 20000 MB recommended) and hit Shrink button to start the process of resizing the partition.
3. When the process finishes a new unallocated space will appear on the hard drive.
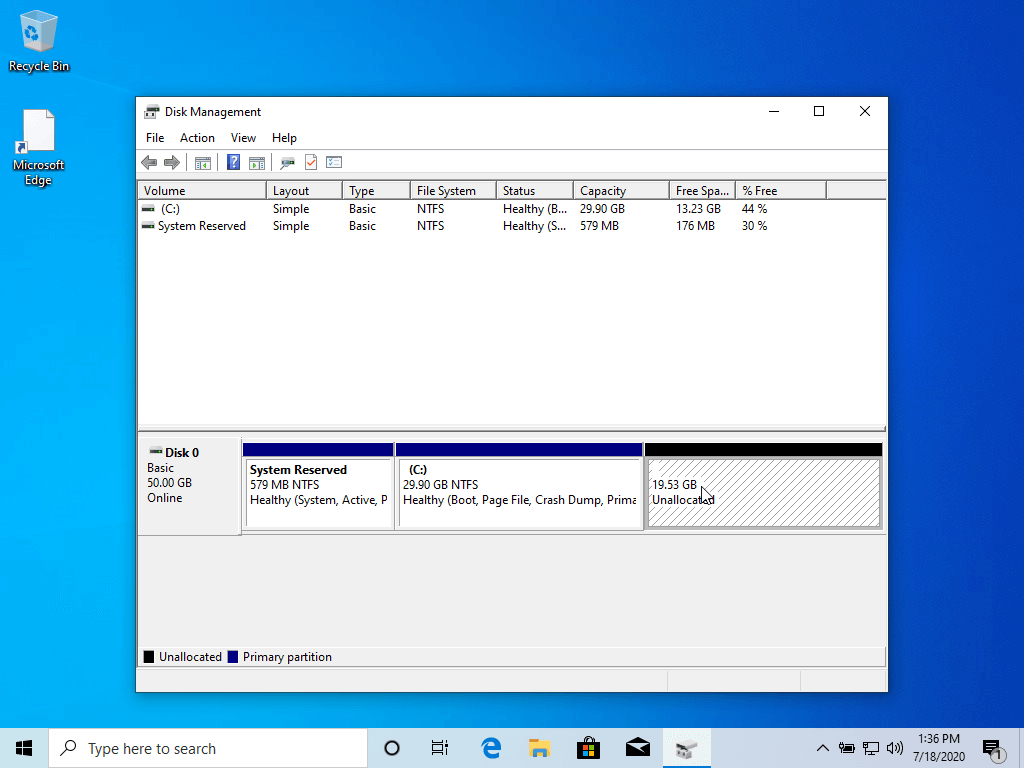
Close Disk Management utility, place Linux Mint DVD or USB bootable image in the appropriate drive, and reboot the computer in order to start with Linux Mint 20 installation.
In case you’re booting Linux Mint for installation from a USB dive in UEFI mode make sure you’ve created the bootable USB stick using a utility such as Rufus, which is UEFI compatible, otherwise your USB bootable drive won’t boot.
Step 2: Installation of Linux Mint 20
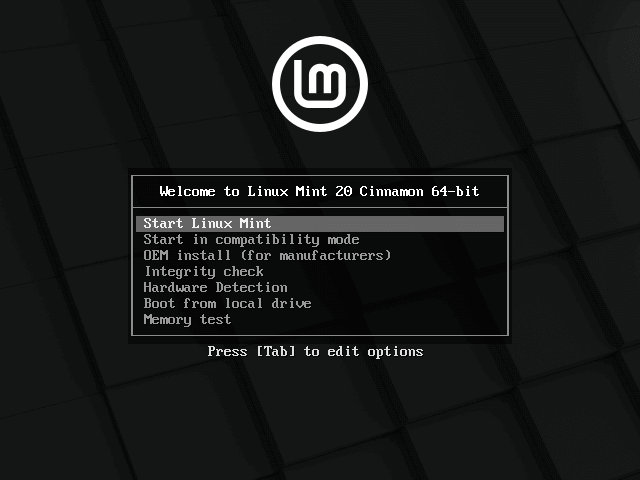
4. After reboot, press the special function key and instruct the machine firmware (UEFI) to boot-up from the appropriate DVD or USB drive (the special function keys usually are F12 , F10 or F2 depending on the motherboard manufacturer).
Once the media boot-up a new screen should appear on your monitor. Choose Start Linux Mint 20 Cinnamon and hit Enter to continue.
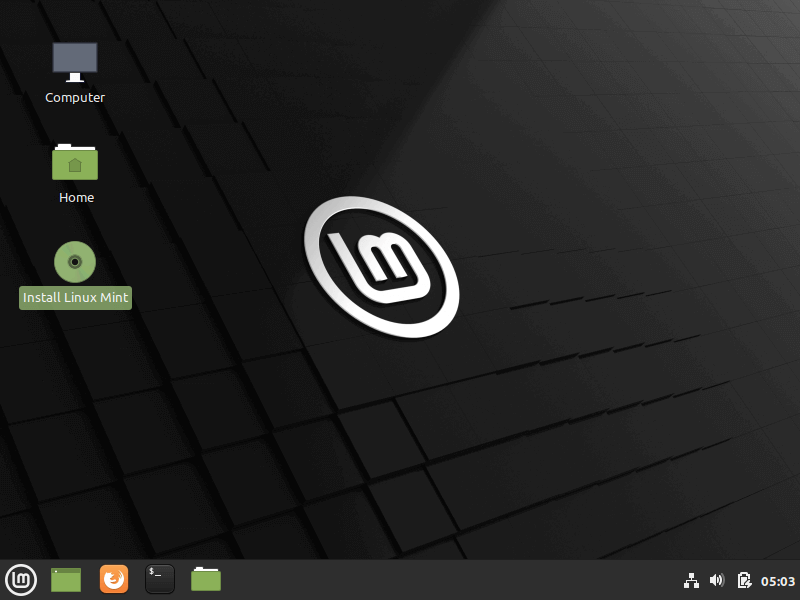
5. Wait until the system loads into RAM in order to run in live-mode and open the installer by double-clicking on Install Linux Mint icon.
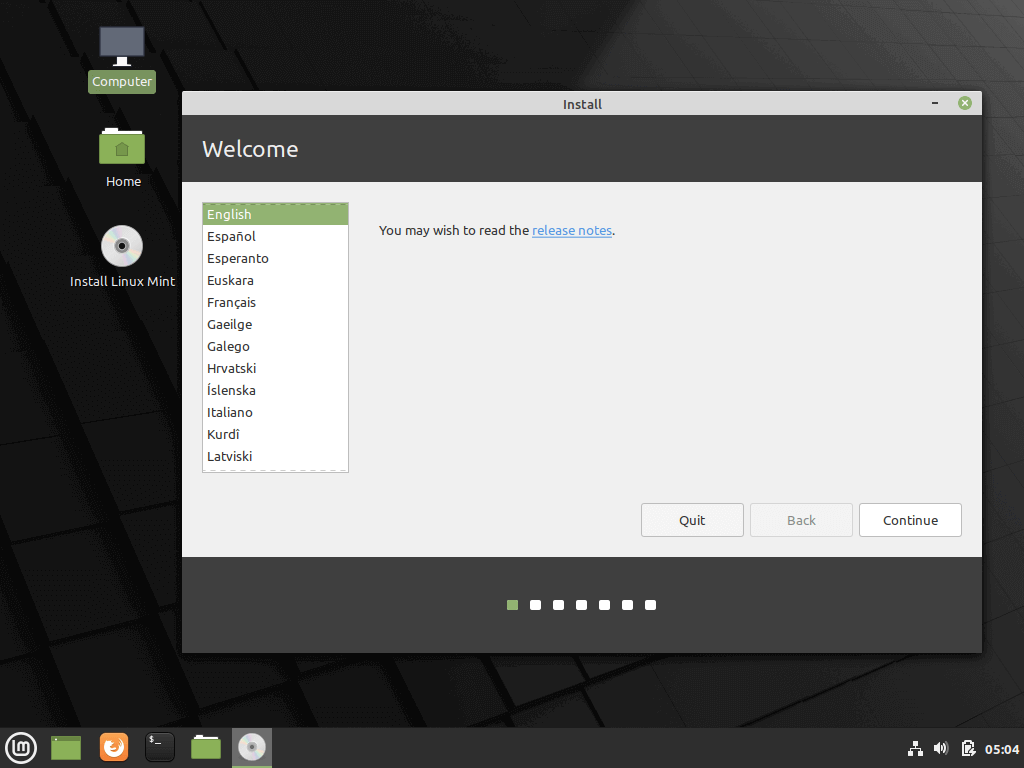
6. Choose the language you wish to perform the installation and click on the Continue button to proceed further.
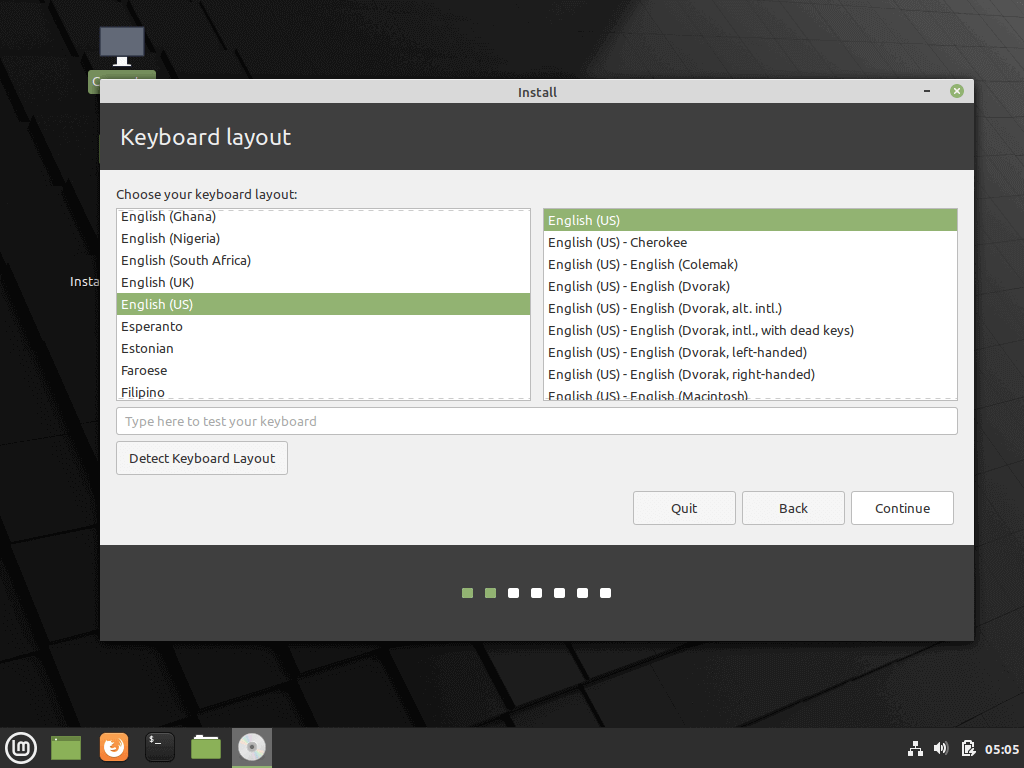
7. Next, you should select your keyboard layout and click on the Continue button.
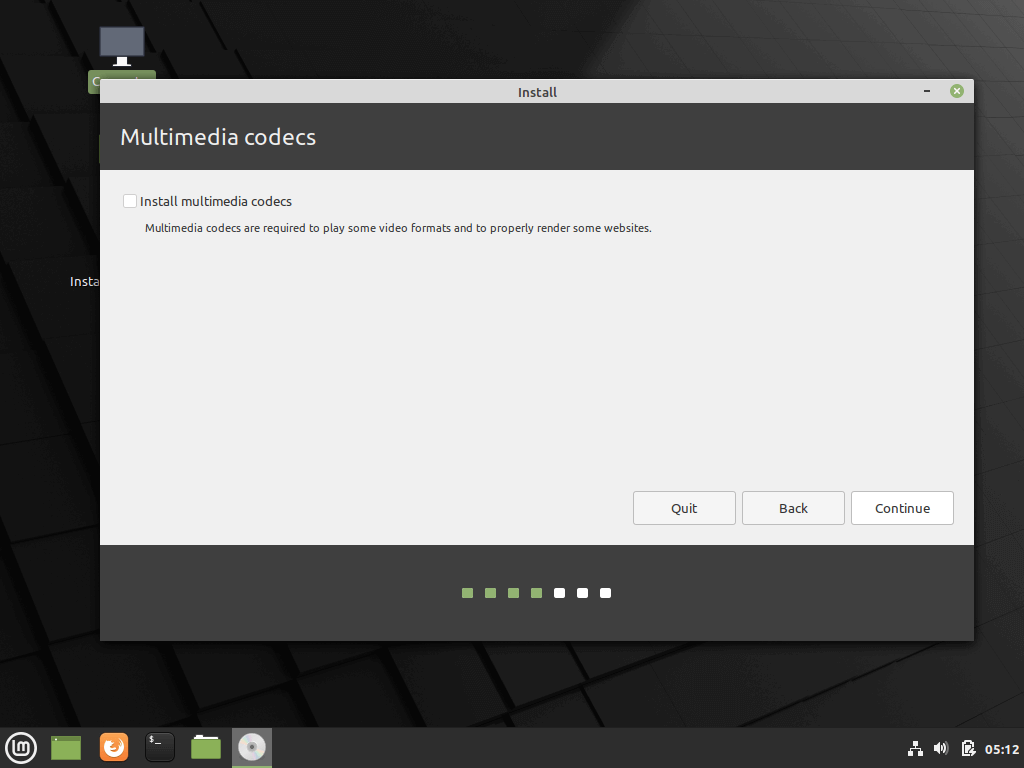
8. On the next screen hit on the Continue button to proceed further. Third-party software (multimedia codes) can be automatically downloaded and installed on this step by checking the check-box.
The recommendation would be to leave the box unchecked for the moment and manually install proprietary software later after the installation process completes.
9. At the next screen, you can choose the Installation Type. If Windows Boot manager is automatically detected you can choose to Install Linux Mint alongside Windows Boot Manager. This option ensures that the HDD will be automatically partitioned by the installer without any data loss.
The second option, Erase disk and install Linux Mint, should be avoided for dual-boot because is potentially dangerous and will wipe out your disk.
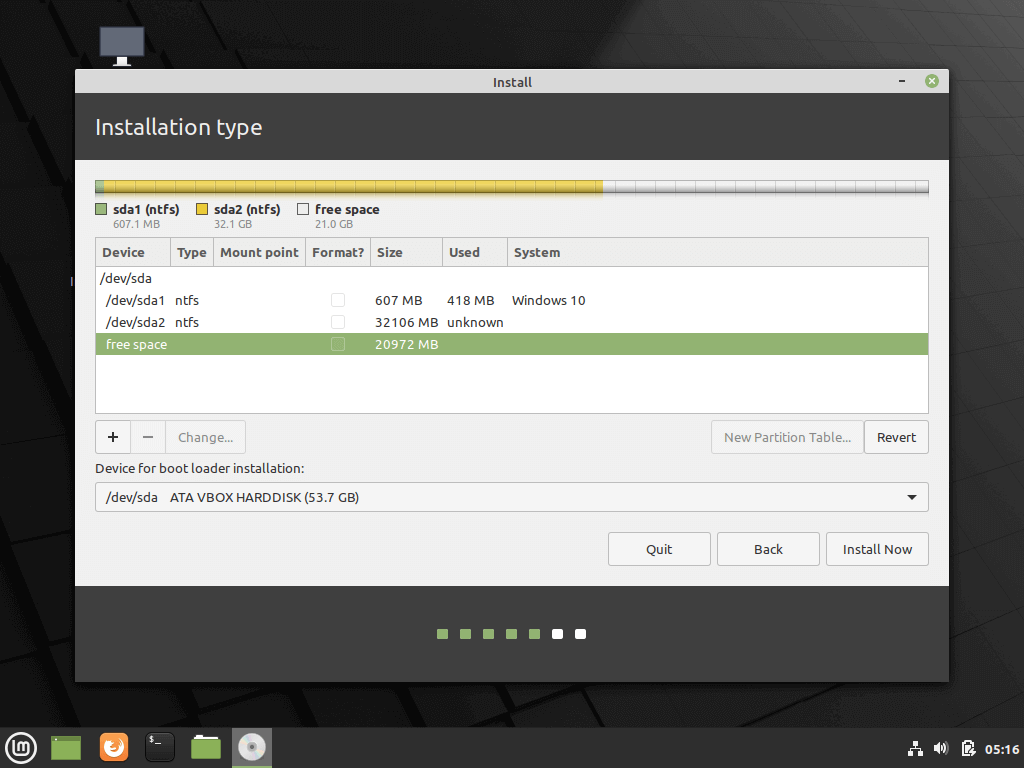
For a more flexible partition layout, you should go with Something else option and hit on the Continue button to proceed further.

10. Now let’s create the partition layout for Linux Mint 20. I would recommend that you create three partitions, one for / (root) , one for /home accounts data and one partition for swap .
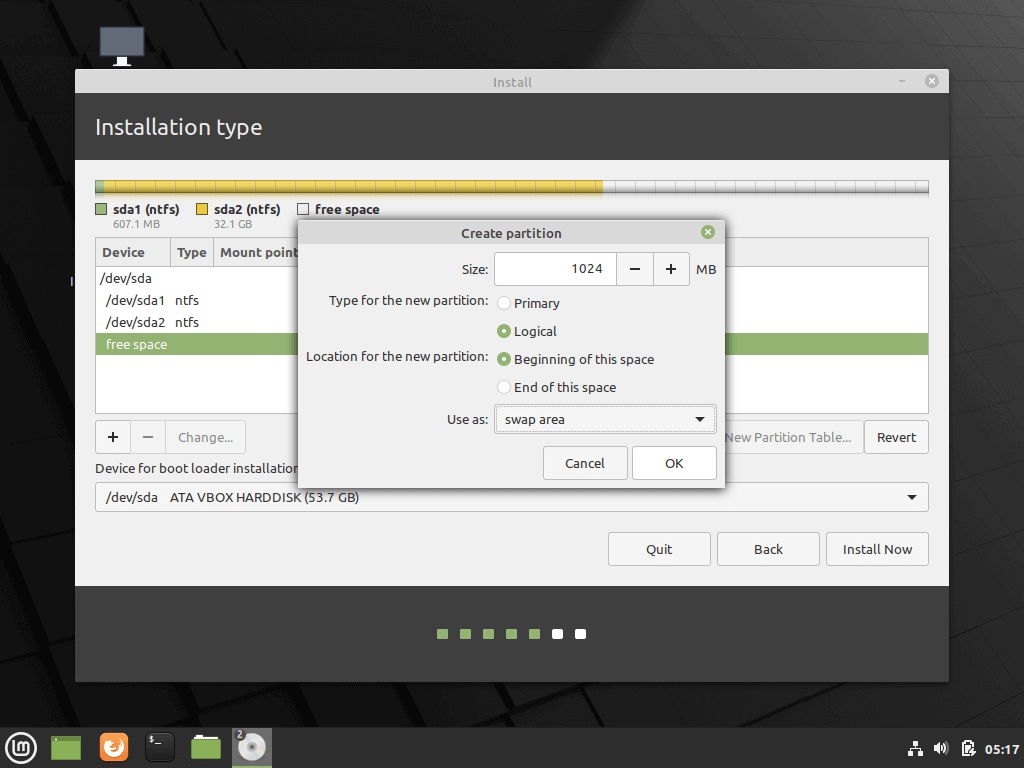
First, create the swap partition. Select the free space and hit on the + icon below. On this partition use the following settings and hit OK to create the partition:
Size = 1024 MB Type for the new partition = Primary Location for the new partition = Beginning of this space Use as = swap area
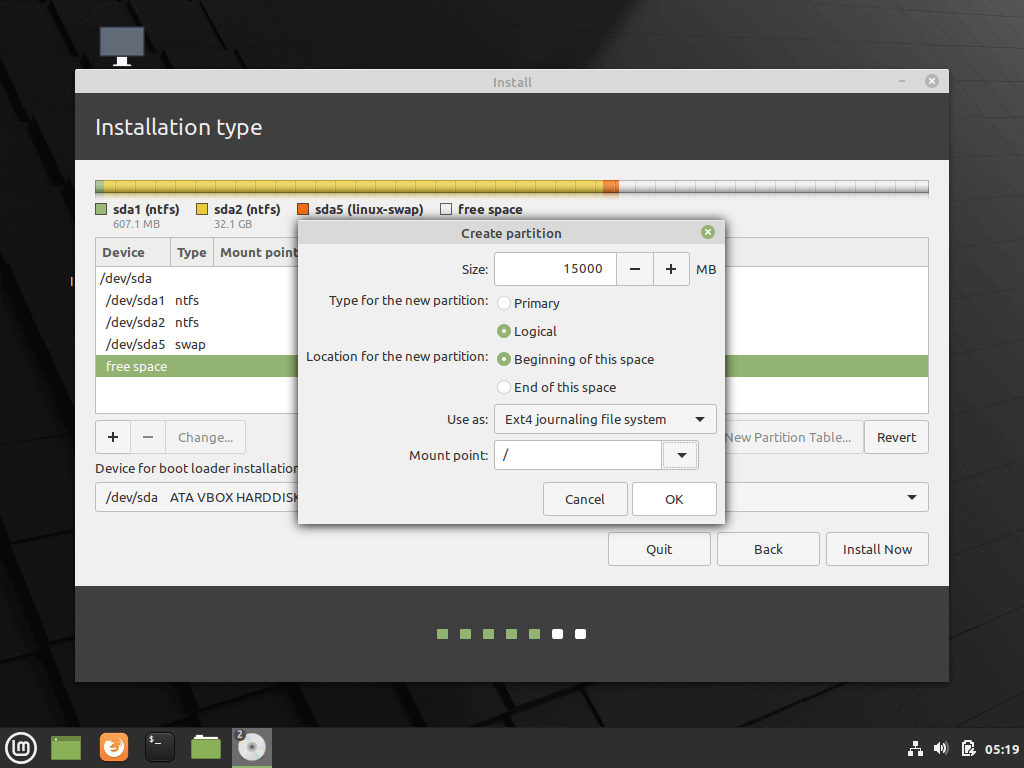
11. Using the same steps as above create the /(root) partition with the below settings:
Size = minimum 15 GB Type for the new partition = Primary Location for the new partition = Beginning of this space Use as = EXT4 journaling file system Mount point = /
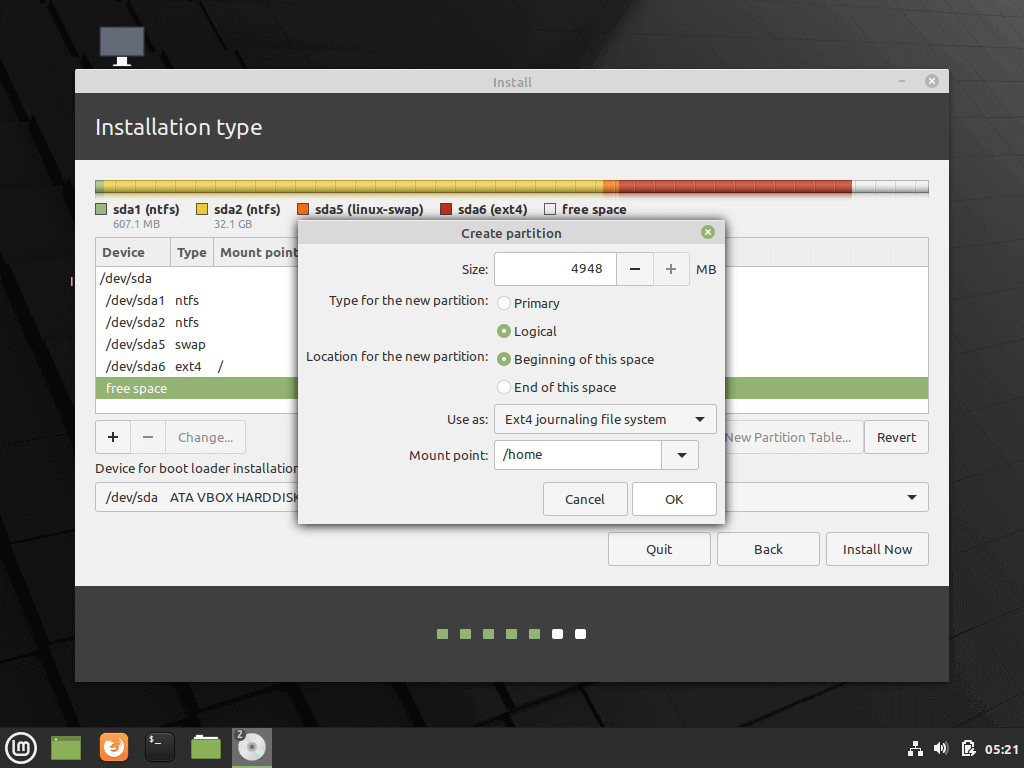
12. Finally, create the home slice with the below settings (use all the available free space to create home partition).
Home partition is the place where all documents for user accounts will be stored by default, except the root account. In case of system failure, you can reinstall the operating system for scratch without touching or losing the settings and documents of all users.
Size = remaining free space Type for the new partition = Primary Location for the new partition = Beginning Use as = EXT4 journaling file system Mount point = /home
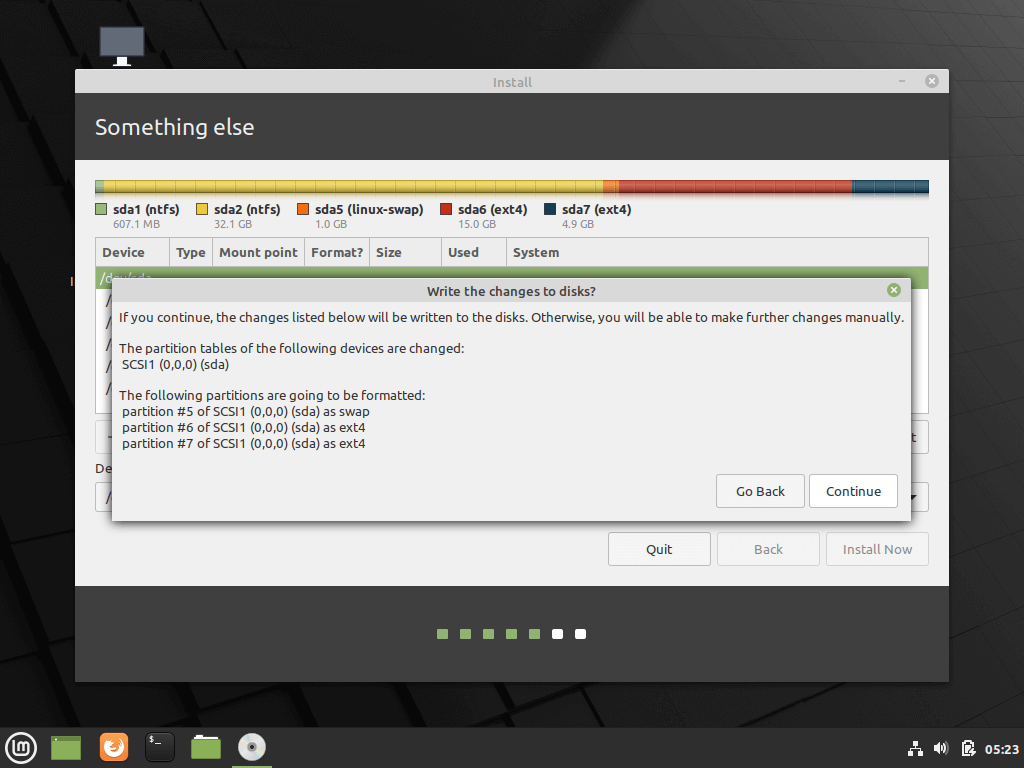
13. After finishing creating the partition layout, select the Windows Boot Manager as the device for installing the Grub boot loader and hit on Install Now button in order to commit changes to disk and proceed with the installation.
Next, a new pop-up window will ask you if you agree with committing changes to disk. Hit on Continue to accept changes and the installer will now start to write changes to disk.

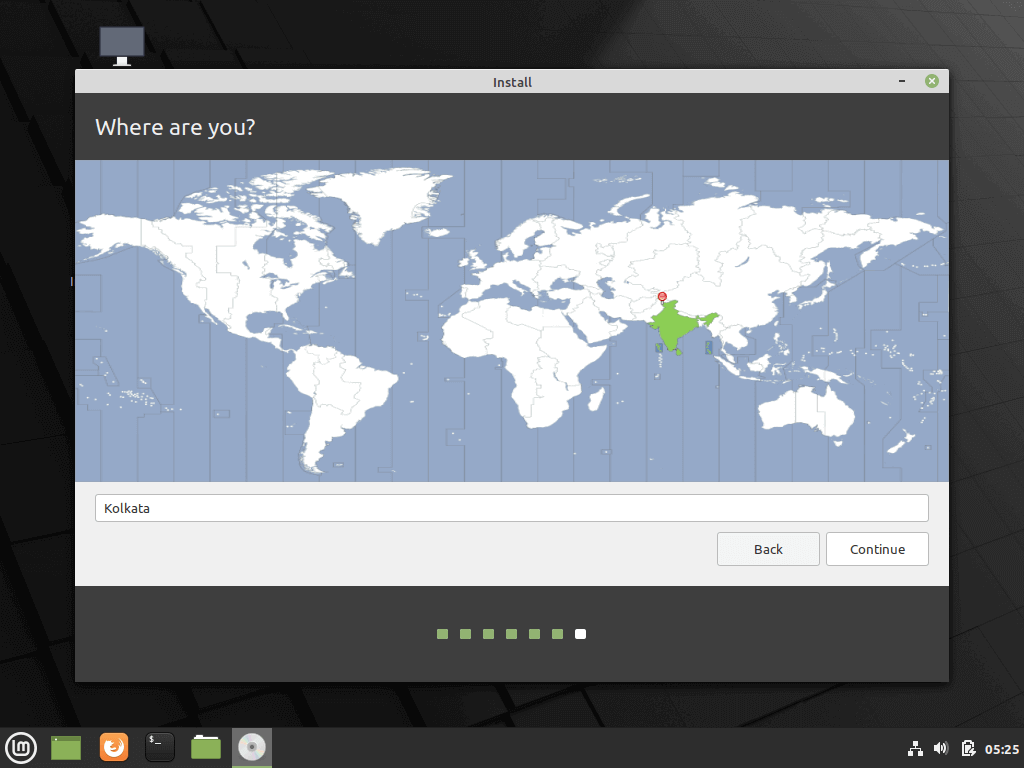
14. On the next screen choose your nearest physical location from the map and hit Continue.
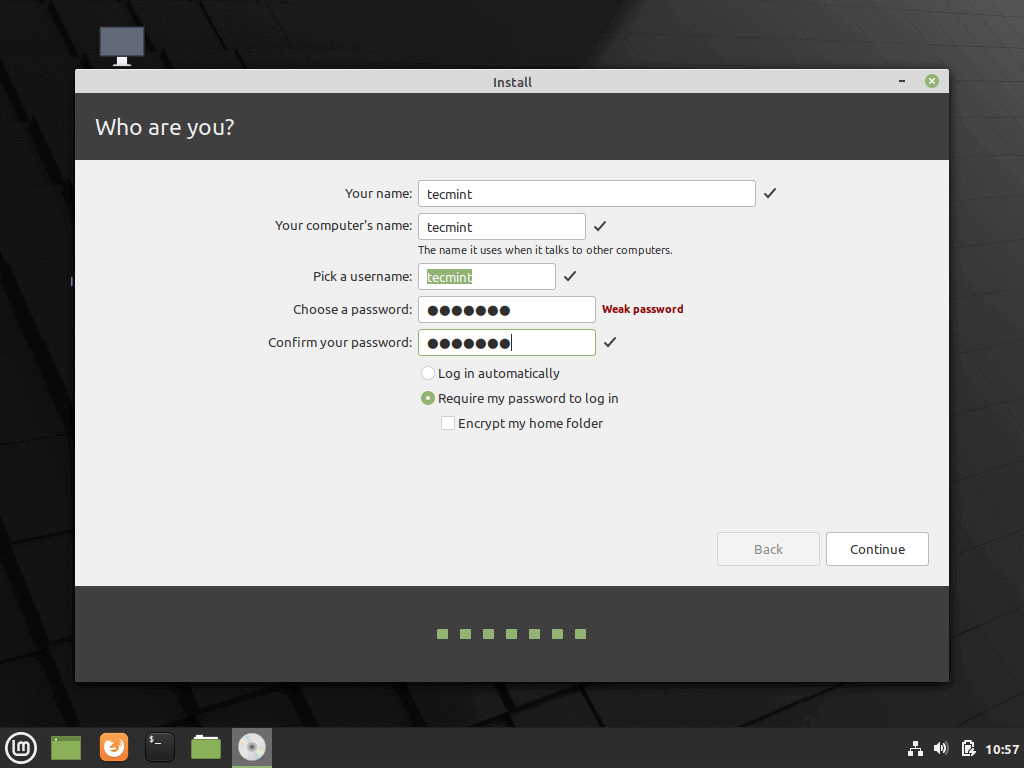
15. Enter a username and a password for the first account with root privileges, choose your system hostname by filling the computer’s name field with a descriptive value and hit Continue to finalize the installation process.
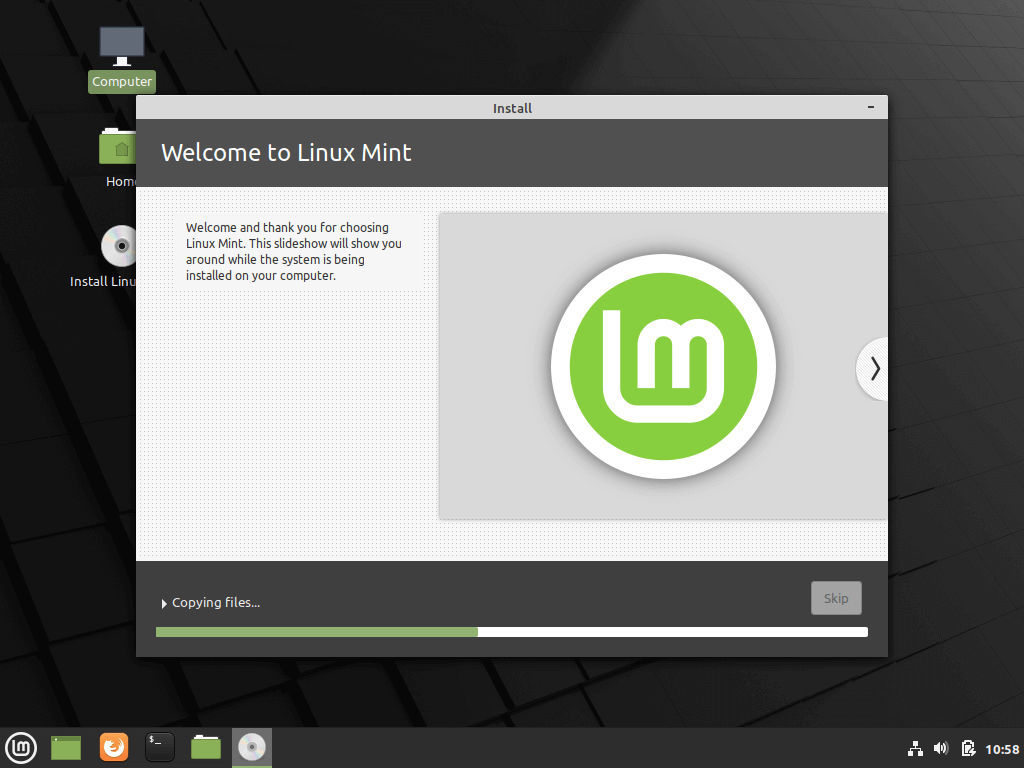
16. The installation process will take a while and when it reaches the final step it will ask you to hit on the Restart Now button to complete the installation.
17. After reboot, the system will first boot-up in Grub, with Linux Mint as the first boot option which will be automatically started after 10 seconds. From here you can further instruct the computer to boot in Windows or Linux.
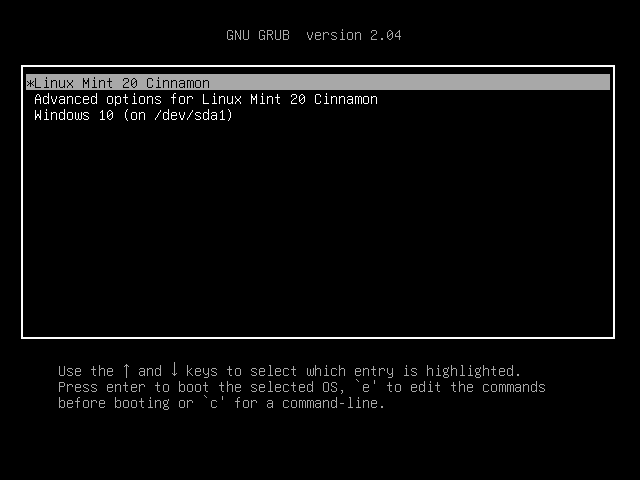
On computers, with newer UEFI firmware the Grub boot loader won’t be displayed by default and the machine will automatically boot-up in Windows.
In order to boot into Linux, you must press the special function boot key after the restart and from there to further select what OS you wish to start.
In order to change the default boot order enter UEFI settings, select your default OS and save the changes. Review the vendor’s manual in order to detect the special function keys used for boot or for entering UEFI settings.
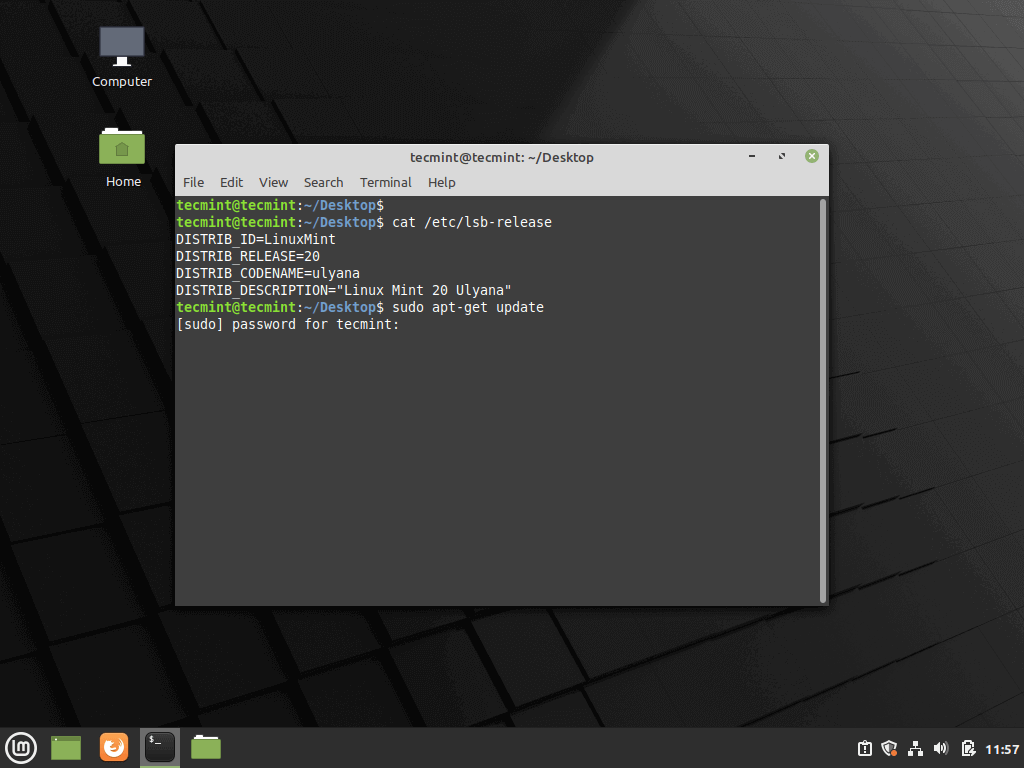
18. After the system finishes loading, log in to Linux Mint 20 by using the credentials created during the installation process. Fire-up a Terminal window and start the update process from the command line by running the following commands:
$ sudo apt-get update $ sudo apt-get upgrade
That’s it! You have successfully installed the latest version of Linux Mint 20 on your device. You will find the Linux Mint platform to be very robust, fast, flexible, enjoyable, easy to use, with a ton of software required for a normal user already installed and very stable.
Linux Mint Forums
Tutorial on a UEFI Mint 19.x Install (Not for dual Boot)
Forum rules
Don’t add support questions to tutorials please; start your own topic in the appropriate sub-forum instead. Before you post please read forum rules
Tutorial on a UEFI Mint 19.x Install (Not for dual Boot)
Post by HaveaMint » Fri Aug 02, 2019 10:36 am

Assuming you have set your bios setting correct for UEFI and you booted the Live Mint in UEFI mode this is one of many ways to setup a UEFI install of Mint.
In this first image you have successfully booted into the live Mint Installation. This tutorial is for wiping a drive and installing Mint only and NOT for dual booting other operating systems. You need to backup anything you value to an external source before beginning this install.

After starting the install in the first window you are asked to select your Language.

You then are asked to select your keyboard language.

In the next window you are asked if you want to install any third party software and I always do not select any.

In this next window I select «Something Else» so I can setup the partitions the way I prefer them.

In this window I selected New Partition Table which will let you know you have selected the entire drive for installation. Once again please be sure you have backed up your personal files to an external source prior to this install.

Now with the free space highlighted you click the + button to add your first partition.

You then get a popup window asking for the partition information. All partition size selections are in MB so I give the first partition 500MB. Some people use less but you shouldn’t need more than 500. Make sure you select EFI System Partition in the drop window at the bottom. Once it looks like the image below click OK.

In the next window you can see that your EFI partition is setup so highlight the free space again to begin the next partition setup.

The next partition will be the «root» partition where the system files will reside. I select 30000MB which is 30GB for the size, I recommend 30GB because the system and the flatpak folder will be around 14GB on a fresh install and leaves you 16GB for things added later, you can go more if you want but probably isn’t needed. You will use EXT4 Journaling and the mount point is / Once it looks like the image below click OK.

Now you see your EFI and / partitions are setup. Highlight free space and click the + to start the next partition setup.

The next partition is going to be your /home partition and it stores all your personal files, pictures, music ect. The size of this partition is really up to you and how big your hard drive is. Movies, music, photos can add up so you may want to be generous. I selected 100000MB or 100GB for illustration purposes and left 41299MB for the last partition. This will also be EXT4 Journaling and you will mount the partition as /home. Once the size is where you want it and the rest looks like the image below click OK.

Now you see the three partitions you have setup. The next partition is IF you want to have a partition to store whatever (Movies, Timeshift saves,ect) Cick on free space and select the + to add the last I will show in here.

The size in this partition I set at 41299MB because that is what was left that I allocated for this demonstration, you can set it to whatever you have left on your drive. It will also be EXT4 Journaling. The mount point on this and any more you may want to add will be /media/yourusername/the-name-you-want-to-call-it an example would be /media/mark/storage Once it is how you want it click OK.

Now you see all your partitions setup. The bottom of this image below you can select where the boot loader gets installed and /dev/sda is fine. From this point you select continue (which is cut off in my image)

Now in the image below it asks for you to confirm what you have chosen and if all looks good select continue.

In the next window you select your location.

Next you select your name, what you want to call the computer you are installing this on, Your Username, password and confirm password.

Now you just sit back and watch it install.
I hope this helps some people and like I said at the beginning there are several different ways one can setup Mint.
Thank You