- Как обновить Linux Mint до 20
- Как обновить Linux Mint до 20
- 1. Архитектура
- 2. Обновление пакетов
- 3. Установка mintupdate
- 4. Проверка готовности
- 5. Загрузка пакетов
- 6. Обновление
- 7. Проверка
- Выводы
- How to upgrade to Linux Mint 20
- Requirements
- 64-bit architecture
- Experience with APT
- Preparation
- Apply all package updates
- Create a system snapshot
- Purge PPAs and 3rd party repositories
- Upgrade
- Install the upgrade tool
- Check the upgrade
- Download the package updates
- Apply the upgrades
- Downgrade foreign packages
- Delete foreign packages
- Troubleshooting
- Installing mintupgrade
- Restoring a snapshot
- Skipping the timeshift requirement
- Computer freeze
- Broken boot
- Boot warnings
- Notes
- Alternatives
Как обновить Linux Mint до 20
Недавно вышла новая версия дистрибутива Linux Mint 20, основанная на LTS выпуске Ubuntu 20.04. В этой новой версии обновлено окружение Cinnamon до 4.6, улучшен внешний вид, улучшена поддержка Nvidia Optimus, добавлен новый инструмент передачи файлов по локальной сети под названием Warpinator, улучшена поддержка приложений Electron.
Однако новая версия Linux Mint не поддерживает 32 битную архитектуру, а также разработчики отказались от перехода к использованию пакетного менеджера snap. В этой небольшой статье мы рассмотрим как обновить Linux Mint 19.3 до 20 с кодовым именем Ульяна.
Как обновить Linux Mint до 20
Обратите внимание, что обновление — это опасная процедура, которая может повредить вашу систему и ваши файлы. поэтому лучше скопируйте важные файлы на другой диск или внешний носитель.
1. Архитектура
Обновление доступно только для 64 битных систем, поскольку 32-битная архитектура в новой версии больше не поддерживается. Если у вас была установлена 32-битная система на 64 битный процессор, то вам придется переустановить её для получения новой версии. Для просмотра архитектуры системы выполните:
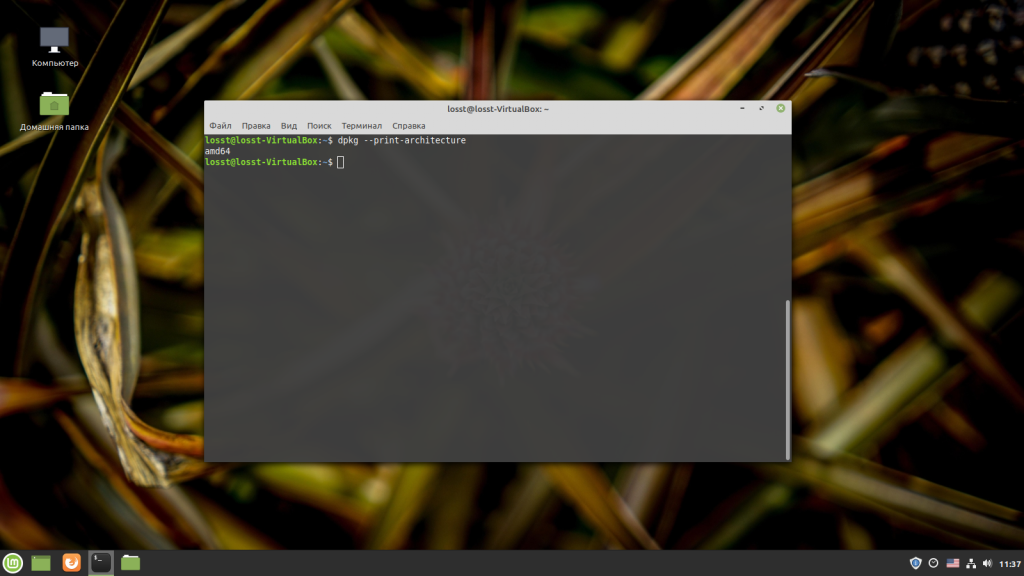
Если команда выведет amd64, значит всё хорошо и вы используете 64-битную архитектуру, если же i386 — вам понадобиться переустановка.
2. Обновление пакетов
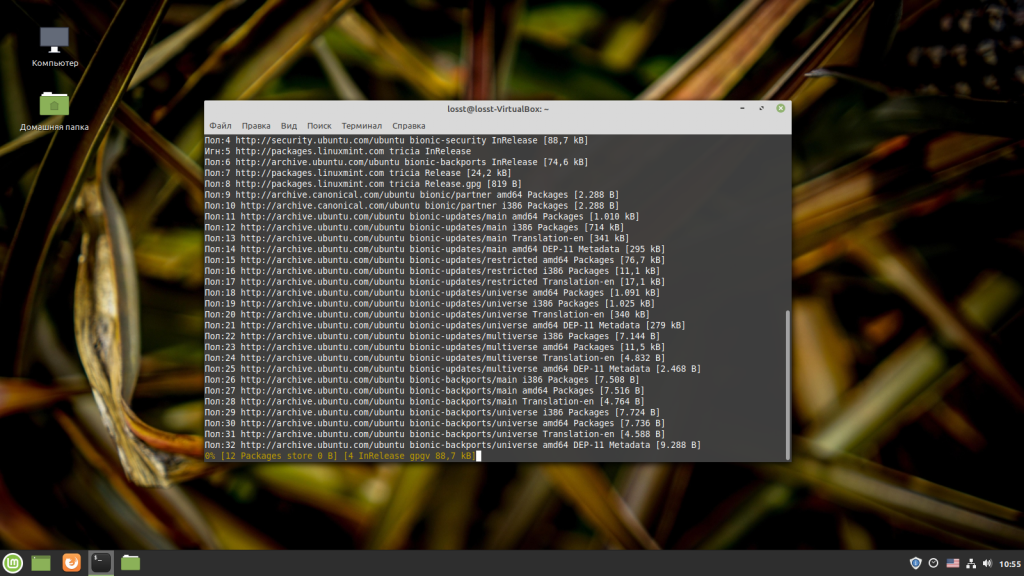
Прежде чем выполнять обновление Linux Mint до новой версии следует обновить все пакеты, установленные в системе. Для этого выполните:
sudo apt update && sudo apt upgrade
3. Установка mintupdate
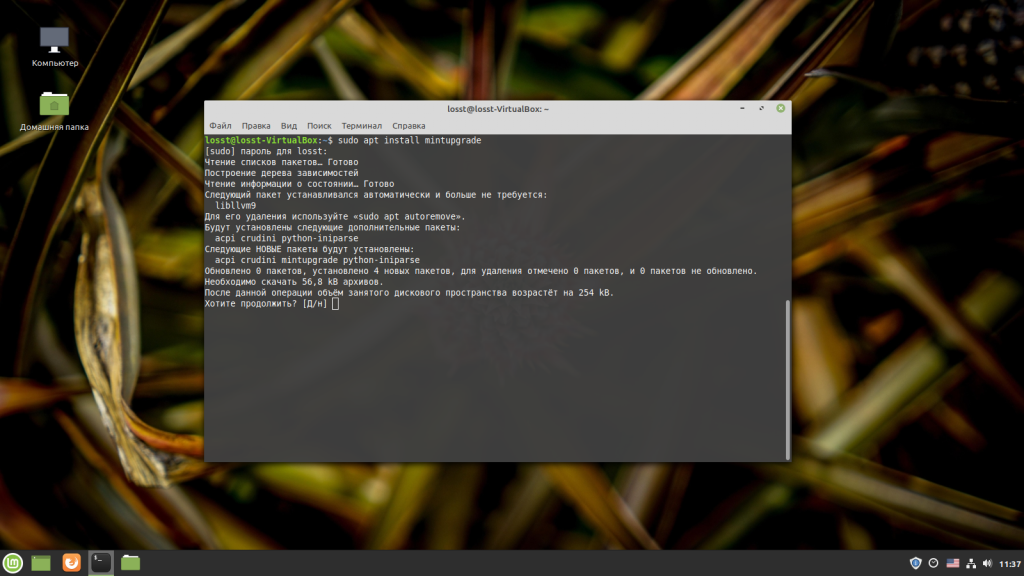
Разработчики Linux Mint выпустили специальную утилиту для обновления дистрибутива до следующего релиза под названием mintupgrade. Для её установки выполните:
sudo apt install mintupgrade
4. Проверка готовности
Этот шаг не обязательный, но лучше его выполнить. С помощью команды check вы можете проверить, готова ли ваша система к обновлению, а также посмотреть какие пакеты будут обновлены или удалены. Утилита заменит ваши репозитории на новые и покажет какие изменения будут внесены в систему. Это своего рода тестовый прогон:

Утилита требует, чтобы в вашей системе была установлена программа timeshift, а также были созданы снимки системы, которые бы позволили её восстановить в случае возникновения проблем. Если вы не хотите этого делать достаточно создать пустой файл /etc/timeshift.json:
После завершения проверки утилита выдаст сообщение, что симуляция обновления прошла успешно:
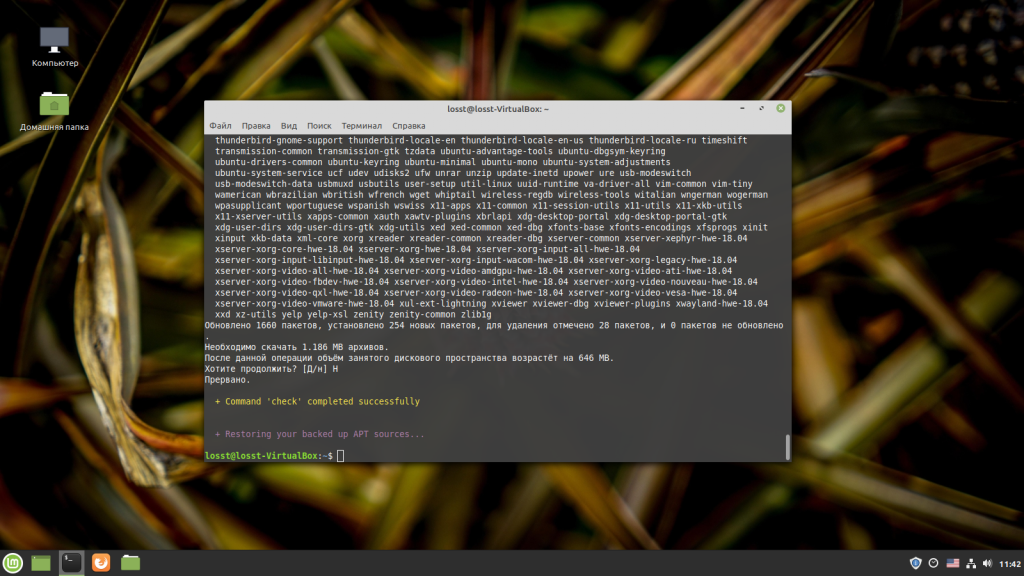
Если же возникли какие-нибудь конфликты пакетов их следует разрешить перед обновлением, чтобы избежать проблем в процессе.
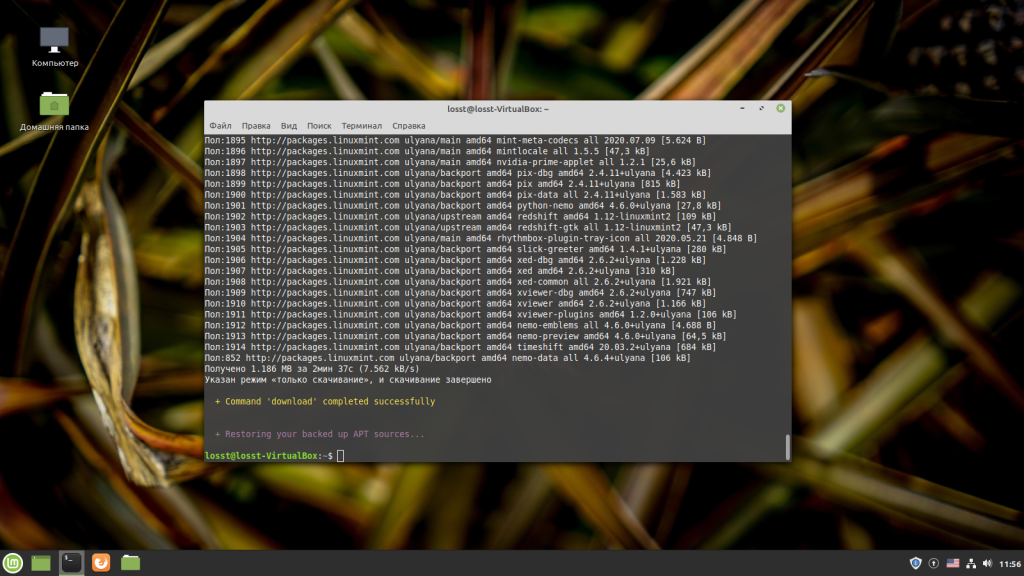
5. Загрузка пакетов
Прежде чем переходить к обновлению необходимо загрузить пакеты, которые потребуются для обновления. Команда только загружает необходимые пакеты ничего не обновляя, вы всё ещё можете передумать:
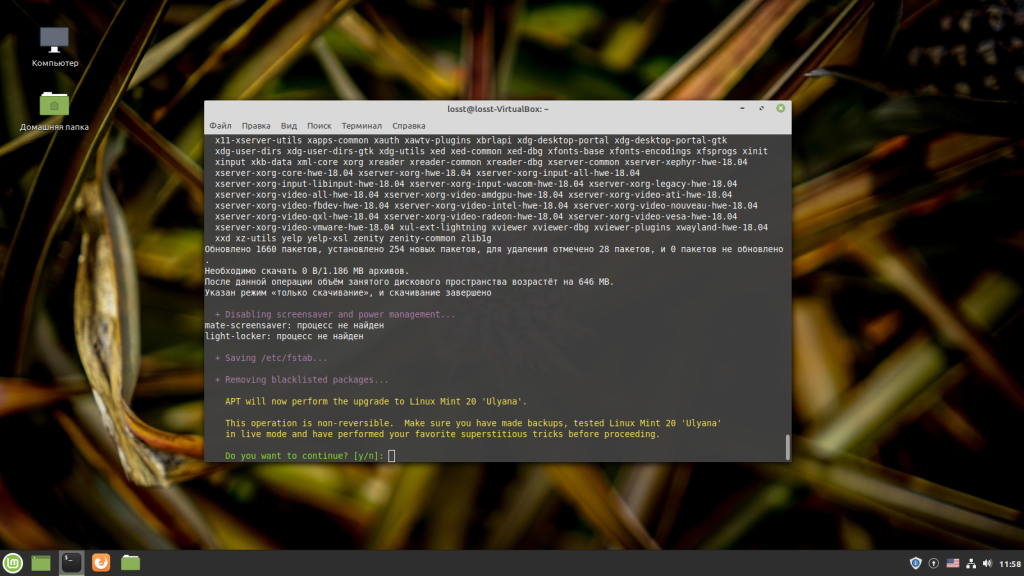
6. Обновление
После этого шага уже пути назад не будет, ваши репозитории будут заменены на репозитории новой версии системы, а пакеты будут обновлены. Вернуть систему в прежнее состояние можно будет только если вы создали снимок состояния с помощью Timeshift. Для запуска обновления выполните:
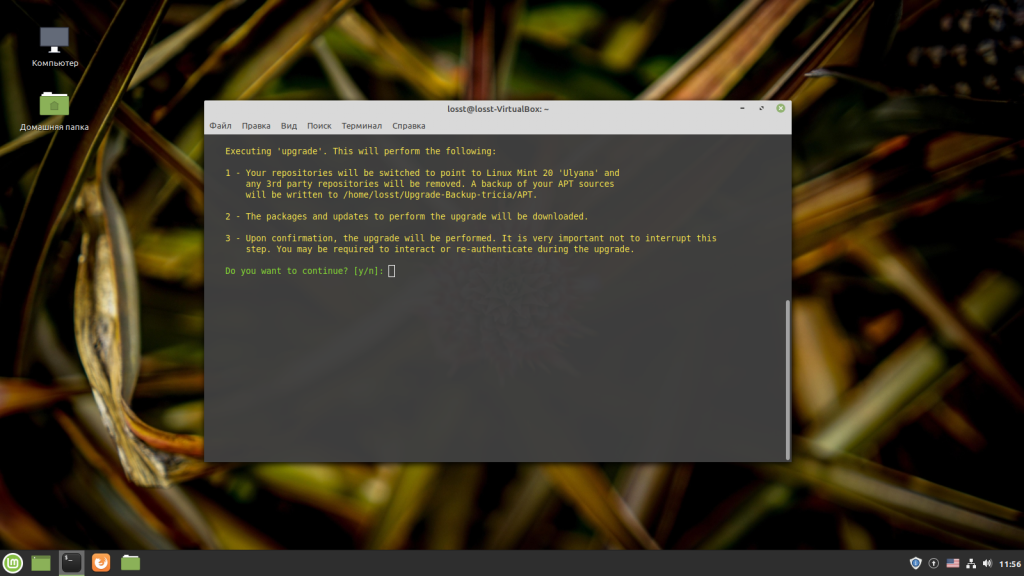
Обновление затронет очень большое количество пакетов и может занять много времени в зависимости от мощности вашего процессора. Последний шанс передумать:
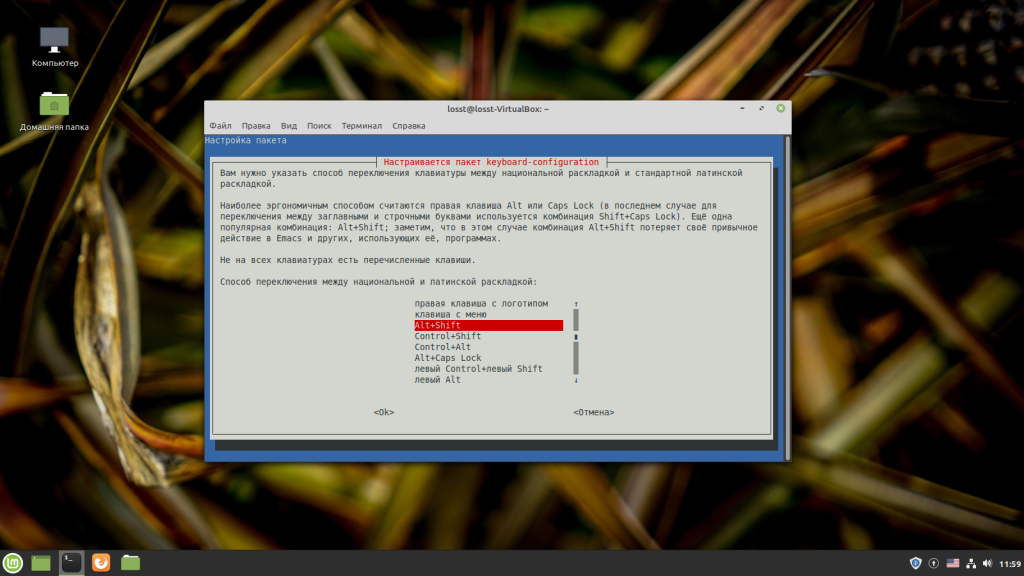
Во время обновления вам нужно будет выбрать клавишу переключения раскладки:
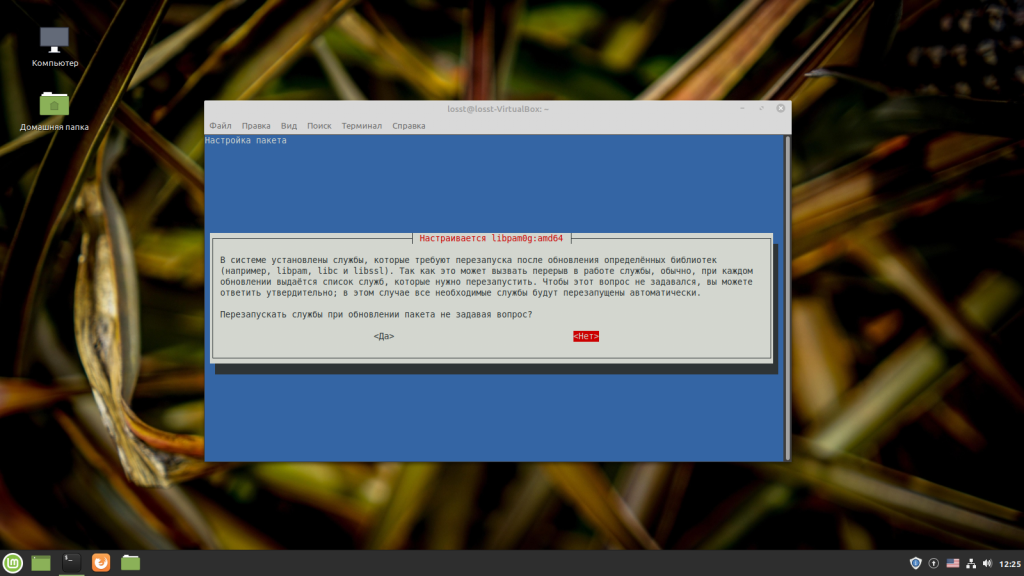
Надо ли перезапускать службы systemd из пакета после переустановки:
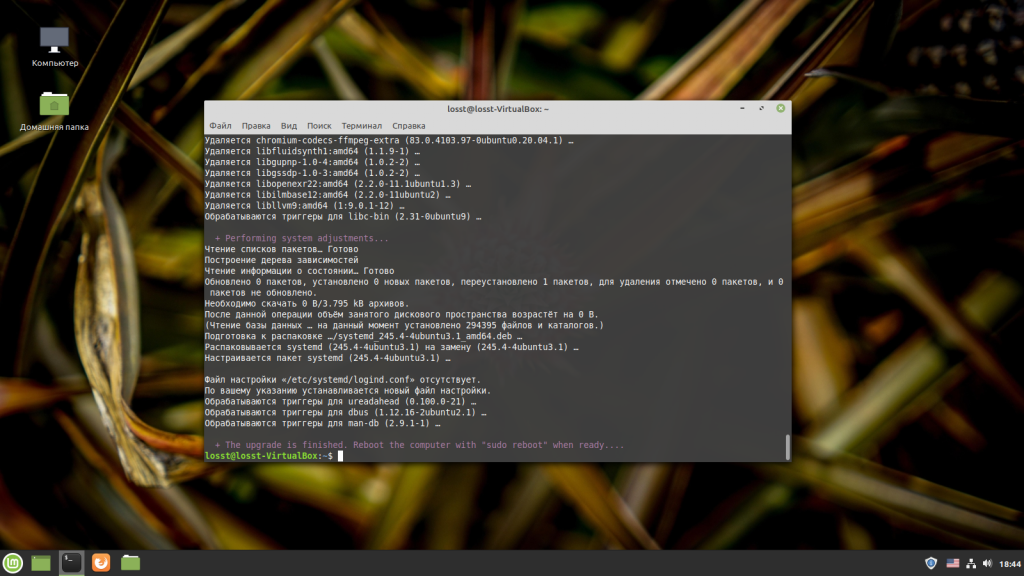
Обновление займет очень долго, и в процессе вам надо время от времени возвращаться к компьютеру чтобы ввести пароль. У меня таких запросов было три. Видимо обновление устанавливается в несколько этапов и надо несколько раз запускать пакетный менеджер. Когда обновление будет завершено вы получите такое сообщение:
Перезагрузите компьютер из меню или командой в терминале:
7. Проверка
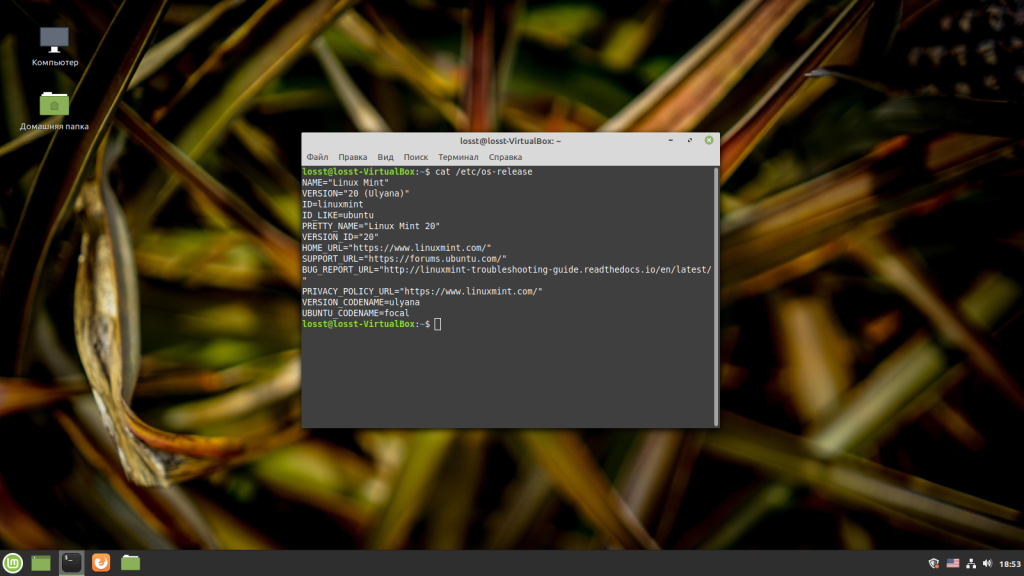
Теперь вы можете проверить версию системы открыв файл /etc/os-release. Как видите, теперь здесь указана новая версия:
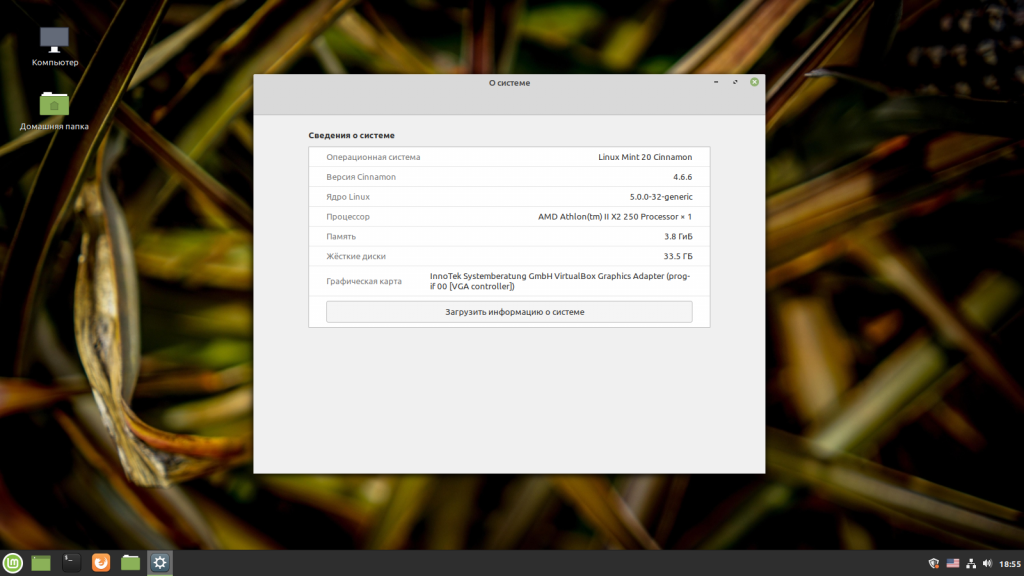
Ещё можно посмотреть информацию в графической утилите О Системе:
Выводы
Сегодня мы разобрали как выполняется обновление Linux Mint 19.3 до 20. Благодаря утилите от разработчиков дистрибутива — mintupgrade, это очень просто. Во всяком случае намного проще, чем вручную менять репозитории и разрешать конфликты возникшие между установленными и новыми пакетами. А вы уже обновились до Linux Mint 20? Как вам новая система? Напишите в комментариях!
Обнаружили ошибку в тексте? Сообщите мне об этом. Выделите текст с ошибкой и нажмите Ctrl+Enter.
How to upgrade to Linux Mint 20
This page explains how to upgrade from Linux Mint 19.3 to Linux Mint 20.
Requirements
64-bit architecture
Although both 32-bit and 64-bit versions of Linux Mint 19.3 are supported until April 2023, new releases of Linux Mint, including 20, are only available in 64-bit.
To upgrade to Linux Mint 20 you need to be running the 64-bit version of Linux Mint 19.3.
To check which version you’re running type:
If it says amd64 you can upgrade to Linux Mint 20.
If it says i386, it means you’re using the 32-bit version. In this case you cannot upgrade and you need to stick with Linux Mint 19.3.
Experience with APT
To upgrade to Linux Mint 20 you need experience with APT and the command line.
Upgrading to a newer package base is not trivial and it should not be performed by novice users.
You need to know how to type commands and read their output.
You also need to be experienced with APT. During the upgrade you’ll need to understand the output of APT commands. You’ll need to understand if a package needs to be removed, if it blocks the upgrade or if it conflicts with another package.
Preparation
Apply all package updates
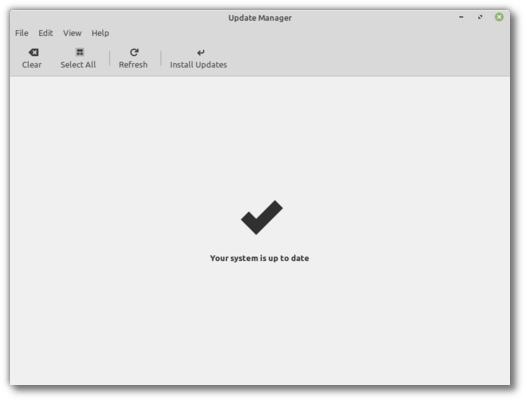
- Launch the Update Manager with Menu ‣ Administration ‣ Update Manager .
- Press the Refresh button to update the cache.
- Press the Select All button to select all updates.
- Press the Install Updates button.
- Follow the instructions from the Update Manager and install all updates until the manager tells you the system is up to date.
- Reboot the computer.
Create a system snapshot
If anything breaks or if anything goes wrong during the upgrade, you can go back in time and revert all changes by restoring your latest system snapshot. Whatever happens, you’re covered. You’ll be able to restore your operating system to this current state, either from within Linux Mint, or by launching Timeshift from a live Mint session (live DVD or live USB).
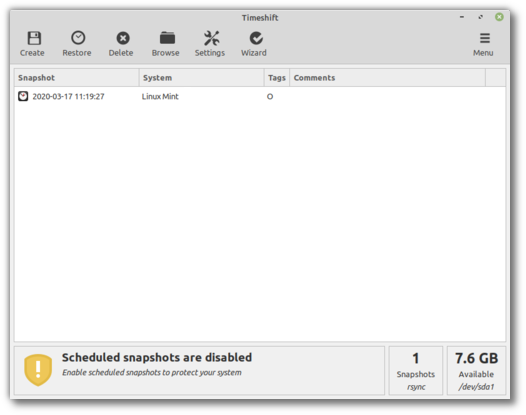
To create a system snapshot:
- Launch Timeshift with Menu ‣ Administration ‣ Timeshift .
- Follow the wizard to select a destination for your snapshots.
- In the toolbar, click on the Create button to make a manual snapshot of your operating system.
Purge PPAs and 3rd party repositories
PPAs or 3rd party repositories can introduce issues during the upgrade if the versions of the packages they provide are higher than in Linux Mint 20. This can result in unmet dependencies, held packages or resolver issues.
To purge 3rd party packages follow these steps:
- Launch the Software Sources tool from Menu ‣ Administration ‣ Software Sources .
- Open the Additional repositories tab and disable all additional repositories.
- Open the PPA tab and disable all PPAs.
- Click on the button to refresh your APT cache.
- Open the Maintenance tab and click on Downgrade Foreign Packages .
- Select all foreign packages and click Downgrade .
- Click on Remove Foreign Packages .
- Select all foreign packages and click Remove .
- Reboot the computer.
- Create another Timeshift snapshot.
This step is optional but it is strongly recommended. Some PPAs are perfectly fine, some aren’t. Some only add packages and don’t impact the upgrade process, others introduce dependencies which cannot be resolved.
You can leave some foreign packages installed or in their 3rd party version and try to upgrade if you want. If it works, then great. If it doesn’t, you can always restore the previous snapshot and follow the steps above to purge them before trying again.
Upgrade
Install the upgrade tool
To install the upgrade tool, open a terminal and type:
Check the upgrade
To simulate an upgrade, open a terminal and type:
Then follow the instructions on the screen.
This command temporarily points your system to the Linux Mint 20 repositories and calculates the impact of an upgrade.
Note that this command doesn’t affect your system. After the simulation is finished, your original repositories are restored.
The output shows you if the upgrade is possible, and if it is, which packages would be upgraded, installed, removed and kept back.
It is extremely important that you pay close attention to the output of this command.
Keep using mintupgrade check and do not proceed to the next step, until you’re happy with the output.
If this steps fails half-way through type mintupgrade restore-sources to go back to your original APT configuration.
Download the package updates
To download the packages necessary to upgrade, type the following command:
Note that this command doesn’t actually perform the upgrade itself, but just downloads the packages.
Apply the upgrades
This step is non-reversible. Once you perform it, the only way to go back is by restoring a system snapshot.
To apply the upgrades, type the following command:
Downgrade foreign packages
Some of your packages might have a lower version in Linux Mint 20 than in Linux Mint 19.3. To guarantee they function properly, they need to be downgraded.
- Launch the Software Sources tool from Menu ‣ Administration ‣ Software Sources .
- Open the Maintenance tab and click on Downgrade Foreign Packages .
- Select all foreign packages and click Downgrade .
Delete foreign packages
Some packages no longer exist in Linux Mint 20 and can safely be removed.
- Launch the Software Sources tool from Menu ‣ Administration ‣ Software Sources .
- Open the Maintenance tab and click on Remove Foreign Packages .
- With the exception of packages you want to keep, select all foreign packages and click Remove .
Troubleshooting
Installing mintupgrade
If you can’t find mintupgrade in the repositories, switch to the default Linux Mint mirror and refresh the APT cache.
Restoring a snapshot
A known issue affects Timeshift. When restoring a snapshot, if the Disclaimer window is empty, wait for about 2 minutes for the text to appear. Once the disclaimer text is there you can press Next and restore your snapshot. Pressing Next before the text appears results in a failure to restore. If you did, reboot and try to restore again.
Skipping the timeshift requirement
If you’re using another snapshot tool and would rather not use Timeshift, you can skip the Timeshift requirement with the following command:
echo "<>" | sudo tee /etc/timeshift.json
Don’t forget to remove that file after the upgrade if you want Timeshift to work properly.
Computer freeze
On some computers the upgrade can be quite intensive and it can temporarily freeze the desktop. This can last for up to 10 minutes at times or even take hours on slow computers. This is OK, be patient and give it time.
If this becomes a problem, logout completely, drop to console with CTRL+ALT+F2 and run mintupgrade upgrade from there instead.
Broken boot
If the computer no longer boots, boot from the live Linux Mint 19.3 ISO.
From the live session, launch Boot Repair and use it to fix the boot sequence.
If this doesn’t work, boot from the live Linux Mint ISO again, and launch Timeshift .
Timeshift is able to scan your drives from the live session and restore your snapshot from there.
Boot warnings
You can ignore boot warnings related to ACPI or initramfs unpacking . They’re cosmetic and do not affect the boot sequence.
Notes
The upgrade overwrites files in /etc/ with default configuration files. You can restore files indivually by the Timeshift snapshot you made prior to upgrading.
To restore your lightDM settings, run the Login Window configuration tool (sudo lightdm-settings).
Alternatives
If you cannot upgrade perform a fresh installation.
Generic instructions on fresh upgrades are also available.
© Copyright 2020, Linux Mint Revision 92937742 .
Versions latest Downloads pdf html epub On Read the Docs Project Home Builds Free document hosting provided by Read the Docs.