- Install Samba on Linux Mint to share files with Windows
- Install and Configure Samba Server on Linux Mint 20
- 1. Run system update
- 2. Install Samba on Linux Mint
- 3. Allow samba in Linux Mint Firewall
- 4. Add your user to the Samba group
- 5. Share some Linux Mint folder
- 6. Access the shared folder on Windows or Linux
- Extra tip- Linux Mint SambaShare User
- 8 thoughts on “Install Samba on Linux Mint to share files with Windows”
- How to Install and Configure an NFS Server on Linux Mint21
- How to Install NFS Server on Linux Mint 21
- How to Setup and Use NFS Server on Linux Mint 21
- Testing NFS server on Linux Mint 21
- Removing NFS Server From Linux Mint 21
- Conclusion
- About the author
- Aaliyan Javaid
- Как в Linux Mint 20.1 установить и настроить сервер Samba
- Файловый сервер Samba на Linux Mint
- Mint Samba : 2 комментария
Install Samba on Linux Mint to share files with Windows
Samba is a popular, open-source networking software that computers with a Unix or Linux – operating system allow the sharing of network resources from Windows -networks, such as files and printers. However, it is not limited to Windows only, we can install and use on Unix / Linux- based servers pr Desktop to share resources over the network. The common protocols Server Message Block (SMB) and Common Internet File System (CIFS, an open version of SMB) are the basis on which Samba is based. The name ” Samba ” is just a name given to represent “SMB”.
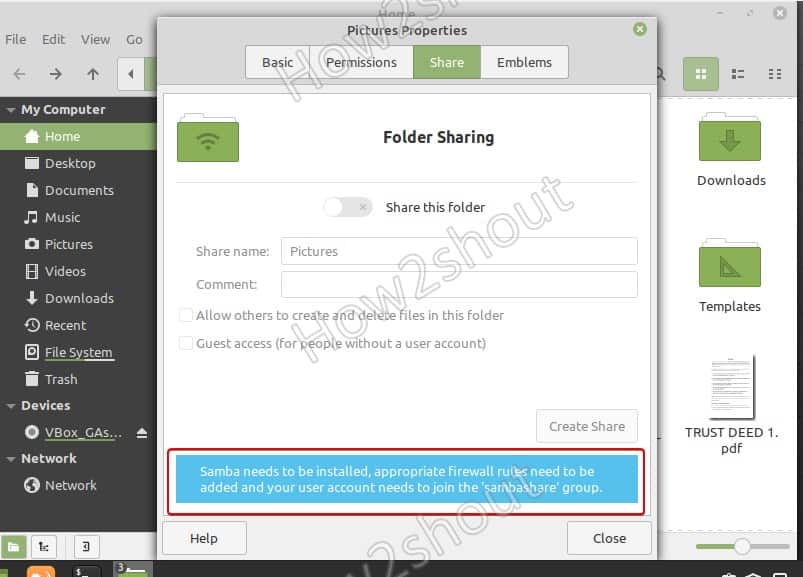
If you are using Linux Mint and want to share some folder, then right-click on it and select properties. And then the Share Tab. However, you will not able to enable this option because samba is not there yet. To confirm, you can see a message given at the bottom “Samba needs to be installed, appropriate firewall rules need to be added and your user account needs to join the ‘samba share group“.
To solve this let’s follow the given steps in this article…
Install and Configure Samba Server on Linux Mint 20
1. Run system update
Well, it is not a necessary step, however, run the system update command to rebuild the repo cache and make sure all the system installed packages are up to date.
2. Install Samba on Linux Mint
Next, in your command terminal use the APT package manager to install Samba on your Linux Mint. The packages to set it up are already there in the system repository, thus we don’t need to add anything extra.
Check its service is active and running:
sudo systemctl status smbd
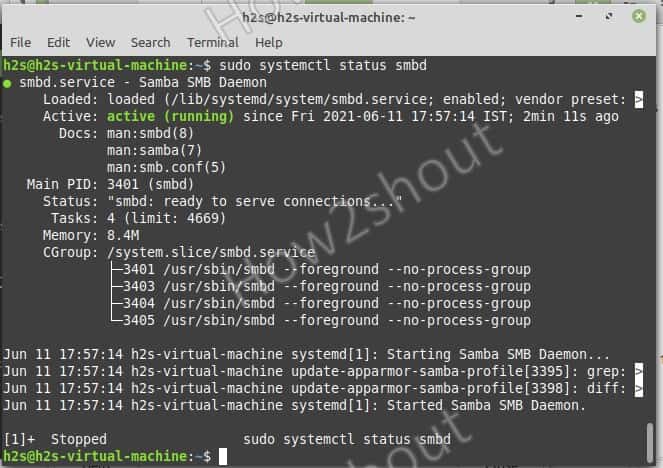
If it is not active then run:
sudo systemctl --enable now smbd
3. Allow samba in Linux Mint Firewall
To connect and access the shared files over SMB protocol, we have to first whitelist and allow its service to get accessed from the outside of the computer. Thus, allow it in the firewall
4. Add your user to the Samba group
Let’s add the current System user to the SambaShare group, so it can access all files and folders shared under it.
sudo usermod -aG sambashare $USER
set the password for share: This will be different from your system password.
Note: $USER means your current user, if you want to set some other user then change $USER with the particular user name. Also, the file or folder you want to share must be accessible to that particular user.
Alternatively, if you want to add some other users to the SAMBA group use:
sudo usermod -aG sambashare your-user
sudo smbpasswd -a your-user
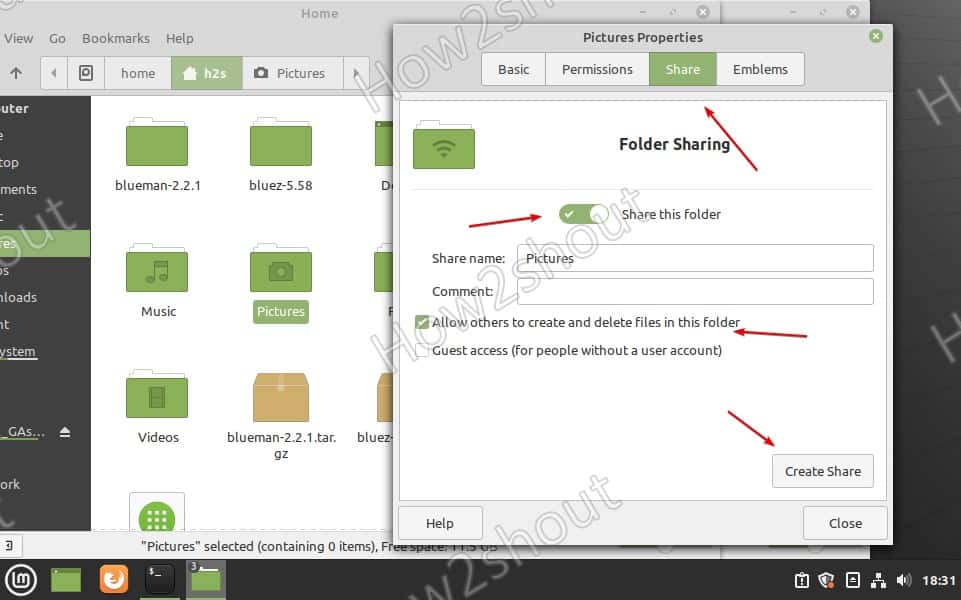
5. Share some Linux Mint folder
Lets’ say I want to share the Pictures folder or any other on my Linux Mint that is owned by my current user. So, for that simply go to that folder, right-click on it and select the Share tab.
6. Access the shared folder on Windows or Linux
Now, we can mount the Linux Mint shared folder on other Windows or Linux systems available in the same network or domain.
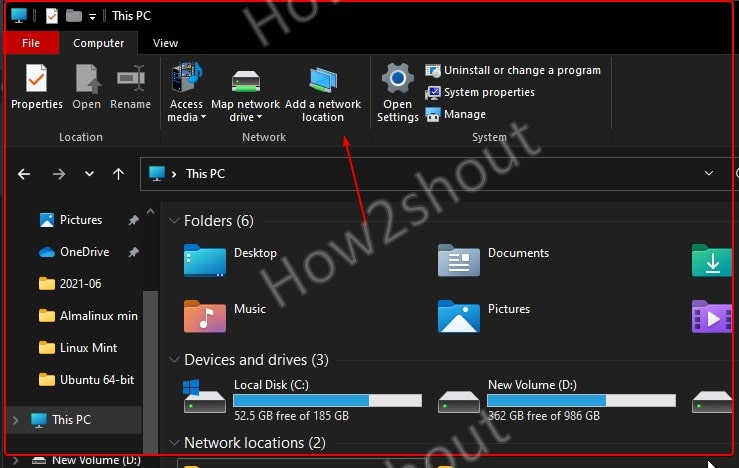
On Windows 10/8/7
- Open My Computer or This PC
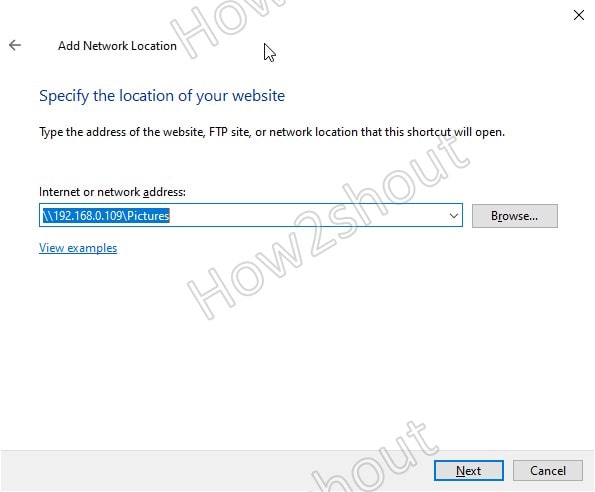
- Select Add network location icon given in the top menu.

- Add your Linux Mint \\server-ipaddress\shared -folder-path– For example, here we have shared the Pictures folder, the path will be like this- \\192.168.0.109\Pictures

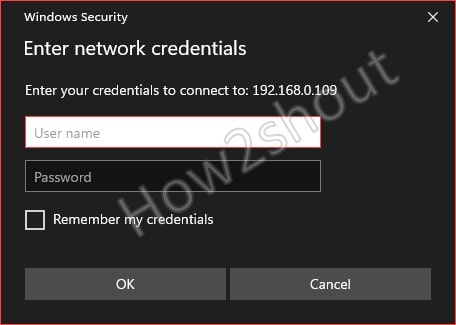
- Enter Samba User and password

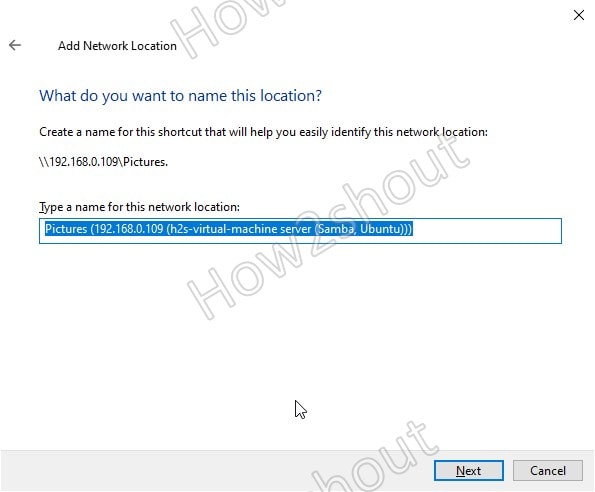
- The system will set a random name for your shared folder, however, you change to something easy to remember.
- Finally, you have the shared folder with read and write access.


On Linux systems such as Ubuntu, CentOS, and others…
The place to connect the samba server can be different from Linux to Linux, depending upon the desktop environment.
Here we are showing an example for Ubuntu and CentOS using GNOME.
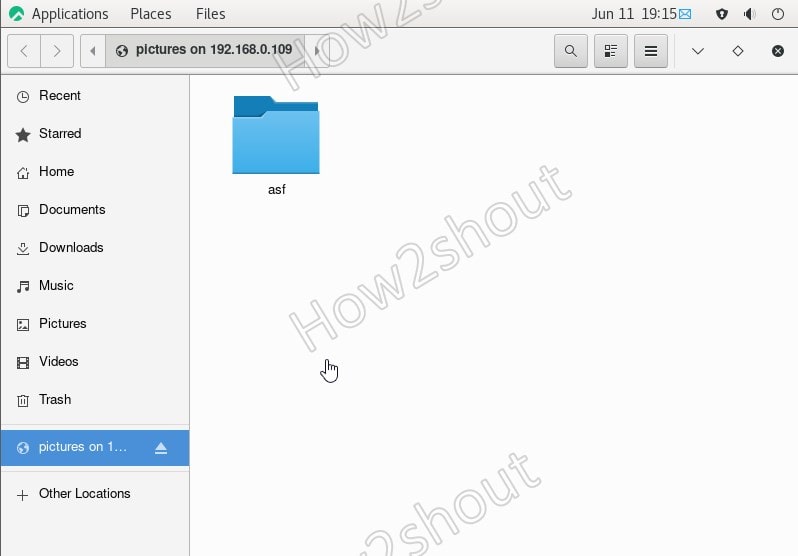
- Open File Manager
- Select Other Locations from the right side given panel.
- At the bottom, in the “Connect Server” box type- smb://server-ip/shared-folder-path

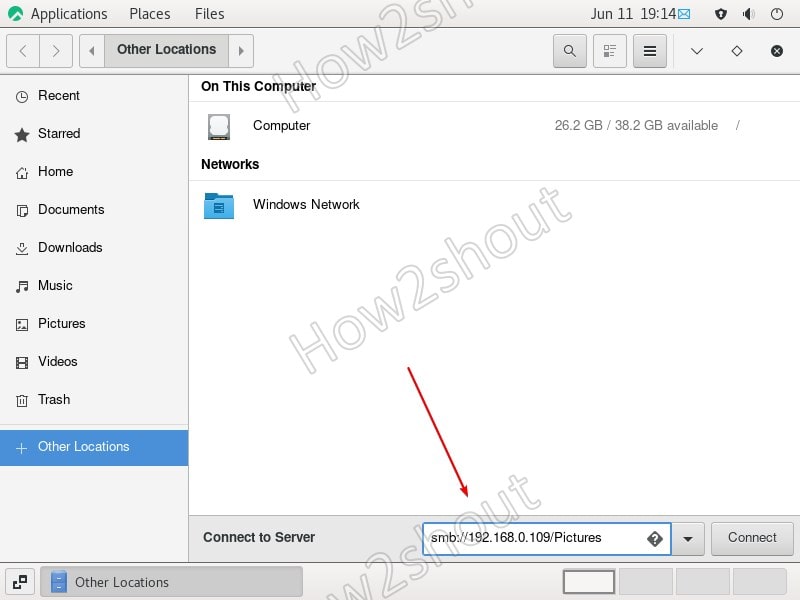
- Click on Connect.
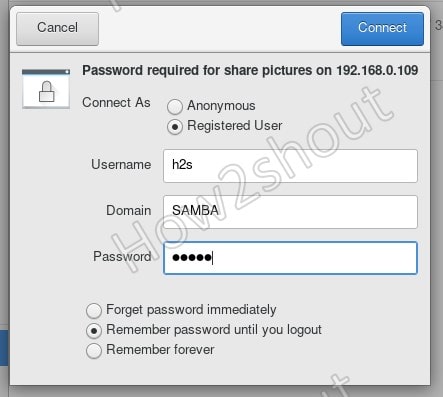
- Select Registered User and enter that username and password


Extra tip- Linux Mint SambaShare User
If you want to create a new user to access the folder you want to share except it cannot access anything else then follow the below steps:
Create users:
Add user to Sambashare group
sudo usermode -aG new-user sambshare
Change the folder rights of a folder that you want to share to read and write for all users. So, that our new user can access that.
sudo chmod 777 folder-path
Now, you can access the shared folder using the new user and its password.
8 thoughts on “Install Samba on Linux Mint to share files with Windows”
I had to use “sudo smbpasswd -a $USER” otherwise I got the error “Failed to find the entry for user …”
Otherwise, a very straightforward setup. Many thanks. Reply
Awesome walkthrough, thank you!| One minor typo in the “Add user to Sambashare group” step:
Command should be `sudo usermod -aG sambashare new-user` …and then it might be good to set the password for that new user immediately following: `sudo smbpasswd -a new-user` Reply
For the command line “sudo systemctl –enable now smbd”
in my version – Linux Mint 17.3 “Rosa” Cinnamon – I had to shorton to “sudo enable now smbd” to work. Reply
Everything working fast, I have an old gateway DX4200 with 8 GB, and a tablet with Windows 10. Your tutorial was accurate and worked for me. Thanks so much, would please provide a xfer link and send you $ufficient grace. Reply
step 4 is missing instructions on how to create the user in the first place.
step 5 is bad. nemo sharing is terrible. it won’t let you specify who you share what with, it just shares it with everyone Reply
How to Install and Configure an NFS Server on Linux Mint21
![]()
File sharing is one of the major issues Linux users faces, especially transferring files from one system to another though there are some easy ways to transfer a file. Using the NFS tool on Linux Mint is the best way to share files between other systems as long as all the systems are connected to a network. So, if you are interested in sharing files and looking for an easy-to-use tool then try NFS and for that read this guide.
How to Install NFS Server on Linux Mint 21
There are few steps that are mentioned in this guide to install NFS server on Linux Mint 21:
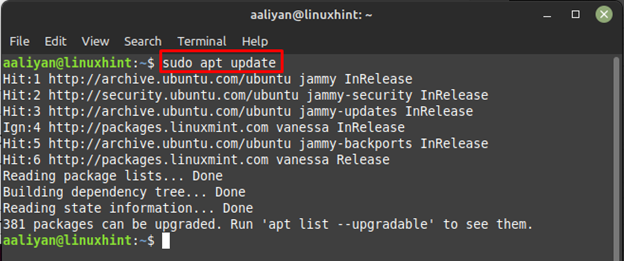
Step 1: Update the package list of the apt package manager as it is a good practice:
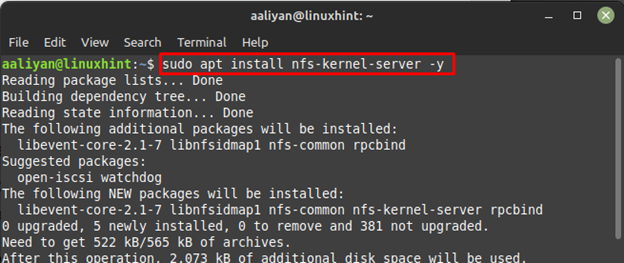
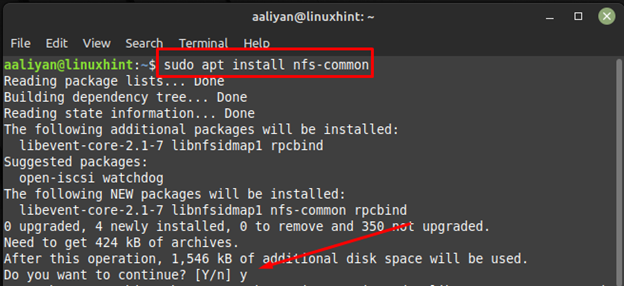
Step 2: Next, install the NFS server on your Linux Mint using the default package manager:
How to Setup and Use NFS Server on Linux Mint 21
Once the server is installed there are few settings that one need to do in order to use this server effectively, below are some steps for configuring the NFS server:
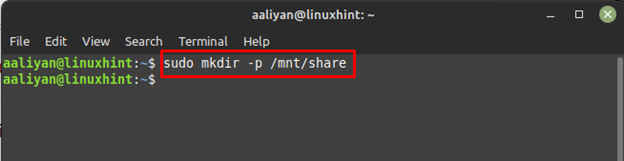
Step 1: Create a directory for NFS that can be named according to the user preference, for instance I have created a directory named share:
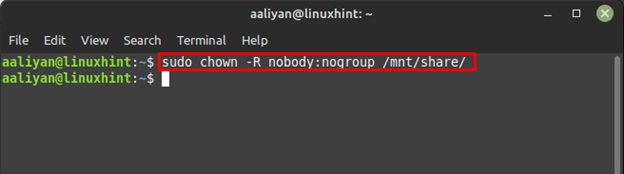
Step 2: Change the ownership of the directory to a group user and for that execute:
Next change the directory permissions and give the permission accordingly by using the chmod command:

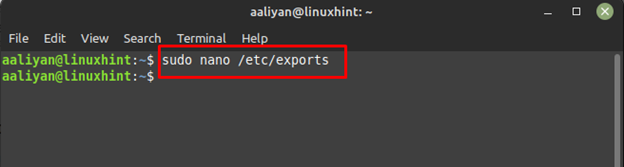
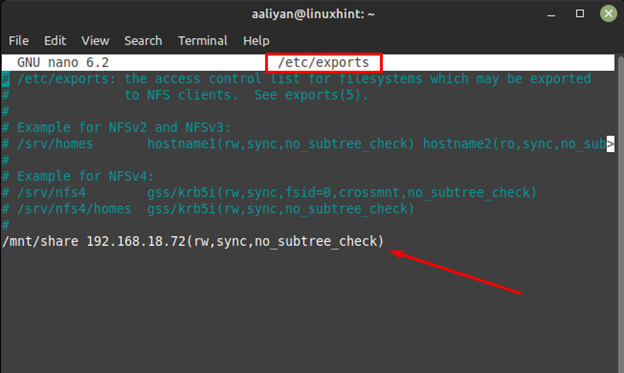
Step 3: Now grant access to the NFS server and for that open the exports file using:
Next enter the IP address of your system to grant access to others, here I have used the below given syntax to give access:
Now save the changes made in file and afterwards export the file by using:
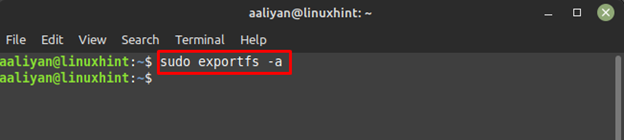
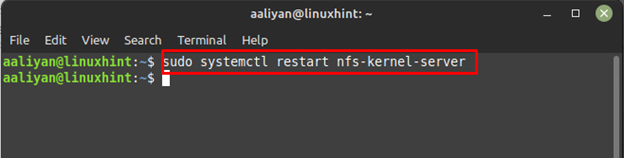
Step 4: Next, to apply the changes restart the NFS server and for that use:
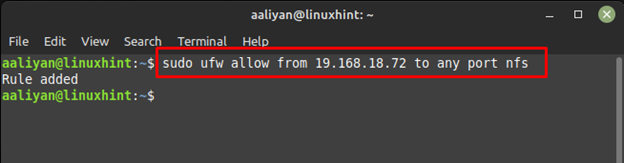
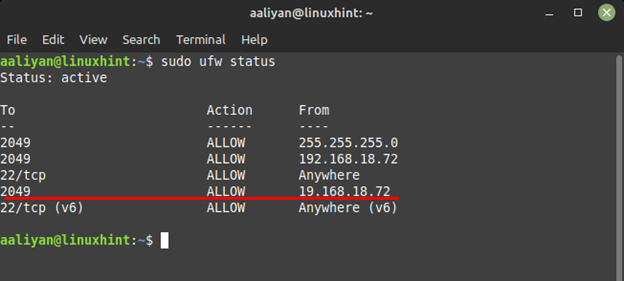
Step 5: Now allow the client system through the firewall of Linux Mint and for that use:
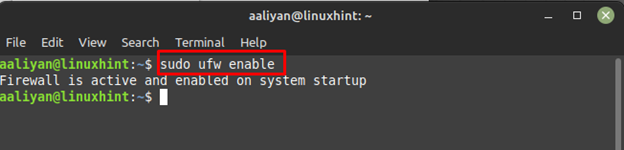
Next enable the firewall of Linux Mint using:
Next check the status if the client IP is allowed through the firewall of Linux Mint and for that execute:
Step 6: Now install NFS client on Linux Mint and for that use:
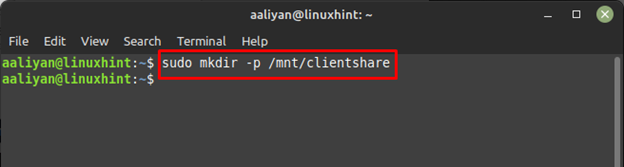
Step 7: Now create a directory for the client and for that use:
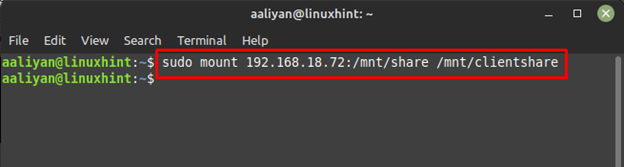
Step 8: Now mount the NFS server with the client directory using the IP address of client by following the given syntax:
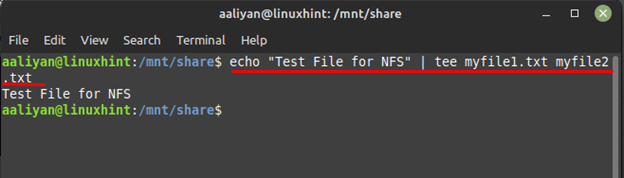
Step 9: Now move to the NFS share directory using change command:
Testing NFS server on Linux Mint 21
Now all the settings are done so let’s test the NFS and for first create two test files, for that use the echo command with tee command like this:
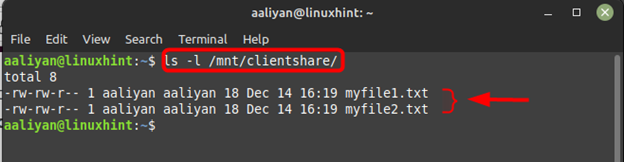
Now check the client directory using ls command and you will find both files in that directory which were created in the NFS server directory:
Removing NFS Server From Linux Mint 21
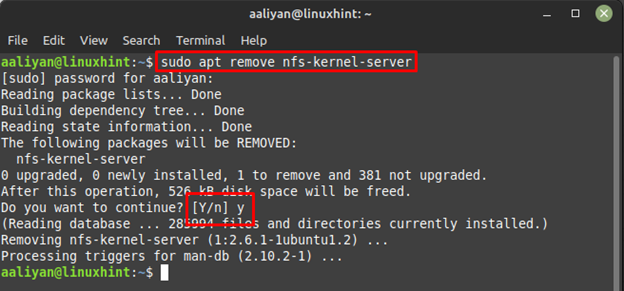
To completely remove NFS from Linux Mint one needs to remove the NFS kernel server and NFS client, below are steps to remove both NFS server and NFS client:
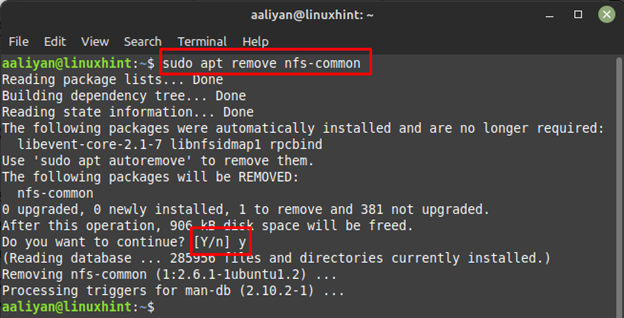
Step 1: To remove NFS server completely from Linux Mint 21 use:
Step 2: Now to remove the NFS client from Linux Mint 21 execute:
Conclusion
The NFS tool on Linux Mint is the best way to share files between other systems as long as all the systems are connected to a network. To use NFS one needs to have an NFS client and server installed on a Linux system, this guide gives a detailed process on not only installing NFS but also using it.
About the author
Aaliyan Javaid
I am an electrical engineer and a technical blogger. My keen interest in embedded systems has led me to write and share my knowledge about them.
Как в Linux Mint 20.1 установить и настроить сервер Samba
С помощью Samba можно организовать общий доступ к папке в локальной сети. Создать файловое хранилище (файловый сервер). Установить Samba можно в любой системе Linux. Процесс установки и настройки практически везде одинаковый за исключение некоторых моментов. Сегодня расскажу как установить сервер Samba в ОС Linux Mint 20.1 и настроить общий доступ как папкам.
Вообще для организации файлового хранилища лучше использовать NAS. Но так как он стоить недешево, можно воспользоваться FreeNAS как относительно бесплатной альтернативой. Это операционная система которая устанавливается на обычный компьютер. С её помощью можно организовать более менее надежное файловое хранилище.
Так же рекомендую прочитать следующие статьи касающиеся этой темы.
Файловый сервер Samba на Linux Mint
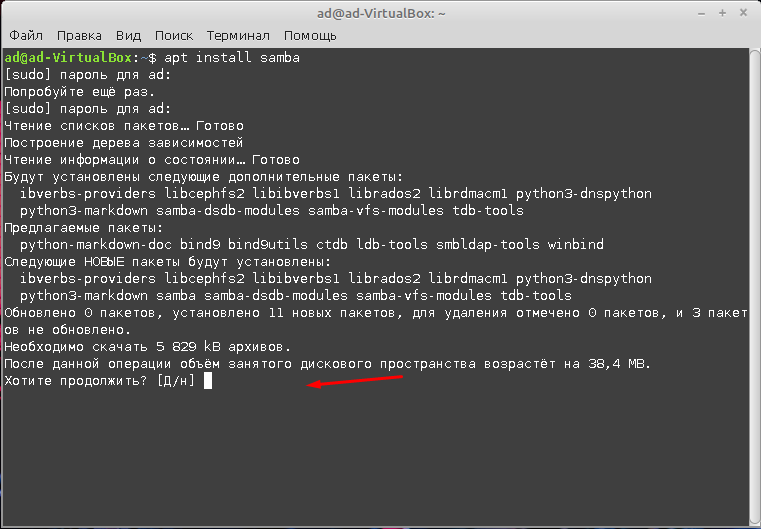
Устанавливать Samba лучше через терминал, для этого нужно ввести соответствующие команду и пароль суперпользователя.

Дальше подтверждаем установку.
После установки нужно настроить файл smb.conf. Сделать это будет намного удобней используя файловый менеджер MC (Midnight Commander). Для того чтобы его установить нужно ввести команду.
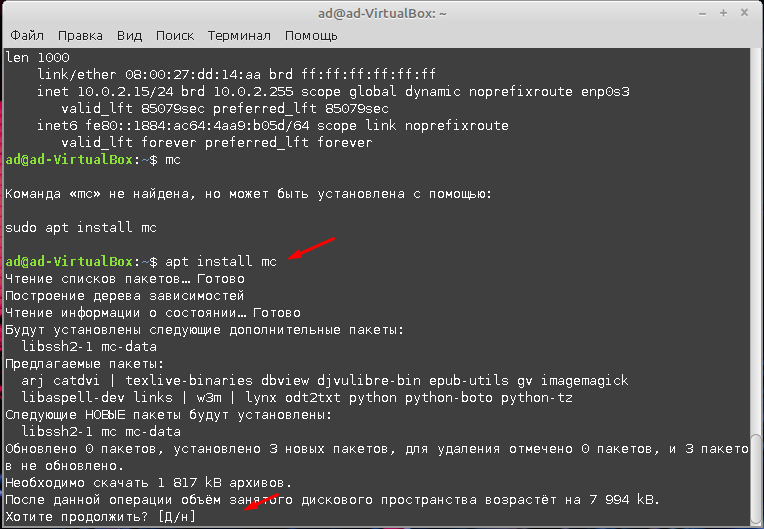
Дальше запускаем установленный файловый менеджер введя команду
Для начала создадим папку к которой будем открыть общий доступ, назовем её для примера, «Share», располагаться она будет тут /home/ad/share. Создать её можете через графически интерфейс, либо используя MC для этого нужно нажать клавишу F7.
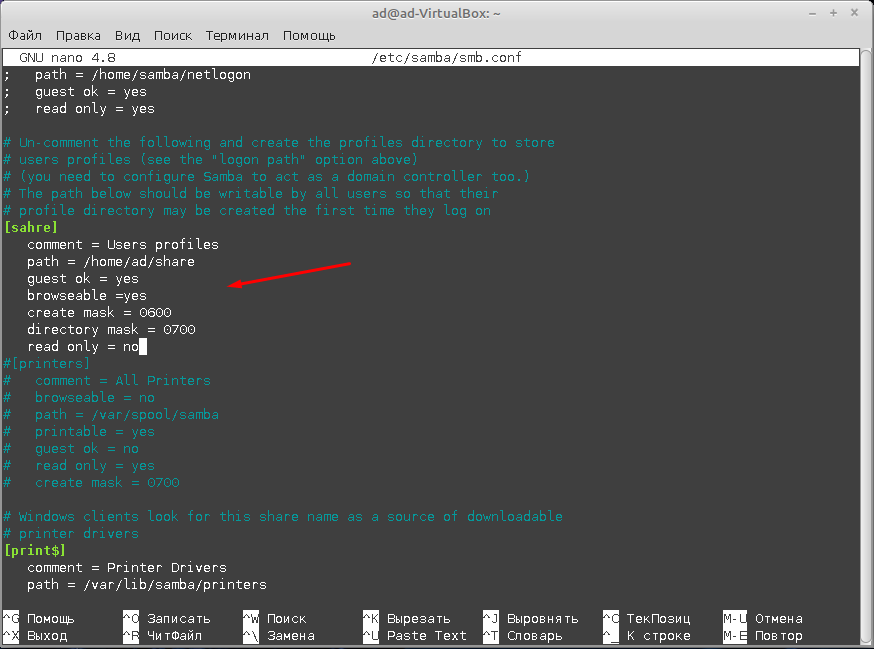
Дальше нам нужно открыть и отредактировать файл smb.conf, найти его можно по этому пути /etc/samba/, для редактирования нажимаем клавишу F4.

В открывшемся файле пишем следующие.
comment = Users profiles — комментарий не обязательно!
path = /home/ad/saher — путь до созданной ранее папки
guestok = yes — разрешаем гостевой доступ
browseable = yes — разрешаем отображение папки
create mask = 0600 — не обязательно!
directiry mask = 0700 — не обязательно!
read only = no права на запись
После чего сохраняем файл нажав сочетание клавиш Win + O.
Далее пере запускаем службу командой.
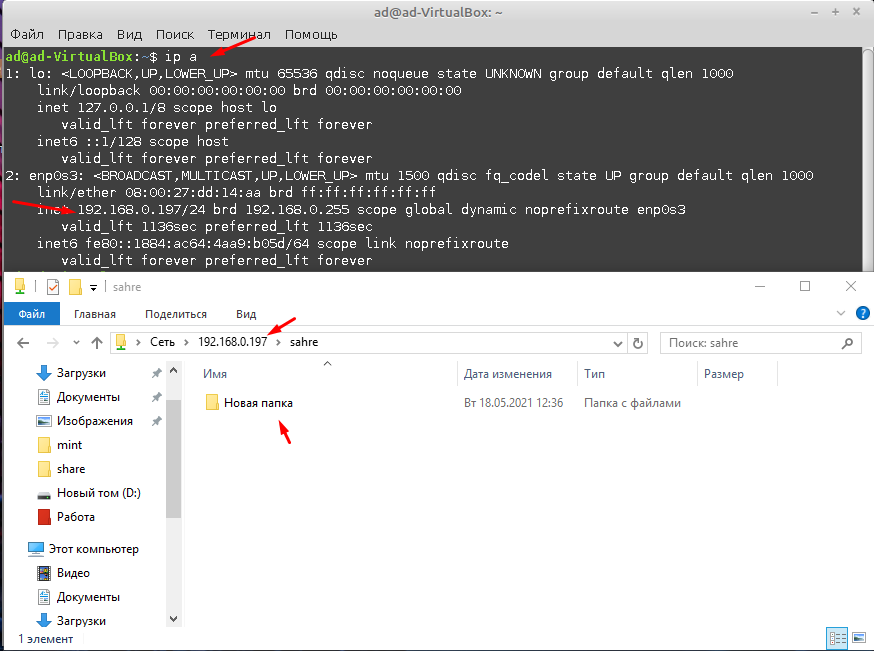
И проверяем доступность созданной общей папки. Для этого можно открыть проводник Windows и ввести IP адрес сервера Samba. После чего должна отобразиться папка «Share», оно должна открываться и быть доступной для записи, т.е. создания файлов и папок.
Это минимальная настройка Samba которая позволяет создать общий ресурс для всех пользователей сети. При необходимости можно ограничить доступ по пользователям с различными правами, но об этом уже в следующей статье.