- Как смонтировать общий ресурс NFS в Linux
- Установка клиентских пакетов NFS
- Монтирование файловых систем NFS вручную
- Автоматическое монтирование файловых систем NFS с помощью /etc/fstab
- Размонтирование файловых систем NFS
- Выводы
- Linux Mint – Mount an NFS share automatically
- Automatically mount the NFS share
- Dynamically connect via GUI
- Related posts:
- How to Install and Configure an NFS Server on Linux Mint21
- How to Install NFS Server on Linux Mint 21
- How to Setup and Use NFS Server on Linux Mint 21
- Testing NFS server on Linux Mint 21
- Removing NFS Server From Linux Mint 21
- Conclusion
- About the author
- Aaliyan Javaid
Как смонтировать общий ресурс NFS в Linux
Сетевая файловая система (NFS) — это протокол распределенной файловой системы, который позволяет вам обмениваться удаленными каталогами по сети. С помощью NFS вы можете монтировать удаленные каталоги в своей системе и работать с удаленными файлами, как если бы они были локальными файлами.
В операционных системах Linux и UNIX вы можете использовать команду mount для монтирования общего каталога NFS в определенной точке монтирования в локальном дереве каталогов.
В этом руководстве мы покажем вам, как вручную и автоматически смонтировать общий ресурс NFS на машинах Linux.
Установка клиентских пакетов NFS
Чтобы смонтировать общий ресурс NFS в системе Linux, сначала необходимо установить клиентский пакет NFS. Название пакета отличается в разных дистрибутивах Linux.
- Установка клиента NFS в Ubuntu и Debian:
sudo apt updatesudo apt install nfs-common
sudo yum install nfs-utilsМонтирование файловых систем NFS вручную
Подключение удаленного общего ресурса NFS аналогично монтированию обычных файловых систем.
Чтобы смонтировать файловую систему NFS в заданной точке монтирования, используйте команду mount в следующей форме:
mount [OPTION. ] NFS_SERVER:EXPORTED_DIRECTORY MOUNT_POINT Выполните следующие действия, чтобы вручную смонтировать удаленный общий ресурс NFS в вашей системе Linux:
- Сначала создайте каталог, который будет точкой монтирования для удаленного общего ресурса NFS:
sudo mount -t nfs 10.10.0.10:/backups /var/backupsПосле монтирования общего ресурса точка монтирования становится корневым каталогом смонтированной файловой системы.
Когда вы монтируете общий ресурс вручную, подключение общего ресурса NFS не сохраняется после перезагрузки.
Автоматическое монтирование файловых систем NFS с помощью /etc/fstab
Как правило, вы хотите автоматически монтировать удаленный каталог NFS при загрузке системы.
Файл /etc/fstab содержит список записей, определяющих, где, как и какая файловая система будет монтироваться при запуске системы.
Чтобы автоматически монтировать общий ресурс NFS при запуске системы Linux, добавьте строку в файл /etc/fstab . Строка должна включать имя хоста или IP-адрес сервера NFS, экспортированный каталог и точку монтирования на локальном компьютере.
Используйте следующую процедуру для автоматического монтирования общего ресурса NFS в системах Linux:
- Настройте точку монтирования для удаленного общего ресурса NFS:
# 10.10.0.10:/backups /var/backups nfs defaults 0 0mount /var/backups mount 10.10.0.10:/backupsРазмонтирование файловых систем NFS
Команда umount отсоединяет (размонтирует) смонтированную файловую систему от дерева каталогов.
Чтобы отсоединить смонтированный общий ресурс NFS, используйте команду umount за которой следует либо каталог, в котором он был смонтирован, либо удаленный общий ресурс:
umount 10.10.0.10:/backupsumount /var/backups
Если для монтирования NFS есть запись в fstab , удалите ее.
Команда umount не сможет отсоединить общий ресурс, когда смонтированный том используется. Чтобы узнать, какие процессы обращаются к общему ресурсу NFS, используйте команду fuser :
Как только вы найдете процессы, вы можете остановить их с помощью команды kill и отключить общий ресурс NFS.
Если у вас все еще есть проблемы с —lazy ресурса, используйте параметр -l ( —lazy ), который позволяет вам отключать загруженную файловую систему, как только она больше не занята.
Если удаленная система NFS недоступна, используйте параметр -f ( —force ) для принудительного размонтирования.
Как правило, не рекомендуется использовать опцию принудительного выполнения, так как это может повредить данные в файловой системе.
Выводы
Мы показали вам, как подключать и отключать удаленный общий ресурс NFS. Те же команды применимы для любого дистрибутива Linux, включая Ubuntu, CentOS, RHEL, Debian и Linux Mint.
Не стесняйтесь оставлять комментарии, если у вас есть вопросы.
Linux Mint – Mount an NFS share automatically
Linux Mint comes pre-installed with all components to mount Windows File sharing (SMB/CIFS) but does not support NFS out of the box. The following post will explain how to enable Linux Mint to mount a NFS share. Additionally the NFS share shall be mounted automatically.
Linux Mint does not come pre-installed with all utilities necessary for mounting NFS shares. The missing package “nfs-common” need to be installed with the following command.
$ sudo apt-get install nfs-common
With the missing components installed, Linux Mint is able to mount an NFS share without any problems. The following commands will mount the NFS share. The first command will create the directory the Share will be mounted to while the second command will mount the NFS share.
$ sudo /media/username/ShareName $ sudo mount -t nfs hostname-or-IP:/sharename /media/username/ShareName
When un-mounting, the mount directory needs to be removed manually as well.
Automatically mount the NFS share
To automate these manual steps of mounting the share as well as creating the mount directory, a utility named “autofs(5)” can be used. This utility is also not installed per default. To install it, run the following command.
$ sudo apt-get install autofs
Autofs installs a few configuration files. Among them is the auto.master(5)” configuration file at /etc/auto.master” which needs to be changed. This configuration file contains the master-map for autofs. Open the /etc/auto.master configuration file in your preferred file editor.
Add the following line of configuration to the file. The first part (“/media/username/nfs”) defines the mountpoint for the map while the second is the map-file which in this case is “/etc/auto.nfs”. The filename of the map-file can be chosen and will be created later. The rest of this line are options. The “–timeout=30” defines the time (in seconds) until the directory is unmounted after not using it. The “–ghost” option tells autofs to create “ghost” directories (empty directories) of all the mount points listed in the map-file even if they are not mounted.
/media/username/nfs /etc/auto.nfs --timeout=30 --ghost
Do not end the mointpoint with a slash as it will change the behaviour. With a slash at the end, the directory “/media/username/nfs” will be the mount point of the nfs share not “/media/username/nfs/sharename” as it is supposed to be.
Now the map-file can be created. Create the file /etc/auto.nfs and open it in your preferred file editor.
The file may contain one or more lines in the format shown below. Each line may represent a different nfs share to mount. The first part of the line is the mountpoint-key and will be added to the mountpoint of the master-map. In this example, the share below will be available via “/media/username/nfs/sharename”. The second part on this line is the mount-options which are used to mount the share. The third part is the location containing the “hostname” and the “path” to the share separated by colon “:”.
sharename -fstype=nfs4,rw hostname-or-IP:/sharename
With the share configured in the map-file, autofs can be restarted. Restarting a service in Linux Mint can be done using the following command.
$ sudo systemctl restart autofs.service
Dynamically connect via GUI
To mount NFS shares dynamically without configuring them is also possible. The idea is to enter the URL to the NFS share directly into the file explorer and get connected similar to mounting samba (CIFS) shares. This can also be achieved using the autofs utility.
Add the following line to the master-map file at “/etc/auto.master” which will enable a the mountpoint “/net/” for this purpose.
The first part in this line is again the mountpoint while the second part “-hosts” is a built-in map. This built-in map allows to mount shares dynamically by specifying the host and share like this.
Autofs will automatically connect to the server (in this example “hostname-or-IP”) and mount the share “sharename”. Only entering “/net/hostname-or-IP” will show all available shares on the server allowing you to pick one of them. This works from the GUI file explorer as well as from the command line.
Read more of my posts on my blog at https://blog.tinned-software.net/.
Related posts:
This entry was posted in Linux Administration and tagged autofs, LinuxMint, mount, NFS. Bookmark the permalink.
How to Install and Configure an NFS Server on Linux Mint21
![]()
File sharing is one of the major issues Linux users faces, especially transferring files from one system to another though there are some easy ways to transfer a file. Using the NFS tool on Linux Mint is the best way to share files between other systems as long as all the systems are connected to a network. So, if you are interested in sharing files and looking for an easy-to-use tool then try NFS and for that read this guide.
How to Install NFS Server on Linux Mint 21
There are few steps that are mentioned in this guide to install NFS server on Linux Mint 21:
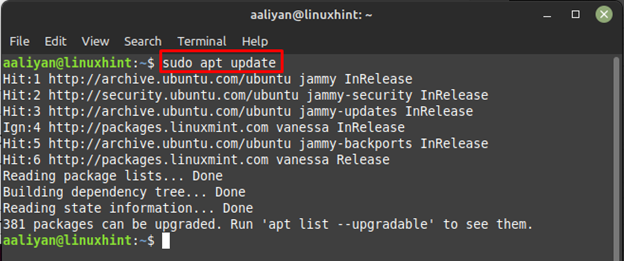
Step 1: Update the package list of the apt package manager as it is a good practice:
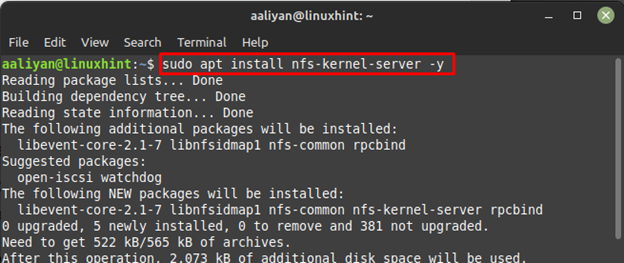
Step 2: Next, install the NFS server on your Linux Mint using the default package manager:
How to Setup and Use NFS Server on Linux Mint 21
Once the server is installed there are few settings that one need to do in order to use this server effectively, below are some steps for configuring the NFS server:
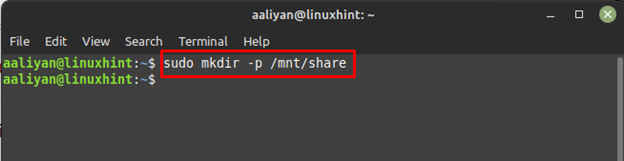
Step 1: Create a directory for NFS that can be named according to the user preference, for instance I have created a directory named share:
Step 2: Change the ownership of the directory to a group user and for that execute:
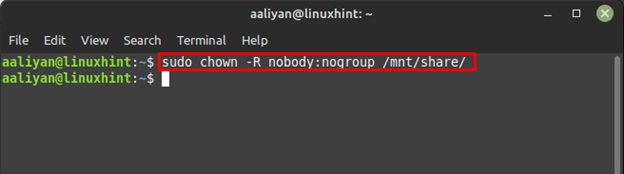
Next change the directory permissions and give the permission accordingly by using the chmod command:

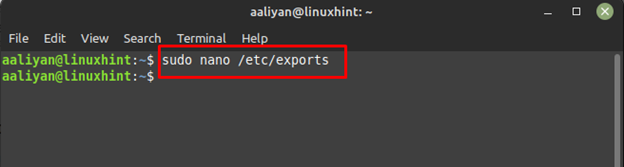
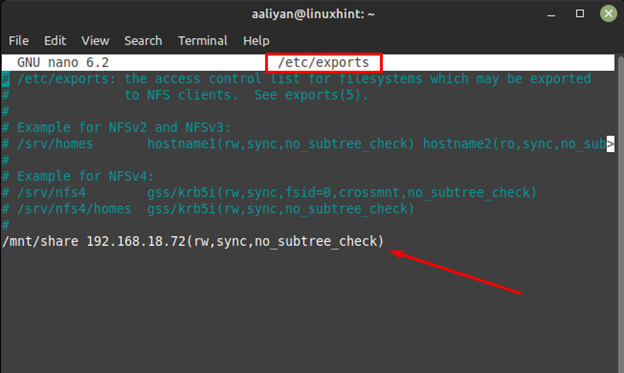
Step 3: Now grant access to the NFS server and for that open the exports file using:
Next enter the IP address of your system to grant access to others, here I have used the below given syntax to give access:
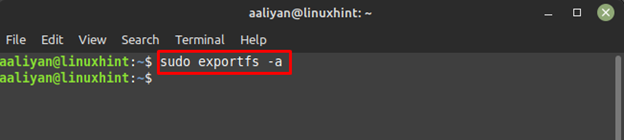
Now save the changes made in file and afterwards export the file by using:
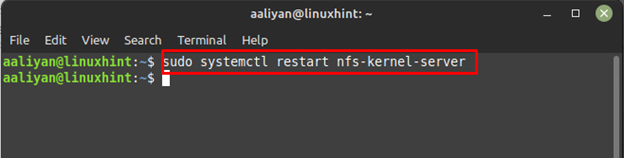
Step 4: Next, to apply the changes restart the NFS server and for that use:
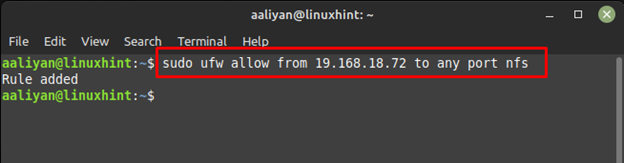
Step 5: Now allow the client system through the firewall of Linux Mint and for that use:
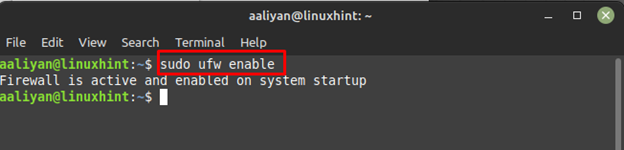
Next enable the firewall of Linux Mint using:
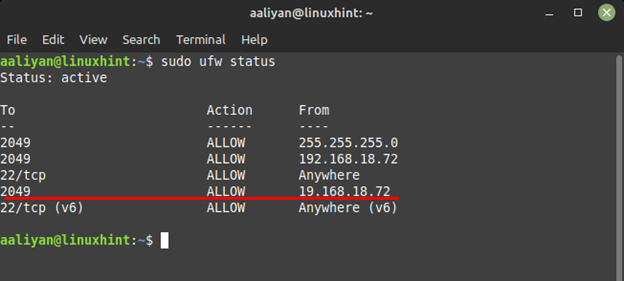
Next check the status if the client IP is allowed through the firewall of Linux Mint and for that execute:
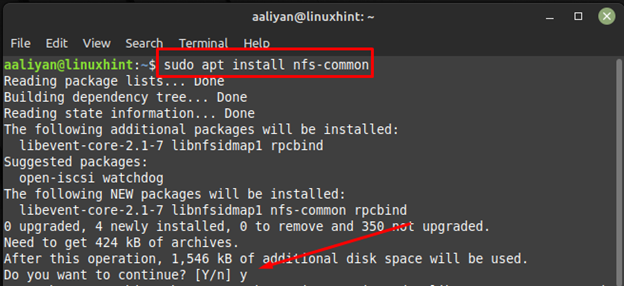
Step 6: Now install NFS client on Linux Mint and for that use:
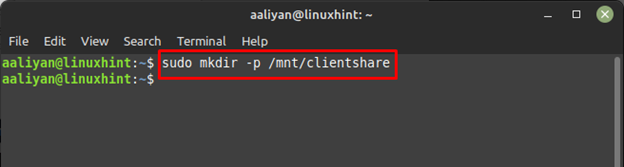
Step 7: Now create a directory for the client and for that use:
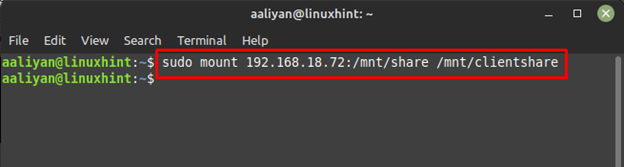
Step 8: Now mount the NFS server with the client directory using the IP address of client by following the given syntax:
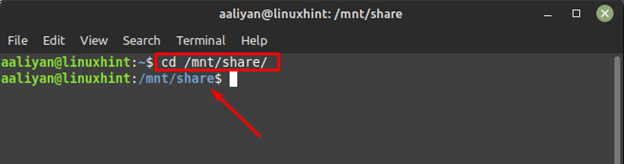
Step 9: Now move to the NFS share directory using change command:
Testing NFS server on Linux Mint 21
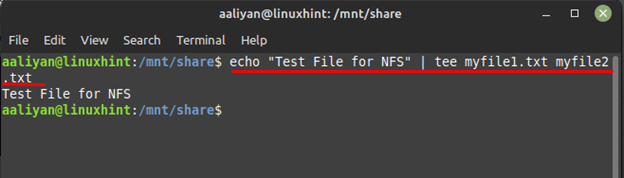
Now all the settings are done so let’s test the NFS and for first create two test files, for that use the echo command with tee command like this:
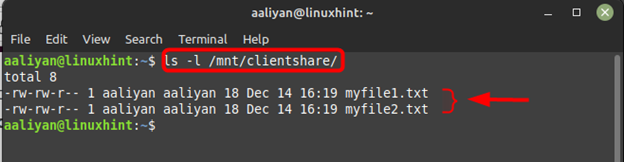
Now check the client directory using ls command and you will find both files in that directory which were created in the NFS server directory:
Removing NFS Server From Linux Mint 21
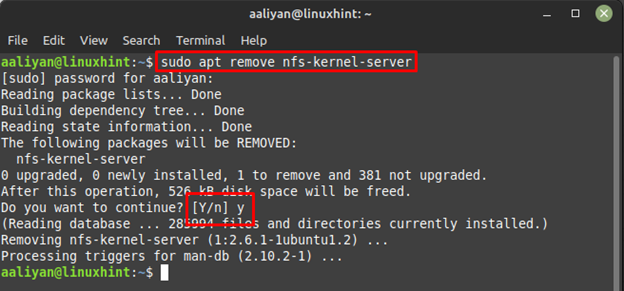
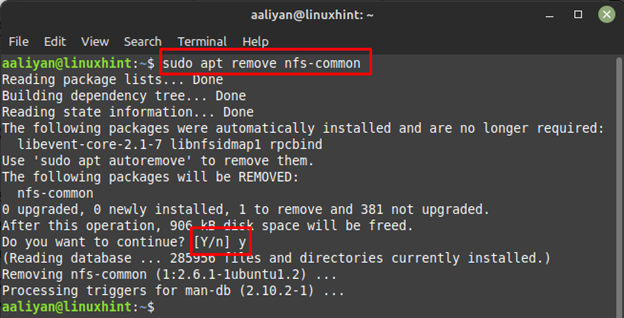
To completely remove NFS from Linux Mint one needs to remove the NFS kernel server and NFS client, below are steps to remove both NFS server and NFS client:
Step 1: To remove NFS server completely from Linux Mint 21 use:
Step 2: Now to remove the NFS client from Linux Mint 21 execute:
Conclusion
The NFS tool on Linux Mint is the best way to share files between other systems as long as all the systems are connected to a network. To use NFS one needs to have an NFS client and server installed on a Linux system, this guide gives a detailed process on not only installing NFS but also using it.
About the author
Aaliyan Javaid
I am an electrical engineer and a technical blogger. My keen interest in embedded systems has led me to write and share my knowledge about them.