- Linux mint pxe install
- Установка Linux Mint по сети (TFTP+Samba)
- How to Install Linux Mint without USB/Flash Drive?
- Introduction
- Method 1: Install Linux Mint using Virtual Machines
- Oracle VirtualBox
- VMWare Workstation
- QEMU—GNOME Boxes
- Method 2: Installing Linux Mint without USB via PXE
- Method 3: Installing Linux Mint Using UNetbootin
- Is it then possible to install Linux Mint without USB?
Linux mint pxe install
Вы здесь: Главная страница Админство Настройка PuTTY для аутентификации по публичному ключу (без пароля) на SSH сервере
Установка Linux Mint по сети (TFTP+Samba)
Каждому, кто хоть изредка промышляет администрированием хотя бы раз нужно было установить операционку на комп. И зачастую происходит всё так: скачивается образ, записывается на диск или флешку, грузимся и ставим. Но может оказаться что ни флешки ни диска под рукой нет, а установку нужно выполнить на вчера. Тогда можно загрузится по сети, и с линуксом в этом плане особо проблем нет. Типичная конфигурация — это связка DHCP, TFTP и NFS. Но у меня под рукой не было настроенного NFS, зато была Samba. Поэтому пришлось разобраться как использовать Samba вместо NFS.
Вроде бы ничего такого, поменял настройки и всё, но что-то не работало поначалу, пришлось шаманить.
Но я тут начну с самого начала. Итак для начала нужно обзавестись дистрибутивом. Так как ставим мы Linux Mint, ищем свежий образ здесь. Скачиваем дистрибутив, подходящий именно нам (я ставил тот, что с MATE, но очевидно это не имеет особого значения). Скачав образ, нужно получить доступ к файлам образа. В некоторых руководствах рекомендуют распаковать образ, но я не вижу в этом смыла, поэтому поддерживаю мнение, которое заключается в том, чтобы смонтировать образ как loop. Чтобы не вмешиваться в существующий порядок, просто создаём новый каталог, куда и монтируем образ:
# mkdir /mnt/mint
# mount -o loop /home/user/download/linuxmint-17-mate-64bit-v2.iso /mnt/mint
Далее нужно сделать файлы доступными по сети для чтения установщиком. Как я говорил выше, у меня для этого служит Samba. Поэтому открываем файл конфигурации и добавляем новую шару, добавив такую секцию:
[mint]
path = /mnt/mint
available = yes
browsable = yes
public = yes
writable = no
Должно работать поверх дефолтных настроек Samba. Если же не работает, то скорее всего вы что-то меняли сами, а значит найдёте как решить проблему. Итак мы добавили шару mint, через которую можно с сети получить файлы для установки. Не забудьте перезапустить Samba для принятия новых настроек.
Для Archlinux:
# systemctl restart smbd
# systemctl restart nmbd
Для Gentoo:
Далее нужно подготовить сетевой загрузчик. В этом нам поможет программа tftp-hpa. В Archlinux и в Gentoo пакет называется именно так. Нужно расположить файлы загрузчика в рабочем каталоге ftp-сервера (в арче /srv/tftp). Копируем туда ядро и initrd со смонтированного образа:
Далее нам нужен syslinux. С него нужно собственно PXE-загрузчик:
# cp /usr/lib/syslinux/bios/ /srv/http
Далее нужно подготовить файл конфигурации для загрузчика. Для этого создаём файл /srv/tftp/pxelinux.cfg/default. Туда пишем такое:
DEFAULT menu.c32
LABEL LinuxMint
KERNEL vmlinuz
APPEND showmounts toram root=/dev/cifs boot=casper netboot=cifs nfsroot=//192.168.0.1/mint NFSOPTS=-oguest,ro initrd=initrd.lz nosplash
Где 192.168.0.1 — наш IP-адрес относительно машины, на которую быдем ставить. Ах да, и про nfs там — это не опечатка, в режиме работы с cifs, нужно передавать опции типа как для nfs, не могу сказать почему. Особое внимание нужно обратить на опцию toram, поскольку без неё всё отваливается на полпути и загрузится мы не можем (может это особенности самбы). Но с этой опцией нужно помнить о том, что на целевой машине должно быть достаточно оперативки, чтобы скопировать туда установщик. TFTP-сервер нужно запустить. Для Archlinux:
# systemctl tftpd.socket start
Для Gentoo:
Теперь нужно биосу целевой машины как-то сказать откуда грузится. В этом нам поможет dnsmasq (хотя не обязательно, можно использовать и другой DHCP сервер, здесь описываю то, что было под рукой). Настраиваем раздачу IP (опция dhcp-range) на своё усмотрение, под свою «сеть» между машинами. Для установки нам важны лишь три опции:
dhcp-boot=/pxelinux.0
dhcp-option=vendor:PXEClient,6,2b
pxe-service=x86PC, "Install Linux", pxelinux
Их нужно добавить к конфигурации dnsmasq, ну и естественно запустить его (или перезапустить).
Для Archlinux:
Для Gentoo:
Помните, чтобы всё заработало необходимо, чтобы порты на DHCP (UDP 67,68), TFTP (UDP 69), Samba (UDP 137,138, TCP 139,445) должны быть обязательно открыты, обязательно учтите это в конфигурации своего фаерволла. Если же фаерволла нет или полностью открыт интерфейс — ну и ладно, должно работать.
Вобщем далее подключаемся к сети (куда смотрят dnsmasq, tftp-hpa и samba), выбиарем Network boot и ставим систему. По завершении останавливаем серверы, размонтируем ISO.
Примечание: в связи с тем, что системы постоянно обновляются, приведённые пути файлов могут оказаться недействительными, то есть отличными от тех, что на Вашей системе. Поэтому внимательно смотрите на структуру пакетов Вашей системы.
How to Install Linux Mint without USB/Flash Drive?
Many people wonder how to install Linux Mint without USB and there are alternative methods for us to have this great system on our computer. However, some of these do not depend on the client machine in particular but rather on servers. Today we will tell you about that.
Introduction
In the early days of Linux, the installation was done from floppy disks and that was enough, then we moved on to CDs and later to DVDs. However, these methods were slow and not free of corruption. Then came external media methods such as pen drives, which improved installation times.
These flash drives have considerably shortened installation times so that for example a Linux Mint installation can take very little time.
Despite the advantages of installing Linux distributions via USB, it is not always convenient to do so. An example of this is in organizations where there are many computers. Imagine having to do 100 or more installations one at a time. It is not feasible. That is why network installations are used.
Another situation that can undermine the viability of USB installation is that sometimes we only need to install a system for testing purposes and not as our main system. In this case, it would be better to isolate it from the real hardware and test it in a safe environment. In short, we are talking about virtual machines.
So as you may notice, there are some alternative methods on how to install Linux Mint without USB, but the process is the same, the only difference is how to access the installation image.
Method 1: Install Linux Mint using Virtual Machines
A virtual machine is a virtual environment in which we can install an operating system that we can use on top of the main operating system on our computer.
So, a virtual machine behaves exactly like a physical computer and contains its resources. The difference is that they are virtual (i.e., software-based) but they really exist and are part of the system where the virtual machine is installed.
To create a virtual machine and install Linux Mint there without USB, we first need to install a program that will take care of managing virtual machines. There are several of them that we can take better advantage of in each of the different circumstances that exist.
Oracle VirtualBox
This is one of the most popular and widely used tools for creating virtual machines. It is completely free and is the most recommended software if you are going to start having a virtual machine in Windows from another system.
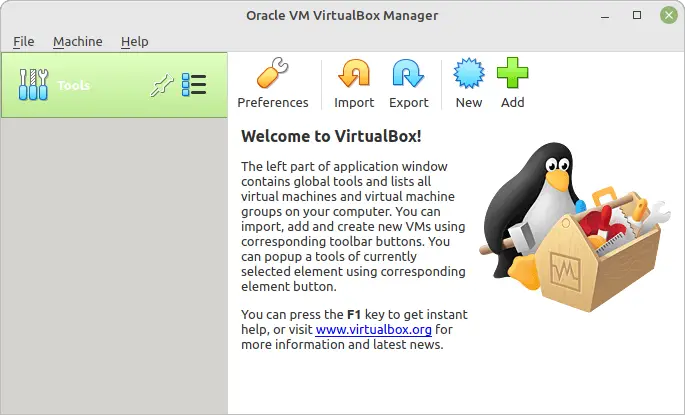
Oracle VirtualBox also has versions for Linux. So, its installation will depend on each of the distributions.
- Install Themes in Linux Mint
- Install Linux on your Surface Pro 7
- How To Install Updates in Linux Mint
VMWare Workstation
With around 20 years in the market, VMWare is one of the most solid options for creating virtual machines. It has support for many Linux distributions and like Oracle VirtualBox is easy to use even for novices.
The main problem with it is that it requires a license, which means that it has to be used in situations that really require it.
QEMU—GNOME Boxes
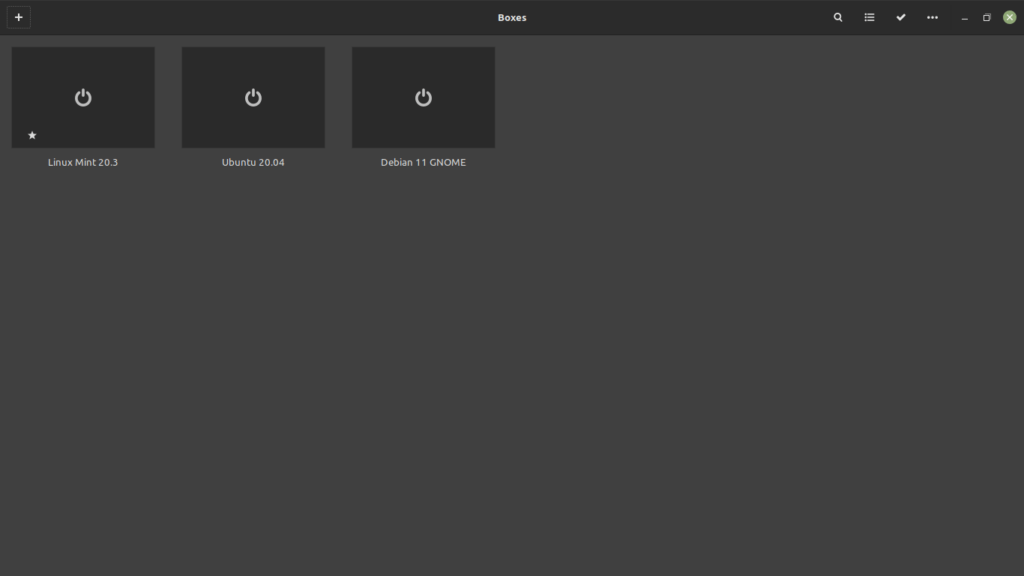
If you use Linux and want to install Linux Mint without USB, you can emulate it using QEMU technology and use a frontend like GNOME Boxes
Like the previous solutions, we can create virtual machines and manage them in a very fast way. The difference is that QEMU together with the KVM module use kernel resources natively, improving its performance of it.
Any of these tools will allow us to create a virtual machine and install Linux Mint in it without USB, you will only need the ISO image of the installation.
Method 2: Installing Linux Mint without USB via PXE
PXE or Preboot eXecution Environment is a server-client mechanism that instructs a client machine to boot from the network. This makes it possible to install Linux Mint or any distribution over the network.
The only catch with this is that we need to set up a PXE server. A Linux PXE server requires a certain set of tools installed on it, as well as the correct server software and Linux image, which in this case is Linux Mint.
When talking about a server, it should be noted that the steps to set up a server vary depending on the distribution. Setting up a PXE server on Debian is not the same as setting up a PXE server on Rocky Linux, even if we are only installing one particular distribution.
In addition to this, there is another limitation and that is that we need considerable bandwidth because all the files will be downloaded.
On the other hand, this method is recommended when we have to install Linux Mint on many computers simultaneously. Or if we don’t have a USB available, but we know of a PXE server within the network or even from the Internet.
In any case, this procedure is conditioned by the fact that the computer has to support the boot feature from the network.
In short, we have to create a PXE server with the Linux Mint image, then reboot the computer and configure it to boot from the network, so it will start the installation.
Method 3: Installing Linux Mint Using UNetbootin
Another way to install Linux Mint without using a USB is to use a program called UNetbootin. But in order to do that, you will need to have a running Windows OS on your machine. To start, follow the procedures below:
Download the latest version of UNetbootin from its website.
Once you download the file, extract it and run the setup file to install the program.
Now, you will see the installation window. Click on Next and wait for it to complete.
In the next screen, click on Finish, and then the program will be ready to use.
Download the ISO file of the Linux Mint from its website.
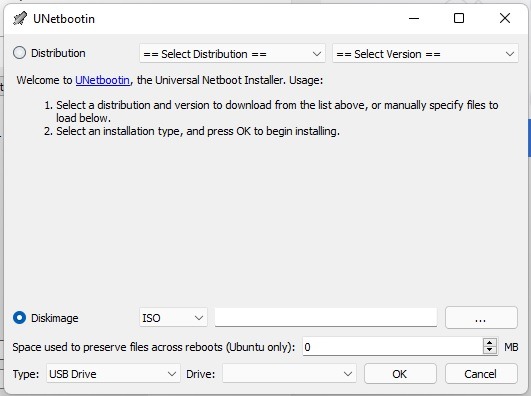
Open the UNetbootin.
Now, there are two different ways to install an OS on UNetbootin. The first option given by the UNetbootin utility allows you to choose a distribution and version. But since we downloaded the ISO of Linux Mint, we can ignore it and tick the Diskimage instead and then select the Linux Mint ISO that you downloaded earlier.

After that, you’ll find the “Type” and then select Hard Disk. Select the drive where you install the Windows OS and then click the OK button.
The UNetbootin will start now. Once the process has been completed, you can click the Exit button. Now, reboot your computer.
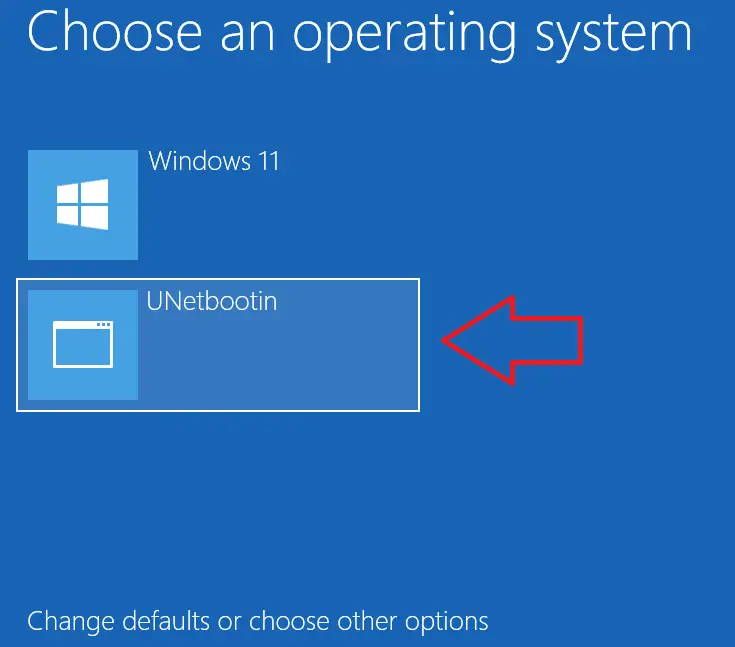
The UNetbootin will show you its screen. Hover your mouse and click it. This will start booting the computer into Linux Mint.
From here, you can start the installation of Linux Mint even without using a USB. Keep in mind that you can install the Linux Mint OS alongside your Windows, so you won’t end up deleting Windows as well as your files on it.
Is it then possible to install Linux Mint without USB?
The reality is that we can. Although it depends on what we are going to use it for. In some cases, you can use virtual machines and install Linux Mint and test it without compromising the real hardware; another way is to do it from the network, but you need a PXE server configured to perform the whole procedure and lastly, you can use the UNetbootin and install it.
As we all know, Linux Mint is a great Linux distribution focused on newbies, so it’s good to know which installation methods are available to be prepared.