- 12 Things to do After Installing Linux Mint 19
- Things to do after installing Linux Mint 19 Tara
- 1. Update your system
- 2. Create system snapshots
- 3. Install codecs
- 4. Install useful software
- 5. Learn to use Snap [For intermediate to advanced users]
- 6. Install KDE [Only for advanced users who like using KDE]
- 7. Change the Themes and icons [If you feel like it]
- 8. Protect your eyes at night with Redshift
- 9. Minor tweaks to your system
- Tweak 1: Display Battery percentage
- Tweak 2: Set up the maximum volume
- 10. Clean up your system
- 11. Set up a Firewall
- 12. Fixes and workarounds for bugs
- Issue 1: Error with Flatpaks in Software Manager
- Issue 2: Edit option disabled in Shutter
- What’s your suggestion?
- Top 12 Things to Do After Installing Linux Mint 21 (Vanessa)
- 1) Configure Backup with timeshift
- 2) Disable Linux Mint Welcome Screen
- 3) Install Security and System Updates
- 4) Enable Firewall
- 5) Enable Redshift
- 6) Install Multimedia Codecs
- 7) Install Popular Applications
- 8) Increase Battery Time
- 9) Boost System Performance
- 10) Install Microsoft fonts
- 11) Install Additional Drivers
- 12) Clean the System with Bleachbit
12 Things to do After Installing Linux Mint 19
Linux Mint is one of the best Linux distributions for new users. It runs pretty well out of the box. Still, there are a few recommended things to do after installing Linux Mint for the first time.
In this article, I am going to share some basic yet effective tips that will make your Linux Mint experience even better. If you follow these best practices, you’ll have a more user-friendly system.
Things to do after installing Linux Mint 19 Tara

I am using Linux Mint 19 Cinnamon edition while writing this article so some of the points in this list are specific to Mint Cinnamon. But this doesn’t mean you can’t follow these suggestions on Xfce or MATE editions.
Another disclaimer is that this is just some recommendations from my point of view. Based on your interests and requirement, you would perhaps do a lot more than what I suggest here.
That said, let’s see the top things to do after installing Linux Mint 19.
1. Update your system
This is the first and foremost thing to do after a fresh install of Linux Mint or any Linux distribution. This ensures that your system has all the latest software and security updates. You can update Linux Mint by going to Menu->Update Manager.
You can also use a simple command to update your system:
sudo apt update && sudo apt upgrade -y2. Create system snapshots
Linux Mint 19 recommends creating system snapshots using Timeshift application. It is integrated with update manager. This tool will create system snapshots so if you want to restore your Mint to a previous state, you could easily do that. This will help you in the unfortunate event of a broken system.
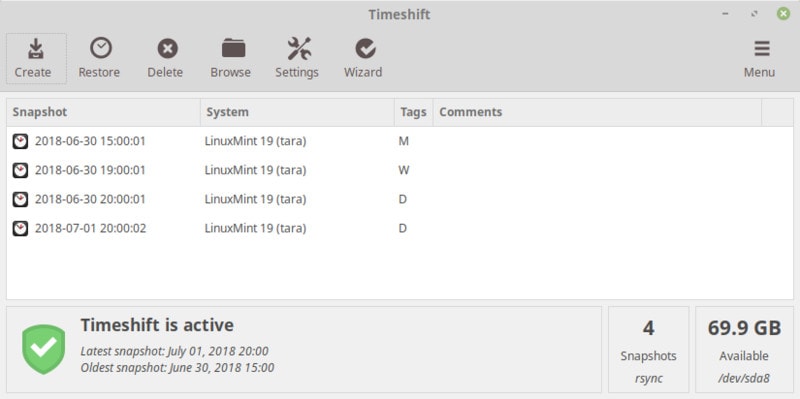
It’s FOSS has a detailed article on using Timeshift. I recommend reading it to learn about Timeshift in detail.
3. Install codecs
Want to play MP3, watch videos in MP$ and other formats or play DVD? You need to install the codecs. Linux Mint provides an easy way to install these codecs in a package called Mint Codecs.
You can install it from the Welcome Screen or from the Software Manager.
You can also use this command to install the media codecs in Linux Mint:
sudo apt install mint-meta-codecs4. Install useful software
Once you have set up your system, it’s time to install some useful software for your daily usage. Linux Mint itself comes with a number of applications pre-installed and hundreds or perhaps thousands of applications are available in the Software Manager. You just have to search for it.
In fact, I would recommend relying on Software Manager for your application needs.
If you want to know what software you should install, I’ll recommend some useful Linux applications:
- VLC for videos
- Google Chrome for web browsing
- Shutter for screenshots and quick editing
- Spotify for streaming music
- Skype for video communication
- Dropbox for cloud storage
- Atom for code editing
- Kdenlive for video editing on Linux
- Kazam screen recorder
For your information, not all of these recommended applications are open source.
5. Learn to use Snap [For intermediate to advanced users]
Snap is a universal packaging format from Ubuntu. You can easily install a number of applications via Snap packages. Though Linux Mint is based on Ubuntu, it doesn’t provide Snap support by default. Mint uses Flatpak instead, another universal packaging format from Fedora.
While Flatpak is integrated into the Software Manager, you cannot use Snaps in the same manner. You must use Snap commands here. If you are comfortable with command line, you will find that it is easy to use. With Snap, you can install some additional software that are not available in the Software Manager or in DEB format.
To enable Snap support, use the command below:
You can refer to this article to know how to use snap commands.
6. Install KDE [Only for advanced users who like using KDE]
Linux Mint 19 doesn’t have a KDE flavor. If you are fond of using KDE desktop, you can install KDE in Linux Mint 19 and use it. If you don’t know what KDE is or have never used it, just ignore this part.
Before you install KDE, I recommend that you have configured Timeshift and taken system snapshots. Once you have it in place, use the command below to install KDE and some recommended KDE components.
sudo apt install kubuntu-desktop konsole kscreenAfter the installation, log out and switch the desktop environment from the login screen.
7. Change the Themes and icons [If you feel like it]
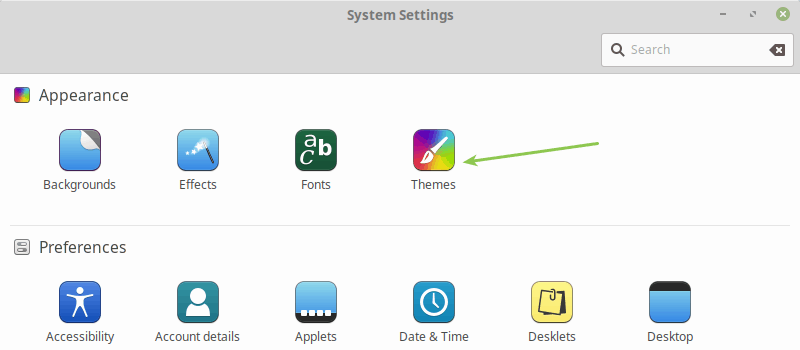
Linux Mint 19 itself has a nice look and feel but this doesn’t mean you cannot change it. If you go to System Settings, you’ll find the option to change the icons and themes there. There are a few themes already available in this setting section that you can download and activate.
If you are looking for more eye candy, check out the best icon themes for Ubuntu and install them in Mint here.
8. Protect your eyes at night with Redshift
Night Light is becoming a mandatory feature in operating systems and smartphones. This feature filters blue light at night and thus reduces the strain on your eyes.
Unfortunately, Linux Mint Cinnamon doesn’t have built-in Night Light feature like GNOME. Therefore, Mint provides this feature using Redshift application.
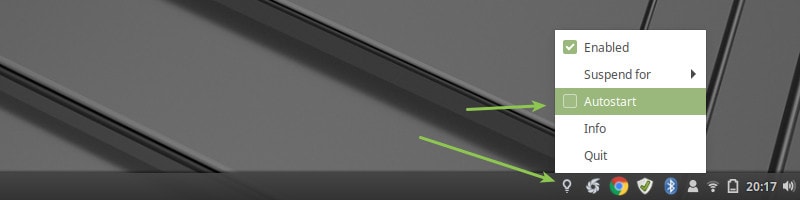
Redshift is installed by default in Mint 19 so all you have do is to start this application and set it for autostart. Now, this app will automatically switch to yellow light after sunset.
9. Minor tweaks to your system
There is no end to tweaking your system so I am not going to list out all the things you can do in Linux Mint. I’ll leave that up to you to explore. I’ll just mention a couple of tweaks I did.
Tweak 1: Display Battery percentage
I am used to of keeping a track on the battery life. Mint doesn’t show battery percentage by default. But you can easily change this behavior.
Right click on the battery icon in the bottom panel and select Configure.
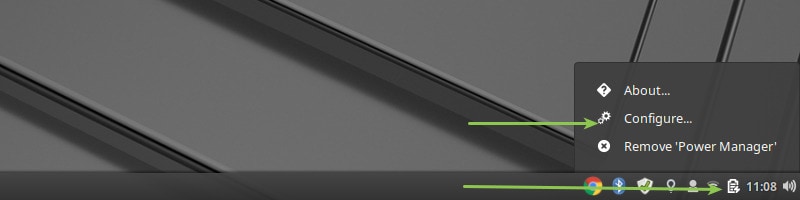
And in here, select Show percentage option.

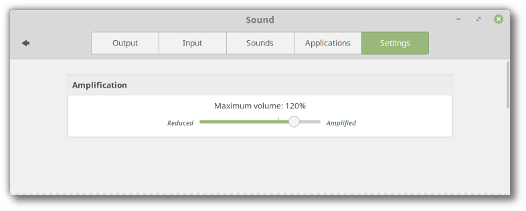
Tweak 2: Set up the maximum volume
I also liked that Mint allows setting the maximum volume between 0 and 150. You may use this tiny feature as well.
10. Clean up your system
Keeping your system free of junk is important. I have discussed cleaning up Linux Mint in detail so I am not going to repeat it here.
If you want a quick way to clean your system, I recommend using this one single command from time to time:
This will help you get rid of unnecessary packages from your system.
11. Set up a Firewall
Usually, when you are at home network, you are behind your router’s firewall already. But when you connect to a public WiFi, you can have an additional security layer with a firewall.
Now, setting up a firewall is a complicated business and hence Linux Mint comes pre-installed with Ufw (Uncomplicated Firewall). Just search for Firewall in the menu and enable it at least for the Public mode.

12. Fixes and workarounds for bugs
So far I have noticed a few issues in Mint 19. I’ll update this section as I find more bugs.
Issue 1: Error with Flatpaks in Software Manager
major bug in the Software Manager. If you try to install a Flatpak application, you’ll encounter an error:
“An error occurred. Could not locate ‘runtime/org.freedesktop.Sdk/x86_64/1.6’ in any registered remotes”
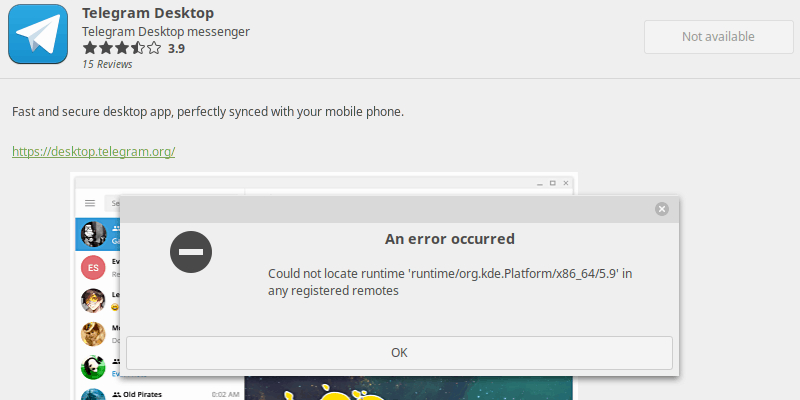
There is nothing wrong with Flatpak but the Software Manager has a bug that results in this error. This bug has been fixed and should be included in future updates. While that happens, you’ll have to use Flatpak commands in terminal to install these Flatpak applications.
I advise going to Flathub website and search for the application you were trying to install. If you click on the install button on this website, it downloads a .flatpakref file. Now all you need to do is to start a terminal, go to Downloads directory and use the command in the following fashion:
Issue 2: Edit option disabled in Shutter
Another bug is with Shutter screenshot tool. You’ll find that the edit button has been disabled. It was the same case in Ubuntu 18.04. I have already written a tutorial for Shutter edit issue. You can use the same steps for Mint 19.
What’s your suggestion?
This is my recommendation of things to do after installing Linux Mint 19. I’ll update this article as I explore Mint 19 and find interesting things to add to this list. Meanwhile, why don’t you share what you did after installing Linux Mint?
Top 12 Things to Do After Installing Linux Mint 21 (Vanessa)
Linux Mint is one of the highly rated Linux distribution for desktops. Recently Linux Mint 21, code name Vanessa has been released. We have already covered an article which shows Linux mint 21 Installation steps .
In this article, we will learn what are the Top 12 things to do after installing Linux Mint 21.
1) Configure Backup with timeshift
The first important thing is to enable backup of your system using timeshift tool. From the system menu, search timeshift and start it.
Click on Wizard , setup it as per requirements. Basically, it has four steps
- Snapshot Type (choose Rsync)
- Snapshot Location (Disk like /dev/sda2 or /dev/sda3)
- Snapshot Levels (Daily, hourly, weekly & monthly)
- User Home directories (Select the folders to be backed up)
Now click on ‘ Create ’ to create first snapshot of your system,

Once the snapshot is created, you can restore the system using that snapshot in case of misconfigurations or accidently lost data.
2) Disable Linux Mint Welcome Screen
After the installation of Linux Mint 21, whenever we login to desktop environment, we will get the following screen,

So, to disable it, uncheck the option ‘ Show this dialogue at startup ’
3) Install Security and System Updates
It is always recommended to install security and system updates after installing Linux Mint. So, to install updates, your system must have connected to internet.
Access the Update Manager from system menu and enable local mirror first.
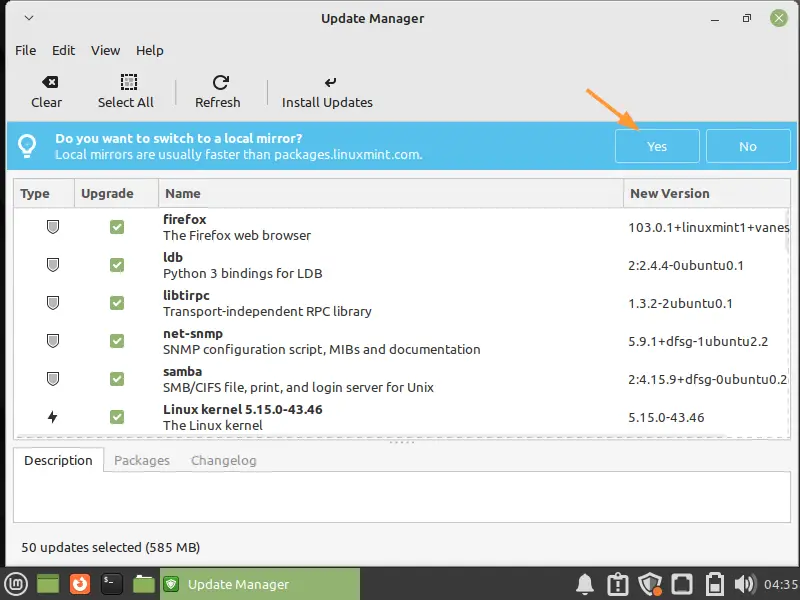
Click on Yes and then it will prompt you to enter your user’s password.
In the following screen, click on ‘I nstall updates ’
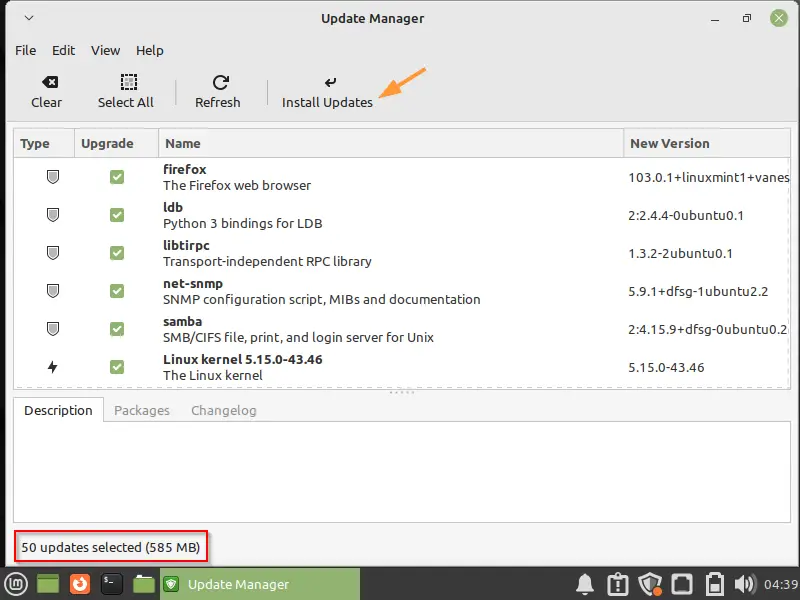
It will show us what additional packages will be installed as a part of upgrade,
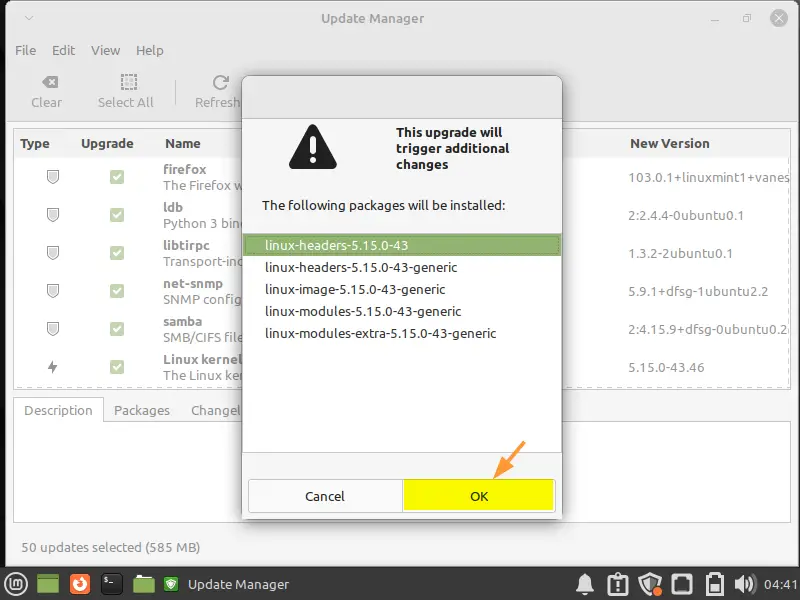
Click on OK , it will prompt you to enter your user password. After entering the password, it will start downloading packages.

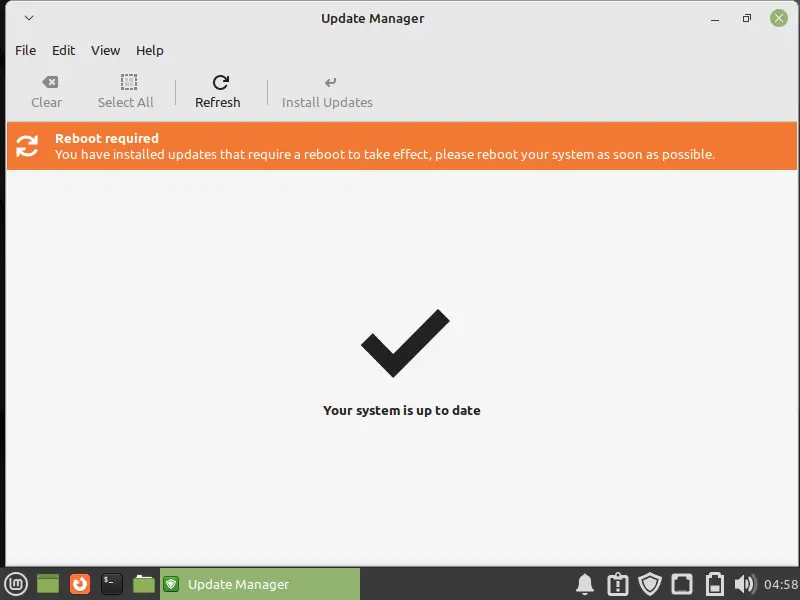
Once all the updates are installed, reboot your system.
4) Enable Firewall
To secure your system, it is highly recommended to enable system firewall. Search firewall from the system menu,
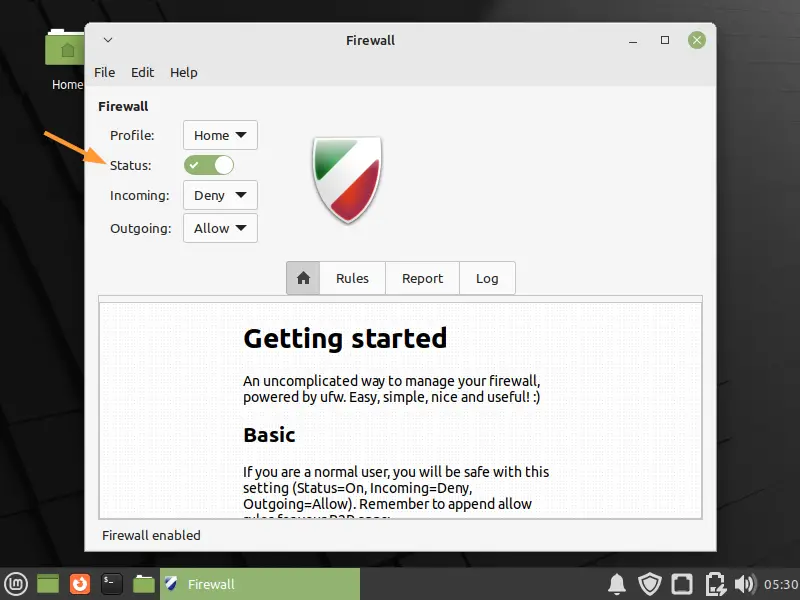
After enabling firewall, configure incoming and outgoing rules as per your requirement.
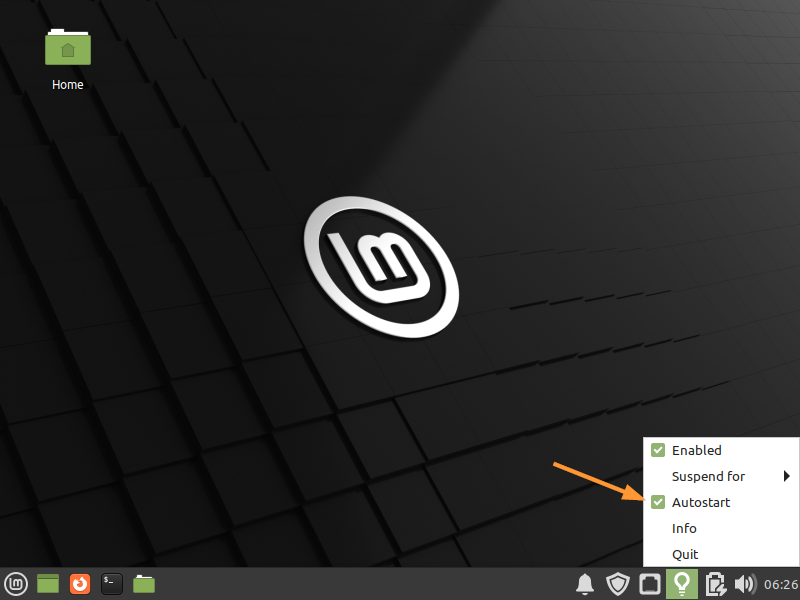
5) Enable Redshift
Redshift is a colour temperature adjustment tool and protects our eyes by decreasing the blue light of the screen. To enable Redshift, to go system menu, search redshift and click on its icon.
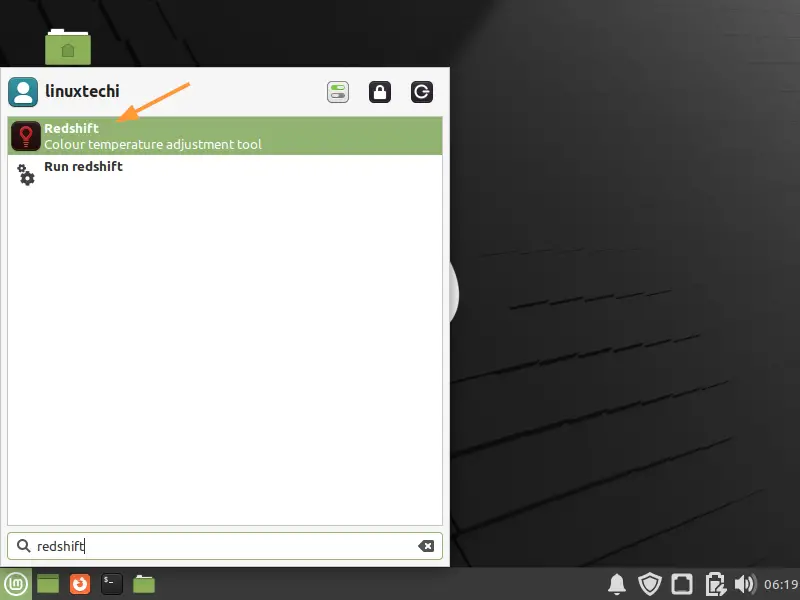
This will start Redshift and its icon will appear on system tray, right click in its icon from the system tray, enable AutoStart so that it starts automatically during the reboot.
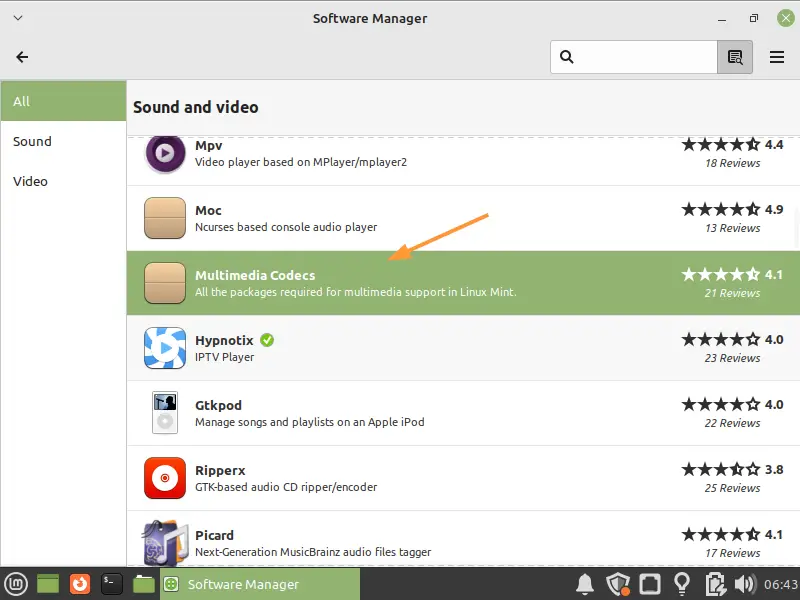
6) Install Multimedia Codecs
Multimedia codecs will allow to play different types of video formats on your desktop. To Install multimedia codecs,
System Menu –> Software Manager –> Click on Sound & Video Category –> Double click on Multimedia codecs –> Click on Install.
7) Install Popular Applications
Install the following popular applications,
To install above applications, go to System Menu –> Software Manager
Search these applications and double click on their icons and the click on install

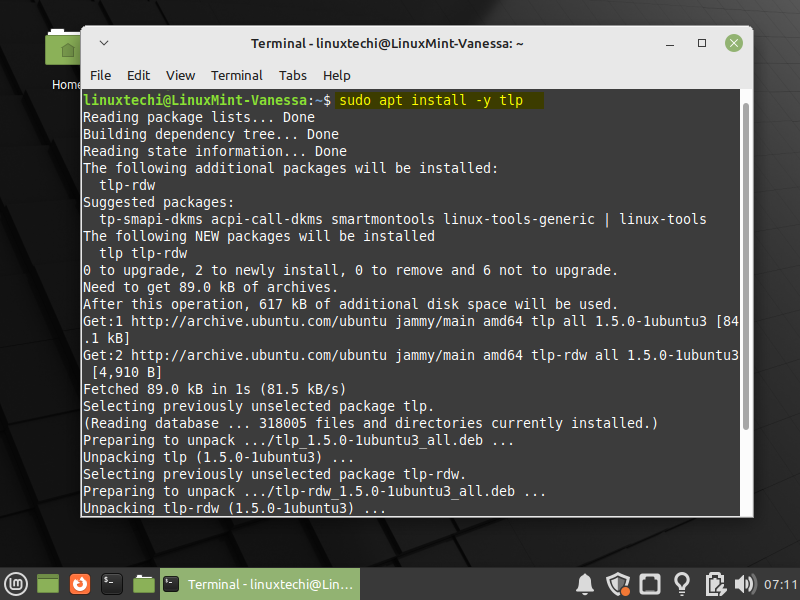
8) Increase Battery Time
To increase the battery time of your laptop, install tlp package. Open the terminal and run following apt command
9) Boost System Performance
Note : This is only recommended for systems which have more than 16 GB of RAM.
To boost your system performance, you should consider decreasing the swap usage by tweaking swappiness value. Open the terminal and run following command with sudo rights,
$ sudo sysctl -w vm.swappiness=10
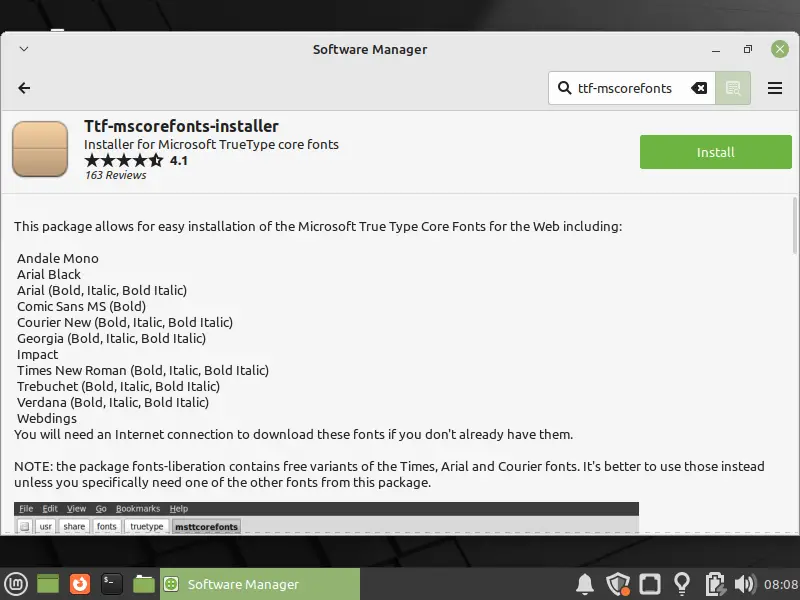
10) Install Microsoft fonts
Open the software Manager and search ‘ttf-mscorefonts’, click on ‘ Ttf-mscorefonts-installer ’ and then click on Install
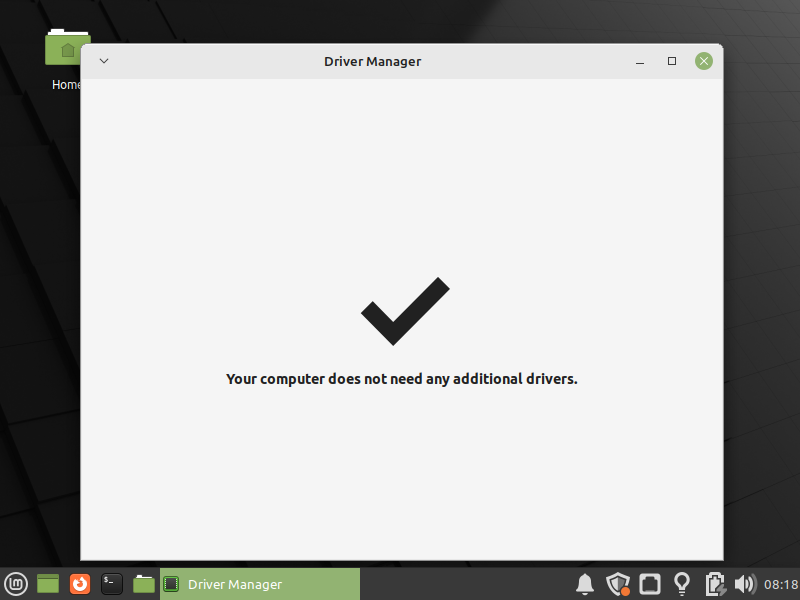
11) Install Additional Drivers
Start the Driver Manager from system menu, it will prompt you to enter user password.
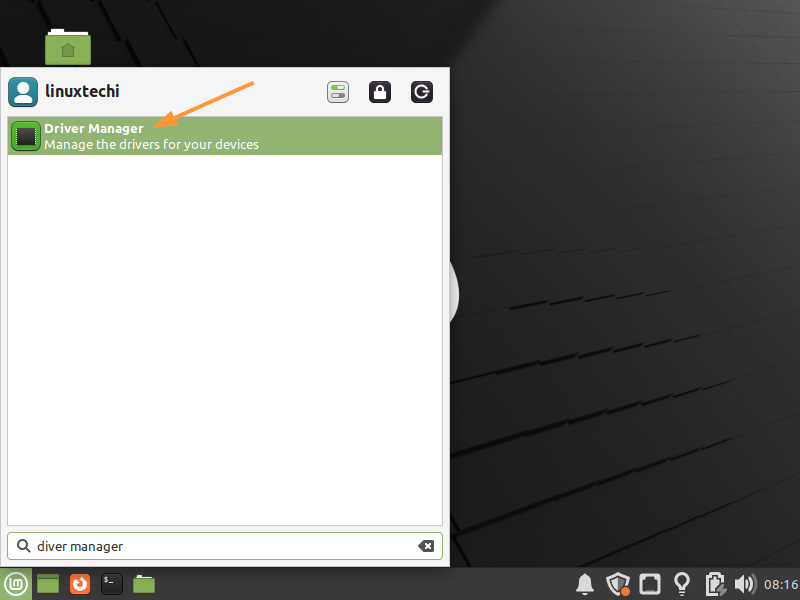
If there are some additional drivers available for your system, then it will show the drivers. Recommendation is to install them and if your system has all drivers up to date then it will show following screen.
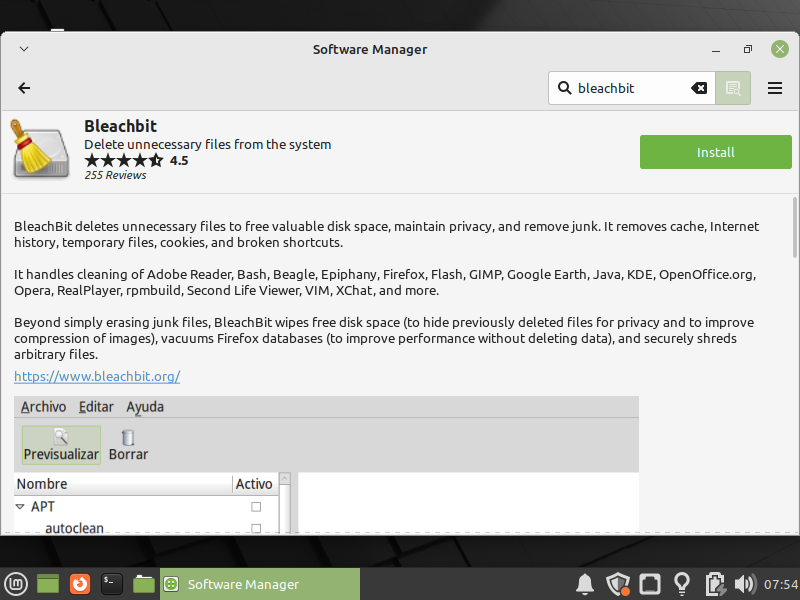
12) Clean the System with Bleachbit
Bleachbit is a tool which deletes unnecessary files to free up disk space and remove junk. It also removes cache, internet history, cookies, and temporary files.
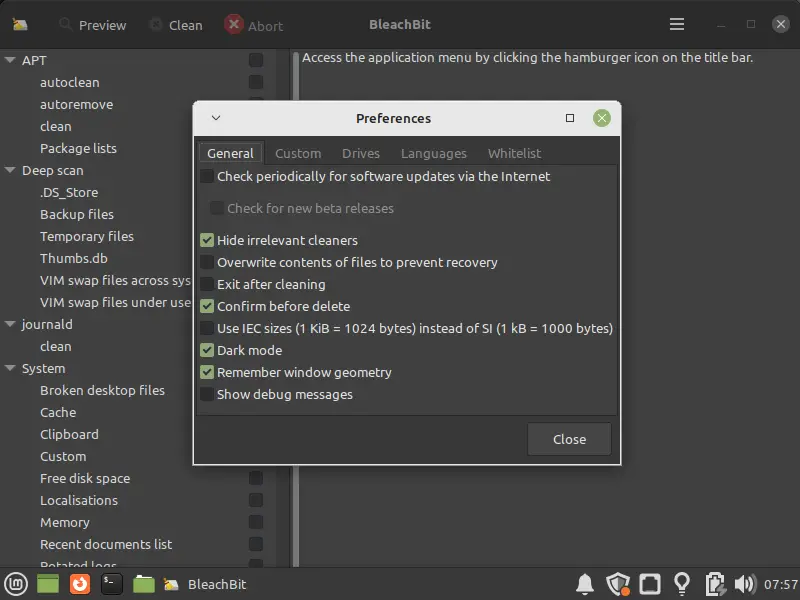
To Install bleachbit, open the Software Manager and search bleachbit, click on its icon and then click on Install.
Once installed, access it and configure preferences as per your requirement
That’s all from this article. I hope you have found this article useful. Kindly do post your queries and feedback in below comments section.