- Installing Certificate PFX into Debian Linux
- How to install PFX certificate?
- 1 Answer 1
- How to install PFX certificate in Linux and without PEM Passphrase
- Запуск Cisco Anyconnect на ОС Linux
- Шаг 1.
- Шаг 2.
- Шаг 3.
- Шаг 4. Обработка сертификата PFX
- Шаг 5. Установка клиента anyconnect
- Шаг 6. Создание VPN соединения
- Добавить комментарий Отменить ответ
Installing Certificate PFX into Debian Linux
While working on a Kali Linux Virtual Machine I have, I accessed a Demonstration SharePoint site in the browser and hit the standard Certificate Errors, as I am using Root Certificate Authority issued certificates for my local domain, which my Kali Linux machine is not part of. The process for adding my root Certificate and then the Website Certificate to my Kali Linux (Debian) Machine is a little different to a regular Windows Machine.
Firstly the Certificate needs to be exported into a PFX format and contain the Private Key. This important as we will then extract the certificate components from that PFX file. Once we have this, it needs to be copied to the Kali Linux (Debian) machine.
Open a Terminal windows and browse to the location of the newly copied PFX file. For me it was “Downloads/Certificates“.
In the command Windows we now use the “openssl” tool to perform a couple of tasks, the first to extract the “.pem” or key file, then second the actual certificate “.crt” file.
Export the Private Key
openssl pkcs12 -in Root.pfx -nocerts -out Root.pem -nodes
Export the Certificate
openssl pkcs12 -in Root.pfx -nokeys -out Root.crt -nodes
These commands will ask for the PFX password and then export the two files. Now we have the root certificate, we repeat the process for the actual certificate being used in SharePoint.
Export the Private Key
openssl pkcs12 -in Website.pfx -nocerts -out Website.pem -nodes
Export the Certificate
openssl pkcs12 -in Website.pfx -nokeys -out Website.crt -nodes
Now we have the individual files we need to import them into the system by using the following commands from the same location in the Terminal window:
Import Root Certificate
sudo cp Root.crt /usr/local/share/ca-certificates/Root.crt
Import Website Certificate
sudo cp Website.crt /usr/local/share/ca-certificates/Website.crt
These will then import successfully, but to be able to bypass the security checks for the Certificates, we need to run one last step, which is to update the certificate cache.
That now completes adding the certificate to my Kali Linux (Debian) machine fixing my security prompt because of local issued certificates.
How to install PFX certificate?
Okay, I have PFX certificate. I need to install it to my Ubuntu 19.04 to have access to other resource by Cisco. I received PFX certificate from my customer & I need to have connection to his servers for deploy apps. They mind all their contractors have Windows & than generate PFX certificates for them. I use Cisco AnyConnect Secure Mobitily Client to access its servers by VPN. How to do it?
What’s the PFX for? What Cisco resource needs this? We need more details to provide you an accurate answer.
So this PFX contains. what? A user certificate? A VPN certificate? We need more details to understand the use case for the PFX. PFX can contain a certificate, a cert authority cert, and a cert privkey for a user cert at most, or a whole chain of certificates embedded in it, so it’s still unclear what’s in the PFX and why it’s needed.
And this user certificate is to be used with websites and internal web-based admin panels and such? Or is this going to be utilized by something else such as scripts or specialized utilities? (I’ve written an answer that explains installing the cert within Chrome/Chromium and Firefox for now)
1 Answer 1
Per your comments, the PFX file contains a User Certificate and Private Key.
To install this is going to depend on what you are using to access the resources. Usually these certificates end up being used for SSL Client Auth on websites, in which case you will need to import the PFX file in your browser.
In Chrome/Chromium, you enter your «Settings» page, type in «Certificates» in the search bar, choose «Manage Certificates», and under the «Your Certificates» tab, hit «Import», select the PFX, and use the Import Password to import the PFX file. Chrome/Chromium will then be able to use your certificates. (HOWEVER you have to do this for each browser independently.)
In Firefox, open «Preferences», in the «Find in Preferences» search bar type in ‘Certificates’, then you’ll see a button that says «View Certificates». Click it to open Firefox’s Certificate Manager. Make sure you’re on the «Your Certificates» tab, and then click ‘Import’, find the PFX on disk, and use the PFX import password to authorize the import.
Note that you need to do this individually for each browser on-system, and this answer does NOT include all browsers in the universe in the answer — it only covers the most common three.
How to install PFX certificate in Linux and without PEM Passphrase

You must be Annoyed seeing the certificate error in web browser for some websites.
Here we’ll discuss how we can install .pfx certificate in Linux and use them in an application.
If you use these certificate in Apache and you have not removed from passphrase from .PEM Certificate then you need to key-in the passphrase every time restart Apache. So we’ll learn how to remove the passphrase from .PEM certificate.
1. Send in the .pfx certificate to Linux Server.
2. Change the .pfx certificate to .pem Certificate.
[root@example local_cert]# openssl pkcs12 -in /tmp/lookbeautiful.local-3.pfx -clcerts -nokeys -out /etc/pound2/local_cert/lookbeautiful_2017.pem
Enter Import Password:
MAC verified OK
3. Create the PRIVATE key
[root@example local_cert]# openssl pkcs12 -in /tmp/lookbeautiful.local-3.pfx -nocerts -nodes -out /etc/pound2/local_cert/lookbeautiful_2017.key
Enter Import Password:
MAC verified OK
[root@example local_cert]#
4. Now copy the Private key and paste it in /etc/pound2/local_cert/lookbeautiful_2017.pem at the end.
——BEGIN RSA PRIVATE KEY——
——END RSA PRIVATE KEY——
5. You can check the certificate details by following Command.
openssl x509 -in /etc/pound2/local_cert/lookbeautiful_2017.pem -text -noout
6. You can verify the certificate.
openssl verify /etc/pound2/local_cert/lookbeautiful_2017.key
7. Now apply the certificate in your application configuration.
Запуск Cisco Anyconnect на ОС Linux
Примечание: настройка приложения выполнялось на операционной системе Linux Mint 21.1 со следующими характеристиками:
- ОЗУ — 2048Gb
- CPU — 4 виртуальных ядра i5-4570 3.20GHz
- HDD — 32Gb
- Сеть — NAT
Предварительно все обновления на ОС были установлены, виртуальная машина была перезагружена.
Шаг 1.
Загружаем сертификат безопасности (PFX) на виртуальную машину (его должен передать заказчик):
Шаг 2.
Загружаем архив с приложением anyconnect
Примечание: рекомендую скачивать приложение cisco anyconnect с официального сайта https://software.cisco.com/download/home, на котором требуется предварительная регистрация.
На момент написания статьи при регистрации выходила ошибка и по этому выкладываю ссылку на сторонний сайт, где требуется скачать версию anyconnect-linux64-4.10.05095-predeploy-k9.tar.gz.
# сохраняем файл в каталог /var/tmp cd /var/tmp wget http://www.hostwaydcs.com/CISCO/AnyConnect/anyconnect-linux64-4.10.05095-predeploy-k9.tar.gz
В результате будет создан файл anyconnect-linux64-4.10.05095-predeploy-k9.tar.gz в каталоге /var/tmp
root@moesk:/var/tmp# wget http://www.hostwaydcs.com/CISCO/AnyConnect/anyconnect-linux64-4.10.05095-predeploy-k9.tar.gz --2022-12-27 07:02:56-- http://www.hostwaydcs.com/CISCO/AnyConnect/anyconnect-linux64-4.10.05095-predeploy-k9.tar.gz Распознаётся www.hostwaydcs.com (www.hostwaydcs.com)… 216.139.254.241 Подключение к www.hostwaydcs.com (www.hostwaydcs.com)|216.139.254.241|:80. соединение установлено. HTTP-запрос отправлен. Ожидание ответа… 200 OK Длина: 33743537 (32M) [application/octet-stream] Сохранение в: ‘anyconnect-linux64-4.10.05095-predeploy-k9.tar.gz’ anyconnect-linux64- 100%[===================>] 32,18M 8,37MB/s за 5,3s 2022-12-27 07:03:02 (6,03 MB/s) - ‘anyconnect-linux64-4.10.05095-predeploy-k9.tar.gz’ сохранён [33743537/33743537]
Шаг 3.
Для корректной работы требуется скачать корневой сертификат в формате Base64.
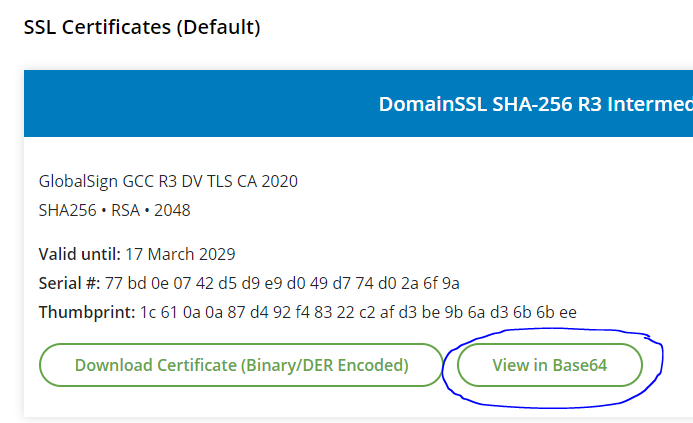
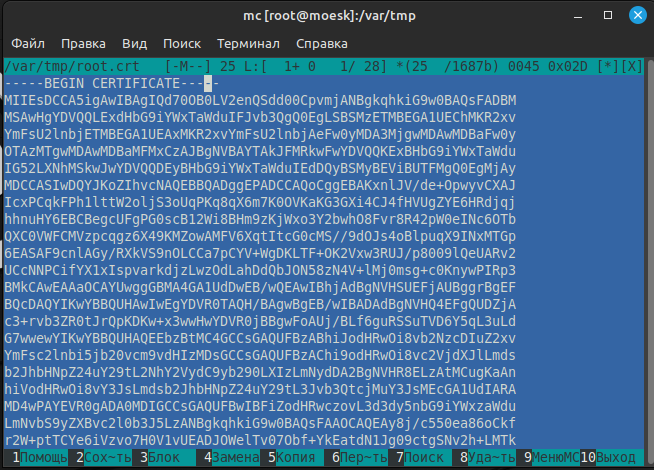
И сохраняем там данные об корневом сертификате:
Примечание: на момент написания статьи это был GlobalSign GCC R3 DV TLS CA 2020. Информация об этом сертификате содержится в PFX файле.
Шаг 4. Обработка сертификата PFX
Для работы на Linux, требуется PFX сертификат преобразовать в два файла. И для этого выполняем следующие команды:
# по умолчанию считаем, что файл pfx расположен в директории /var/tmp openssl pkcs12 -in /var/tmp/certificate.pfx -out /var/tmp/certificate.pem -nokeys # потребуется ввод пароля от сертификата openssl pkcs12 -in /var/tmp/certificate.pfx -out /var/tmp/certificate.key -nocerts # потребуется повторный ввод пароля


Примечание: пароль для открытия PFX требуется уточнять у того, кто создавал этот файл (заказчик). Плюс запоминаем, какой пароль вводим, он нам ещё пригодится (на самом деле можно пароль не указывать и для этого команду нужно выполнить со специальным ключом)
Шаг 5. Установка клиента anyconnect
Примечание: по умолчанию будем считать, что файл anyconnect-linux64-4.10.05095-predeploy-k9.tar.gz расположен в директории /var/tmp
tar xvf /var/tmp/anyconnect-linux64-4.10.05095-predeploy-k9.tar.gz cd anyconnect-linux64-*/ cd vpn sudo ./vpn_install.sh
Description of Other Rights and Obligations Please refer to the Cisco Systems, Inc. End User License Agreement. http://www.cisco.com/en/US/docs/general/warranty/English/EU1KEN_.html Do you accept the terms in the license agreement? [y/n] Y
После завершения установки должно быть следующее сообщение:
You have accepted the license agreement. Please wait while Cisco AnyConnect Secure Mobility Client is being installed. install systemd Installing ./vpnagentd.service Created symlink /etc/systemd/system/multi-user.target.wants/vpnagentd.service → /usr/lib/systemd/system/vpnagentd.service. Starting Cisco AnyConnect Secure Mobility Client Agent. Done!
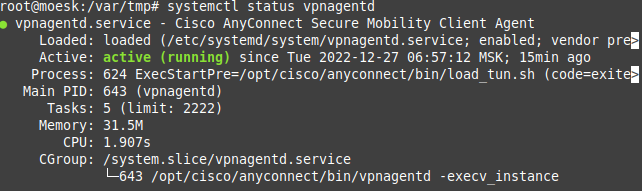
Для проверки работы сервиса выполняем команду:
systemctl status vpnagentd
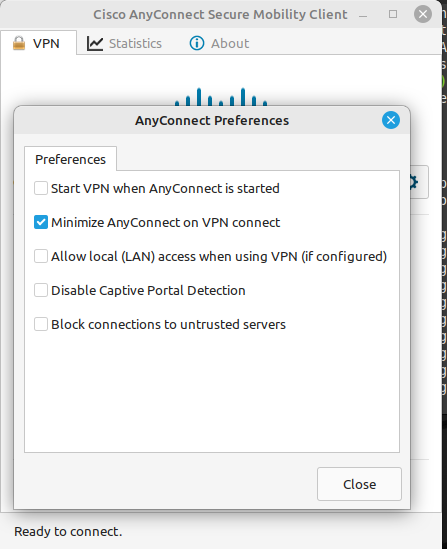
Запускаем клиент и в настройках убираем пункт Block connections to untrusted servers
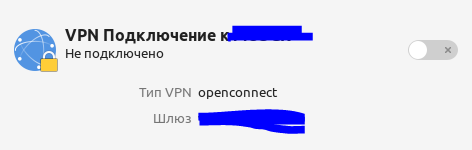
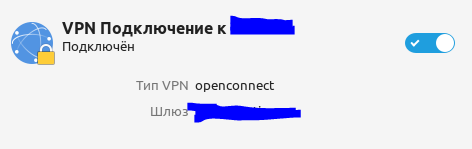
Шаг 6. Создание VPN соединения
Устанавливаем дополнительную программу.
Примечание: если пытаться создать соединение через стандартную cisco anyconnect, то не получается передать ей корневой сертификат.
apt-get install network-manager-openconnect-gnome
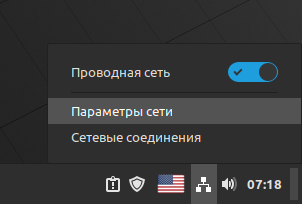
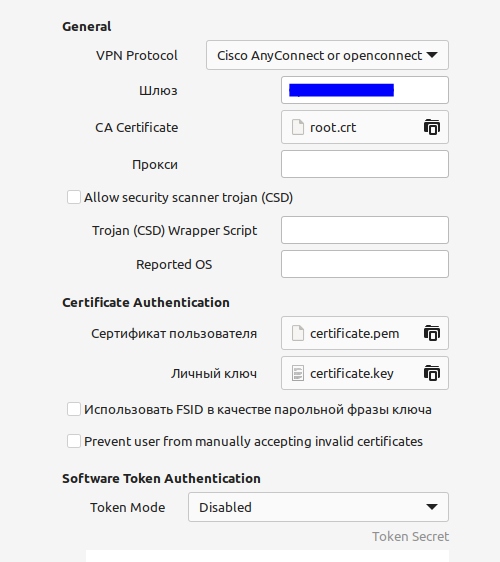
В настройках сети добавляем новое VPN-соединение:
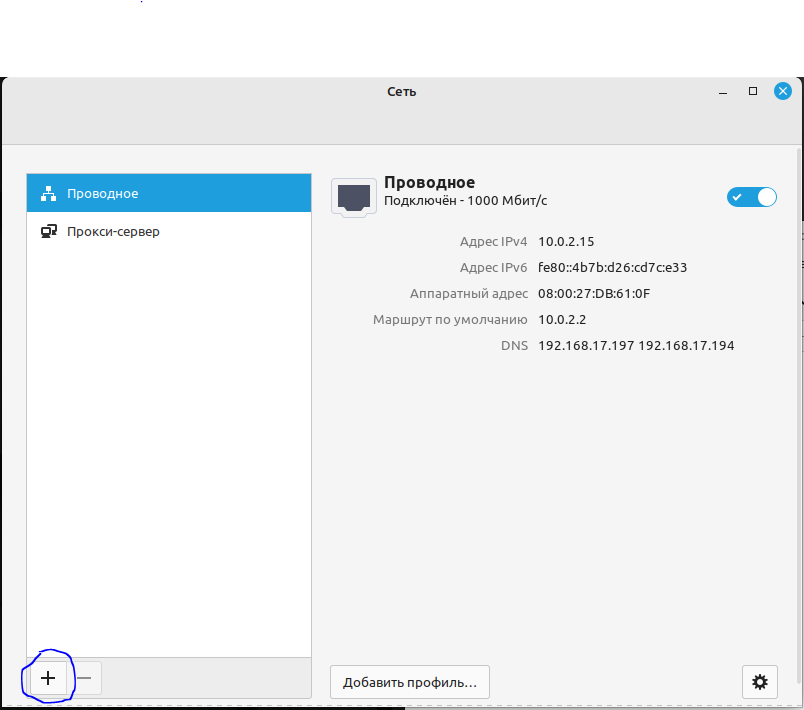
В появившемся окне добавляем VPN-соединение, путём нажатия на +
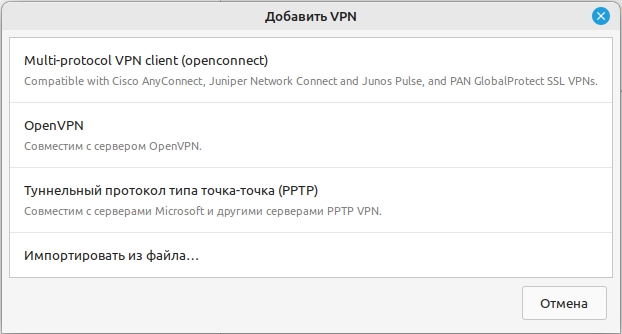
Далее выбираем Multi-protocol VPN client (openconnect):
Примечание: так как в Linux доступ к файл осуществляет по особому способу, то требуется назначить корректные права для файлов — сертификата:

Сейчас права только для root пользователя. Добавляем права для нашего пользователя user:
cd /var/tmp chown user:user root.crt chmod 777 root.crt chown user:user certificate.key chmod 777 certificate.key chown user:user certificate.pem chmod 777 certificate.pem

Примечание: при выборе файла требуется переходить в каталог /var/tmp
- VPN Protocol — выбираем Cisco AnyConnect or openconnect
- Gateway — указываем адрес VPN-сервера, куда требуется выполнить подключение
- CA Certificate — указывается корневой сертификат, который мы доставили в шаге 3.
- User Certificate — файл *.pem, который был создан из PFX
- Private Key — файл *.key, который был создан из PFX
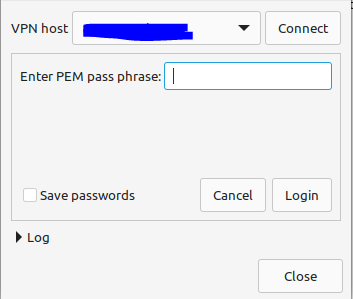
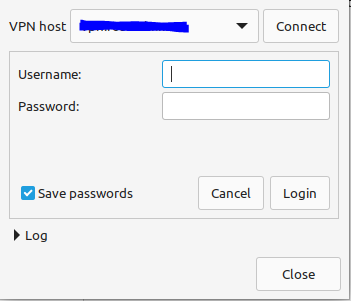
Вводим логин и пароль, который передал заказчик:
Оригиналы статей откуда была получена информация:

Добавить комментарий Отменить ответ
Для отправки комментария вам необходимо авторизоваться.
Внимание. Основной сайт для Mobile Walker https://info.mobwal.com
Техническая поддержка продукта Mobile Walker: