- How To Install LAMP Stack on Linux Mint 21
- Install LAMP Stack on Linux Mint 21 Vanessa
- How to Install LAMP Stack on Linux Mint
- Updating the Linux mint 20 system
- Installation of the LAMP server
- Testing the installation of Apache webserver
- Testing the installation of PHP
- Setting up MySQL root password
- Installing phpMyAdmin
- Uninstalling Apache from the system
- Conclusion
- Search
- About This Site
- Latest Tutorials
How To Install LAMP Stack on Linux Mint 21
In this tutorial, we will show you how to install LAMP Stack on Linux Mint 21. For those of you who didn’t know, LAMP is a short name that stands for Linux, Apache, MySQL, and PHP. Developers need a combination of these open-source software to do developments on their local machines before their websites go live. Apache is a web server, MySQL is for databases and PHP is the language used for programming. From multi-layered content management systems to social networking portals supporting millions of users, the LAMP provides a stable foundation for some of the largest web applications
This article assumes you have at least basic knowledge of Linux, know how to use the shell, and most importantly, you host your site on your own VPS. The installation is quite simple and assumes you are running in the root account, if not you may need to add ‘ sudo ‘ to the commands to get root privileges. I will show you the step-by-step installation of LAMP Stack on Linux Mint 21 (Vanessa).
Prerequisites
- A server running one of the following operating systems: Linux Mint 21 (Vanessa).
- It’s recommended that you use a fresh OS install to prevent any potential issues.
- SSH access to the server (or just open Terminal if you’re on a desktop).
- A non-root sudo user or access to the root user . We recommend acting as a non-root sudo user , however, as you can harm your system if you’re not careful when acting as the root.
Install LAMP Stack on Linux Mint 21 Vanessa
Step 1. Before running the tutorial below, it’s important to make sure your system is up to date by running the following apt commands in the terminal:
sudo apt update sudo apt install software-properties-common apt-transport-https wget ca-certificates gnupg2
Step 2. Installing the LAMP Server.
By default, LAMP Stack is available on the Linux Mint 21 base repository. Now we install the LAMP Stack packages using the following command below:
sudo apt install lamp-server^
When prompted with ‘do you want to continue’ press ‘Enter’ to continue the installation.
Step 3. Testing Apache Web Server.
Apache is web server of the LAMP stack and once installed to confirm the installation run the following in the terminal:
sudo systemctl status apache2
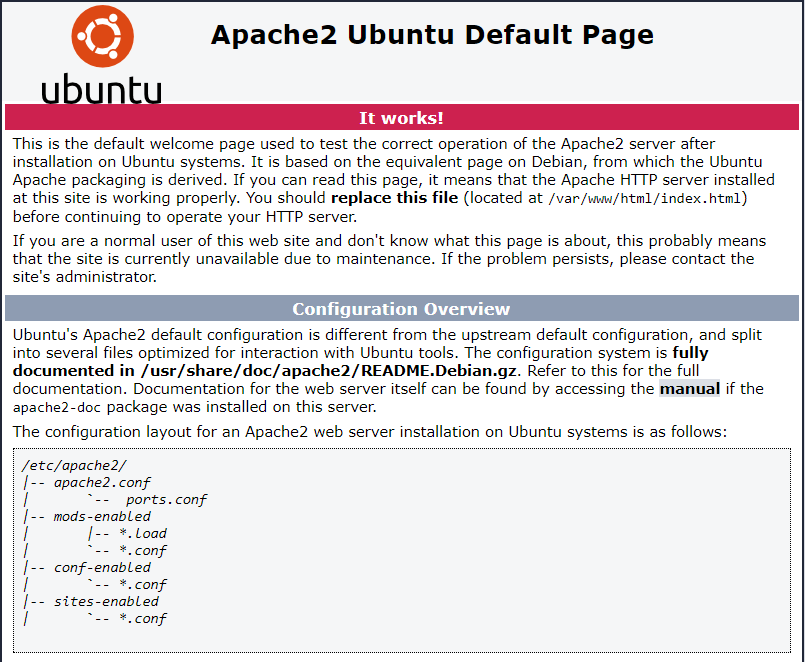
In addition, you can check the installation confirmation from the browser at http://localhost or http://your-IP-address , You will get the default Apache server page:
To test and check if PHP works correctly, first make a file named phpinfo.php in /var/www/htm l directory:
nano /var/www/html/phpinfo.php
Copy the below script and paste it into your file:
Save and close the file, then restart the Apache service to ensure that the changes take effect before testing PHP:
sudo systemctl restart apache2
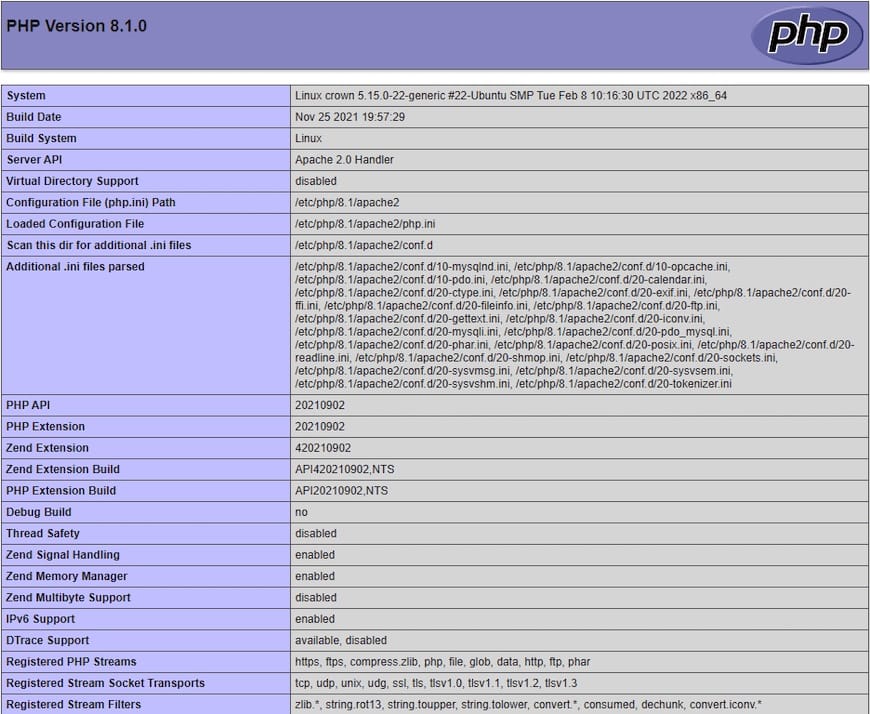
Once is done now open up your browser and enter the following:
You should see something like this:
By default, MySQL is not hardened. You can secure MySQL using the mysql_secure_installation script. you should read and below each step carefully which will set a root password, remove anonymous users, disallow remote root login, and remove the test database and access to secure MySQL:
mysql_secure_installation
Step 6. Configure Firewall
After installing LAMP it is necessary to modify UFW firewall rules to open HTTP and HTTPS ports. Run the following command:
sudo ufw allow 'Apache Full' sudo ufw reload
Congratulations! You have successfully installed LAMP. Thanks for using this tutorial for installing the latest version of the LAMP (Apache, MariaDB, and PHP) on the Linux Mint system. For additional help or useful information, we recommend you check the official Linux Mint website.
If you don’t have time to do all of this stuff, or if this is not your area of expertise, we offer a service to do “VPS Manage Service Offer”, starting from $10 (Paypal payment). Please contact us to get the best deal!
How to Install LAMP Stack on Linux Mint

Installing Apache requires the installation of a complete LAMP package (Linux, Apache, MySQL and, PHP). To do development, users require a complete set of these open-source software and a locally set up machine before they can host their websites to test it out. We will go through the complete installation of the LAMP stack on Linux Mint 20.
Updating the Linux mint 20 system
The first step is to update the OS by running the following command through the terminal window:

The system will prompt to enter the password.

Now, check for the available apt updates and get them in the Linux system using:

Next, update the packages using the following command:

This upgrade might take some time. Once done, you need to reboot the system to get the updates done using:

Installation of the LAMP server
After that, install the LAMP server in the system. Type the command given below to start the process of installation:
$ sudo apt-get install lamp-server^

You need to end it with the caret (^). The system will prompt and ask for the permission of the user. Append Y and then press enter from the keyboard.

Testing the installation of Apache webserver
Apache is the webserver of the LAMP stack and once installed to confirm the installation type the following in the terminal window:
$ sudo systemctl status apache2

This command will tell whether Apache is running or not. If you see an output like this one then it means it is installed correctly.

We can also check the installation confirmation from the browser. Type http://localhost on the window of your browser. Once done, you will see an output like the one shown below. It will confirm that the Apache server is installed correctly. You can add more web pages. Apache2 web page runs in the path /var/www/html.

To update the content, make changes in the index.html page.
Testing the installation of PHP
PHP is the scripting language used in the LAMP stack. Now we need to verify the installation of PHP by creating a file info.php in /var/www/html path.
$ sudo nano /var/www/html/info.php

The nano text editor will open up an empty file info.php, type the following script in the file. and then press Ctl+O to save the file. To exit use Ctl+X.

Once done, restart the Apache2 server to ensure that the changes have been done.

Type http://localhost/info.php in the browser window. If PHP is installed correctly and output like this one will appear. This output will have the information about the Linyx environment and has configuration files.

Setting up MySQL root password
Go to the terminal and then log in to MySQL. Set up the password and then exit it.


Once updates have been done, type quit

Now, restart MySQL to save any changes made (like password) etc by using:
$ sudo systemctl restart mysql

Installing phpMyAdmin
MySQL command line is the tool for people who have hands-on experience of MySQL commands. On the other hand, PhpMyAdmin is GUI based method for the management of different databases. It is not part of our LAMP stack but is used to manage MySQL database. Return to the terminal window and use this command to install phpMyAdmin:
$ sudo apt-get install phpMyAdmin

Press the enter key when prompted. You need to press spacebar from the keyboard to select apache2.

Once you have selected the web server, the system will ask for your permission to configure the database. Press the enter key from the keyboard to choose Yes.

Users will then be prompted to provide phpMyAdmin password. Provide the password then confirm the password in the next dialogue box.

Once you have provided the password, you need to confirm it. Renter the password and then hit enter. The process of installation will continue.

Accessing PhpMyAdmin portal
To access PhpMyAdmin, type localhost/phpmyadmin. This will open up the login page. Provide the credentials and continue. The password is the one that was set earlier.

After you have logged in to phpmyadmin dashboard you can create and manage all databases.

Uninstalling Apache from the system
To uninstall Apache, simply type the following command in the system:
dpkg-l *apache* *mysql* phpmyadmin | grep ^ii | awk '' | xargs sudo apt-get -y purge --auto-remove

The uninstallation will begin similar to the one given below:

Conclusion
The tutorial covered the entire method of installation of the Apache web server. We tested the entire LAMP stack in the system and executed the testing for each of the steps. At last, we tested it on PhpMyAdmin and then went through the method of uninstallation of the system.
Search
About This Site
Vitux.com aims to become a Linux compendium with lots of unique and up to date tutorials.