How to Install and Use NetworkManager (NMCLI) on Ubuntu
NetworkManager is a software application that manages network connections and network settings in Ubuntu Linux. An instance of NetworkManager runs for each network connection managed, which includes Wi-Fi and Ethernet connections, mobile broadband (GSM/3G), and others; NetworkManager will attempt to always maintain at least one active network connection available.
If you are a system administrator and manage Ubuntu servers, you probably know the Network manager already NetworkManager. In this tutorial, we will show you how to install and use basic NMCLI commands on Ubuntu 22.04 and Ubuntu 20.04.
Prerequisites
In order to follow this tutorial, you will need:
- A SuperUser privilege.
- Network connectivity (either a wireless, wired, or VPN network connection)
Updating Ubuntu
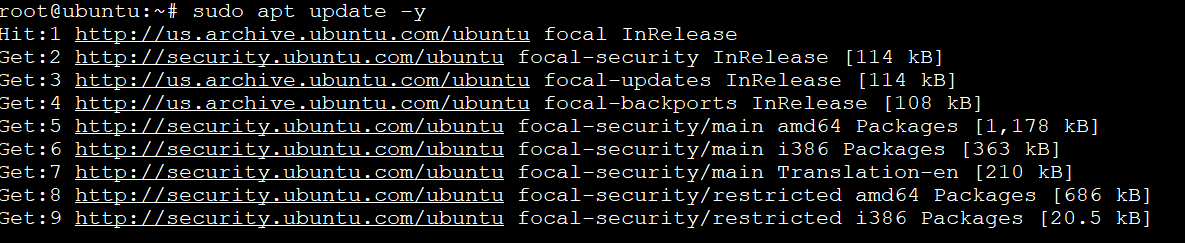
Before installing anything, you need to update your system’s package list by running the following command. This will download the newest versions of all packages available on your Ubuntu Server or Desktop (yes, this command is safe to run even if you already did it before). Updating your system’s package list should be the very first thing that you do after a new install or upgrade.
Install NetworkManager Using APT
Now that your system’s package list is updated, you can use APT (Ubuntu Package Tool) to install NetworkManager.
APT, which stands for Advanced Packaging Tool, is a set of tools to work with Debian/Ubuntu-based Linux distributions. APT simplifies the process of managing software on your system; you can use it to install new packages, remove existing ones and keep track of all of them, among other things.
Installing NetworkManager using APT is safer and more reliable compared to directly installing it from source. However, you might not get the latest version of NetworkManager if you install it from the package repository.
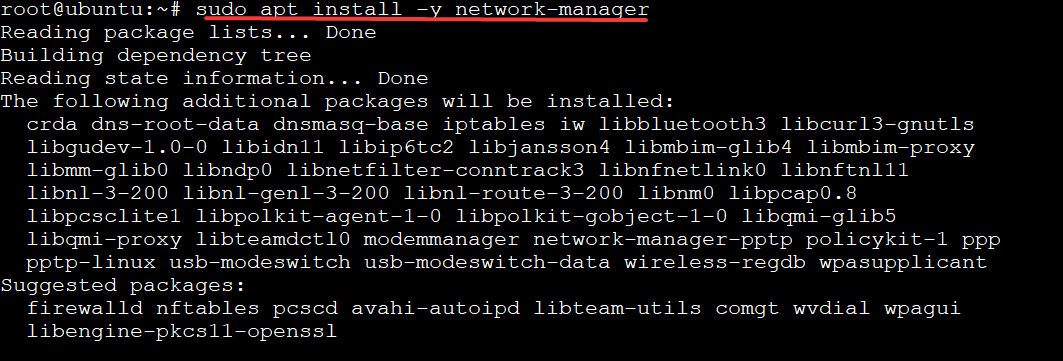
The following command will install NetworkManager without any extra flag or options.
sudo apt install -y network-manager
Once the installation process is complete, you can use the following command to start NetworkManager. The above command will connect to your wireless or wired network connection and activate it.
sudo systemctl start NetworkManager.service
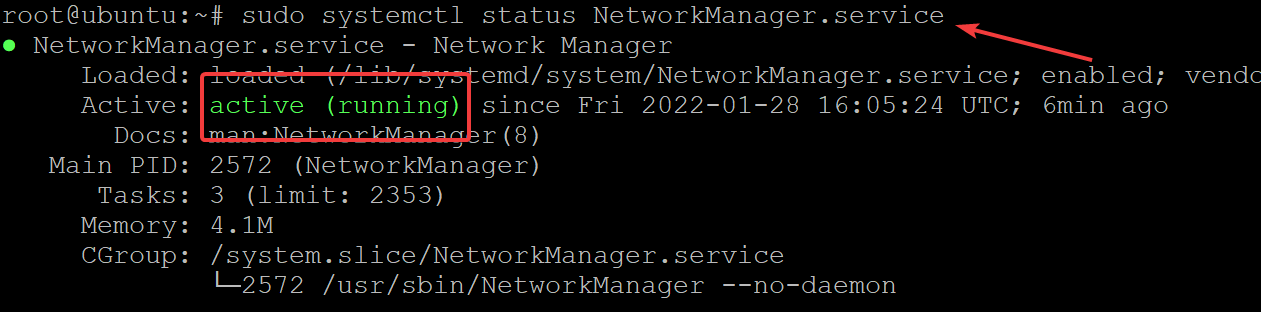
Finally, run the following command to check the NetworkManager status.
Install NetworkManager using Snap
You can also use Snap to install NetworkManager. Snap is a new package format that was designed to work natively on different distributions.
It has many benefits compared with the traditional way of using .deb packages for installation. The snap packages are isolated from your operating system and they will never conflict with any files from your existing operating system.
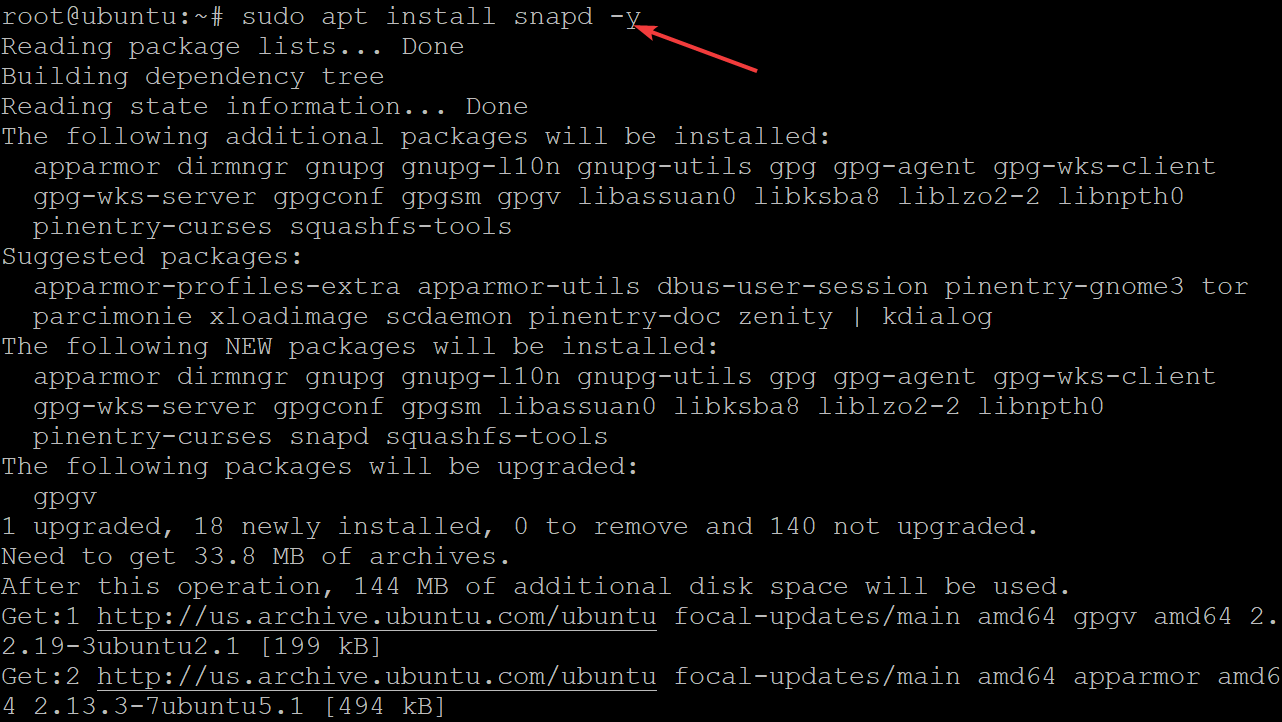
In order to install NetworkManager using snap, you need to first install snap on your Ubuntu Server. You can easily do that by running the following command:
Run the following command to enable the snapd.socket. This command actually enables the snapd.socket unit, which means that Snapd will be running as a service. After this service has started, your system will be able to work with snaps. The –now flag makes sure that NetworkManager starts immediately after you issue this command.
sudo systemctl enable --now snapd.socket
Run the following command to create a symbolic link to the snap path found at /var/lib/snapd/snap. This command creates a symbolic link to the snap path found at /var/lib/snapd/snap. The full path name of the created symbolic link is /var/lib/snapd/snapname. Think of this as another way to refer to a file or directory. With ln -s, you can tell Linux that instead of referring to a file or directory by its actual name, you want it to refer to that object by the path that is symbolic of its true location. This way, Ubuntu will be able to create this link and use it.
sudo ln -s /var/lib/snapd/snap /snap
Finally, run the following command to install NetworkManager using Snap.

The snap connections network-manager command returns information about the different network connection settings that are available on your system. snap connections network-manager can help you configure some of its properties by manually editing the NetworkManager configuration file /etc/NetworkManager/NetworkManager.conf
Now, let’s run snap connections network-manager to see what it’s all about.
snap connections network-manager
This command will output something like this.

Understanding and Using NetworkManager NMCLI
The nmcli command is used to configure NetworkManager, which is the network connection manager that was created by Red Hat. NetworkManager’s aim is to simplify networking and make it easy for users to connect to a network.
You are managing your server network setting by using the GUI, right? Well, the nmcli command makes this easier. It is more powerful compared to the NetworkManager GUI and it works directly with your system’s networking configuration files.
This means that you don’t have to manually write a bunch of configurations or scripts in order to make a certain change happen via the command line. Just use a few nmcli keywords and you’re all set.
The nmcli general status command will return information about your currently active connections.
To simplify things, we will show you how to use the nmcli general status in order to get NetworkManager information about the different connections available on your system. The connection is an object that contains all network-related information for a specific connection type.
Let’s see what happens when we run this command:
This will output something like this.

The nmcli general hostname command will return hostname information about the system. A hostname is a unique name assigned to each machine so that an operating system can identify it.
Let’s see what happens when we run this command:
This will output something like this.

The nmcli monitor command will monitor NetworkManager’s status. Use this command if you want to quickly check NetworkManager’s connectivity information. When you use the nmcli monitor command, NetworkManager will start actively monitoring all your network connections and bring you a list of interfaces.
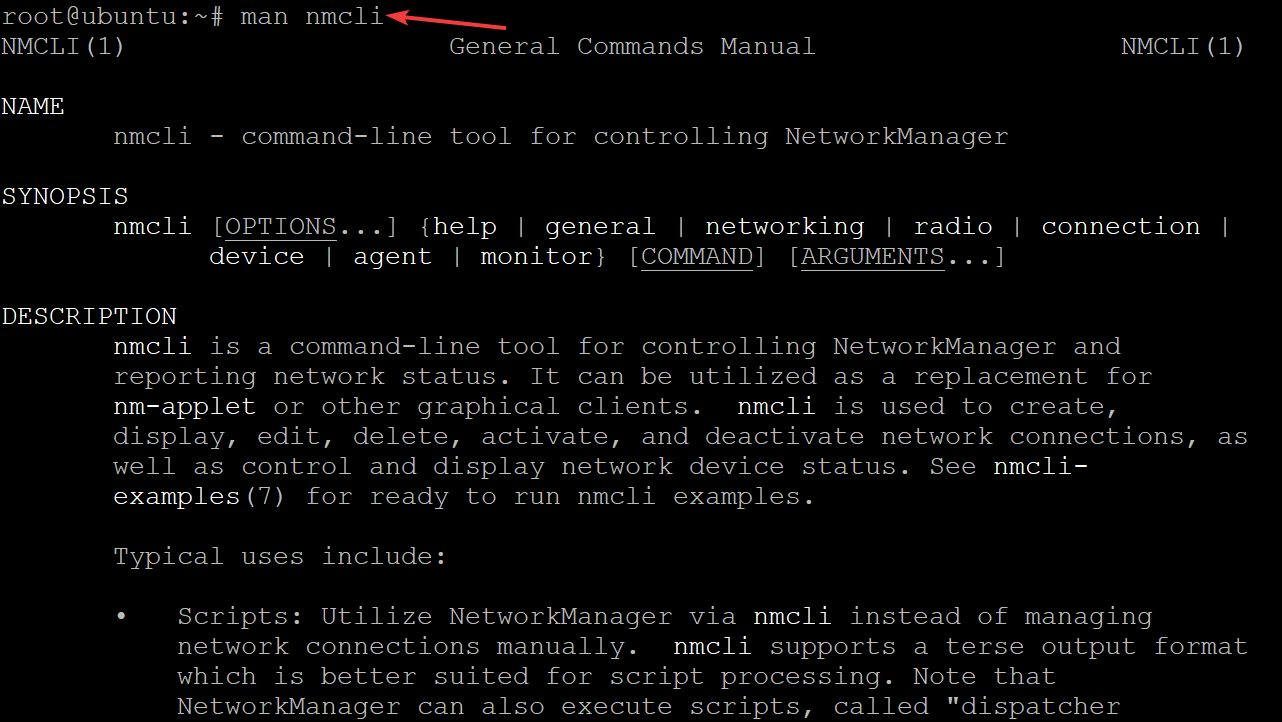
The man nmcli command can provide you with more information and examples about the nmcli command. Type man nmcli inside a terminal window in order to learn more about this command.
Conclusion
In this tutorial, you learned how to install NetworkManager using the APT and Snap in Ubuntu Linux. You also learned about the different NetworkManager commands that you can use in order to manage your network connections.
About
OSNote covers tutorials and stories about Linux and OpenSource Software.
Install NetworkManager
The NetworkManager snap is currently available from the Snap Store. It can be installed on any system that supports snaps but is only recommended on Ubuntu Core at the moment.
You can install the snap with the following command:
snap install network-manager network-manager (1.10/stable) 1.10.6-7 from Canonical✓ installed All necessary plugs and slots will be automatically connected within the installation process. You can verify this with:
$ snap connections network-manager Interface Plug Slot Notes dbus network-manager:wpa - - firewall-control network-manager:firewall-control :firewall-control - hardware-observe network-manager:hardware-observe :hardware-observe - login-session-observe network-manager:login-session-observe :login-session-observe - modem-manager network-manager:modem-manager modem-manager:service - network network-manager:network :network - network-manager network-manager:nmcli network-manager:service - network-observe network-manager:network-observe :network-observe - network-setup-control network-manager:network-setup-control :network-setup-control - network-setup-observe network-manager:network-setup-observe :network-setup-observe - ppp network-manager:ppp :ppp - NOTE: The network-manager:modem-manager plug only gets connected when the modem-manager snap is installed too. Otherwise it stays disconnected. Similarly, there is a network-manager:wpa plug in case we would want to use a custom wpa supplicant snap instead of the one supplied by the core snap (this is not generally recommended).
Once the installation has successfully finished the NetworkManager service is running in the background. You can check its current status with
systemctl status snap.network-manager.networkmanager.service ● snap.network-manager.networkmanager.service - Service for snap application network-manager.networkmanager Loaded: loaded (/etc/systemd/system/snap.network-manager.networkmanager.service; enabled; vendor preset: enabled) Active: active (running) since Thu 2020-07-09 10:19:01 UTC; 6min ago Main PID: 2850 (NetworkManager) Tasks: 3 (limit: 569) CGroup: /system.slice/snap.network-manager.networkmanager.service └─2850 /snap/network-manager/564/usr/sbin/NetworkManager --config-dir=/var/snap/network-manager/564/conf.d/ --config=/snap/network-manager/564/etc/NetworkManager/NetworkManager.conf --log-level=INFO --no-daemon Now you have NetworkManager successfully installed.
network-manager tracks and channels
The network-manager snap has currently four tracks:
- 22: Contains upstream 1.36.4 and has a core22 base. The track name refers to the base snap and it is the convention being used at the moment (see also 20 below).
- 20 : Contains upstream 1.22.10 and has a core20 base. The track name refers to the base snap and it is the convention being used at the moment.
- 1.10 : Contains upstream 1.10.6 and has a core18 base. Nowadays, this is the one installed by default if the channel is not specified when running snap install . The track name refers to the upstream version. More modern releases have changed the convention so the track now refers to the base snap.
- latest : Contains upstream 1.2.2 and has a core16 base. Despite the unfortunate name (there are historical reasons for that) it is the oldest version.
All these tracks are available with the usual risks: stable, candidate, beta, and edge, but only the stable version should be used for production devices. The meaning of the other risk levels is internal to the development team of the network-manager snap.