How to use nm-connection-editor in Ubuntu
![]()
Network manager or “nm” is responsible for the communication and wireless settings of the machine with the other devices. Network manager plays an important role when it has to connect its wired connections. For example, we have two or three different wireless routers to which we want to connect that are all implemented by the network manager. The network manager is also used to configure the different IPs (internet protocols). Any type of connection issues can be resolved through the network manager. The network manager has the connection editor with different tools for example gnome settings, nm connection editor, nmcli etc.
This tutorial will help us to understand what Network Manager is and how its tool, the nm-connection editor works.
How to use nm-connection-editor in ubuntu
To understand how the nm-connection-editor works we will run the commands in the terminal and try to explain in detail. First we will update and upgrade the Ubuntu repository as


Now we will open the nm-connection-editor by running the command:

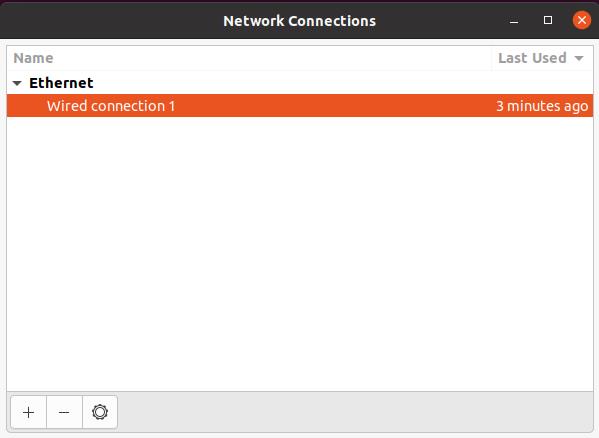
A dialogue box will appear. It will show the connections if you already have for example in our case we have an ethernet connection to the machine so it will show us that.
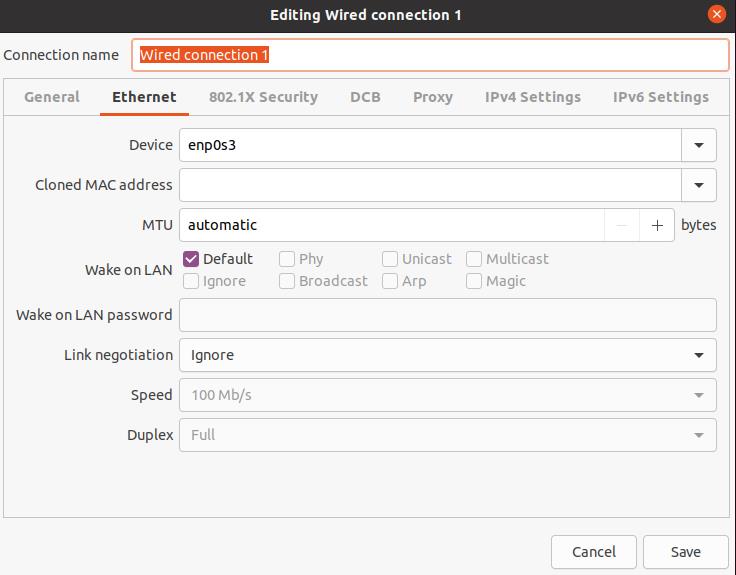
if we click on the “Wired connection 1” which is our ethernet connection then it will give details of our ethernet connection:
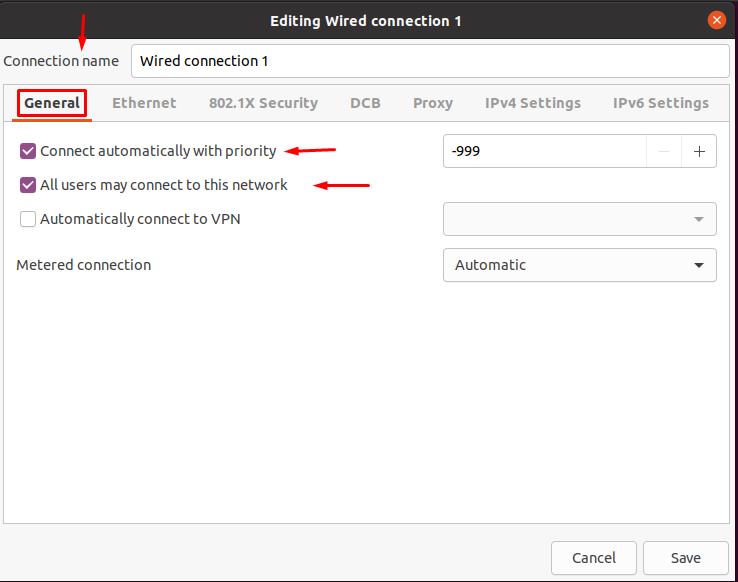
Now we will discuss in detail all the options, for this we first click on the “General” and look at the options we have. It is showing us the connection name of our ethernet which is “Wired connection 1”. Then we have an option on which we checked is “Connect automatically with priority” means the network will give priority to this connection as well as connect to it automatically. The next option which we have checked is “All users may connect to this network” means all types of users can connect to this network. Next option which is unmarked is about VPN if you require it then you can connect to it similarly case is with metered connection. If you want to make some modifications, do it and then click on the save button to save all the changes:
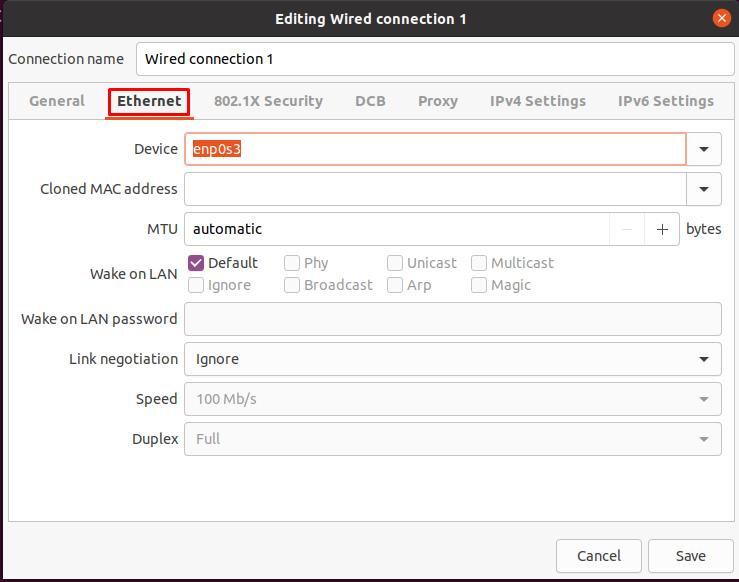
Next we click on the “Ethernet” tab, it will show the details about the device network interface name. Then it will show other details as well such as speed of the internet, what is the wake on LAN option and whether it is duplex or not.
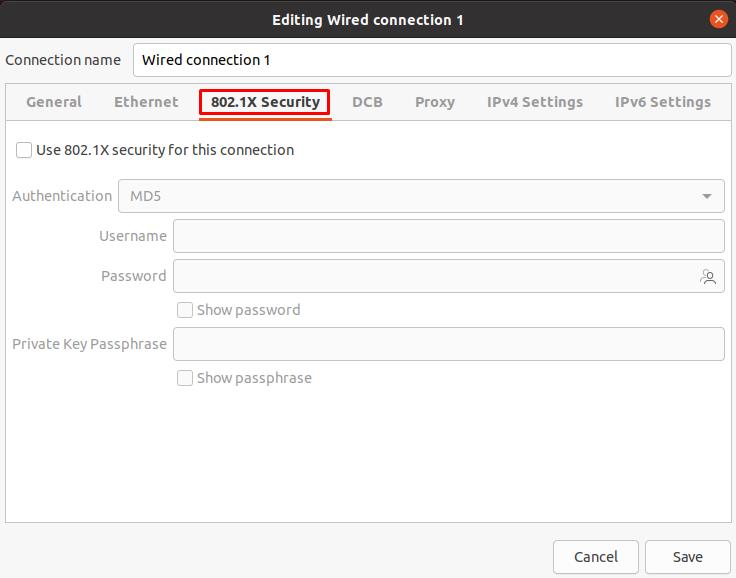
Next option is 802.1X Security, as we have no wireless connections so we have all the options hidden. 802.1X works with the 802.11 wireless networks as it is a security protocol so it decides whether or not the users can connect with the network wirelessly.
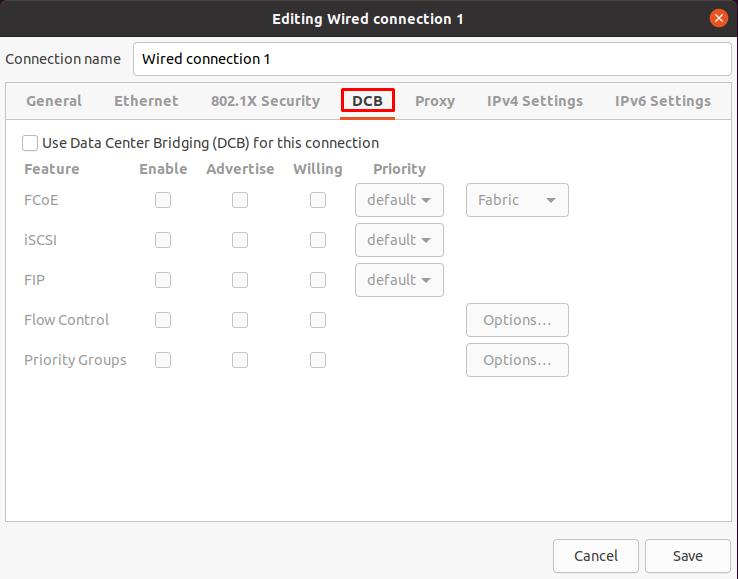
DCB is the next option which is Data Centre Bridging so if you are using this setting then check the icon and configure it according to your requirement:
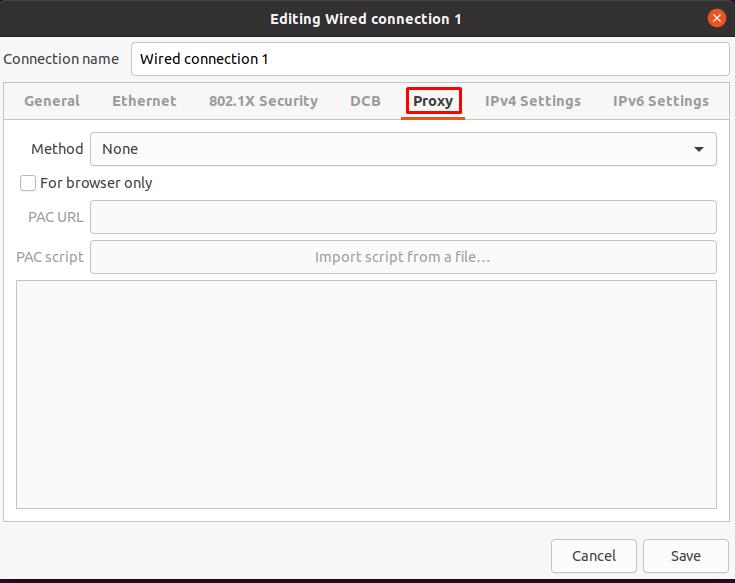
Proxy settings can also be done according to the requirement of the user:
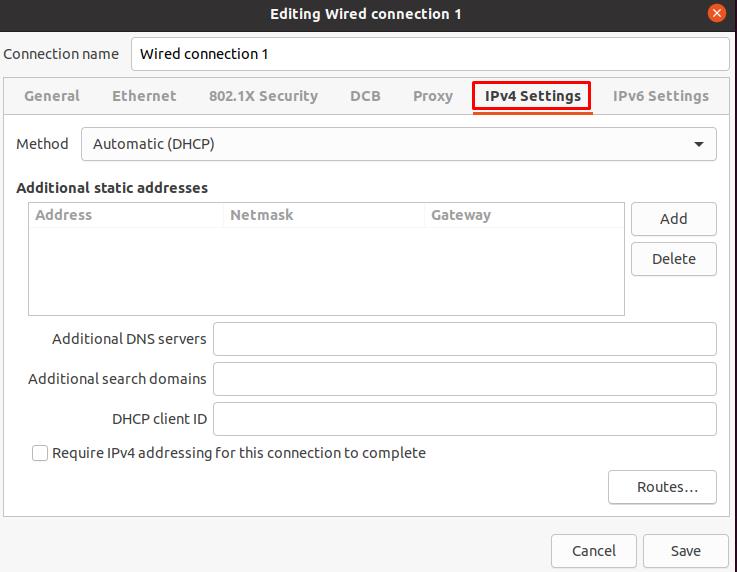
IPv4 Settings will display all the settings of the wired connection, in our case we have chosen the automatic option so it is not showing anything but if you select manual settings then you have to configure it manually and it will then display all the settings.
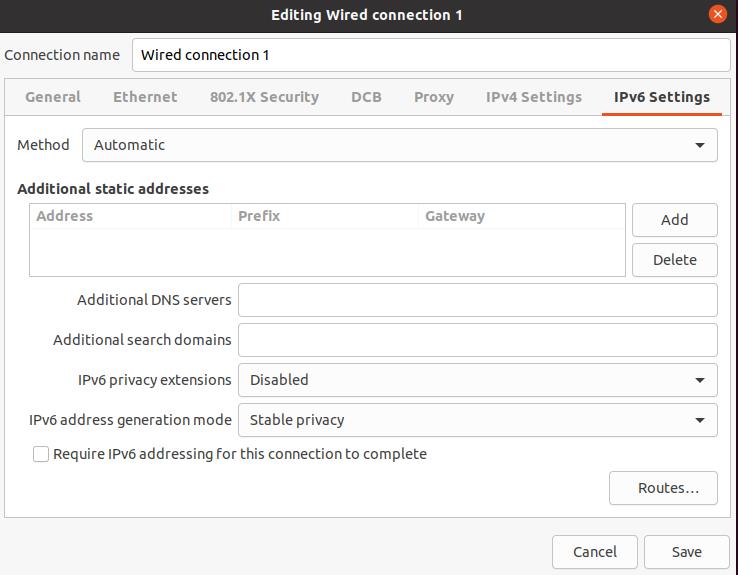
IPv6 Settings are similarly configured as the IPv4 settings.
Now we click on the cancel option present on dialogue box in red colour. We will again come to the main dialogue box. Here we see a sign (+), by clicking on it, a dialogue box will appear asking you the choice of connection.
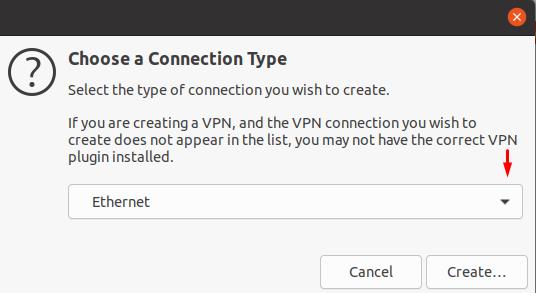
If you click on the dropdown arrow, the menu will be open with the options through which we can add some other hardware, virtual or VPN connections.
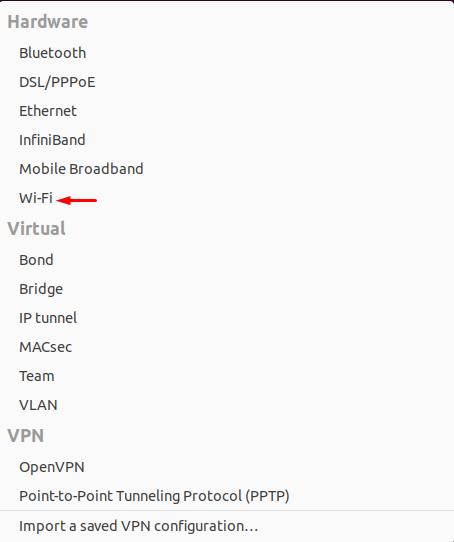
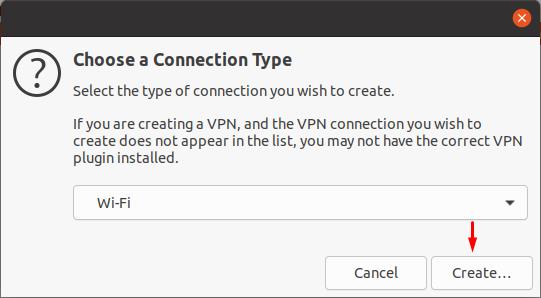
Now for understanding how to make a connection we will make a Wi-Fi connection. For this purpose click on Wi-Fi, a dialogue box will appear with the Wi-Fi settings choose the create option.
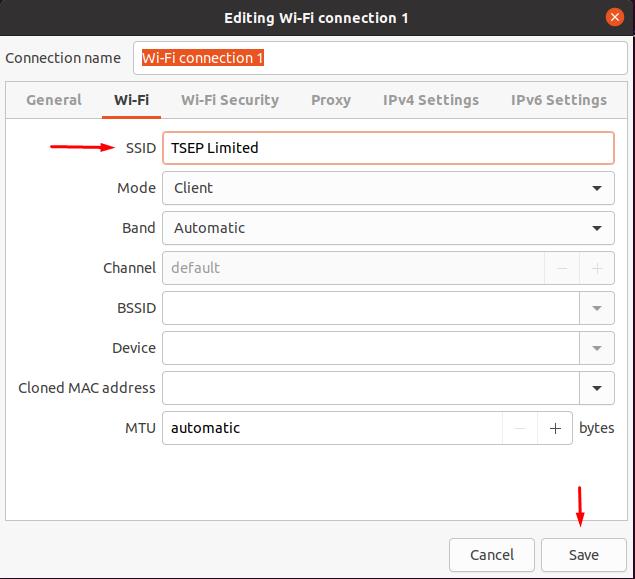
A settings dialogue box will appear, enter the SSID of the wireless network, in our case it is “TSEP Limited” and click on the save button below.
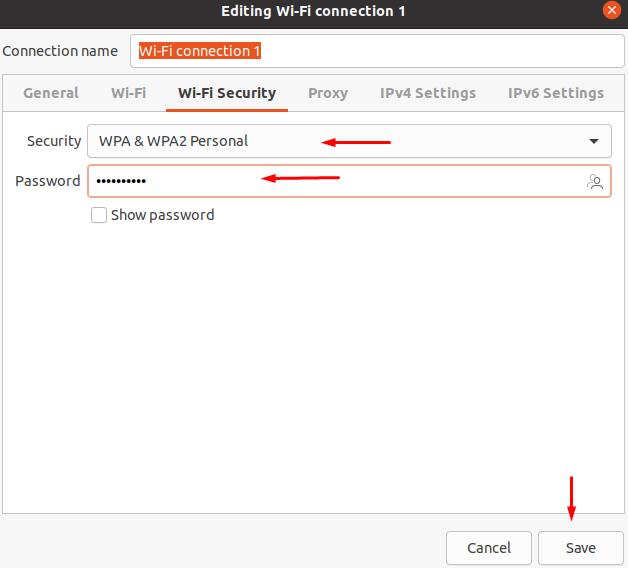
Now choose the next settings of Wi-Fi security, choose the type of security in our case it is “WPA2 Personal” after this enter the security key of the Wi-Fi and save the settings by clicking on the Save button. It should be noted down that if your Wi-Fi has no security settings then just choose the None and save it.
Once these settings are done close the dialogue box and the network connection is created.
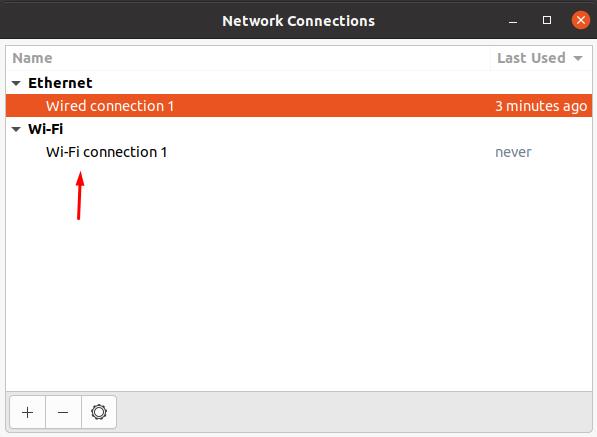
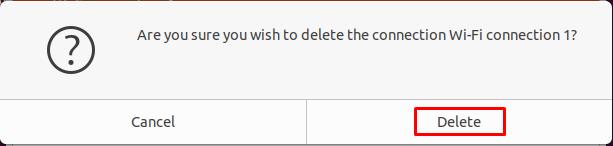
Now choose the (-) option in the below to delete the connection. Let’s say we delete the newly created W-Fi connection, click on the connection you wanted to delete and choose (-) , a confirmation dialogue box will appear, click on the Delete button and the connection has been deleted.
Conclusion
Sometimes we have to add connections or make some modifications in the settings of the connections so we can accomplish such tasks by using the nm-connection-editor. This tutorial helps us in understanding what is the Network Manager and its tools. We have discussed its one tool that is nm-connection-editor in detail and learned that it is for the addition, deletion or modification of the networks. Then we learned how to open the nm-connection-editor and it has different options. We have discussed those options too like Wired, VPN and Network Proxy settings. Aimed this tutorial will help aid you in understanding what nm-connection-editor is and how it works.
About the author
Hammad Zahid
I’m an Engineering graduate and my passion for IT has brought me to Linux. Now here I’m learning and sharing my knowledge with the world.
Edit Connections
This section shows how to use the network-manager built-in editor to modify connections as well as provide a reference for changing some of the settings.
Using nmcli Console
Aside from offering the possibility to manage and modify the network connections using the command-line, network-manager offers a built-in, interactive console to achieve the same. In order to use it type:
It will bring up an interactive console. In the first step you will be prompted to enter the connection type. The list of valid connection types will be displayed on the screen. Once you select one you will be taken to the nmcli console where you have the possibility to modify its parameters.
Alternatively, if you know the valid connection types, you could jump straight to the nmcli console by providing the type as a parameter:
$ nmcli connection edit type
where must be a valid connection type such as ‘wifi’.
An attempt to edit the wifi connection type would look like:
$ nmcli c edit Valid connection types: generic, 802-3-ethernet (ethernet), pppoe, 802-11-wireless (wifi), wimax, gsm, cdma, infiniband, adsl, bluetooth, vpn, 802-11-olpc-mesh (olpc-mesh), vlan, bond, team, bridge, bond-slave, team-slave, bridge-slave, no-slave, tun, ip-tunnel, macvlan, vxlan Enter connection type: wifi ===| nmcli interactive connection editor |=== Adding a new '802-11-wireless' connection Type 'help' or '?' for available commands. Type 'describe [.]' for detailed property description. You may edit the following settings: connection, 802-11-wireless (wifi), 802-11-wireless-security (wifi-sec), 802-1x, ipv4, ipv6 nmcli> From now on it is possible to edit the wifi connection settings. The list of settings is provided as in the example above. The nmcli console offers a set of commands that can be used to navigate between settings. To get the list of available commands type ‘help’ or ‘?’
nmcli> ? ------------------------------------------------------------------------------ ---[ Main menu ]--- goto [ | ] :: go to a setting or property remove [.] | :: remove setting or reset property value set [. ] :: set property value describe [.] :: describe property print [all | [.]] :: print the connection verify [all | fix] :: verify the connection save [persistent|temporary] :: save the connection activate [] [/|] :: activate the connection back :: go one level up (back) help/? [] :: print this help nmcli :: nmcli configuration quit :: exit nmcli ------------------------------------------------------------------------------ nmcli> Change Connection Details
This section will show how to change some of the connection details including IPv4 and IPv6 settings.
It is important to understand that every option can be modified using either the command-line or the editor. The advantage of the editor is that it shows which options are available for modification in contrast to the command-line which does not.
It is possible however to learn about the available settings from the command-line by printing the connection details. Type:
where is the connection name.
The above will bring a fairly long list of text on the terminal, therefore it is best to either use a pager or grep to make the results manageable.
IPv4 and IPv6 Options
For example for IPv4 settings one would do:
$ nmcli c show | grep ipv4 ipv4.method: auto ipv4.dns: ipv4.dns-search: ipv4.dns-options: (default) ipv4.addresses: ipv4.gateway: -- ipv4.routes: ipv4.route-metric: -1 ipv4.ignore-auto-routes: no ipv4.ignore-auto-dns: no ipv4.dhcp-client-id: -- ipv4.dhcp-timeout: 0 ipv4.dhcp-send-hostname: yes ipv4.dhcp-hostname: -- ipv4.dhcp-fqdn: -- ipv4.never-default: no ipv4.may-fail: yes ipv4.dad-timeout: -1 (default) For example setting up the DNS server would require typing:
$ nmcli c modify ipv4.dns "8.8.8.8" The rest of the settings can be modified in the same fashion.
WiFi Powersave Option
The WiFi powersave option can have one of the following values:
Changing it is as simple as:
$ nmcli c modify 802-11-wireless.powersave 2