- 10 Best Linux Distros to Install on a USB Stick
- 1. MX Linux
- 2. Puppy Linux
- 3. Peppermint OS
- 4. Ubuntu GamePack
- 5. Kali Linux
- 6. Slax
- 7. Porteus
- 8. Knoppix
- 9. Tiny Core Linux
- 10. SliTaz
- How to Install Linux OS on USB Drive and Run it On Any PC
- Requirements:
- Step 1: Create Bootable Linux Installation Media
- Step 2: Create Partitions On Main USB Drive
- Step 3: Install Linux on USB Drive
- Step 4: Customize the Lubuntu System
10 Best Linux Distros to Install on a USB Stick
The GNU/Linux community is blessed with 100+ distributions and we do our best to cover only the best of them on FossMint so if you haven’t checked out titles like the Best Linux Distros for Laptops in 2019, 5 Operating Systems for the IoT, and the Top 10 GNU/Linux Distros for Privacy & Security then you probably should.
Today, our attention is Linux distros that are perfect for running from USB sticks (and potentially other portable external storage devices) which means that we’ll be concentrating on portable Operating Systems.
These are Operating Systems that are designed to be minimalist in their resource requirements i.e. they can run on hardware with little secondary storage space and/or little RAM.
Portable Operating Systems also typically come in small enough sizes to fit on USB drives and CDs without losing the quality of their performance even when running on old machines. With that being said, here’s my list of the best portable Linux distributions.
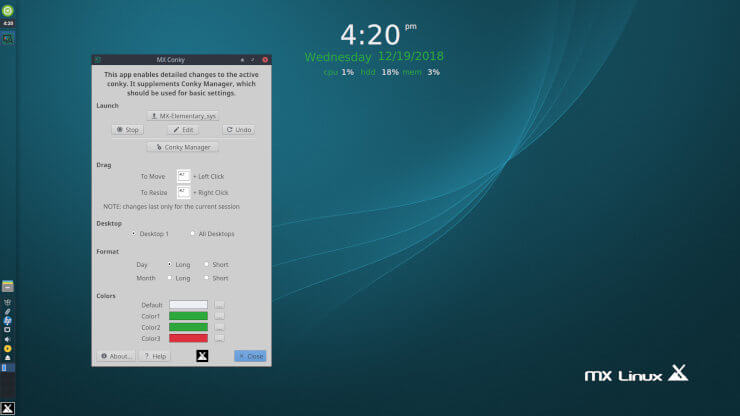
1. MX Linux
MX Linux is an open-source antiX and MEPIS-based Linux distro designed to work efficiently on both old and modern PCs. It is easy to configure and has been developed to be simple enough for Linux beginners to easily get up and running with it.
MX Linux is powerful and sure to run nicely on your USB stick plus its online community is 100% welcoming of new users and developers.
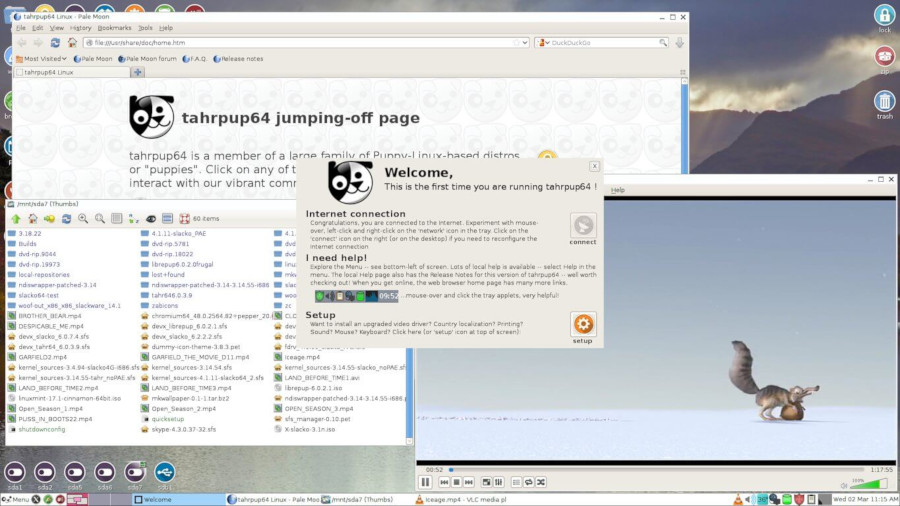
2. Puppy Linux
Puppy Linux is a collection of completely customizable lightweight portable Linux distributions developed with a focus on memory friendliness and ease of use. It ships with common tools for daily computing, a “grandpa”-navigable UI, and several flavors to meet the individual requirements of potential users.
Puppy leaves such a small memory footprint that it can run entirely on RAM and it even enables you to save your session data separately.
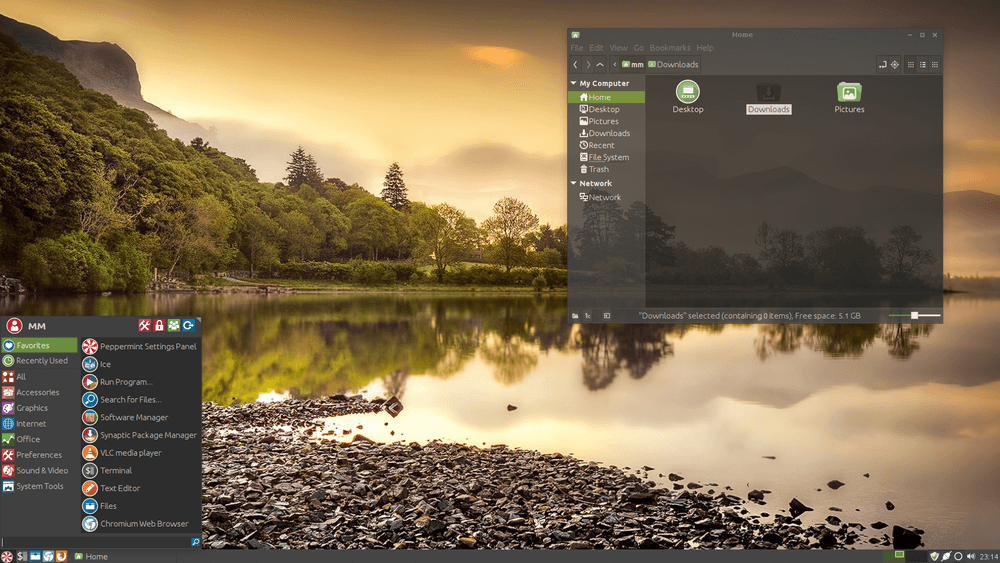
3. Peppermint OS
Peppermint OS is a fast, fully customizable lightweight Lubuntu-based OS designed to integrate with web-based applications and cloud services.
It combines the functionality of Xfce’s panel and application menu with LXDE’s lxsession to offer users a fancy desktop environment and ships with the tools that users typically need in their workstation such as the Software Manager and the terminal.
4. Ubuntu GamePack
Ubuntu GamePack is an Ubuntu-based distro created to provide Linux users with 28,000+ games and applications that typically run on only Windows and MS-DOS.
It ships with preinstalled delivery systems for Internet games and apps including Lutris, Steam, Wine, and PlayOnLinux and conveniently allows users to keep copies of their game configuration and progress on multiple drives.

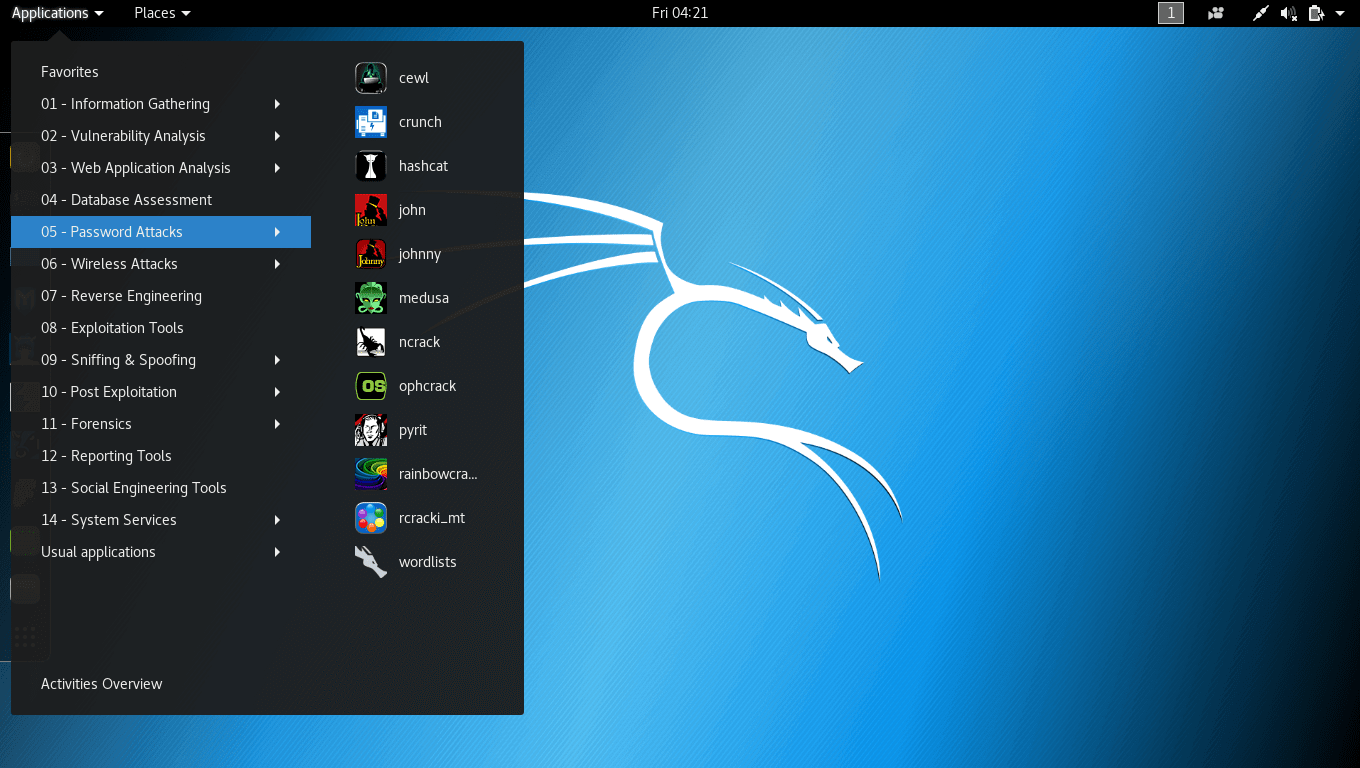
5. Kali Linux
Kali Linux is a Debian-based distro developed especially for penetration testing and digital forensics. It comes with 300+ premier tools built by an elite team of security experts and it is designed to be able to run on a flash drive in order to facilitate an unhindered workflow irrespective of place.
If you’re into cybersecurity/forensics you should check out our article on the Best 20 Hacking and Penetration Tools for Kali Linux.
6. Slax
Hailed as a Pocket Operating System, Slax is an open source Debian-based LiveCD distro with a modular installer that enables users to choose the apps they want to be installed on their machine.
In total, Slax is about 210MB and requires just about 256MB RAM to run. It works excellently even on old machines as it is available for both 32 and 64-bit architectures.
7. Porteus
Porteus is a full Linux Operating System optimized to be run from USB flash drives, CDs, or any bootable storage media including hard drives.
Being a little under 300MB, it is among the smallest and yet fastest distros on our planet as, among other features, it boots into the LXDE desktop in under 15 seconds! It implements a modular system which is available for 32 and 64-bit architectures with support for several world languages and a large user community.
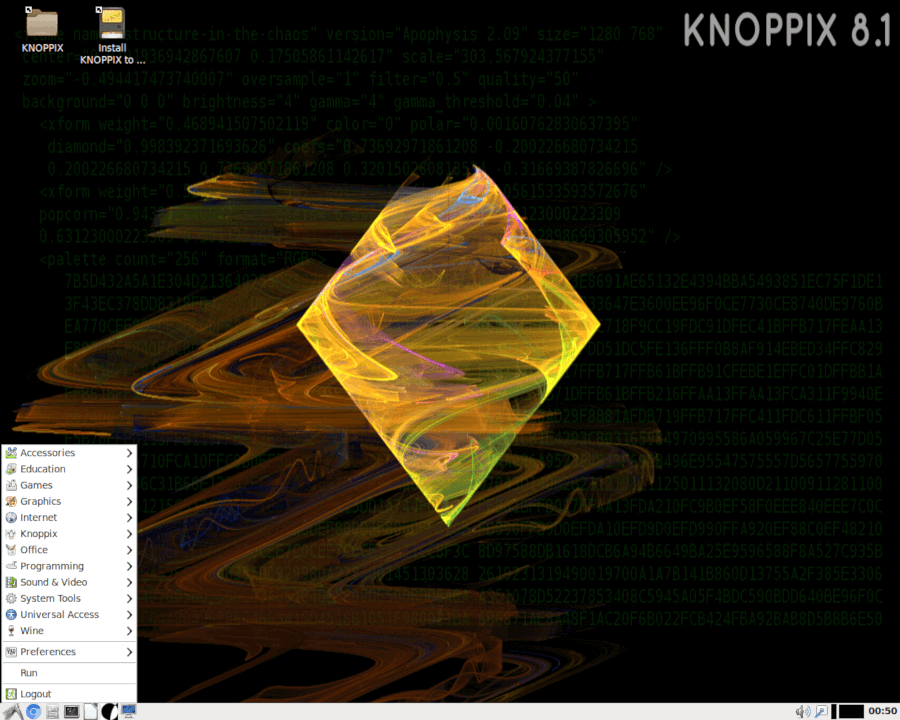
8. Knoppix
Knoppix is a Debian-based Operating System designed for running directly from a USB drive and/or CD/DVD thereby successfully placing a Live Linux Filesystem on CD.
Knoppix was first released 18 years ago as one of the first LiveCD distributions and has been in active development ever since and giving rise to similar initiatives such as DSL.
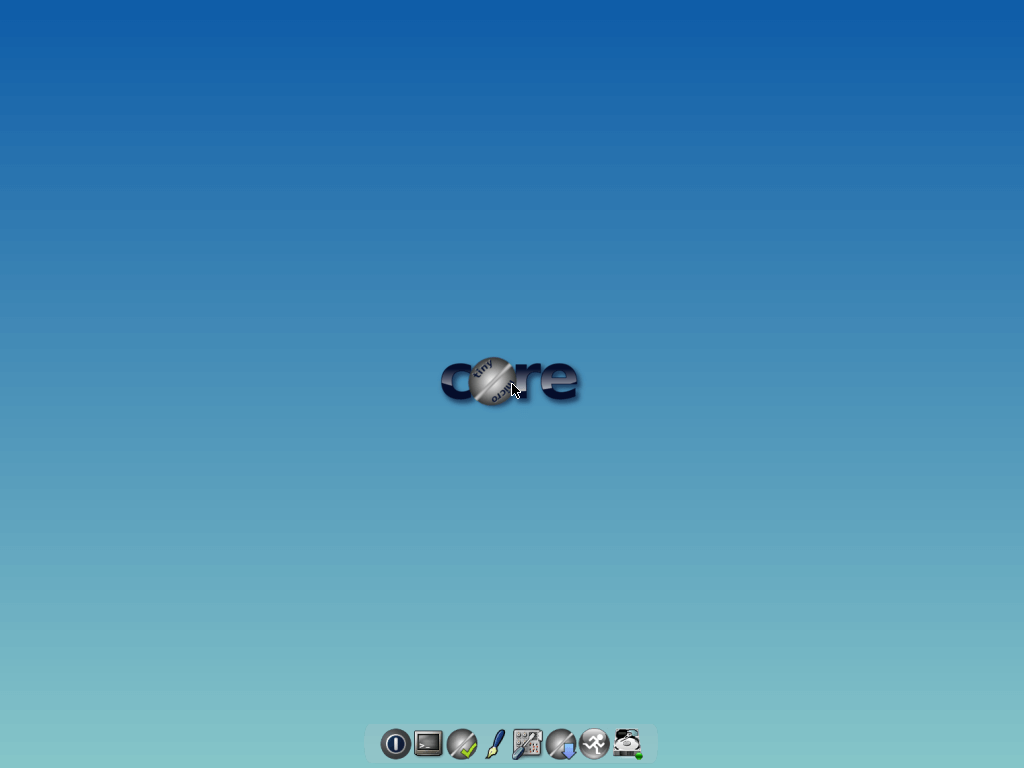
9. Tiny Core Linux
Tiny Core Linux is a mini Linux Operating System developed by Robert Shingledecker to provide a base system using FLTK and BusyBox and it stands out for its small size and minimalist approach to applications manager, among other features.
The goal of the Tiny Core Linux project is to create an OS capable of booting from a CD ROM, pen drive, or booting frugally from a hard drive while completing operations speedily. It runs directly from RAM and can have its modules extended using extensions installed in the RAM or mounted from a storage device.
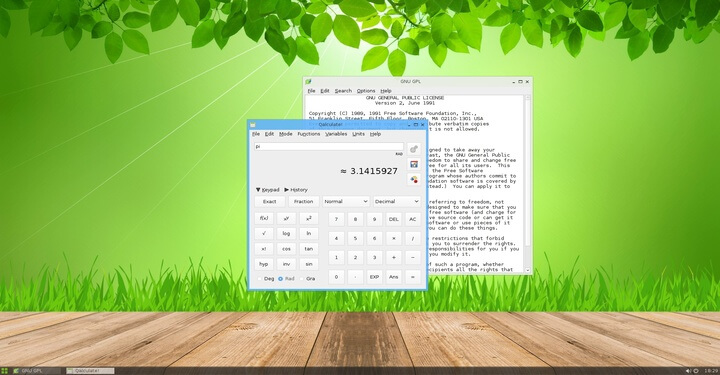
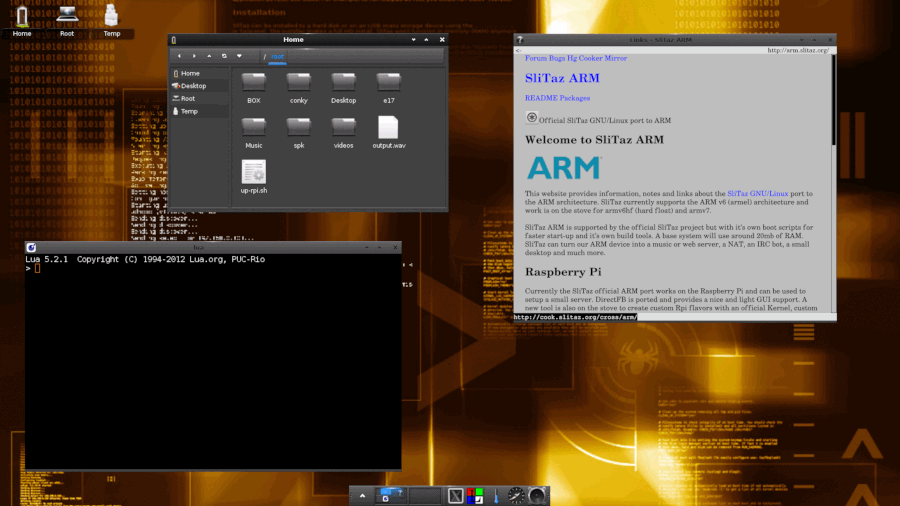
10. SliTaz
SliTaz is a secure and high-performance GNU/Linux Operating System designed to be fast, simple to use, and completely customizable. Its name stands for Simple, Light, Incredible, Temporary Autonomous Zone and with a total core LiveCD size of 35 – 50MB.
SliTaz is possibly the smallest distribution with a desktop GUI on the planet. It is so customizable that you can change anything you want including adding Desktop Effects, persistence (the characteristic of a state that outlives its parent process), etc.
Did I mention your favorite portable Linux distro? Feel free to add your suggestions and share your experience with us in the comments section below. And don’t forget to support us by subscribing to FossMint’s newsletter and sharing our articles.
How to Install Linux OS on USB Drive and Run it On Any PC
Ever thought of using any computer which is not yours, with all your personal stuff and configuration? It is possible with any Linux distribution. Yes! You can use your own, customized Linux OS on any machine with just a USB drive.
This tutorial is all about installing Latest Linux OS on your pen-drive ( fully reconfigurable personalized OS, NOT just a Live USB ), customize it, and use it on any PC you have access to. Here I am using Lubuntu 18.04 Bionic beaver for this tutorial (but, you can use any Linux distribution). So let’s gets started.
Requirements:
- One Pendrive 4GB or More (Let’s call it as Main USB drive/Pendrive).
- One more Pen drive or DVD disk to use as bootable Linux installation media.
- Linux OS ISO file, for example Lubuntu 18.04.
- One PC (Warning: Disconnect internal hard drives to prevent boot record alteration).
Important: While this procedure will not cause loss of data, some users have experienced changes to their internal drive’s bootup behavior depending on Linux distributions selected. To prevent any possibility of this occurrence, you may wish to disconnect your hard drive before continuing with the USB install portion of the tutorial.”
TIP: Use 32 bit Linux OS to make it compatible with any available PC.
That’s it! Go, and collect all of these. It’s time to do something new.
Step 1: Create Bootable Linux Installation Media
Use your Linux ISO image file to create a bootable USB installation media. You can use any software like Unetbootin, Gnome Disk Utility, Yumi Multi Boot, xboot, Live USB Creator, etc. to create bootable USB with the help of ISO image file.
Alternatively, you can use DVD disk by writing that ISO image to it (but that is the old school method).
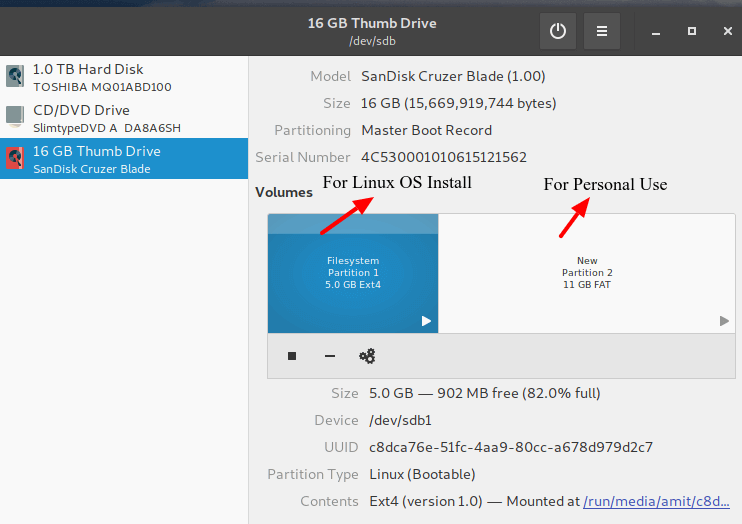
Step 2: Create Partitions On Main USB Drive
You have to make two partitions on your Main USB drive using Gparted or Gnome Disk Utility, etc.
- The root partition of format ext4 of size according to your use.
- Optionally you can use the rest of the space as a FAT partition for using it as a normal USB drive.
I am having 16GB USB drive and I have created one root partition of 5GB and using rest 11GB as normal FAT partition. So my 16 GB USB drive is converted to 11GB drive for normal use on any PC. Sounds good.
This step you can do while installing Linux also, but it will be very complex while installing Operating Systems like Arch Linux.
Once you have created required partitions on the Main USB drive. Now take a deep breath because it’s time to go for Linux installation section.
Step 3: Install Linux on USB Drive
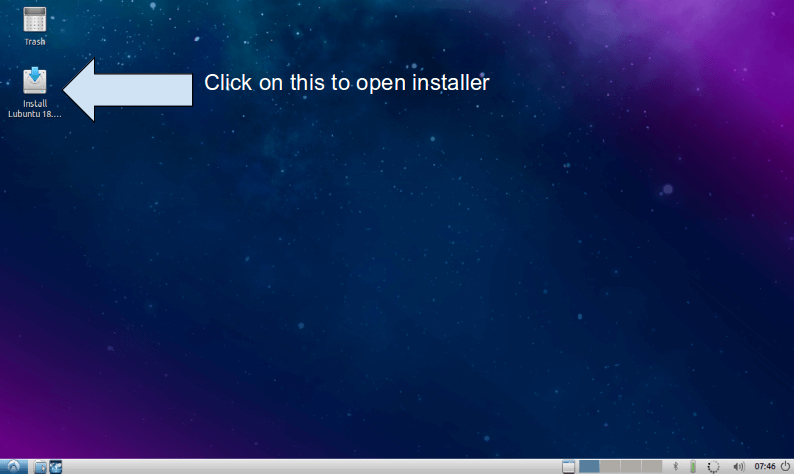
1. First, boot Linux OS (Lubuntu 18.04) from your bootable installation media and launch installation application from a live session. Live session of Lubuntu 18.04 will look like this.
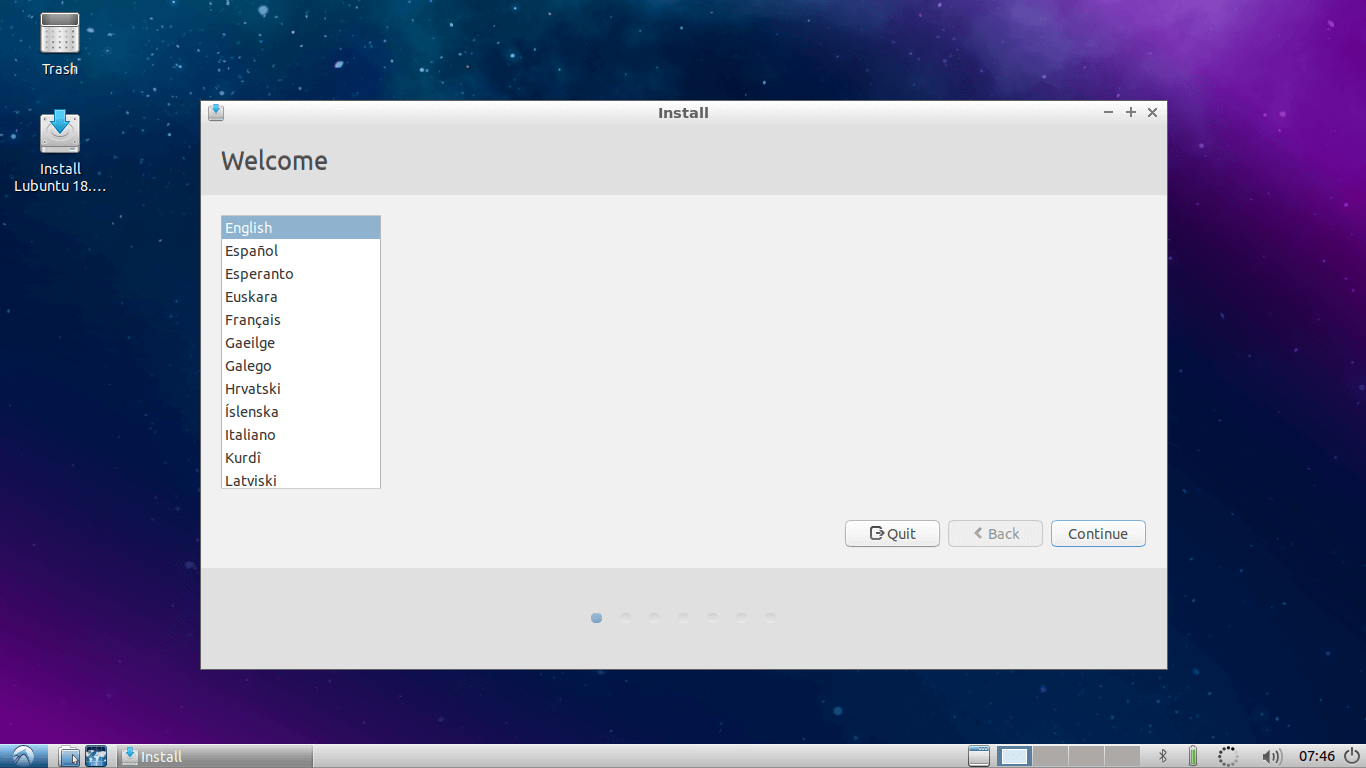
2. Installer welcome screen will appear, select Language there and hit Continue.
3. Select Keyboard Layout and continue…

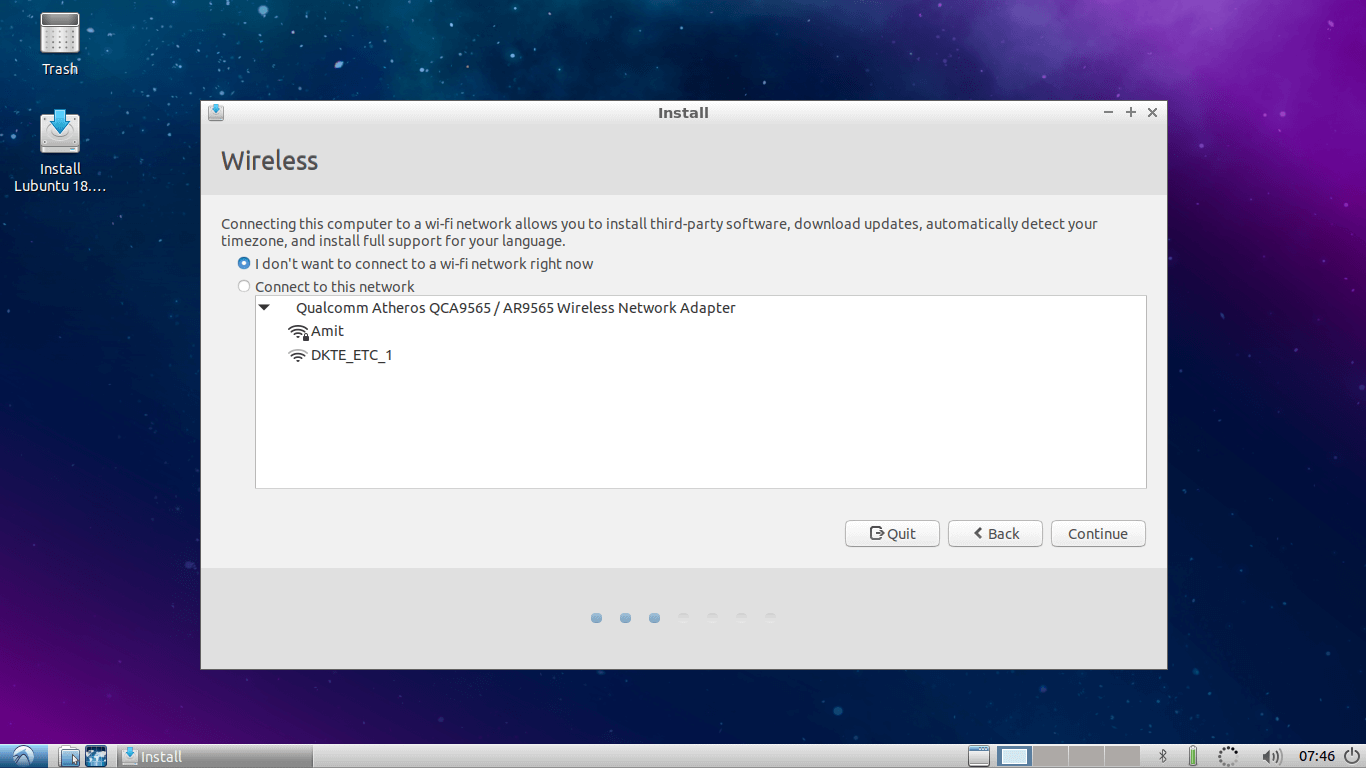
4. Select Wifi internet if you want to update Lubuntu while installation. I will skip it.
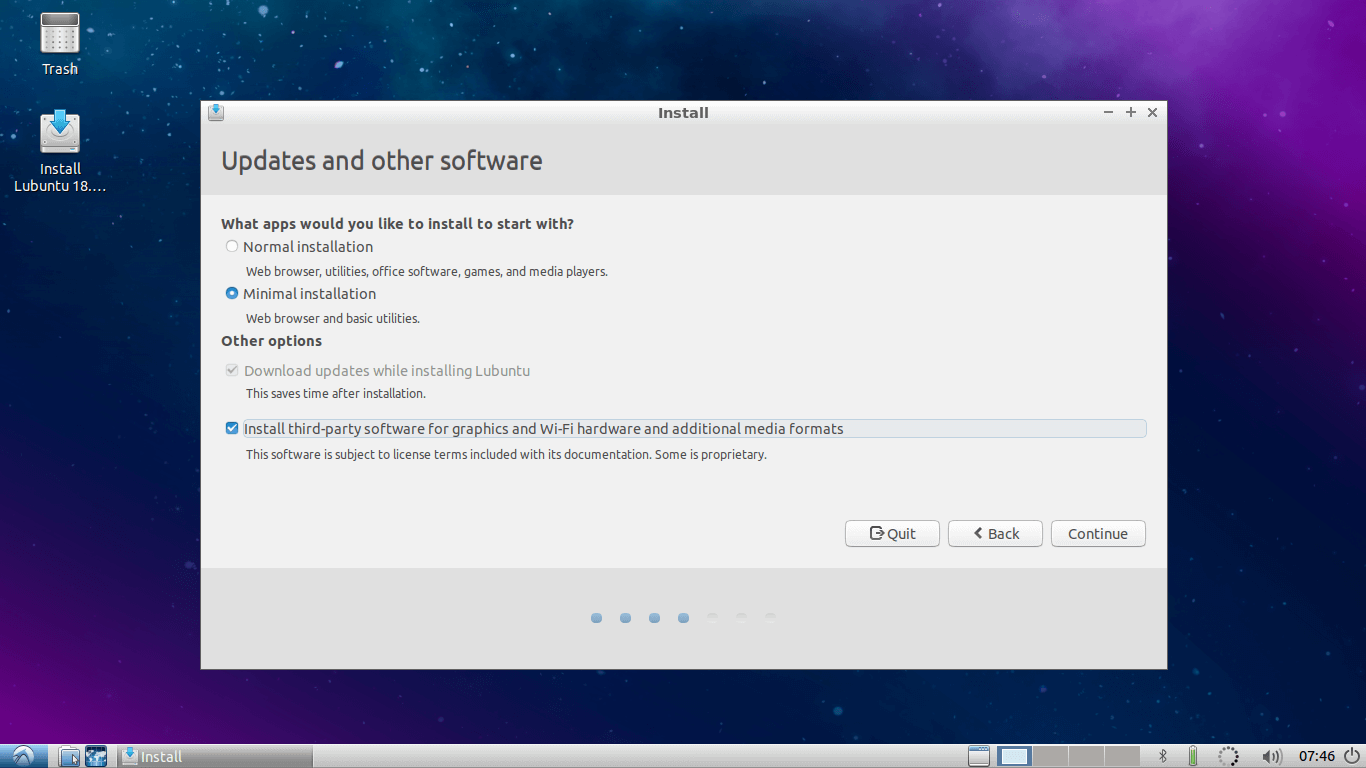
5. Select Installation Type and Third-party installation as per your choice and go to next..
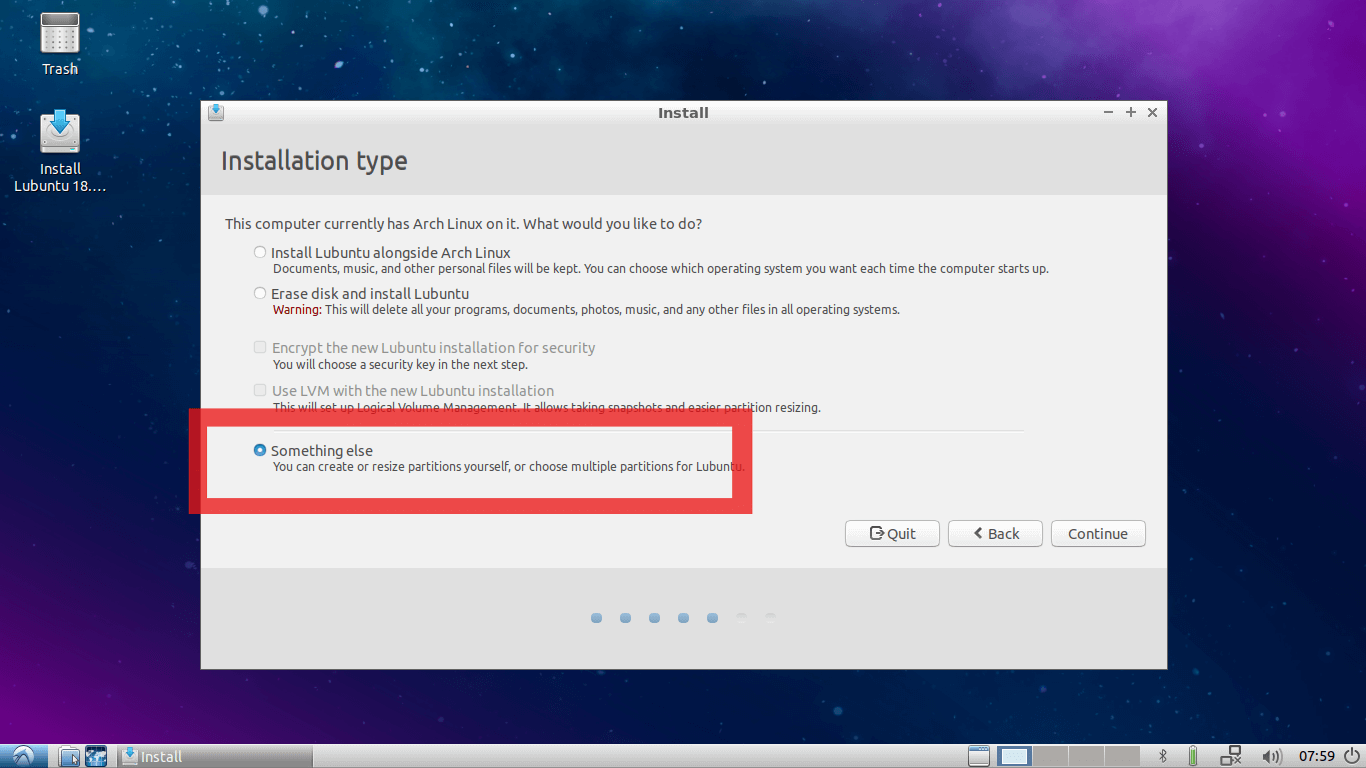
6. Here select Something Else Option (It is Mandatory) and go to next…
7. This is an Important step, here you need to find out where your Main USB drive is mounted.
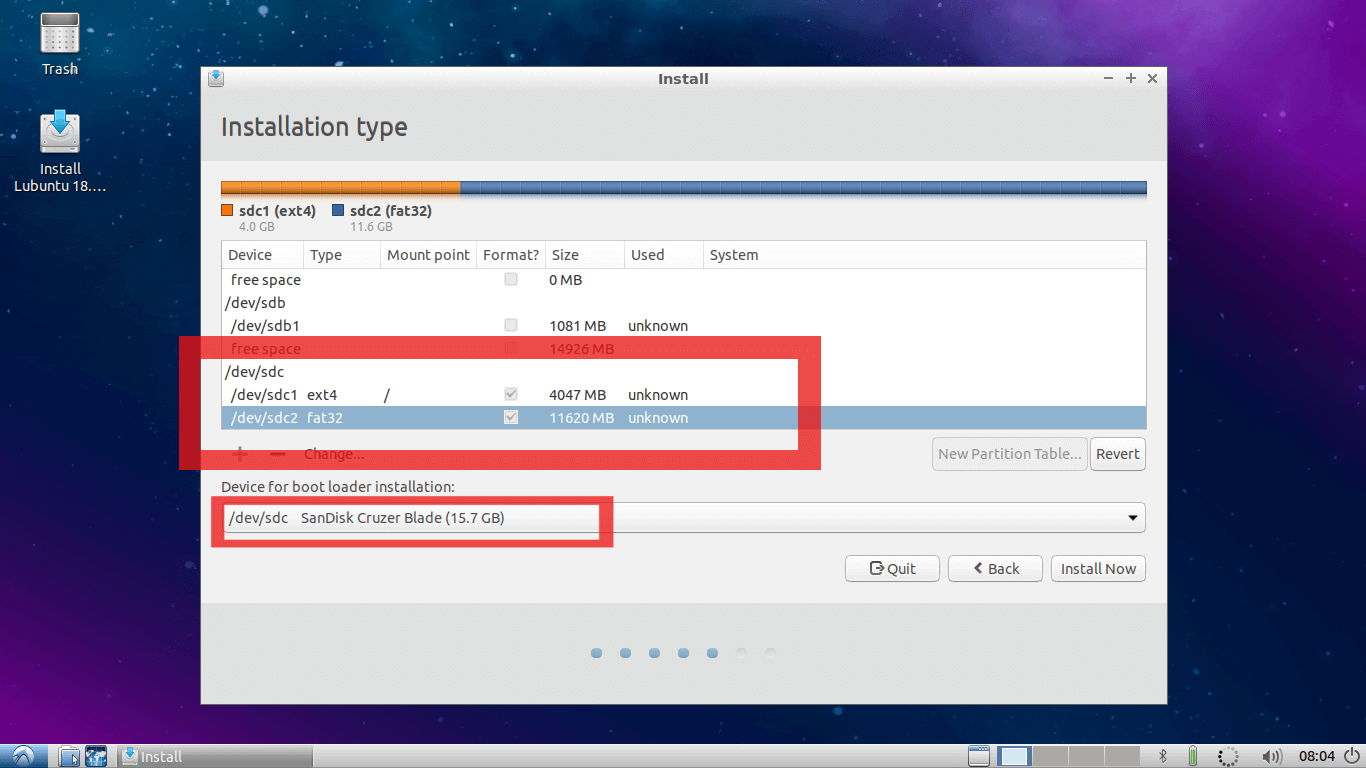
In my case /dev/sda are an internal hard disk of the PC and I am using /dev/sdb is USB Lubuntu Installation media from where this live session is booted.
And /dev/sdc is my Main USB drive where I want to install my Linux system and where I have made two partitions in step number 2. If you have skipped step 2, you can also make partitions in this window.
First, change the mount point of the first partition on this Main USB drive to ROOT (i.e. “ / ” ). And as shown in the second red square select bootloader installation device as the Main USB drive.
In my case it is /dev/sdc . This is the most important step in this tutorial. If it is not done correctly your system will boot only on the current PC you are using, which is exactly opposite of your motivation to follow this tutorial.
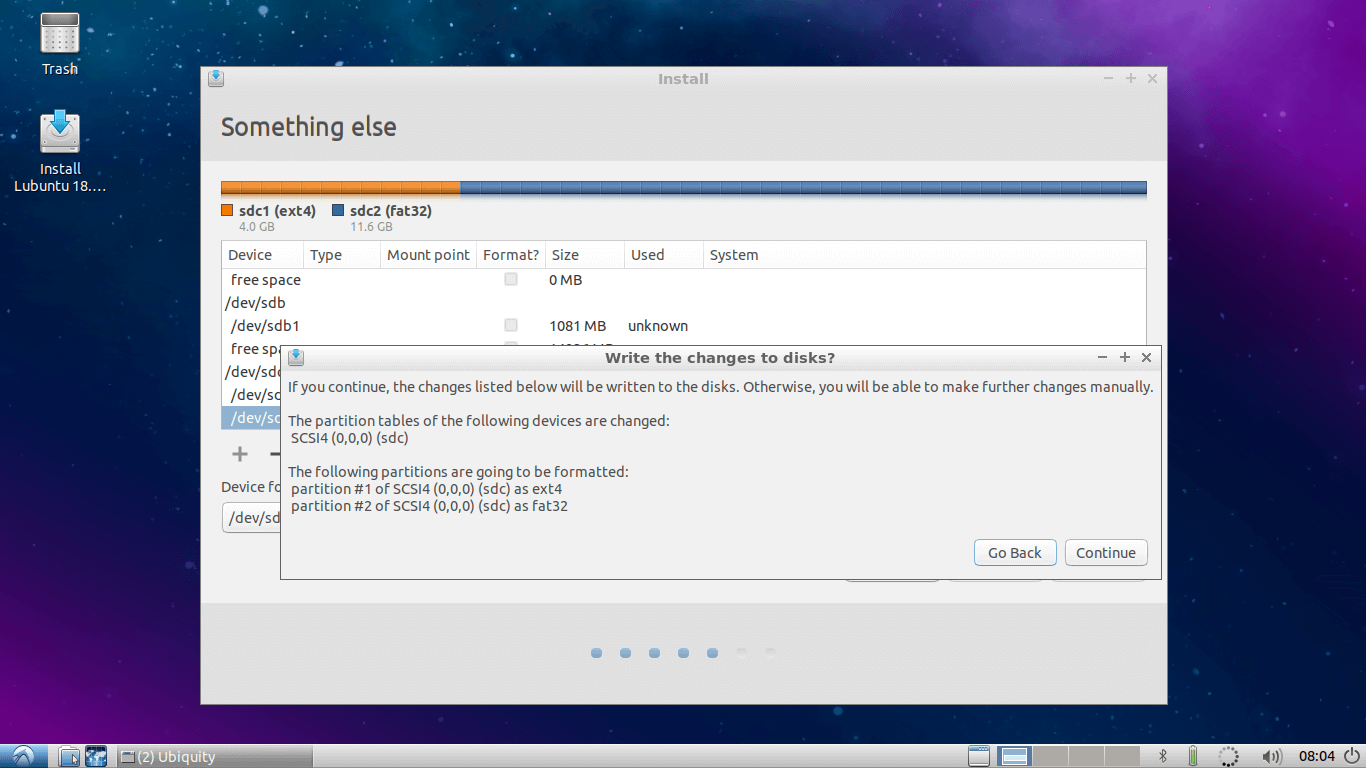
Once it is completed, double-check it and hit continue. You will get a small window showing devices and drive which will be affected.
8. Make sure that the device and drives shown on this window are of your Main USB drive, which is in my case /dev/sdc . Hit continue…
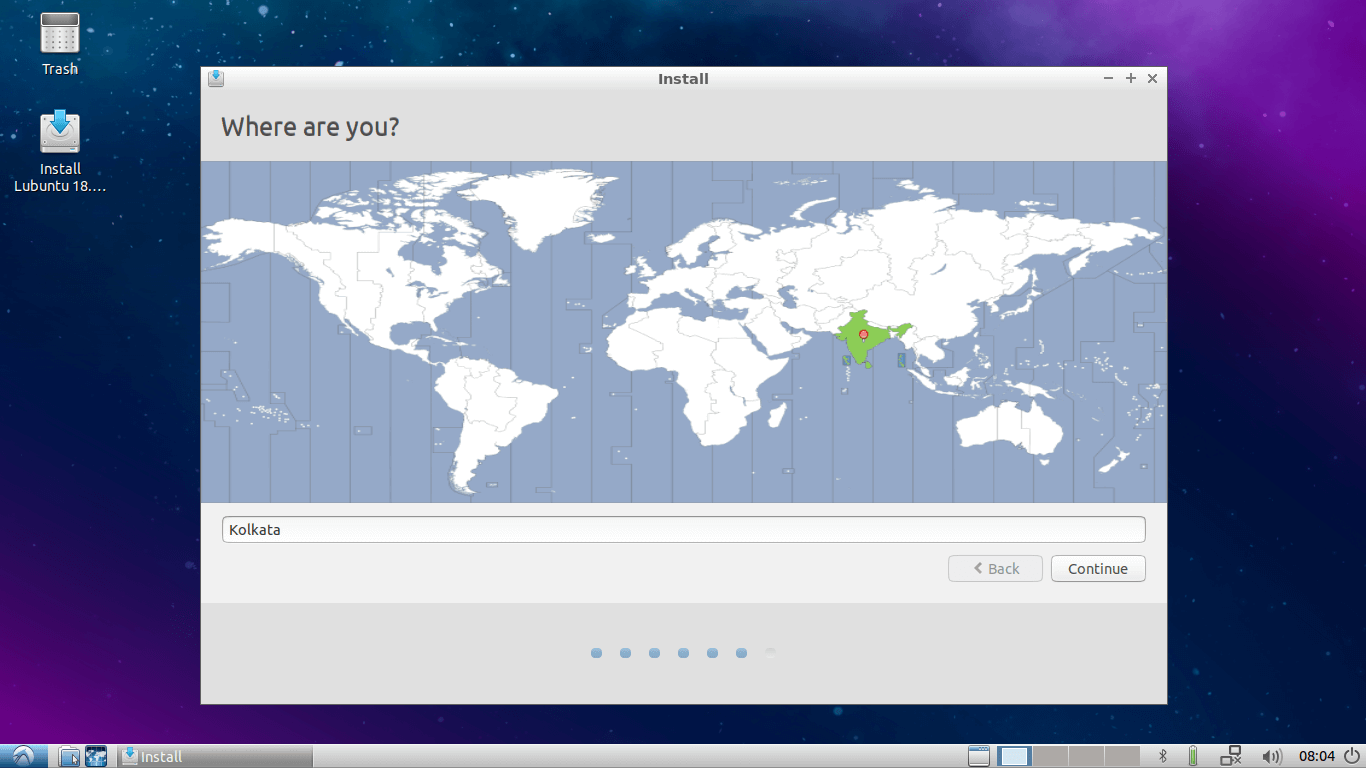
9. Now select your Region and hit Continue…
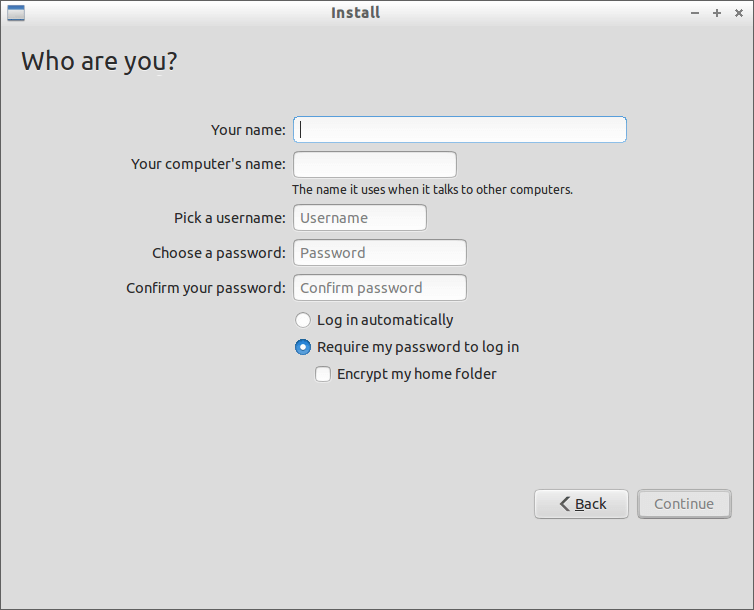
10. Add username, password, and hostname, etc…
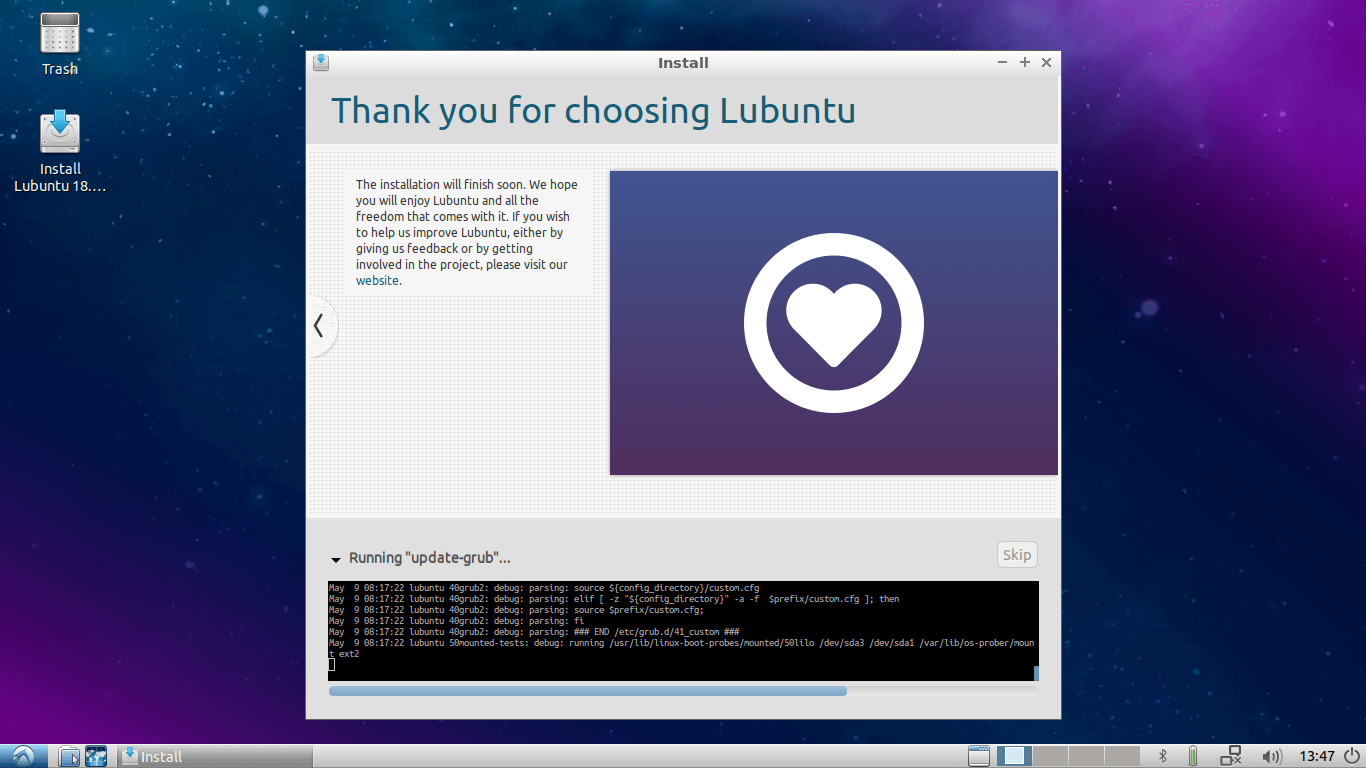
11. Let the installation finish.
12. After completing installation hit restart and remove your installation media and press Enter.
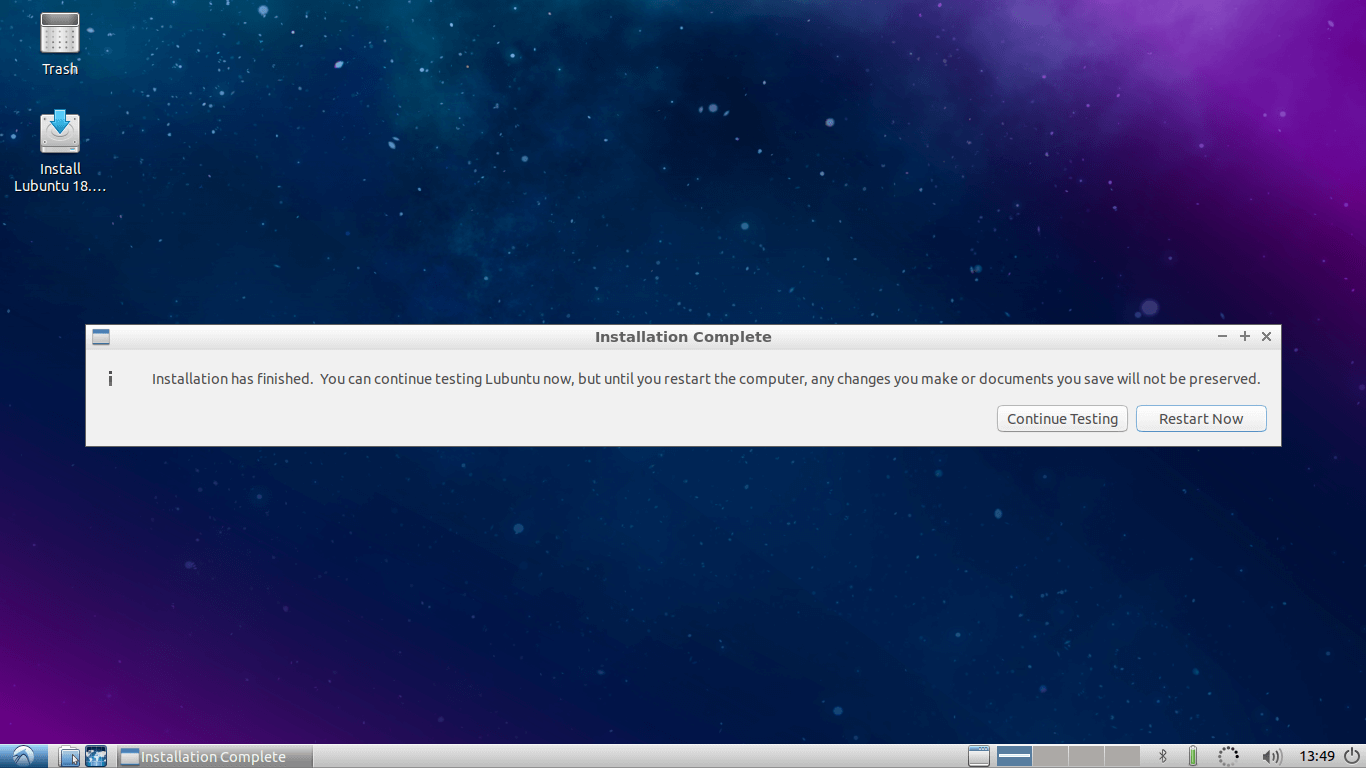
13. Congratulations, you have successfully installed your own Linux OS on your pen drive to use it on any PC. Now you can connect a USB drive to any PC and start your system on that PC by simply selecting boot from USB option while booting.
Step 4: Customize the Lubuntu System
Now it’s time for fun. Just boot your system on any PC and start customizing. You can install any software you want. You can change Themes, Icon themes, install docker.
You can add and store your online accounts on it. Install/modify/customize whatever you want. All the changes will be permanent. They will not change or reset after rebooting or booting on other PCs.
The following figure shows my customized Lubuntu 18.04.
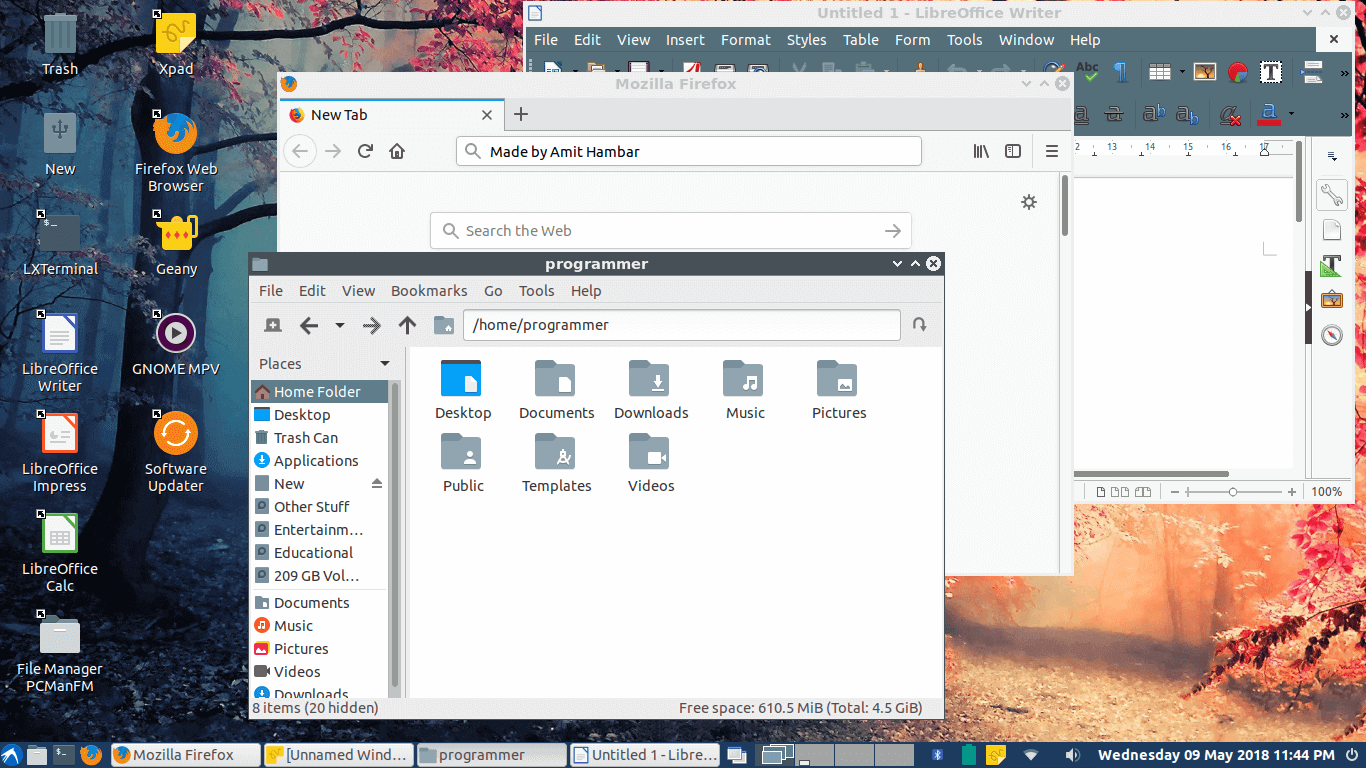
The main advantage of this method is you can use your personal stuff, your online accounts securely on any PC. You can even do secure online transactions as well on any available PC.
I hope it will be helpful for you, if you have questions regarding this article, please feel free to ask in the comment section below.