How to P2V linux into VMware ESX Server
There is quite a few resources around when it comes to converting Windows boxes to Virtual machines. Using VMware Converter for your conversion as a tool is pretty straightforward. It’s a free tool from VMware you can Download here. But what to do if you want to convert a Linux machine which does not have GUI (graphical user interface). I’ll try to help. I suppose that you have a Linux server, an workstation under XP and your infrastructure ESX.
01.) Download Vmware Converter for linux here.
02.) Extract the converter package on your linux server: “tar xf VMware-converter-4.0.0-146302.tar.gz”
03.) Start the installation “cd vmware-converter-distrib/ && ./vmware-install.pl”
04.) You can just accept the majority of the options just make sure that you activate the remote access “Do you want to enable remote access in Converter Standalone Server? yes ”
05.) Usually a linux server has an Apache installed on port 80, so good think to do is to add aditional port for https proxy : “What port do you want the HTTP proxy to use? [80] 8080 and What port do you want the HTTPS proxy to use? [443] 444
06.) Also you should go and allow root to login localy “/etc/ssh/sshd_config change the line PermitRootLogin yes
07.) Then you just leave your linux server and go to your Windows XP or Vista Workstation and connect to your linux server remotely via https for example “https://192.168.0.1:444”
08.) Download and install the VMware Converter client.
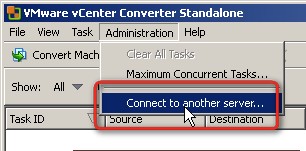
09.) Start the Converter Client and go to Administration > Connect to another server
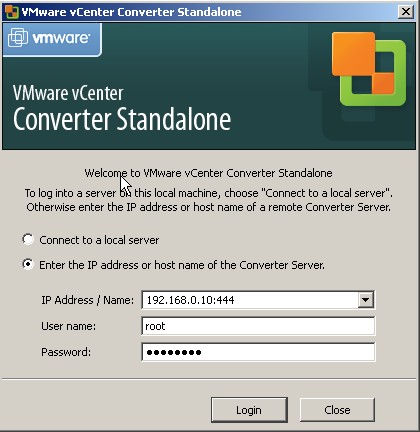
10.) In the credentials window just enter the IP address followed by the port number, then the root login and password.
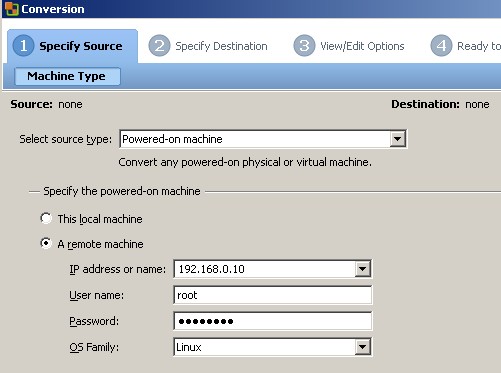
11.) Enter the credentials once more and choose Linux as a OS family.
12.) Then Just follow the assistant for the rest of the steps. As a destination you choose the ESX server IP address or hostname. There is nothing difficult with that…
Linux p2v converter vmware
Auto-suggest helps you quickly narrow down your search results by suggesting possible matches as you type.
- VMware Technology Network
- :
- Cloud & SDDC
- :
- vCenter
- :
- Converter Standalone Discussions
- :
- How to successfully P2V a Linux Box with VMware Co.
- Subscribe to RSS Feed
- Mark Topic as New
- Mark Topic as Read
- Float this Topic for Current User
- Bookmark
- Subscribe
- Mute
- Printer Friendly Page
KyawH
- Mark as New
- Bookmark
- Subscribe
- Mute
- Subscribe to RSS Feed
- Permalink
- Report Inappropriate Content
For those you who are looking for the comprehensive details steps of how to P2V a linux box with VMware Converter.
Pre-requisites: Have the Linux installation Boot CD1 handy. You should purchase VMware Converter Enterprise license.
1. Download VMware Converter Enterprise latest version and burn it to the CD. I used version 3.0.2 update 1.
2. Boot up with the above VMware Converter CD on the physical Linux box.
3. Let the WinPE load up and watch for the Network adaptor settings screen. Make necessary changes such as IP addressing.
4. Finally you should see the VMware Converter screen where you can import the machine.
5. Click on Import machine button and follow the steps.
6. Important Make sure you select all disks and no resizing during the import process.
7. If all the information is entered correctly, it should start importing to ESX/VC.
8. It will create a VM on the selected ESX server.
9. In my case it failed at 97% where the error occurs at customization steps (which I did not configure for) but after successful copy of the local disks.
10. Go to the ESX server where the imported VM resides. Edit the settings.
11. In the VM’s settings, check any irregular settings which might appears. In my case, I had to change the OS type of VM from other 32bit to REHL 4.
12. When the VM is powered up for the first time as soon as P2V has finished, kernel panic will occur and it is just as expected.
Steps to fix the kernel panic on the Linux VM
13. Boot up with the bootable Linux installation CD 1. If it doesn’t boot from the CD, you may have to change the VM’s setting to go to the BIOS setting on the next boot so that you can change the boot sequence.
14. At the boot: prompt type Linux rescue and hit enter.
15. It will search for the Linux partition. In my case, it could not find the hard disks. So, I had to go back to VM’s setting to change the BusLogic SCSI controller to LsiLogic.
16. After changing to LsiLogic controller, Linux installation image was able to find the Linux partitions on the VM.
17. The system will give you opportunity to mount the root file system. At the linux prompt, type: chroot /mnt/sysimage and hit enter.
18. It will get you back to the prompt. Now at the prompt type: kudzu and hit enter.
19. It will ask you to remove old hardware and detect and install new hardware. Follow the instructions.
20. After exiting from Kudzu, at the prompt type: ls /lib/modules and take note of the version/image. For instance, your active linux version is 2.6.9-5.ELsmp. Take note of it.
21. After that you will need to make new RAM disk as follows.
22. Type /sbin/mkinitrd -v -f /boot/initrd-2.6.9-5.ELsmp.img 2.6.9-5.ELsmp
24. After the reboot, it should successfully boot up without any kernel panic.
25. If you still see the kernel panic, then go back to step 20 and find the correct module and repeat the steps 22 & 23.
26. After you have booted the system successfully, determine if it is working as expected.
The steps from 13 to 24 should take about 20-30 minutes. This procedure should be the same for most Linux distributions. Hope it will help on your next P2V of Linux boxes.
Convert a Physical Linux Server to a VMware VM
When you implement a virtual infrastructure, you may want to convert your physical servers to virtual ones to improve your datacenter consolidation. In this topic, we will see how to convert a physical Linux server to a VMware VM. To make this conversion, I used VMware vCenter Converter Standalone.
Install VMware vCenter Converter Standalone
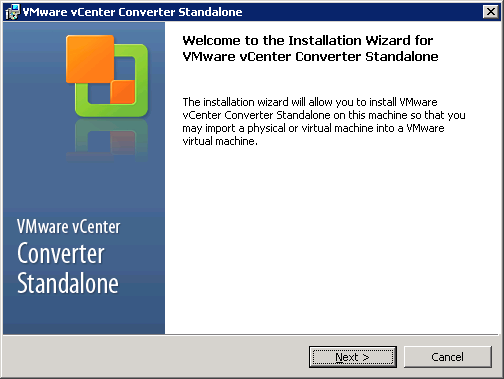
To host VMware vCenter Converter Standalone, you need a physical or virtual machine based on Windows Server. Usually, when I run this tool, I use a virtual machine. Then, I run the executable to process the product installation. In the first window, just click Next.
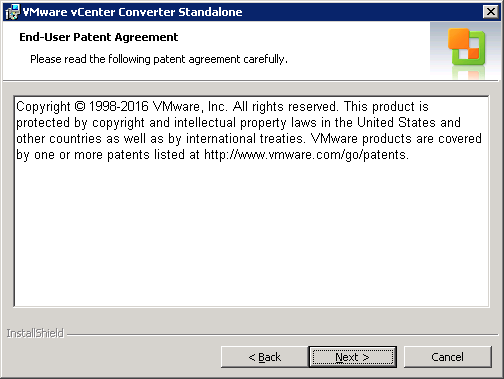
Next, accept the End-User Patent agreement and click Next.
Then accept the license agreement and click Next.

Next, choose a destination folder for VMware vCenter Converter Standalone and click Next.

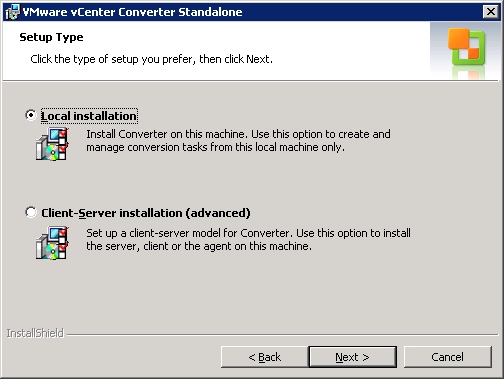
Then choose a setup-type: local installation to deploy only VMware vCenter Converter Standalone, or Client-Server installation if you want to install agent and client additionally. I choose local installation because I don’t want to convert the server where I deploy VMware vCenter Converter Standalone.
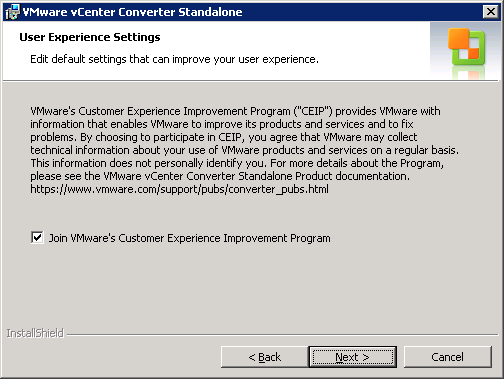
Next, choose if you want to join the VMware CEIP or not, and click Next.
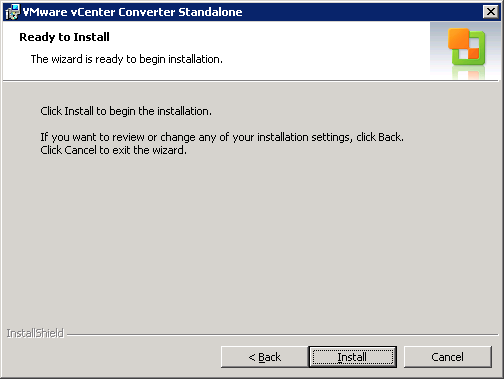
To run the installation, click Install.
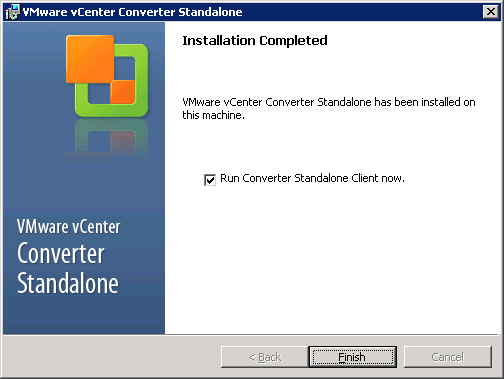
When the installation is finished, you can run the Converter Standalone Client.
Migrate a physical server to a virtual one
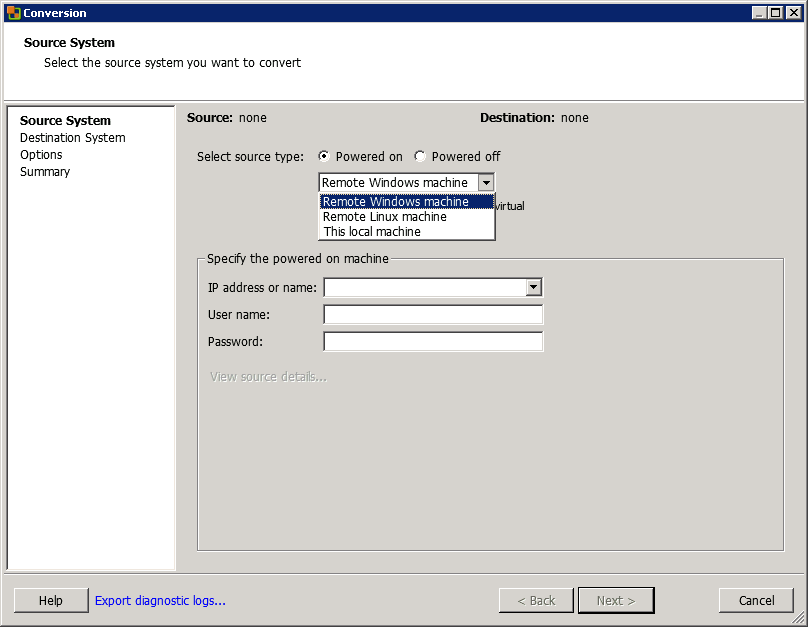
In the VMware vCenter Converter Standalone client, click Convert machine.

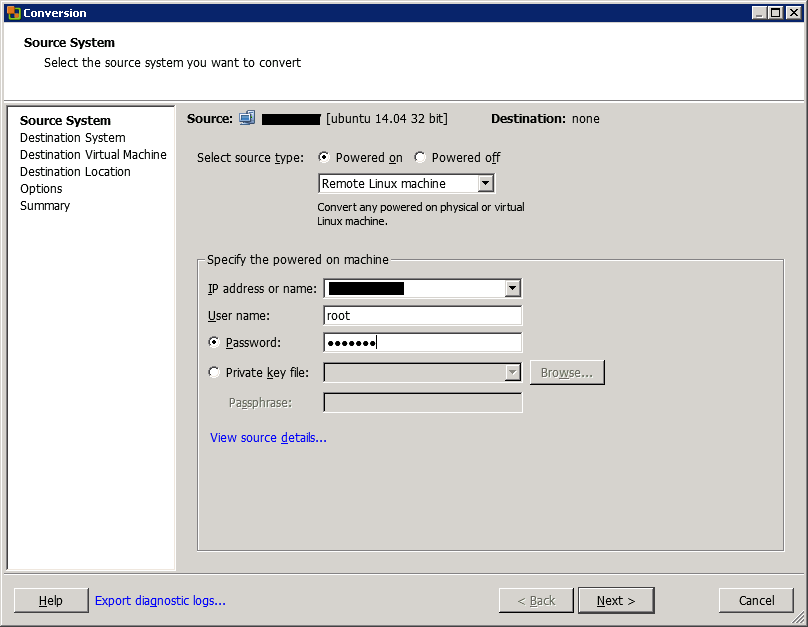
Then, choose if your source is powered on or off. Be careful: if you choose Powered Off, you won’t be able to convert the physical server. When you select Powered on, you can choose Windows or Linux remote server or local machine. I choose Remote Linux machine.
Then, specify the IP address or name and the root credentials.
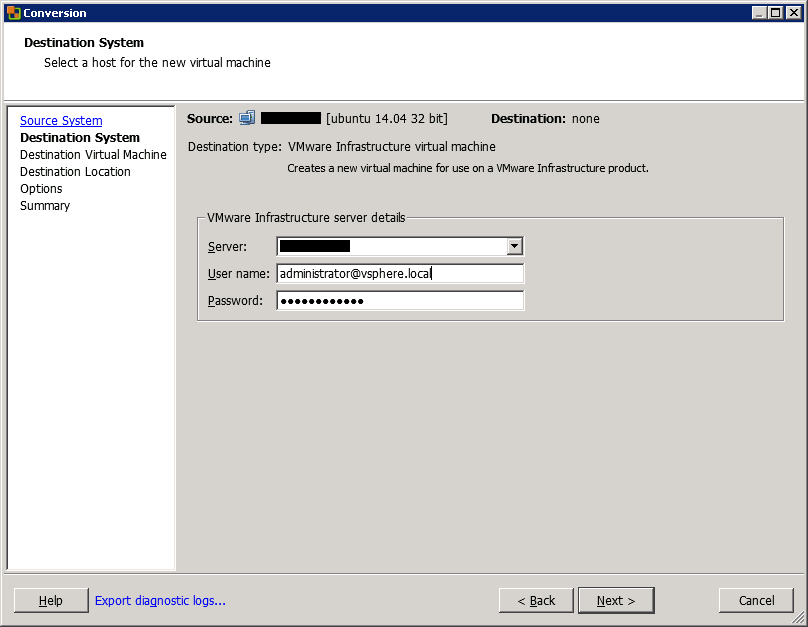
Next, specify the destination. If the destination ESXi is managed by vCenter, specify the vCenter name or IP. Otherwise, specify the ESXi name or IP address. In the example below, I’m connecting to vCenter with administrator credentials.
Then, choose the destination VM folder or datacenter, and click Next.
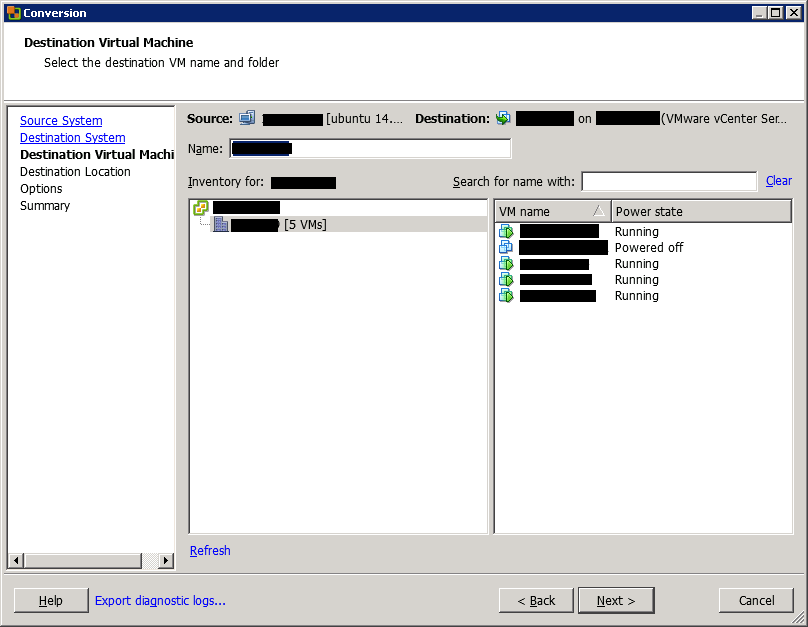
Then, choose the destination ESXi (or cluster) and the datastore. You can also choose the VM version.

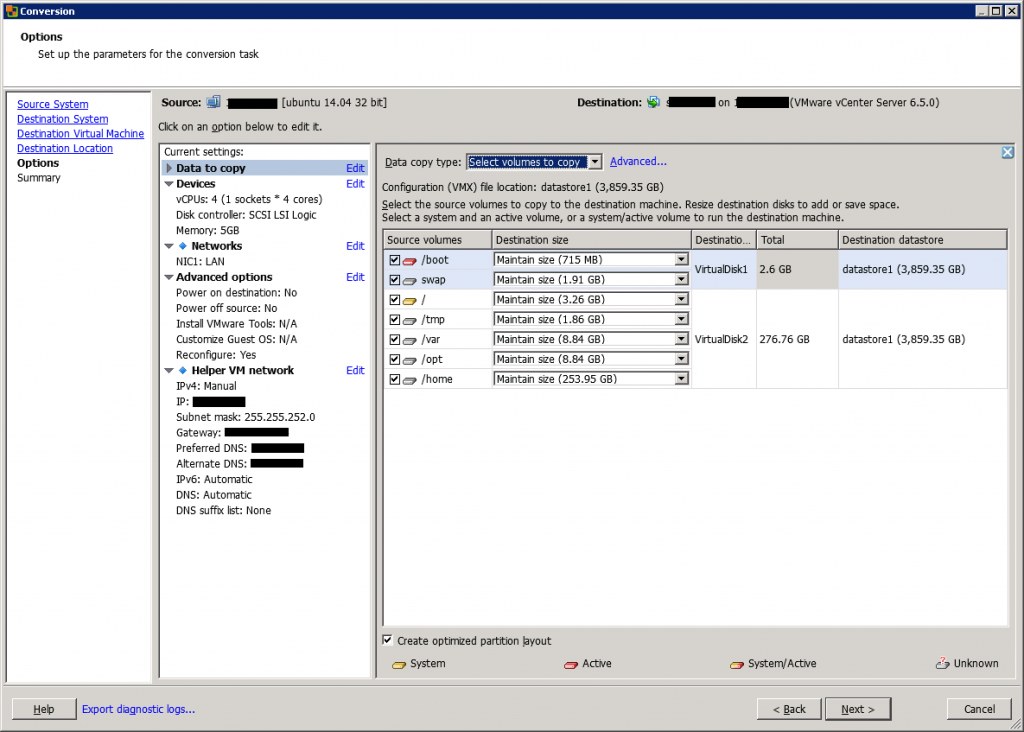
In the next screen, you can manage the VM configuration. First, you can choose which data to copy and you can get the information about partition on the source server.
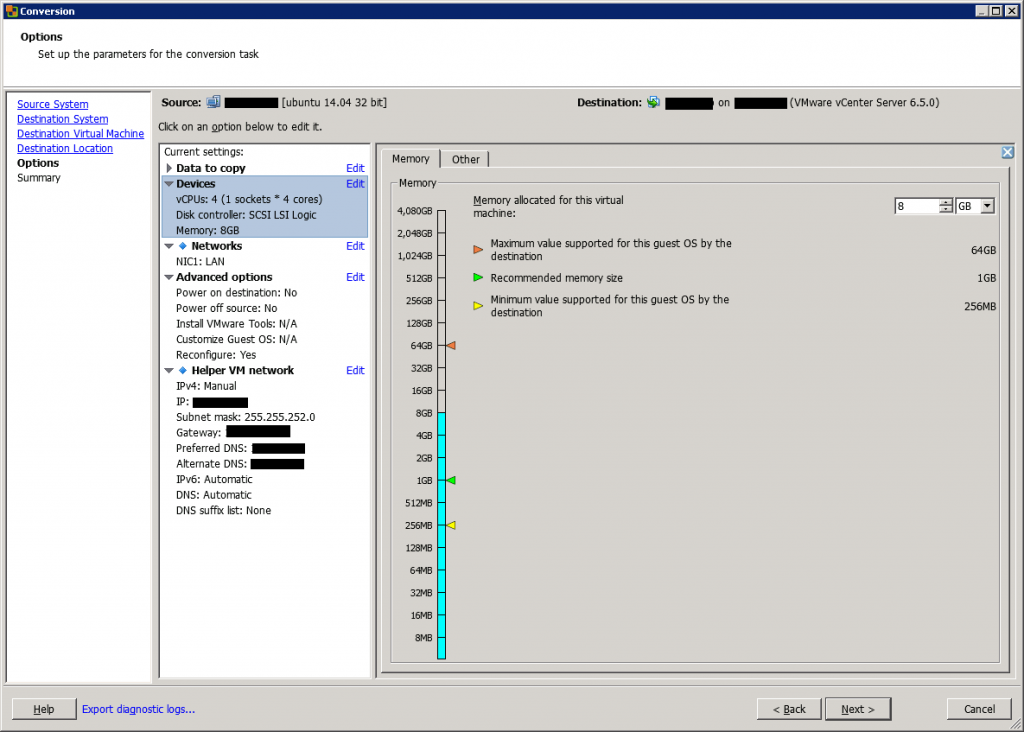
Then, you can edit the CPU and memory information of the virtual machine. You can also change the disk controller.
When you convert a physical server with many network adapters, you may want to not convert all of them to virtual network adapters. To do so, select the number of network adapters to connect. You can also select the controller type (like VMXNET 3).

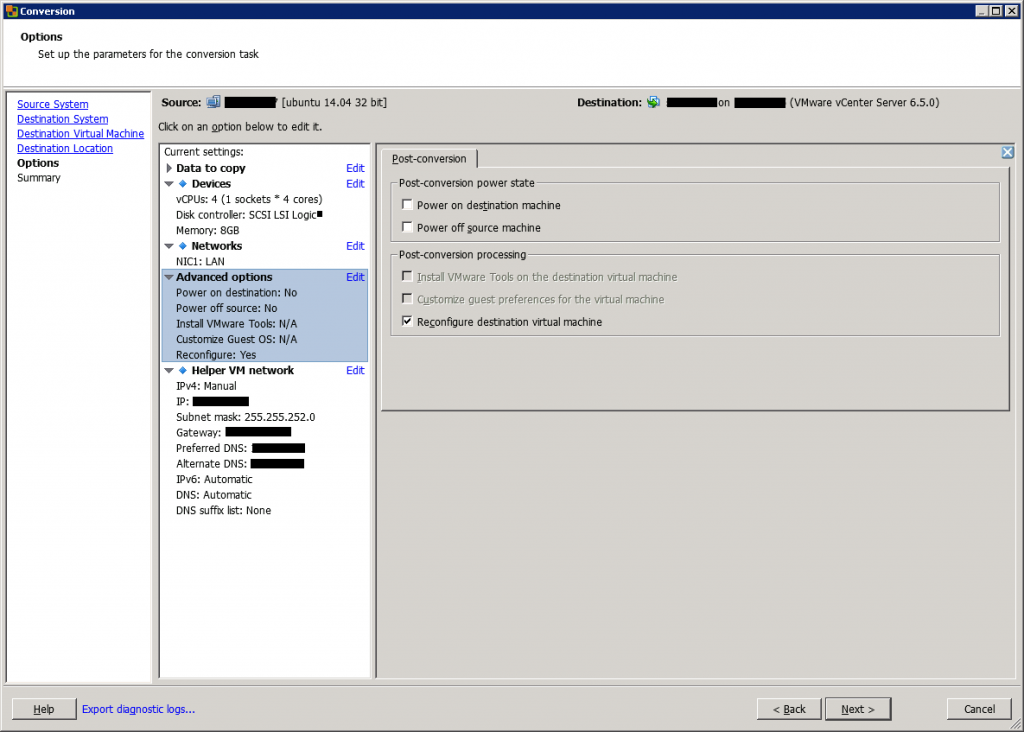
In the next screen, you can enable some post-processing settings, such as power off source machine and power on destination machine.
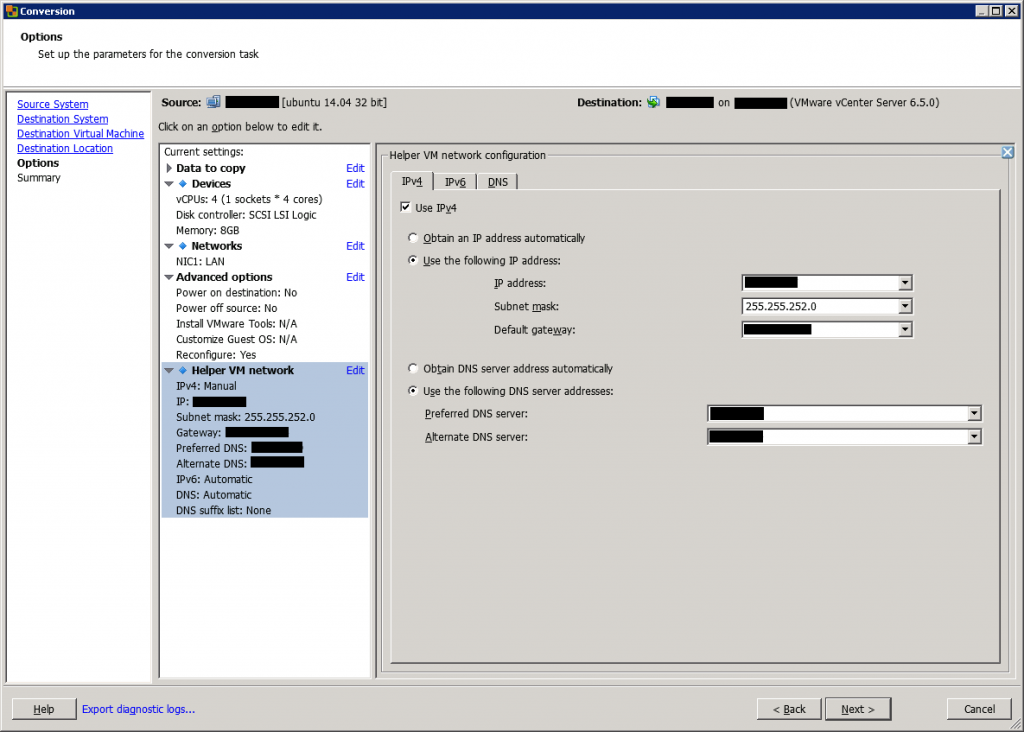
Next, you can set the IP address in the destination machine. If you choose to make a conversion from a powered-on machine, do not specify the same IP address as the source in order to avoid conflicting IP addresses.
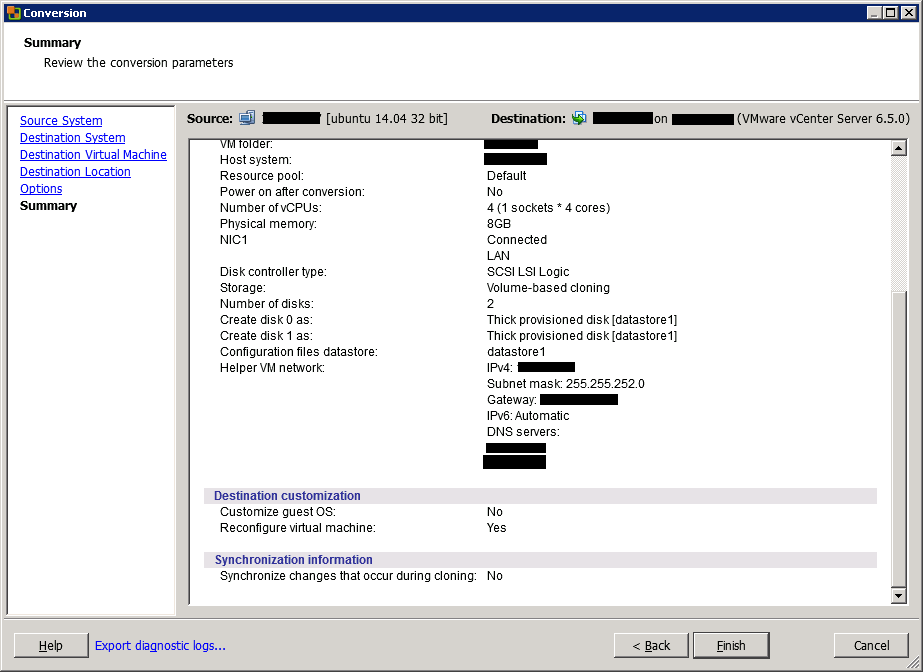
In the next screen, a conversion summary is shown. Review the settings and click on Finish to run the conversion.
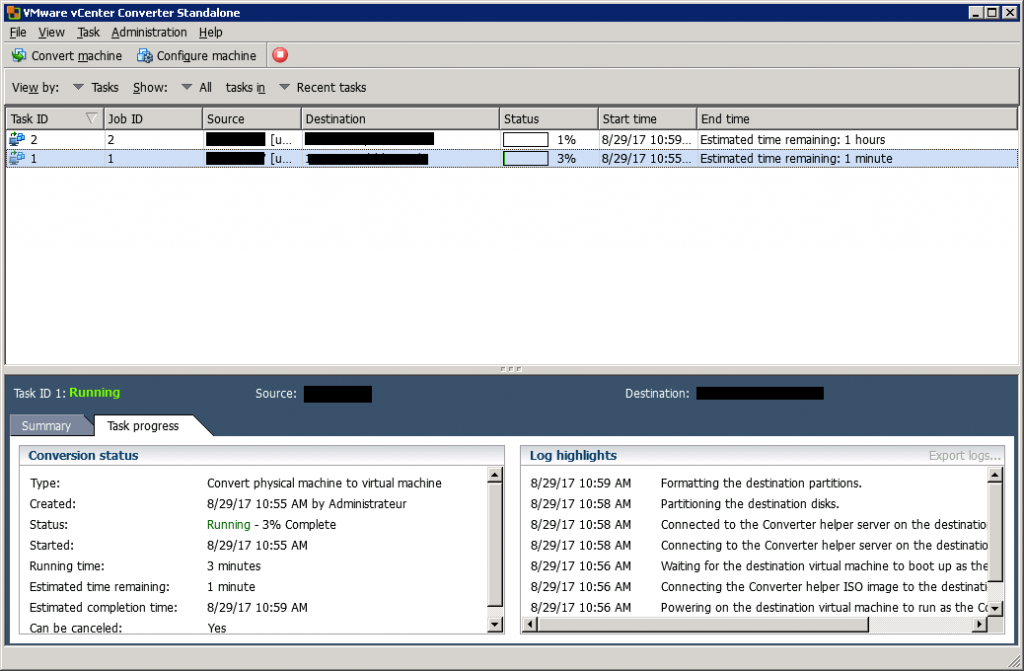
After you’ve clicked on Finish, the migration will start running.
When the conversion is finished, you can check the VM version, VMware tools and configure the IP address in destination VM.
Conclusion
VMware vCenter Converter Standalone is an easy tool that enables you to convert physical servers (Windows or Linux) to virtual machines. If you have a small number of machines to convert, you can use this tool because it’s free. If you need to convert thousands of VMs, you should use another tool that brings more automation (such as Double-Take Move).
Related materials:
Filed under:
Software by Romain Serre