Set default pulseaudio volume
When I reboot, the volume on the PulseAudio sinks is set to 100%. I know how to change the volume using pactl set-sink-volume, but that is only set temporarily. I could write a script that is run at startup, but it will not be applied if I connect a sink later. (i.e. a Bluetooth speaker) Is there a config file where I can set the default volume that is given to a device when it is first loaded by PulseAudio? Or even the master volume at startup? Clarification: The application is for a headless linux box, so the system shouldn’t have to be rebooted and should be able to accept new devices without having to connect via ssh to adjust volumes, etc.
4 Answers 4
What worked for me was to go into /home/(user)/.config/pulse/default.pa and scroll to the bottom to set-sink-volume and change the value to 0
Set the volume to your desired level and then type in a terminal:
Now, it should be stored even after reboot.
Thank you for the response. This is to save the settings for an already configured driver, which I guess is half the battle. However, what about a card that has never been seen before? I would prefer if ALSA or PulseAudio would add this new card, automatically, with a lower volume.
With PulseAudio 8.0 on Ubuntu 16.04 and a single sound card, you can set the default master volume to 50% with the following file. By including the system default you don’t have to worry about changes in the distribution’s defaults.
$ cat ~/.config/pulse/default.pa .include /etc/pulse/default.pa # Set volume to 50% on boot set-sink-volume 0 32768 If you have multiple cards, replace the index number with the name since order is not guaranteed. In addition, if you want to adjust the volume determine the «base volume» which represents the max and calculate the equivalent percentage.
$ pacmd list-sinks | grep -e "name:" -e "index:" -e "base volume:" * index: 0 name: base volume: 65536 / 100% / 0.00 dB * index: 1 name: base volume: 32768 / 100% / 0.00 dB For example, to specify the default volume of 70% for card1 the line would become:
set-sink-volume alsa_output.card1 22937 How to Use PulseAudio to Manage Sounds on Ubuntu 18.04
![]()
PulseAudio is a sound server for Linux and Mac OS. It also works on Windows operating system. It works like a proxy. The sounds in your applications passes through PulseAudio. That way, you can use various techniques to manipulate these sounds before you can hear them.
PulseAudio can combine sounds from multiple sources (called mixing). It can change the sound format, increase or decrease sound channels. It can also send the sound of one computer to another computer. PulseAudio is basically a very powerful network based sound server for Linux, Mac OS, and Win32 systems.
In this article, I will show you how to use PulseAudio to Manage Sounds on Ubuntu 18.04 LTS. Let’s get started.
Enabling Software Sources:
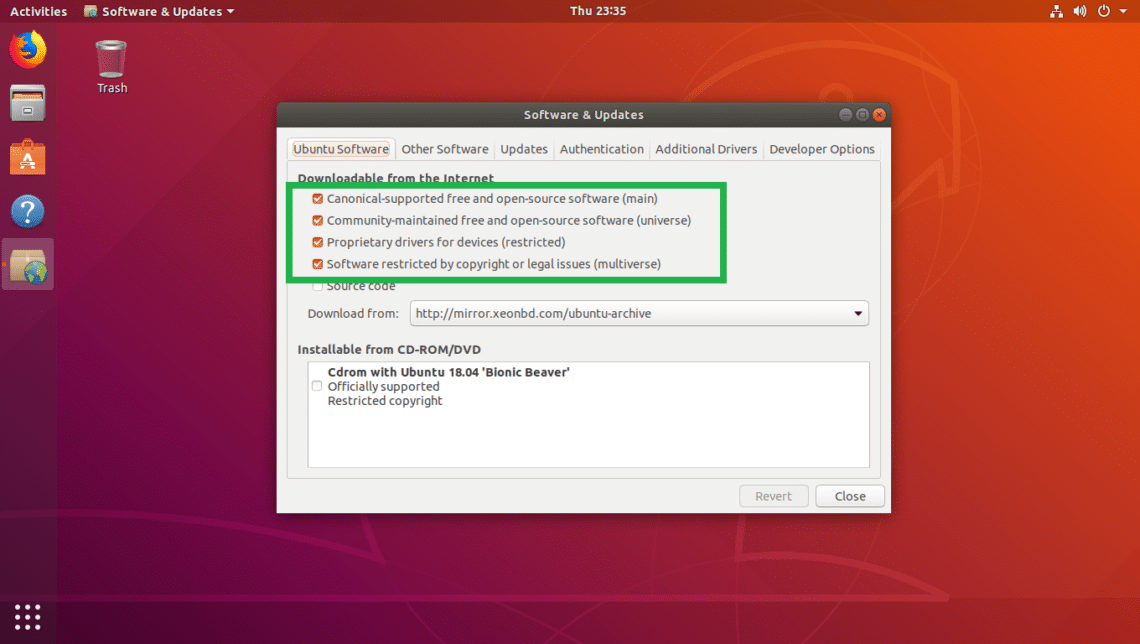
You have to make sure that main, restricted, universe, and multiverse software sources are enabled on your Ubuntu 18.04 LTS machine first as some of the packages you will need to install are in these software sources.
You can use the Software & Updates app to enable these software sources graphically. Find Software & Updates from the Application Menu and open it.

Now in the Software & Updates app, make sure the marked checkboxes are checked.
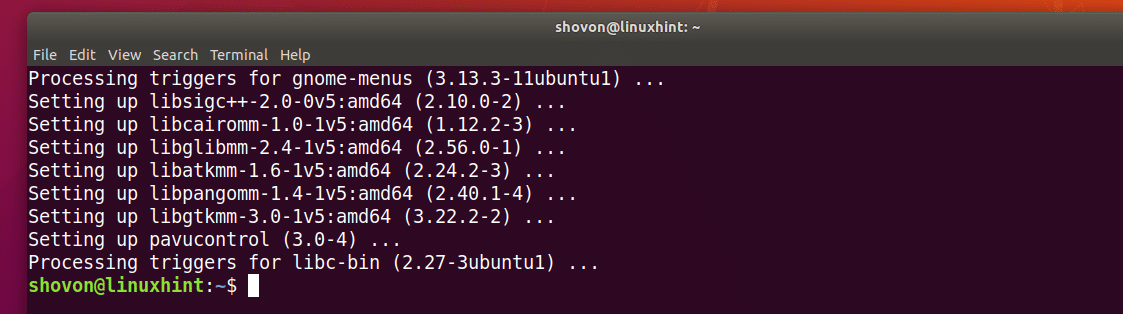
Once you’re done, close Software & Updates and update the APT package repository cache of your Ubuntu 18.04 LTS machine with the following command:

The APT package repository cache should be updated.

Installing PulseAudio on Ubuntu 18.04 LTS:
Ubuntu 18.04 LTS uses ALSA for sound management by default. You can easily replace it with PulseAudio sound server.
PulseAudio is available in the official package repository. So it’s easy to install.
You can install PulseAudio with the following command:

Now press y and then press .

PulseAudio should be installed.

Using PulseAudio Volume Control Graphical Utility:
PulseAudio has a graphical frontend PulseAudio Volume Control, which you can use to easily configure PulseAudio sounds graphically.
It is available in the official package repository of Ubuntu 18.04 LTS, but not installed by default.
Run the following command to install PulseAudio Volume Control on Ubuntu 18.04 LTS:

Now press y and then press to continue.

PulseAudio Volume Control should be installed.
Now you can open PulseAudio Volume Control from the Application Menu of your Ubuntu 18.04 LTS.

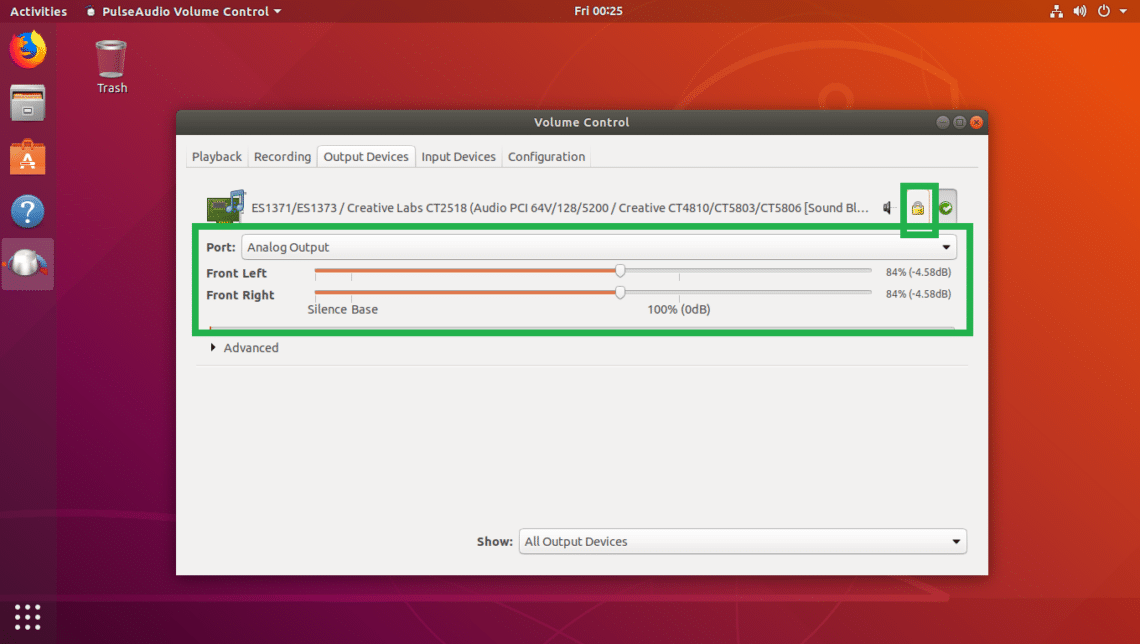
This is the PulseAudio Volume Control graphical utility.

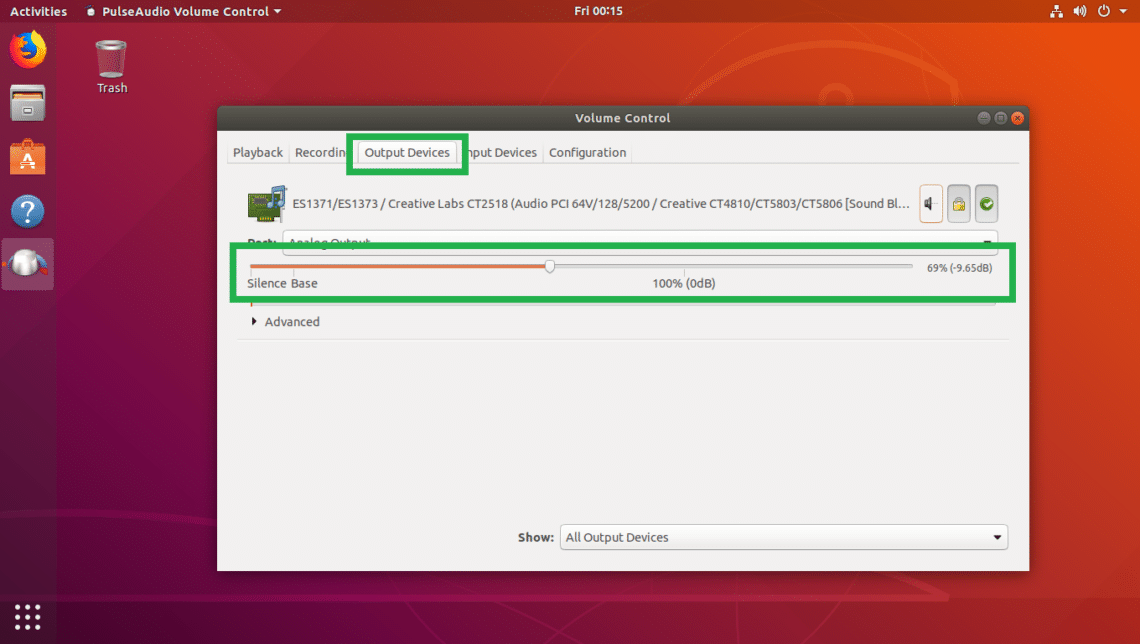
You can configure the sound output from the Output Devices tab. You can drag the marked slider to the left to decrease the output sound, and drag it to the right to increase the output sound.
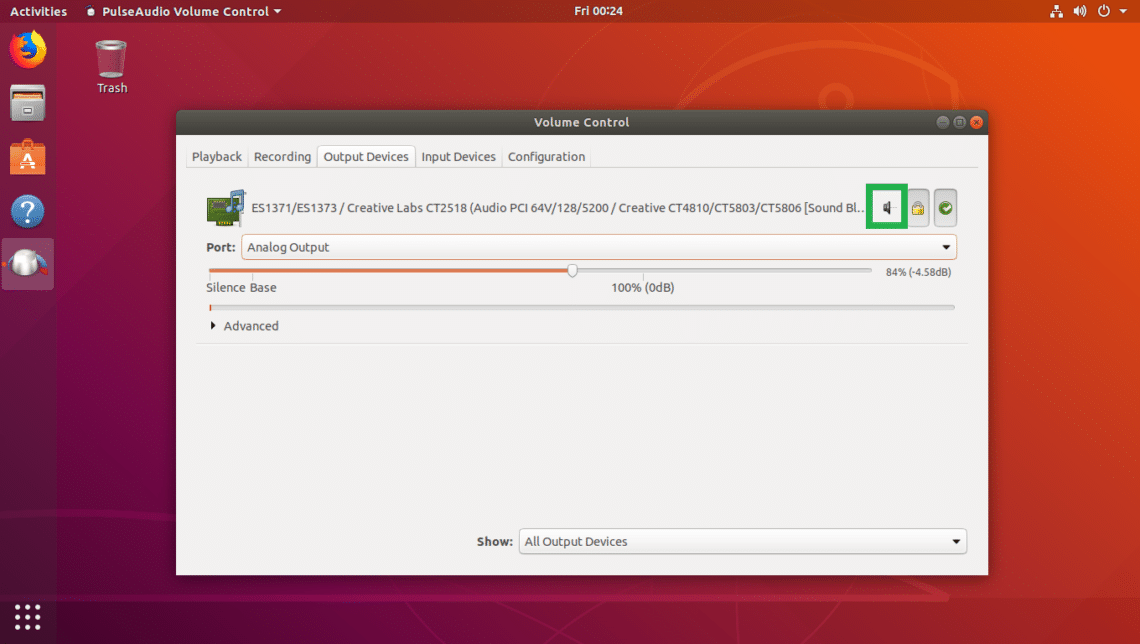
You can Mute and Un-Mute the sound by clicking the marked toggle button in the Output Devices tab.
PulseAudio lets you control the left and right speakers separately. Just click on the lock toggle icon in the Output Devices tab and you should see two separate sliders as marked in the screenshot below. You can drag them left and right as till you get the result you want.
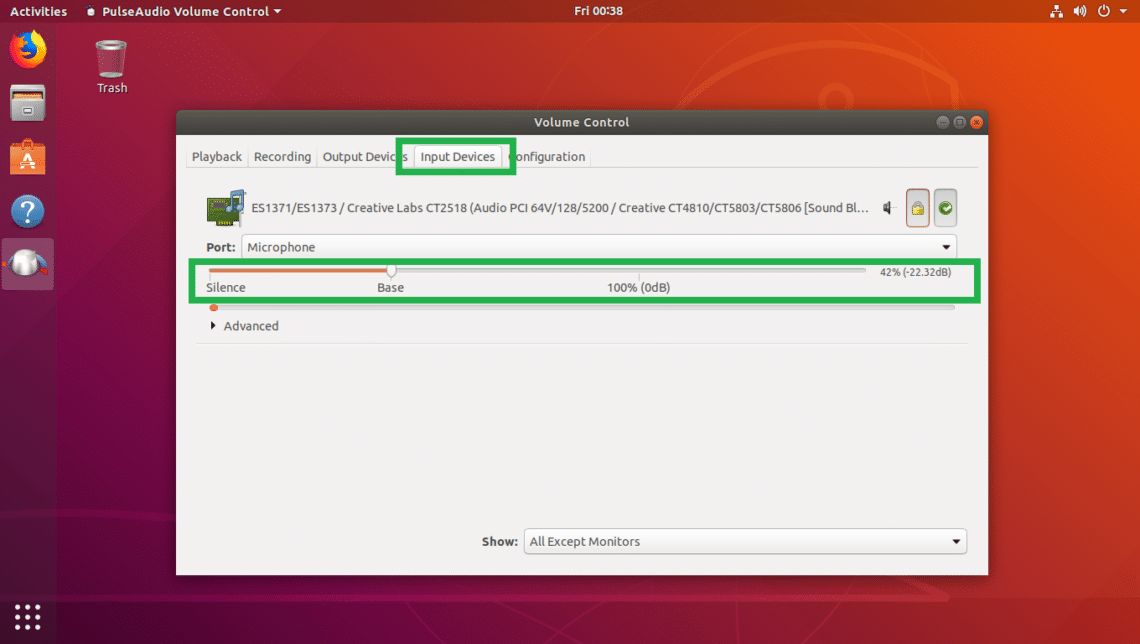
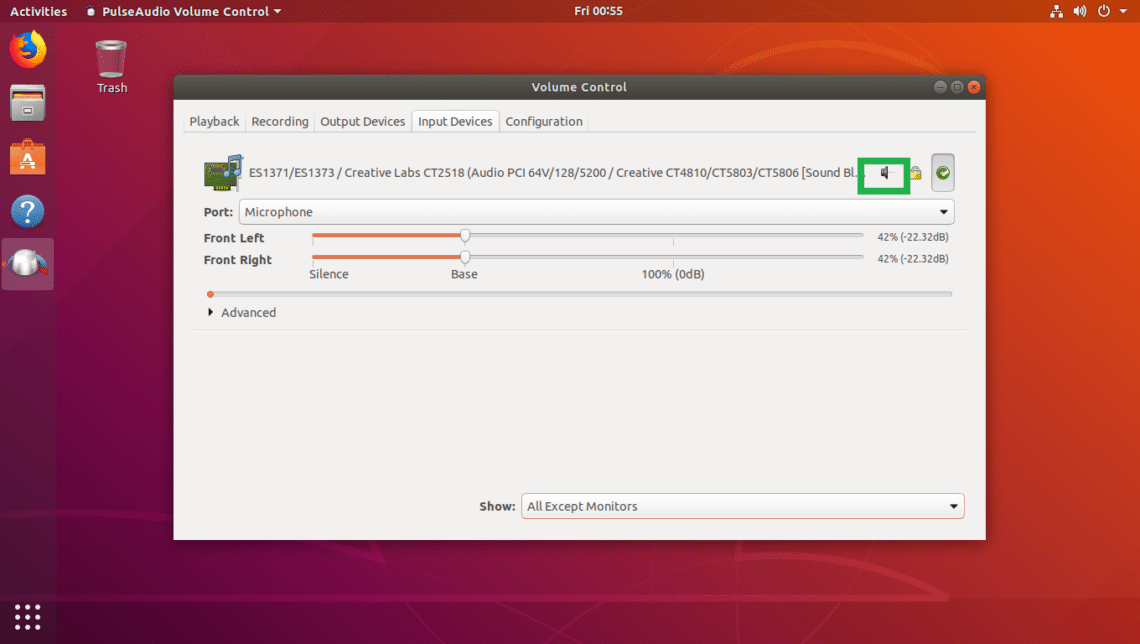
You can control sound input devices from the Input Devices tab. You can drag the slider to the left to decrease the recording volume, and drag the slider to the right increase the recording volume for your default recording device, which is in my case the Microphone.
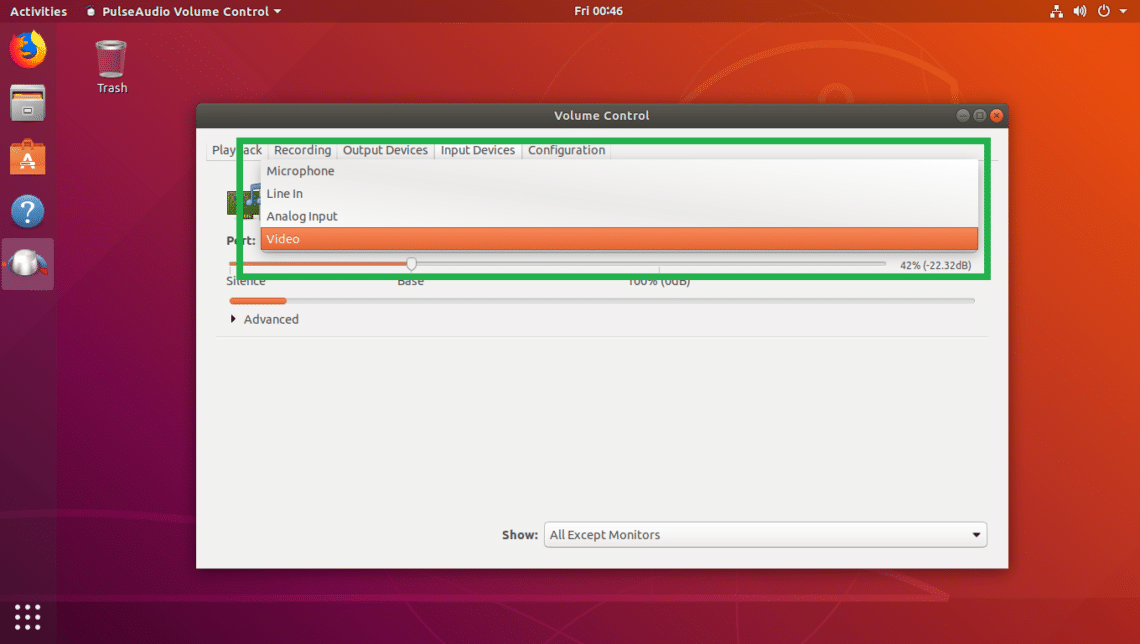
You can select more devices from the Port dropdown menu as you can see from the screenshot below. You can configure sound inputs for Microphone, Line In, Analog Input and Video.
Just like for the output devices, you can configure the left and right channel separately for the input devices as well. Just click on the lock icon and two sliders should appear as marked in the screenshot below.

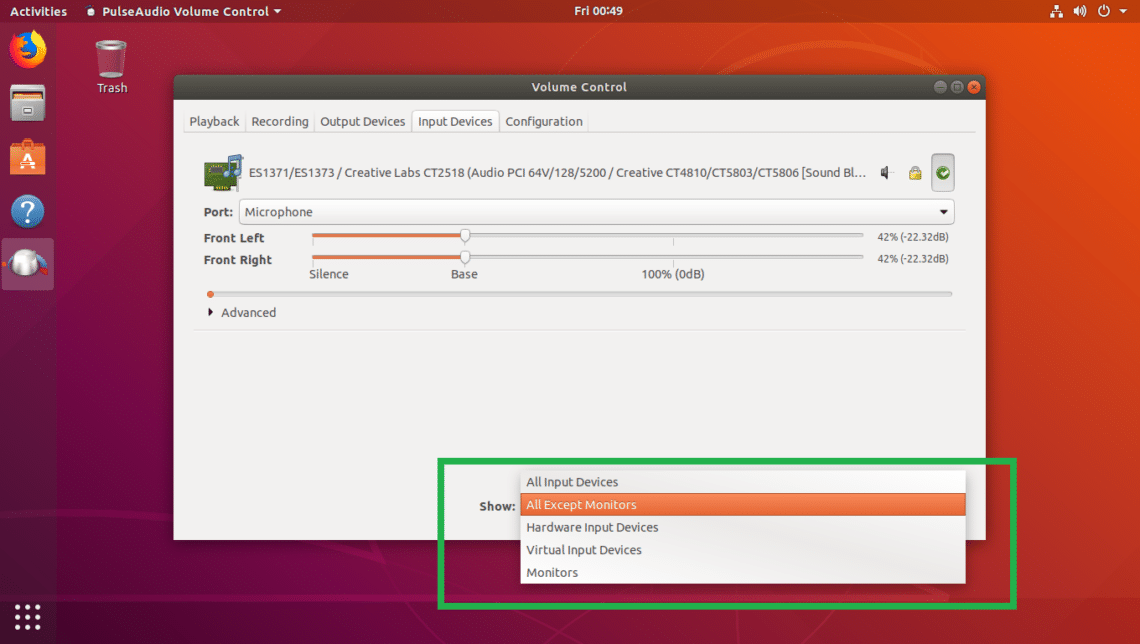
You can control what input devices you want to see in the Input Devices tab using the Show drop down menu as you can see in the screenshot below. If you have many types of sound input devices installed, this should be a good feature for you.
You can also click on the marked toggle icon to Enable or Disable sound recording.
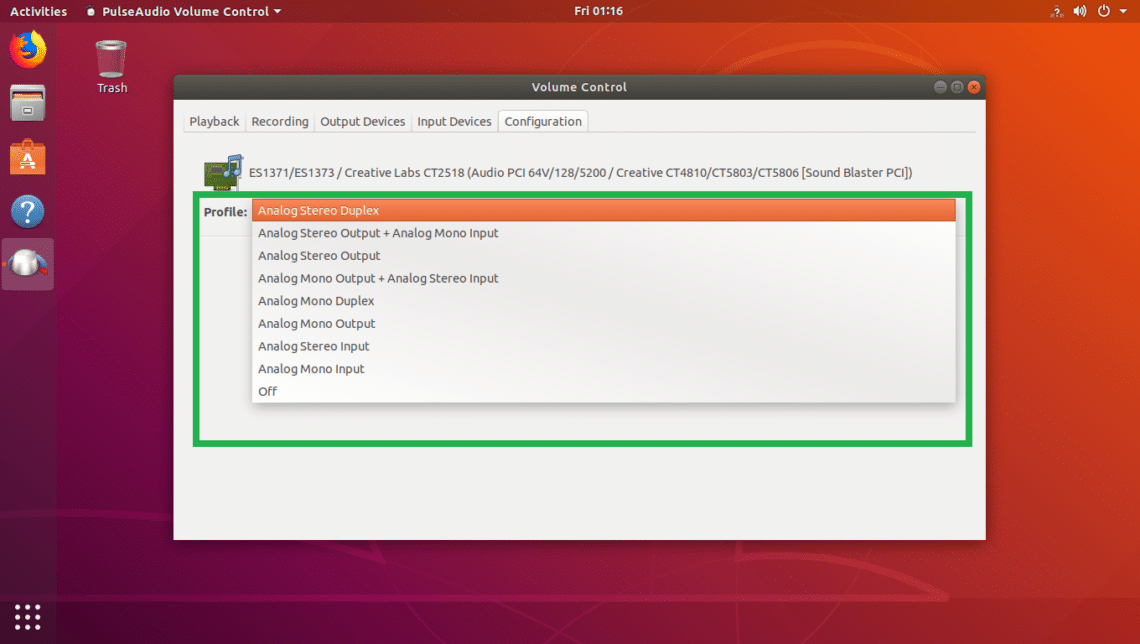
You can change sound profiles from the Configuration tab of PulseAudio Volume Control app. As can see from the screenshot below, there are many sound profiles available by default. Analog Stereo Duplex is the default sound profile.
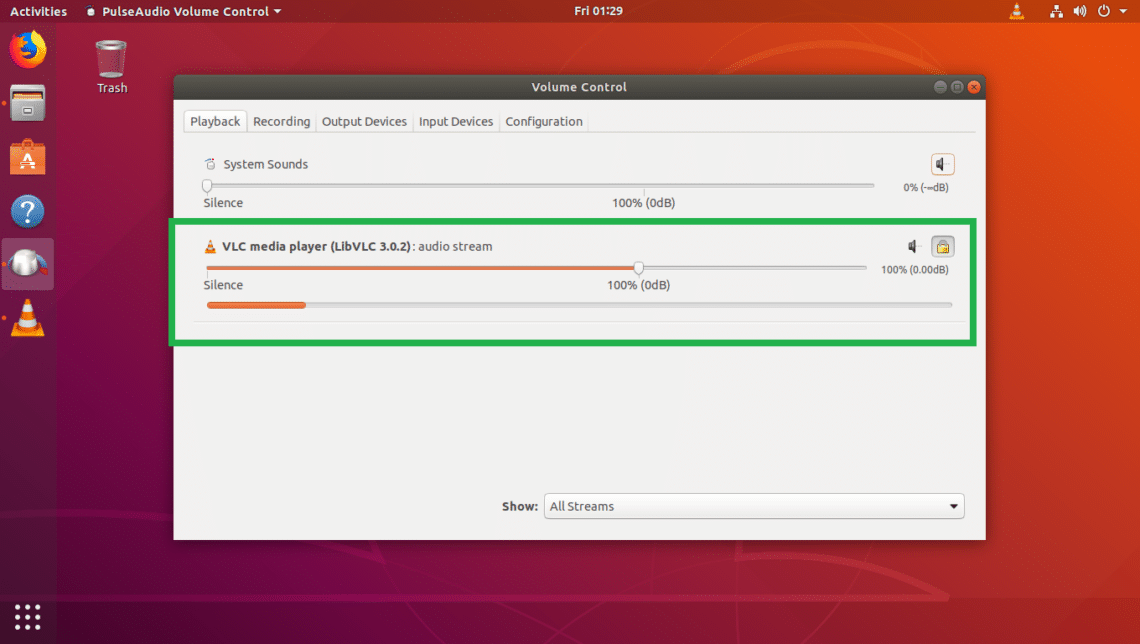
You can control sounds for individual applications from the Playback tab of PulseAudio Volume Control. when you’re running media files using any media player application on Linux, it should show up in the Playback tab. You can then drag the slider for that specific application to the left or right to control the sound volume of only that application.
I am playing a music with VLC Player, and it showed up in the Playback tab of PulseAudio Volume Control as you can see from the marked section of the screenshot below. Now I can move the slider to the right to increase the sound volume, or to the left to decrease the sound volume.
I can click on the marked toggle button to Mute and Un-Mute audio for VLC player as well.
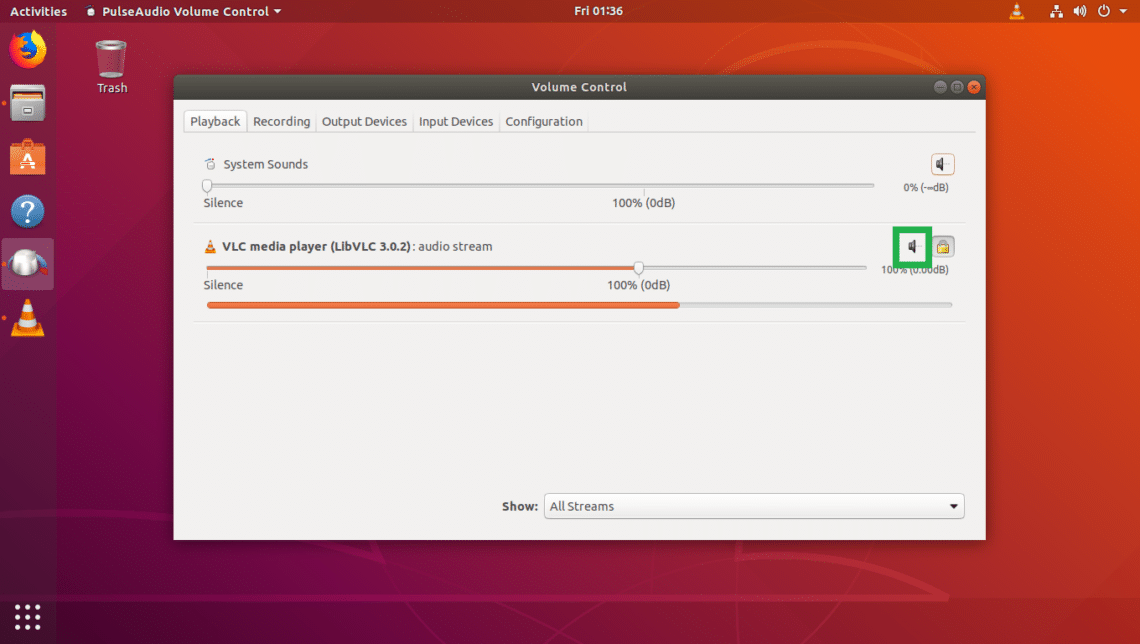
I can even control the left and right sound channels of VLC player separately after clicking the lock toggle icon as you can see from the marked section of the screenshot below.

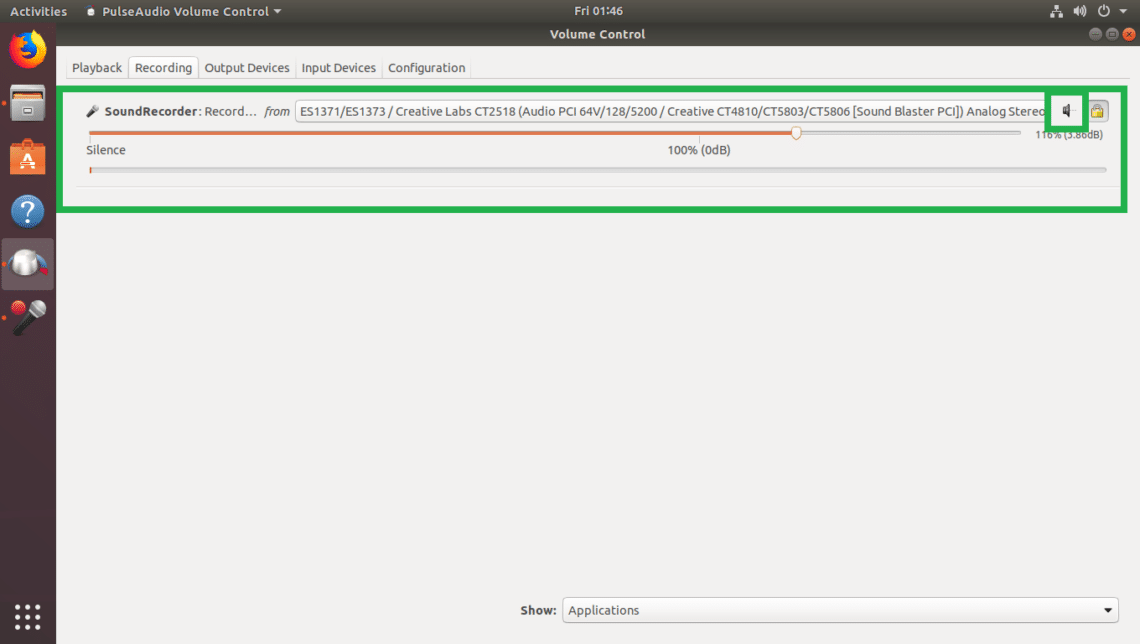
You can control your sounds using PulseAudio Volume Control while recording as well. You can find the currently recording controls on the Recording tab of PulseAudio Volume Control app.
I am recoding voice using GNOME Recorder and as you can see from the marked section of the screenshot below, it shows up in the Recording tab of PulseAudio Volume Control.
Just like before, you can drag the slider to the left or right to control the recording volume for the sound recorder app.

You can even click on the marked toggle button to Mute and Un-Mute the sound of the recording app.
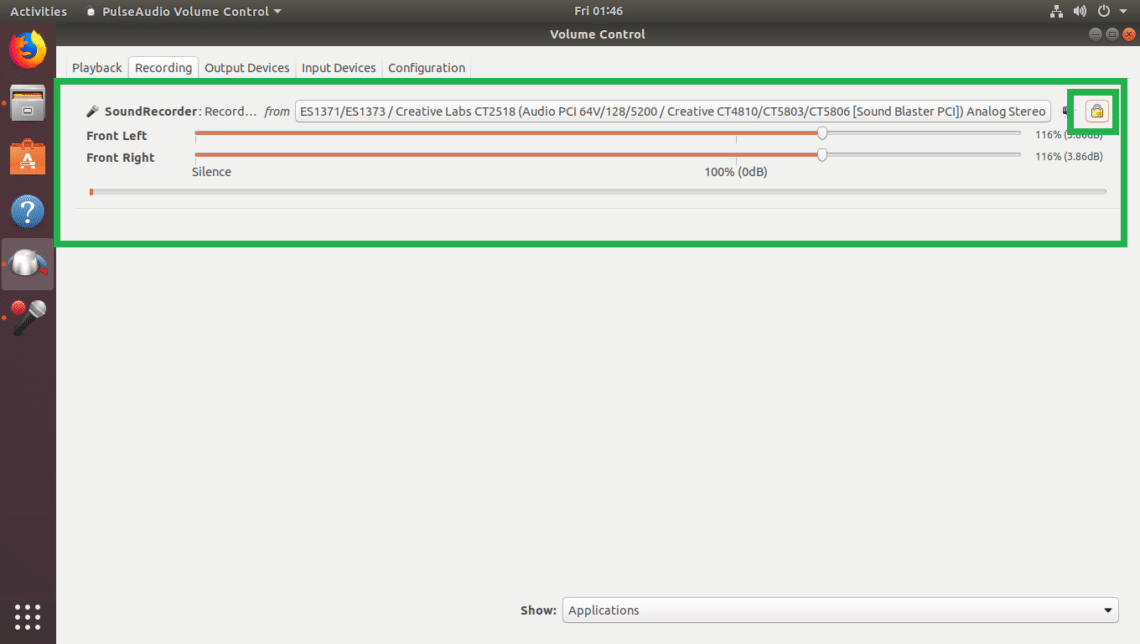
You can also control the left and right sound channels separately just as before.
That’s how you use PulseAudio on Ubuntu 18.04 LTS to manage sounds. Thanks for reading this article.
About the author
Shahriar Shovon
Freelancer & Linux System Administrator. Also loves Web API development with Node.js and JavaScript. I was born in Bangladesh. I am currently studying Electronics and Communication Engineering at Khulna University of Engineering & Technology (KUET), one of the demanding public engineering universities of Bangladesh.