- Using Linux BIND DNS Servers for Active Directory Domains
- The Pros
- The Cons
- Server Configuration
- Install and Configure BIND
- Create the Active Directory Domain Zones
- Configure DNS Server to Query Itself
- Promote Your Windows Server to a Domain Controller
- Обратная зона днс в связке Windows Server Primary(master) DNS and Linux Secondary(slave) DNS
Using Linux BIND DNS Servers for Active Directory Domains
Active Directory relies on DNS to function correctly. Without it, many of the services would fail and most of your client computers would be unable to find the domain controllers. Typically, as recommended by Microsoft, your Active Directory domains should be hosted on a Windows DNS server. However, since Windows DNS is strongly based on BIND DNS version 9, a BIND server may also host Active Directory domains.
An example of an environment where you would use a Linux-based BIND DNS server for your Active Directory is one that has a very large LinuxUnix install base. In this scenario, you may want your Active Directory zones hosted on your already existing infrastructure.
Another example is having a DNS appliance from a third-party vendor, like Infoblox, power your internal name service. These appliances are usually based on BIND, are very powerful, and provide advanced enterprise features not found in basic BIND installation, like the one we’ll be doing.
The Pros
A Linux BIND server is a very light-weight and fast DNS server. You will not need a lot of hardware to power it in medium to large environments. Another benefit is, arguably, Linux can be more secure as there are fewer known vulnerabilities.
The Cons
You will lose some Active Directory features. Without complex third-party packages, BIND domain zones may only have a single master, unlike with Windows DNS. A Windows name server in an Active Directory environment is capable of multi-master, giving you much higher availability.
Another con is most Windows environments do not have strong Linux skillsets available. You may find your resources are unable to properly maintain and administer the Linux BIND DNS server.
Server Configuration
Our servers for this lab have the following configuration. This information is provided to make it easier to follow along. I do not include hardware specifications, because those are strongly based on uniqueness of your environment.
| Hostname | Operating System | Roles | IP Address | Domain |
|---|---|---|---|---|
| NS01 | CentOS 6.5 | DNS Name Server | 172.30.0.5 | corp.serverlab.intra |
| DC01 | Windows Server 2012 R2 | Domain Controller | 172.30.0.10 | corp.serverlab.intra |
The name server will have the following zones created for Active Directory. These must be created before DC01, our first domain controller, is promoted to be an Active Directory domain controller. Without the zones, DC01 will not be able to register the required DNS records for Active Directory to function properly.
| DNS Domain Zone | Our Lab’s Zone | |
|---|---|---|
| your-fqdn-domain-name | corp.serverlab.intra | Required |
| _msdcs.your-fqdn-domain-name | _msdcs.corp.serverlab.intra | Optional |
| _sites.your-fqdn-domain-name | _sites.corp.serverlab.intra | Optional |
| _tcp.your-fqdn-domain-name | _tcp.corp.serverlab.intra | Optional |
| _udp.your-fqdn-domain-name | _udp.corp.serverlab.intra | Optional |
The first domain zone is required. The remaining zones are only needed if you want to organize your records into different databases, which may be for administrative or performance reasons. If you do not create these zones, they will automatically be created in the first zone’s database.
Install and Configure BIND
- Log onto your CentOS server with an account that has administrative privileges.
- Install BIND.
options < listen-on port 53 < 127.0.0.1; >; listen-on-v6 port 53 < ::1; >; directory "/var/named"; dump-file "/var/named/data/cache_dump.db"; statistics-file "/var/named/data/named_stats.txt"; memstatistics-file "/var/named/data/named_mem_stats.txt"; allow-query < localhost; >; recursion yes;
options < listen-on port 53 < 172.30.0.5; >; listen-on-v6 port 53 < ::1; >; directory "/var/named"; dump-file "/var/named/data/cache_dump.db"; statistics-file "/var/named/data/named_stats.txt"; memstatistics-file "/var/named/data/named_mem_stats.txt"; allow-query < 172.30.0.0/24; >; recursion yes;
Create the Active Directory Domain Zones
- With the configuration file still open, add the following lines. Remember to rename the fully qualified domain names of zones to match your environment.
zone "corp.serverlab.intra" IN < type master; file "dynamic/corp.serverlab.intra"; allow-update < 172.30.0.0/24; 192.168.1.0/24; >; >;
zone "_msdcs.corp.serverlab.intra" IN < type master; file "dynamic/_msdcs.corp.serverlab.intra"; allow-update < 172.30.0.0/24; 192.168.1.0/24; >; >;
cp ../named.empty corp.serverlab.intra
cp ../named.empty _msdcs.corp.serverlab.intra
$TTL 3H @ IN SOA @ rname.invalid. ( 0 ; serial 1D ; refresh 1H ; retry 1W ; expire 3H ) ; minimum NS @ A 127.0.0.1 AAAA ::1
$TTL 3H @ IN SOA ns01.corp.serverlab.intra. admin.corp.serverlab.intra. ( 0 ; serial 1D ; refresh 1H ; retry 1W ; expire 3H ) ; minimum NS ns01.corp.serverlab.intra. ns01 IN A 172.30.0.5
$TTL 3H @ IN SOA ns01.corp.serverlab.intra. admin.corp.serverlab.intra. ( 0 ; serial 1D ; refresh 1H ; retry 1W ; expire 3H ) ; minimum NS ns01.corp.serverlab.intra.
Configure DNS Server to Query Itself
search corp.serverlab.intra search _msdcs.corp.serverlab.intra nameserver 127.0.0.1
Promote Your Windows Server to a Domain Controller
You are all set. All that’s remaining is for you to point your Windows server to the linux BIND server for DNS, and then promote it to an Active Directory domain controller. The required DNS records will automatically be registered, and you will have a fully functional Active Directory domain, aside from the multi-master replication.
Обратная зона днс в связке Windows Server Primary(master) DNS and Linux Secondary(slave) DNS
В связке принимают участие Windows Server 2012R2 и Ubuntu 14.04.5. Первоначальной задачей была необходимость отображения имен вместо ip адресов в приложение SARG (анализатор лог-файлов) на Linux системе. Так как в нашем случае настроен домен, первичным ДНС выступает Windows.
Добавление обратной зоны Windows Server Primary DNS.
Панель управления — > Администрирование -> DNS
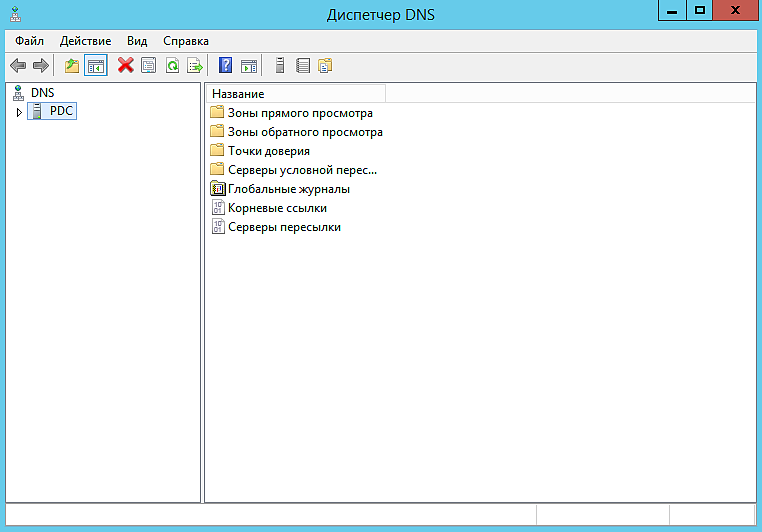
2. Нажимаем правой кнопкой мыши на Зоны обратного просмотра и выбираем Создать новую зону
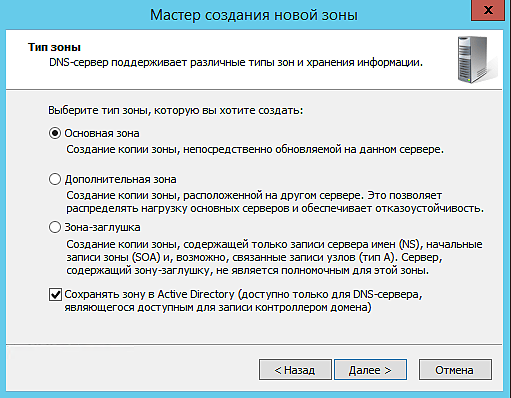
3. На 2-ом шаге «Тип зоны» выбираем Основная зона и ставим галочку на Сохранять зону в Active Directory (доступна только для DNS-сервера, являющегося доступным для записи контроллером домена)
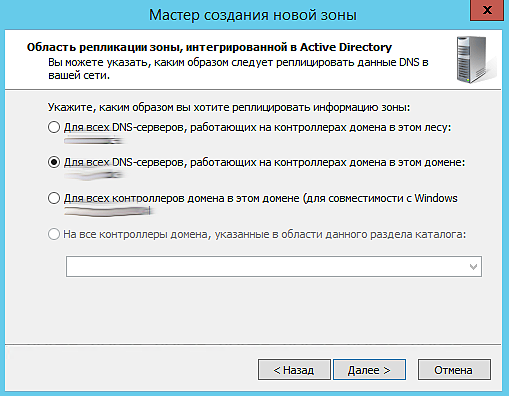
4. На 3-ем шаге выбираем Для всех DNS-серверов, работающих на контроллерах домена в этом домене (ваш домен)
5. Обратная зона будет у нас для IPv4. Выбираем на 4-ом шаге.
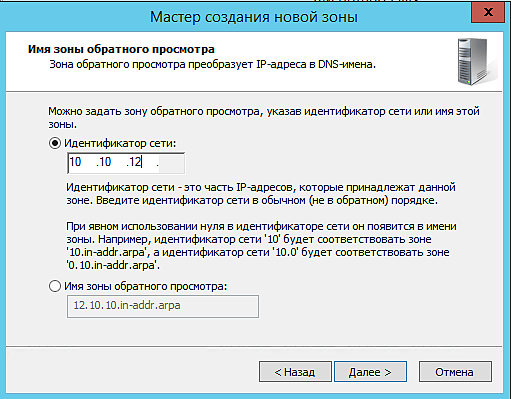
6. Далее указываем идентификатор сети
7. На следующем шаге выбираем
Разрешить только безопасные динамические обновления (рекоменд. для AD)
8. Создание обратной зоны выполнено.
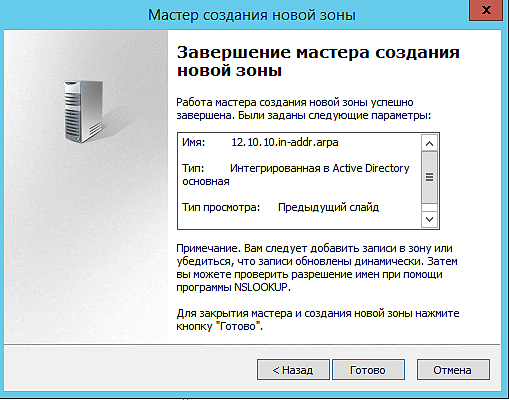
Записи PTR автоматически появятся в списке.
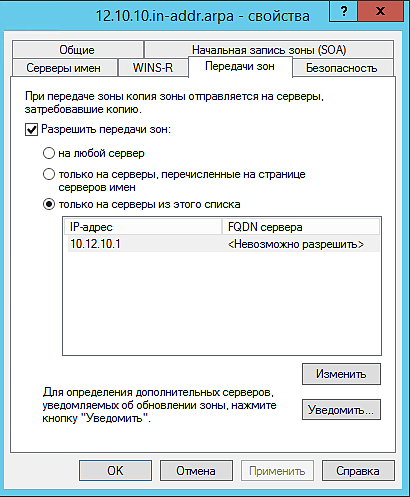
9. Дальше нам нужно разрешить передачу зон на Secondary DNS
Заходим в свойства зоны и переходим на вкладку Передачи зон
Ставим галочку на против Разрешить передачи зон:
только на серверы из этого списка
Ниже нажимаем на Изменить и добавляем ip адрес Secondary DNS
Добавление обратной зоны на Ubuntu Secondary DNS
Первоначальную установку пакета описывать не буду, сразу перейдем к настройке.
1. Открываем файл /etc/bind/named.conf.options
allow-query < any; >;
version «Super DNS server»;
allow-recursion < none; >;
ниже находим строчку dnssec-validation auto;
её нужно за комментировать
2. Открываем файл /etc/bind/named.conf.local
zone «12.10.10.in-addr.arpa» IN type slave;
file «/var/cache/bind/12.10.10.in-addr.arpa»;
masters < 10.10.12.1; >;
>;
3. Перезапускаем сервис bind