- How to Use GNU Screen to Manage Terminal Sessions in Linux
- GNU Screen Command Installation
- Starting Screen in Linux
- Create Screen Session with name
- Listing screen parameters
- List Screen Sessions
- Detach Linux Screen Session
- Reattach Linux Screen session
- Split Linux Screen Windows
- Create new terminal in splitted session
- Unsplit screen windows
- Lock screen sessions
- Find owners of screen sessions
- Terminate the screen sessions
- Conclusion
- Linux tips for using GNU Screen
- Terminal multiplexing
- Choose the right multiplexer
- Using GNU Screen
- Split screen
- Make GNU Screen your own
- Download the cheat sheet
- 3 Linux terminals you need to try
- An introduction to GNU Screen
How to Use GNU Screen to Manage Terminal Sessions in Linux
GNU Screen is a terminal multiplexer which allows to have multiple terminal sessions inside the main terminal.
So why we need GNU Screen? – Sometimes we may face some issues like automatically terminating the remote ssh connections due to network issues. It may be painful if the task is running on production environment. So, to handle this kind of issues, separate screen session is recommended which does not terminate with the end of terminal sessions.
In the Linux and Unix systems, we have terminal multiplexer tool called screen which is used to manage terminal sessions. In this article we will cover how to use GNU screen in Linux to manage terminal sessions while working on important task in production systems.
GNU Screen Command Installation
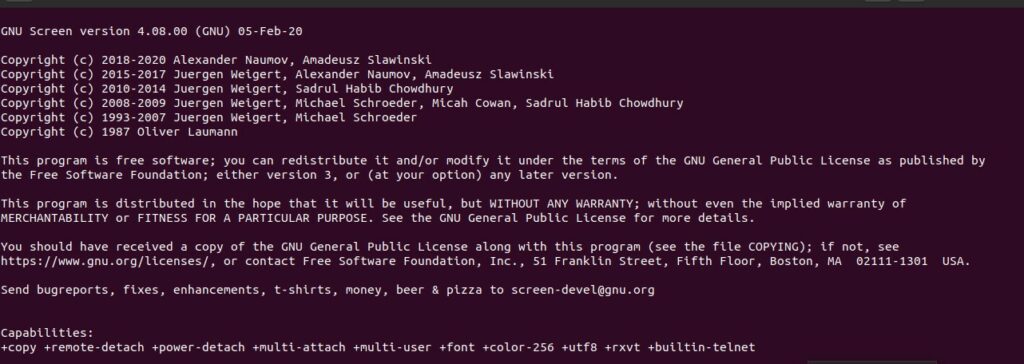
Installation of the screen package in the Linux system is simple and easy. Some of the modern operating systems come with screen applications pre-installed. Run the following command to verify the availability of screen.
Screen version 4.08.00 (GNU) 05-Feb-20
If you get other output, you do not have a screen tool available on your system. Run the following command to install the screen package.
$ sudo apt-get install screen -y
$ sudo yum installs screen -y // RHEL 7 $ sudo dnf install screen -y // RHEL 8
Starting Screen in Linux
One the installation is completed, simply run the command screen to start screen sessions.
Create Screen Session with name
Using screen command followed by option -S , you can create a named screen session . In this example, I have used screen-linuxtechi as the name of the screen session. You can choose your preferable name.
$ screen -S screen-linuxtechi
Listing screen parameters
Screen provides some useful parameters and commands. To list the available parameters, press ctrl-a followed by ? .
Note: screen uses the key ctrl+a as a prefix. For example, to list the screen parameters you need to press ctrl and a together ,release the key and press the key ? . In the same way you can use other parameters.

List Screen Sessions
Use the following command to list the available screen sessions.

Detach Linux Screen Session
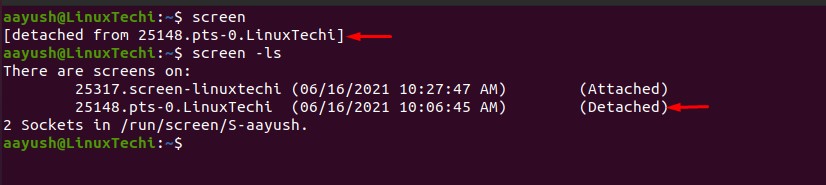
One of the useful features provided by screen application is you can detach the screen session and reattach when needed. To detach the current screen session, press ctrl-a followed by d .
Reattach Linux Screen session
The detached screen session can be attached again using screen command with option -r followed by screen session name. List out the detached screen session using command screen -ls , find the screen session name and attach. In this example I have attached the session 25148.pts-0.LinuxTechi
$ screen -ls $ screen -r 25148.pts-0.LinuxTechi
Screen sessions can be reattached using only screen id or screen name. In the above example, 25148 is the ID and pts-0.LinuxTechi is the name of the screen 25148.pts-0.LinuxTechi.
$ screen -r 25148 $ screen -r pts-0.LinuxTechi
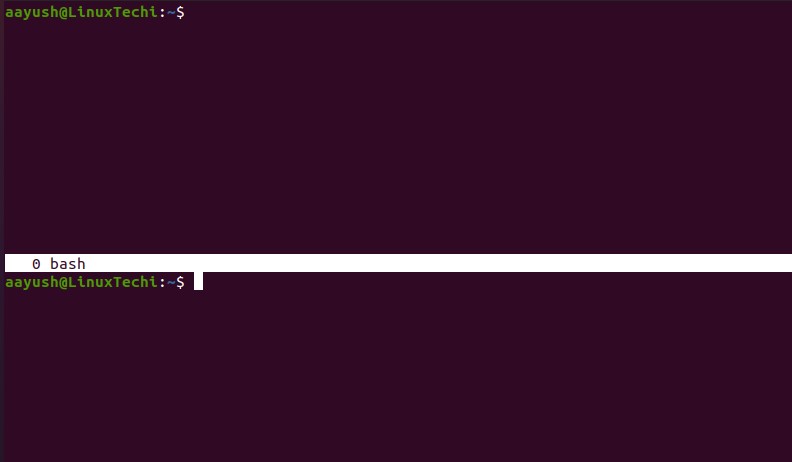
Split Linux Screen Windows
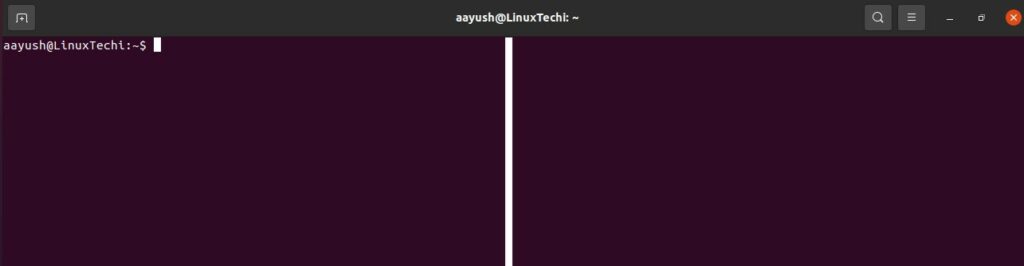
Sometimes you may need to split the screen windows into multiple screens to perform several tasks. Splitting can be done horizontally as well as vertically.
To split Linux screen windows vertically click ctrl-a followed by | . By repeating the same process, you can split n numbers of screen windows.
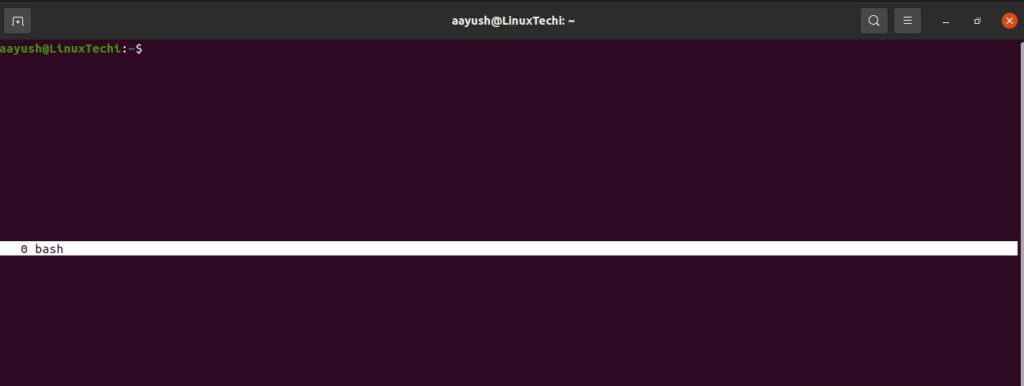
Horizontal splitting of the screen windows can be done by clicking ctrl-a followed by S (Upper case). Repeat the same process to create n number of vertical windows.
Create new terminal in splitted session
Whether you split the screen horizontally or vertically, it will not create any new terminal. To create the new terminal in the screen, you need to switch to new split screen windows using ctrl-a followed by Tab . Now press ctrl-a and c (lowercase) to create a terminal.
Unsplit screen windows
To unsplit the splitted screen windows, you can simply apply ctrl-a with key Q
Lock screen sessions
To protect from unauthorized access, screen sessions can be locked without locking normal session users. To lock the screen terminal, use the command ctrl-a followed by key x (Lowercase) . You will be prompted to set up the password, apply your protection password and that’s all.
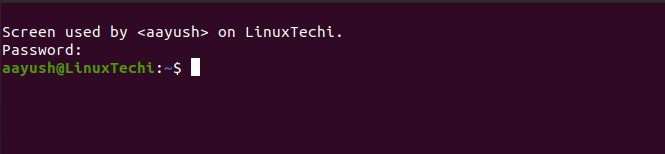
Find owners of screen sessions
Screen stores opened screen sessions information at the directory /var/run/screen. List out the contents stored inside the directory to find the owner of the screen.

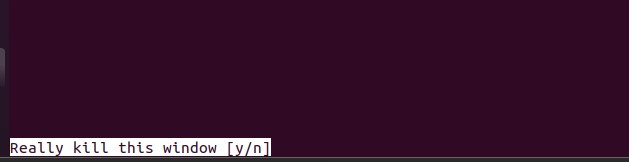
Terminate the screen sessions
One the task is completed, you can destroy the screen sessions using the command ctrl-a followed by k . You will be prompted for user confirmation, type y to terminate the session.
Accessing the screen help page
Run the following command to access screen help page
Run the following command to access the screen user manual page.
Some useful screen command’s parameters
- Ctrl-a +c => Create a new screen window with terminal
- Ctrl-a + ? => List screen parameters
- Ctrl-a + A => Rename the current screen window
- Ctrl-a + tab => Switch to the next window
- Ctrl-a + S => Split the window horizontally
- Ctrl-a + | => Split the window vertically
- Ctrl-a + d => Detach the screen
- Ctrl | d => Terminate the screen
Conclusion
In this article we have learned different gnu screen commands to manage Linux terminal sessions. If you have any suggestions and feedback, please leave a comment below.
Linux tips for using GNU Screen
Learn the basics of terminal multiplexing with GNU Screen, then download our cheat sheet so you always have the essential shortcuts at hand.

To the average user, a terminal window can be baffling and cryptic. But as you learn more about the Linux terminal, it doesn’t take long before you realize how efficient and powerful it is. It also doesn’t take long for you to want it to be even more efficient, though, and what better way to make your terminal better than to put more terminals into your terminal?
Terminal multiplexing
One of the many advantages to the terminal is that it’s a centralized interface with centralized controls. It’s one window that affords you access to hundreds of applications, and all you need to interact with each one of them is a keyboard. But modern computers almost always have processing power to spare, and modern computerists love to multitask, so one window for hundreds of applications can be pretty limiting.
A common answer for this flaw is terminal multiplexing: the ability to layer virtual terminal windows on top of one another and then move between them all. With a multiplexer, you retain your centralized control, but you gain the ability to swap out the interface as you multitask. Better yet, you can split your virtual screens within your terminal so you can have multiple screens up at the same time.
Choose the right multiplexer
Some terminals offer similar features, with tabbed interfaces and split views, but there are subtle differences. First of all, these terminals’ features depend on a graphical desktop environment. Second, many graphical terminal features require mouse interaction or use inconvenient keyboard shortcuts. A terminal multiplexer’s features work just as well in a text console as on a graphical desktop, and the keybindings are conveniently designed around common terminal sequences.
There are two popular multiplexers: tmux and GNU Screen. They do the same thing and mostly have the same features, although the way you interact with each is slightly different. This article is a getting-started guide for GNU Screen. For information about tmux, read Kevin Sonney’s introduction to tmux.
Using GNU Screen
GNU Screen’s basic usage is simple. Launch it with the screen command, and you’re placed into the zeroeth window in a Screen session. You may hardly notice anything’s changed until you decide you need a new prompt.
When one terminal window is occupied with an activity (for instance, you’ve launched a text editor like Vim or Jove, or you’re processing video or audio, or running a batch job), you can just open a new one. To open a new window, press Ctrl+A, release, and then press c. This creates a new window on top of your existing window.
You’ll know you’re in a new window because your terminal appears to be clear of anything aside from its default prompt. Your other terminal still exists, of course; it’s just hiding behind the new one. To traverse through your open windows, press Ctrl+A, release, and then n for next or p for previous. With just two windows open, n and p functionally do the same thing, but you can always open more windows (Ctrl+A then c) and walk through them.
Split screen
GNU Screen’s default behavior is more like a mobile device screen than a desktop: you can only see one window at a time. If you’re using GNU Screen because you love to multitask, being able to focus on only one window may seem like a step backward. Luckily, GNU Screen lets you split your terminal into windows within windows.
To create a horizontal split, press Ctrl+A and then S (not the uppercase). This places one window above another, just like window panes. The split space is, however, left unpurposed until you tell it what to display. So after creating a split, you can move into the split pane with Ctrl+A and then Tab. Once there, use Ctrl+A then n to navigate through all your available windows until the content you want to be displayed is in the split pane.
You can also create vertical splits with Ctrl+A then | (that’s a pipe character, or the Shift option of the \ key on most keyboards).
Make GNU Screen your own
GNU Screen uses shortcuts based around Ctrl+A. Depending on your habits, this can either feel very natural or be supremely inconvenient because you use Ctrl+A to move to the beginning of a line anyway. Either way, GNU Screen permits all manner of customization through the .screenrc configuration file. You can change the trigger keybinding (called the «escape» keybinding) with this:
You can also add a status line to help you keep yourself oriented during a Screen session:
# status bar, with current window highlighted hardstatus alwayslastline hardstatus string '%[%%H%? %1`%?%][%= %%-w% %n*%t%?(%u)%? %%+w %=%][%%m/%d %%C%A%]' # enable 256 colors attrcolor b ".I" termcapinfo xterm 'Co#256:AB=\E[48;5;%dm:AF=\E[38;5;%dm' defbce on Having an always-on reminder of what window has focus activity and which windows have background activity is especially useful during a session with multiple windows open. It’s a sort of task manager for your terminal.
Download the cheat sheet
When you’re learning GNU Screen, you’ll have a lot of new keyboard commands to remember. Some you’ll remember right away, but the ones you use less often might be difficult to keep track of. You can always access a Help screen within GNU Screen with Ctrl+A then ?, but if you prefer something you can print out and keep by your keyboard, download our GNU Screen cheat sheet.
Learning GNU Screen is a great way to increase your efficiency and alacrity with your favorite terminal emulator. Give it a try!
3 Linux terminals you need to try
Linux gives you the ability to choose the terminal interface you like—not one it imposes.

An introduction to GNU Screen
Learn how to use this helpful terminal multiplexer tool to better control your command line.