- Screen Command in Linux with Examples
- Useful Screen Command Examples to Manage Linux Terminals
- To install the screen
- To detach the screen
- To Re-attach the screen
- Various options available in Screens
- To create a logging file
- To lock the screen
- To Add password to lock screen
- To leave the screen
- How To Install and Use Linux Screen, With Commands
- How to Install Screen on Linux
- Installing Screen on CentOS
- Installing Screen on Debian or Ubuntu
- How to Use Linux Screen Examples
- Starting Linux Screen
- Named Sessions
- Working with Linux Screen
- Detaching and Reattaching Screen
- Locking and Adding Passwords to Screen
- Customizing Screen
Screen Command in Linux with Examples
Useful Screen Command Examples to Manage Linux Terminals
Screen is one of the useful software which is used to perform multiple programs at the same time without getting interruption from any other process. It helps the user to open many individual terminals inside a single window. It also allows permission to share the sessions with the other users and we can also attach or detach a screen, which are created inside the single window terminal. The installation procedure of screen command is explained.
To install the screen
Run the following command to install the screen in the Linux systems.
For RedHat based system
For Debian/Ubuntu packages
[email protected]:~$ sudo apt-get install screen Reading package lists. Done Building dependency tree Reading state information. Done Suggested packages: iselect screenie byobu ncurses-term The following NEW packages will be installed: screen 0 upgraded, 1 newly installed, 0 to remove and 227 not upgraded. Need to get 567 kB of archives. . . . Setting up screen (4.3.1-2) . Processing triggers for ureadahead (0.100.0-19) . Processing triggers for systemd (225-1ubuntu9) . To start using the screen in the linux use the following command.
When you run the screen command , the following screen appears.
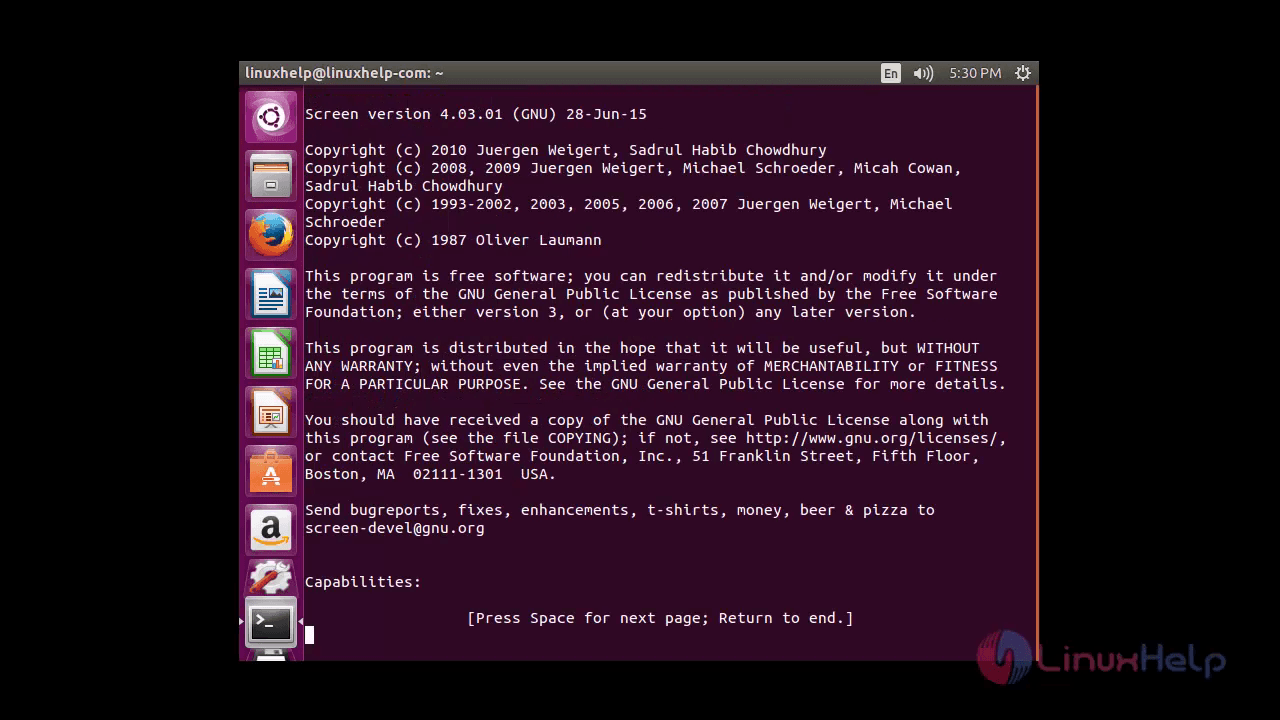
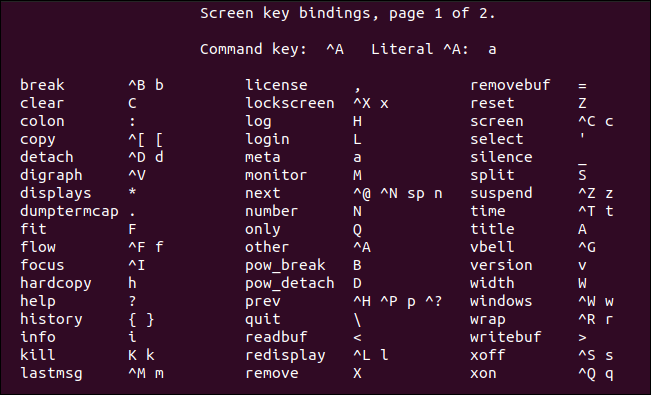
To show the parameters of the screen hit ‘ ctrl+a and ? ’ . Now all the commands and parameters which are used in the screen command will be displayed as shown below.
Command key: ^A Literal ^A: a break ^B b license , removebuf = clear C lockscreen ^X x reset Z colon : log H screen ^C c copy ^[ [ login L select ' detach ^D d meta a silence _ digraph ^V monitor M split S displays * next ^@ ^N sp n suspend ^Z z dumptermcap . number N time ^T t fit F only Q title A flow ^F f other ^A vbell ^G focus ^I pow_break B version v hardcopy h pow_detach D width W help ? prev ^H ^P p ^? windows ^W w history < >quit wrap ^R r info i readbuf < writebuf >kill K k redisplay ^L l xoff ^S s lastmsg ^M m remove X xon ^Q q ^] paste . " windowlist -b - select - 0 select 0 1 select 1 2 select 2 3 select 3 4 select 4 5 select 5 6 select 6 7 select 7 8 select 8 9 select 9 I login on O login off ] paste . | split -v :kB: focus prev
To detach the screen
The screen command provides an option for detaching the screen.
Consider the following example, Go to the screen by typing the below command in the terminal.
Now we are starting the updation process by running the following command.
[email protected]:~$ sudo apt-get update sudo: unable to resolve host linuxhelp-com [sudo] password for linuxhelp: Hit http://in.archive.ubuntu.com wily InRelease Get:1 http://security.ubuntu.com wily-security InRelease [65.9 kB] Get:2 http://in.archive.ubuntu.com wily-updates InRelease [65.9 kB] Get:3 http://security.ubuntu.com wily-security/main Sources [44.2 kB] Hit http://in.archive.ubuntu.com wily-backports InRelease Get:4 http://security.ubuntu.com wily-security/restricted Sources [2,854 B] Hit http://in.archive.ubuntu.com wily/main Sources Hit http://in.archive.ubuntu.com wily/restricted Sources Get:5 http://security.ubuntu.com wily-security/universe Sources [11.7 kB] Hit http://in.archive.ubuntu.com wily/universe Sources Get:6 http://security.ubuntu.com wily-security/multiverse Sources [2,782 B] Hit http://in.archive.ubuntu.com wily/multiverse Sources Get:7 http://security.ubuntu.com wily-security/main amd64 Packages [143 kB] Hit http://in.archive.ubuntu.com wily/main amd64 Packages Hit http://in.archive.ubuntu.com wily/restricted i386 Packages Get:8 http://security.ubuntu.com wily-security/restricted amd64 Packages [10.9 kB] Get:9 http://security.ubuntu.com wily-security/universe amd64 Packages [52.1 kB] Hit http://in.archive.ubuntu.com wily/universe i386 Packages Hit http://in.archive.ubuntu.com wily/restricted Translation-en Get:10 http://security.ubuntu.com wily-security/multiverse amd64 Packages [6,253 B] Get:11 http://security.ubuntu.com wily-security/main i386 Packages [139 kB] Hit http://in.archive.ubuntu.com wily/universe Translation-en Get:12 http://in.archive.ubuntu.com wily-updates/main Sources [73.0 kB] Get:13 http://security.ubuntu.com wily-security/restricted i386 Packages [10.8 kB] Get:14 http://security.ubuntu.com wily-security/universe i386 Packages [52.2 kB] Get:15 http://security.ubuntu.com wily-security/multiverse i386 Packages [6,430 B] Get:16 http://security.ubuntu.com wily-security/main Translation-en [69.2 kB] 100% [Waiting for headers] 21.6 kB/s 0s To detach the running process screen press ‘ Ctrl+a and d ’ . We will be detached from the screen, but the process continues in the back end.
[email protected]:~$ screen [detached from 2265.pts-17.linuxhelp] To Re-attach the screen
This command is used to reattach the screen, In my first screen I was doing the monitoring process and I have detached so now. I am going to attach the screen again to see the top process.
Syntax:
screen &ndash r
To list and see all the process that are stopped in the various screen
[email protected]:~$ screen &ndash ls 2472.pts-17.linuxhelp (Tuesday 12 April 2016 05:15:48 IST) (Detached) 2265.pts-17.linuxhelp (Tuesday 12 April 2016 05:03:17 IST) (Detached) 2 Sockets in /var/run/screen/S-linuxhelp. Run the following command to reattach the screen.
[email protected]:~$ screen -r 2265.pts-17.linuxhelp Various options available in Screens
- To switch between the screen Press ‘ ctrl+a and n ’ it will move to the next screen
- To move to the previous screen Press ‘ ctrl+a and p ’
- To create a new screen Press ‘ ctrl+a and c ’
To create a logging file
This command is used to note down the screen log features and functions of the system.
To activate the screen logging function press ‘ ctrl+a and H ’
While activating you will be getting the notification at the bottom of the screen showing that you have created the log file ‘ screenlog.0 ’ . Deactivate the screen logging function again press ‘ ctrl+a and H ’
To activate the screen logging features at the starting time of the screen, use the parameter ‘ -L ’ as shown below.
To lock the screen
The hot key ‘ ctrl+a and x ’ is used to lock the screen and enter the password to login into the screen.
Screen used by linuxhelp on linuxhelp. Password:
To Add password to lock screen
Run the following command to add the password to the lock screen. While reattaching the screen we have to provide the password that we generated
To Generate a password:
[email protected]:~$ mkpasswd linux123 14dg7rth532cff After the hash value has been created copy the hash value and paste it in the file in ‘ .screenrc ‘ which is available in the home directory or else create a new file in the name of ‘ .screenrc ’ .
In the format
Password 14dg7rth532cff
And save the file
Now whenever you open the screen it will ask for the authentication.
To leave the screen
The following hotkeys are used to exit the screen ‘ ctrl+a and d ’ .
To Kill the screen use ‘ ctrl+a and k ’ .
How To Install and Use Linux Screen, With Commands
Linux Screen provides users an option to open several separate terminal instances within a single terminal window manager. Screen also includes an enhanced command line, giving you extra features and functionality over a standard command line.
This tutorial will show you how to install and use Screen on a Linux system.
How to Install Screen on Linux
If you’re running a recent version of Linux, like Ubuntu 20.04 or CentOS 8, you probably already have Screen installed.
To verity if Screen is installed, check the version with the command:

Installing Screen on CentOS
To install Screen on Red Hat / CentOS, enter the command:
Installing Screen on Debian or Ubuntu
To install Screen on Debian/Ubuntu, enter the following:
How to Use Linux Screen Examples
Below you will find the most common Screen commands with examples on how to use them.
Starting Linux Screen
To launch Linux Screen and start a screen session, run the command:
The initial launch begins with a brief licensing agreement displayed on the screen. Press Space to continue to the next page.
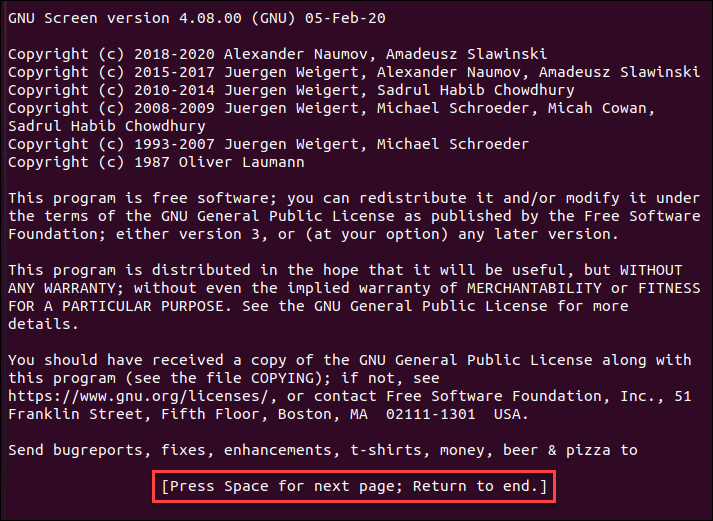
Press Space again to open a new screen session.
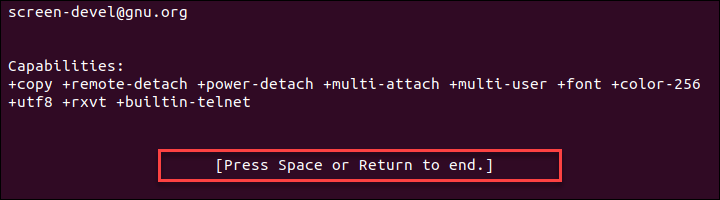
The system drops out to a command line that looks just like a regular terminal window.
The manage screen shells, use Screen keystrokes (in most cases, Ctrl + a, followed by another key). To see a list of available commands press the keys Ctrl + a, followed by ?.
Named Sessions
While working in Screen, it is recommended to name each session. This helps you keep track of instances if you have multiple screen sessions running.
To launch and name a new session, use the command:
For instance, to create a session named upgrade, you run:
Working with Linux Screen
Once you launch Screen, the application creates a window with a shell inside of the screen session. Add, switch, and manage windows using command keystrokes.
The most commonly used keystrokes include:
- Ctrl+a and c – Open a new screen window.
- Ctrl + a and « – List all open windows.
- Ctrl + a and 0 – Switch to window 0 (or any other numbered window).
- Ctrl + a and A – Rename the current window.
- Ctrl + a and S — Split the screen horizontally, with the current window on top.
- Ctrl + a and | — Split the screen vertically, with the current window on the left.
- Ctrl + a and tab – Switch focus between areas of the split screen.
- Ctrl + a and Ctrl + a – Switch between current and previous windows.
- Ctrl + a and n – Switch to the next window.
- Ctrl + a and p – Switch to the previous window.
- Ctrl + a and Q – Quit all other windows except the current one..
- Ctrl + a and X – Lock the current window.
- Ctrl + a and H – Create a running log of the session.
- Ctrl + a and M – Monitor a window for output (a notification pops up when that window has activity).
- Ctrl + a and _ — Watch a window for absence of output (such as when a file finishes downloading or a compiler finishes).
Detaching and Reattaching Screen
To detach from screen and leave the window running in the background, use the keystroke:
Ctrl + a and d
The command leaves the process working in Screen and exits the interface. It is the equivalent of minimizing a window in a graphical operating system.
To reattach to a running screen session, use:
If you only have one Screen instance, you don’t need to enter the session ID. If you have more than one, you’ll need to specify which session ID you want to reconnect to.
Each screen session has a different ID and you can see the session ID list with the command screen -ls .

Once you have the ID, add it to the screen -r command:
For example, to restore screen 3361.upgrade, run:
Locking and Adding Passwords to Screen
To lock the screen, use the shortcut:
Ctrl + a and x
The default lock screen mechanism asks for your Linux password to unlock the screen.

Additionally, Screen allows you to protect a session with its own password. Each time you attempt to reattach to the screen, you need to provide the set password.
To create a password-protected screen, run the command:
Replace your_passowrd with a strong password of your choice.
The next time you try to reattach to the password-protected screen, you have to provide two passwords to enter – your Linux password, followed by your Screen password.
Customizing Screen
Like many Linux applications, Screen uses a customizable configuration file. Find the system-wide configuration file at /etc/screenrc. The user’s configuration file is located at ~/.screenrc.
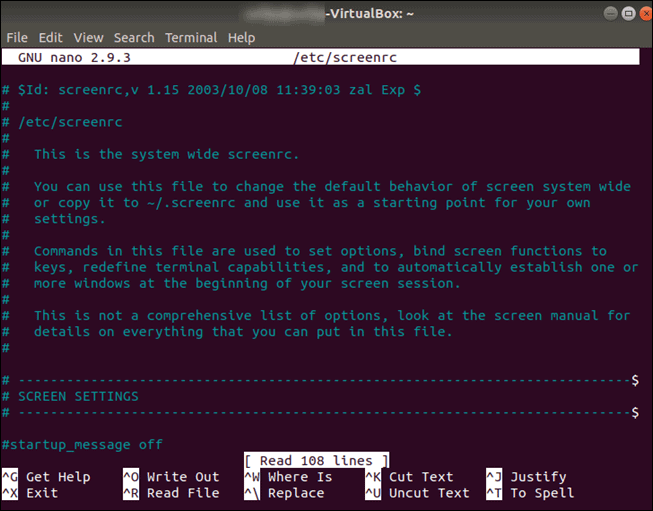
Most of the settings can be toggled by removing the comment (#) sign at the beginning of the line.
This tutorial showed you how to install Linux screen as well as the basic commands for using it.
Once you have mastered using the screen interface, you can navigate through multiple terminals, multitask and work more efficiently.