- Установка Nextcloud с Docker Compose
- How to Install the Nextcloud All-in-One on Linux
- Similar posts:
- How to deploy NextCloud in your Linux Server with docker and SSL
- What is NextCloud ?
- Pre-requisite before the installation of Nextcloud
- Deployment of NextCloud
- Installation of Nginx-proxy and acme-compagnon
- Docker-compose file explanation
- nextcloud_db service
- redis service
- nextcloud_web service
- cron service
- Wrap up
Установка Nextcloud с Docker Compose
Данная статья предназначена для тех, кто искал подробное и понятное руководство о том, как установить Nextcloud с Docker Compose.
Nextcloud — это аналог Dropbox, который можно установить на собственном сервере и сделать облако для хранения файлов — фотографий, видео и любых других. Приложение можно использовать для совместной работы и конфиденциального обмена файлами, настраивая уровни доступа для каждого пользователя. Также с помощью отдельного мобильного приложения NextCloud Talk можно также совершать голосовые и видеозвонки.
В этом руководстве мы будем рассматривать тот случай, когда у вас уже есть сервер с установленной на нем операционной системой Ubuntu Server 22.04 LTS.
Подробно о том, как установить Ubuntu Server 22.04 LTS, вы можете прочитать в моем руководстве “Установка Ubuntu Server 22.04 LTS”.
Также на сервере должен быть установлен Docker Engine и Docker Compose.
Узнать о том, как установить Docker Engine на Ubuntu Server, вы можете, прочитав “Установка Docker Engine и Docker Compose на Ubuntu Server”.
Кроме того, на сервер должен быть установлен OpenSSH, а также открыт 22 порт, чтобы иметь возможность подключаться к серверу по протоколу SSH.
Для установки OpenSSH на сервер вы можете воспользоваться командой:


С рабочей станции переходим по ссылке https://nextcloud.heyvaldemar.net, где nextcloud.heyvaldemar.net — имя моего сервера. Соответственно, вам необходимо указать имя вашего сервера Nextcloud.
Указываем логин, который вы указали ранее в конфигурационном файле YAML, в переменной “NEXTCLOUD_ADMIN_USER”.
Далее указываем пароль, который вы указали ранее в конфигурационном файле YAML, в переменной “NEXTCLOUD_ADMIN_PASSWORD”.
Нажимаем на кнопку “Log in”.

Добро пожаловать в панель управления Nextcloud.

Для доступа к панели управления Traefik необходимо с рабочей станции перейти по ссылке https://traefik.nextcloud.heyvaldemar.net, где traefik.nextcloud.heyvaldemar.net — имя моего сервера. Соответственно, вам необходимо указать имя вашего сервера с установленным Traefik.
Указываем имя пользователя и пароль, заданный ранее в конфигурационном файле YAML, и нажимаем на кнопку “OK”.

Добро пожаловать в панель управления Traefik.
How to Install the Nextcloud All-in-One on Linux
Nextcloud All-in-One is a Docker-based project which allows to install just one container that does the heavy lifting of creating and managing all containers needed for a full-blown Nextcloud installation. Nextcloud AIO not only provides easy deployment and maintenance of many Nextcloud features included, but you can also expect a user friendly interface, stress-free updates and a more simplistic approach for getting most features to work out-of-the-box.
- Nextcloud
- Nextcloud Office
- High performance backend for Nextcloud Files
- High performance backend for Nextcloud Talk
- Backup solution (based on BorgBackup)
- Imaginary (for previews of heic, tiff and webp)
- ClamAV (Antivirus backend for Nextcloud)
- Fulltextsearch
Alternatively, if port 80 and 8443 should be opened in your firewall/router and a domain is configured to point to your server, you can reach the AIO interface with a valid certificate using https://your-domain.com:8443 .
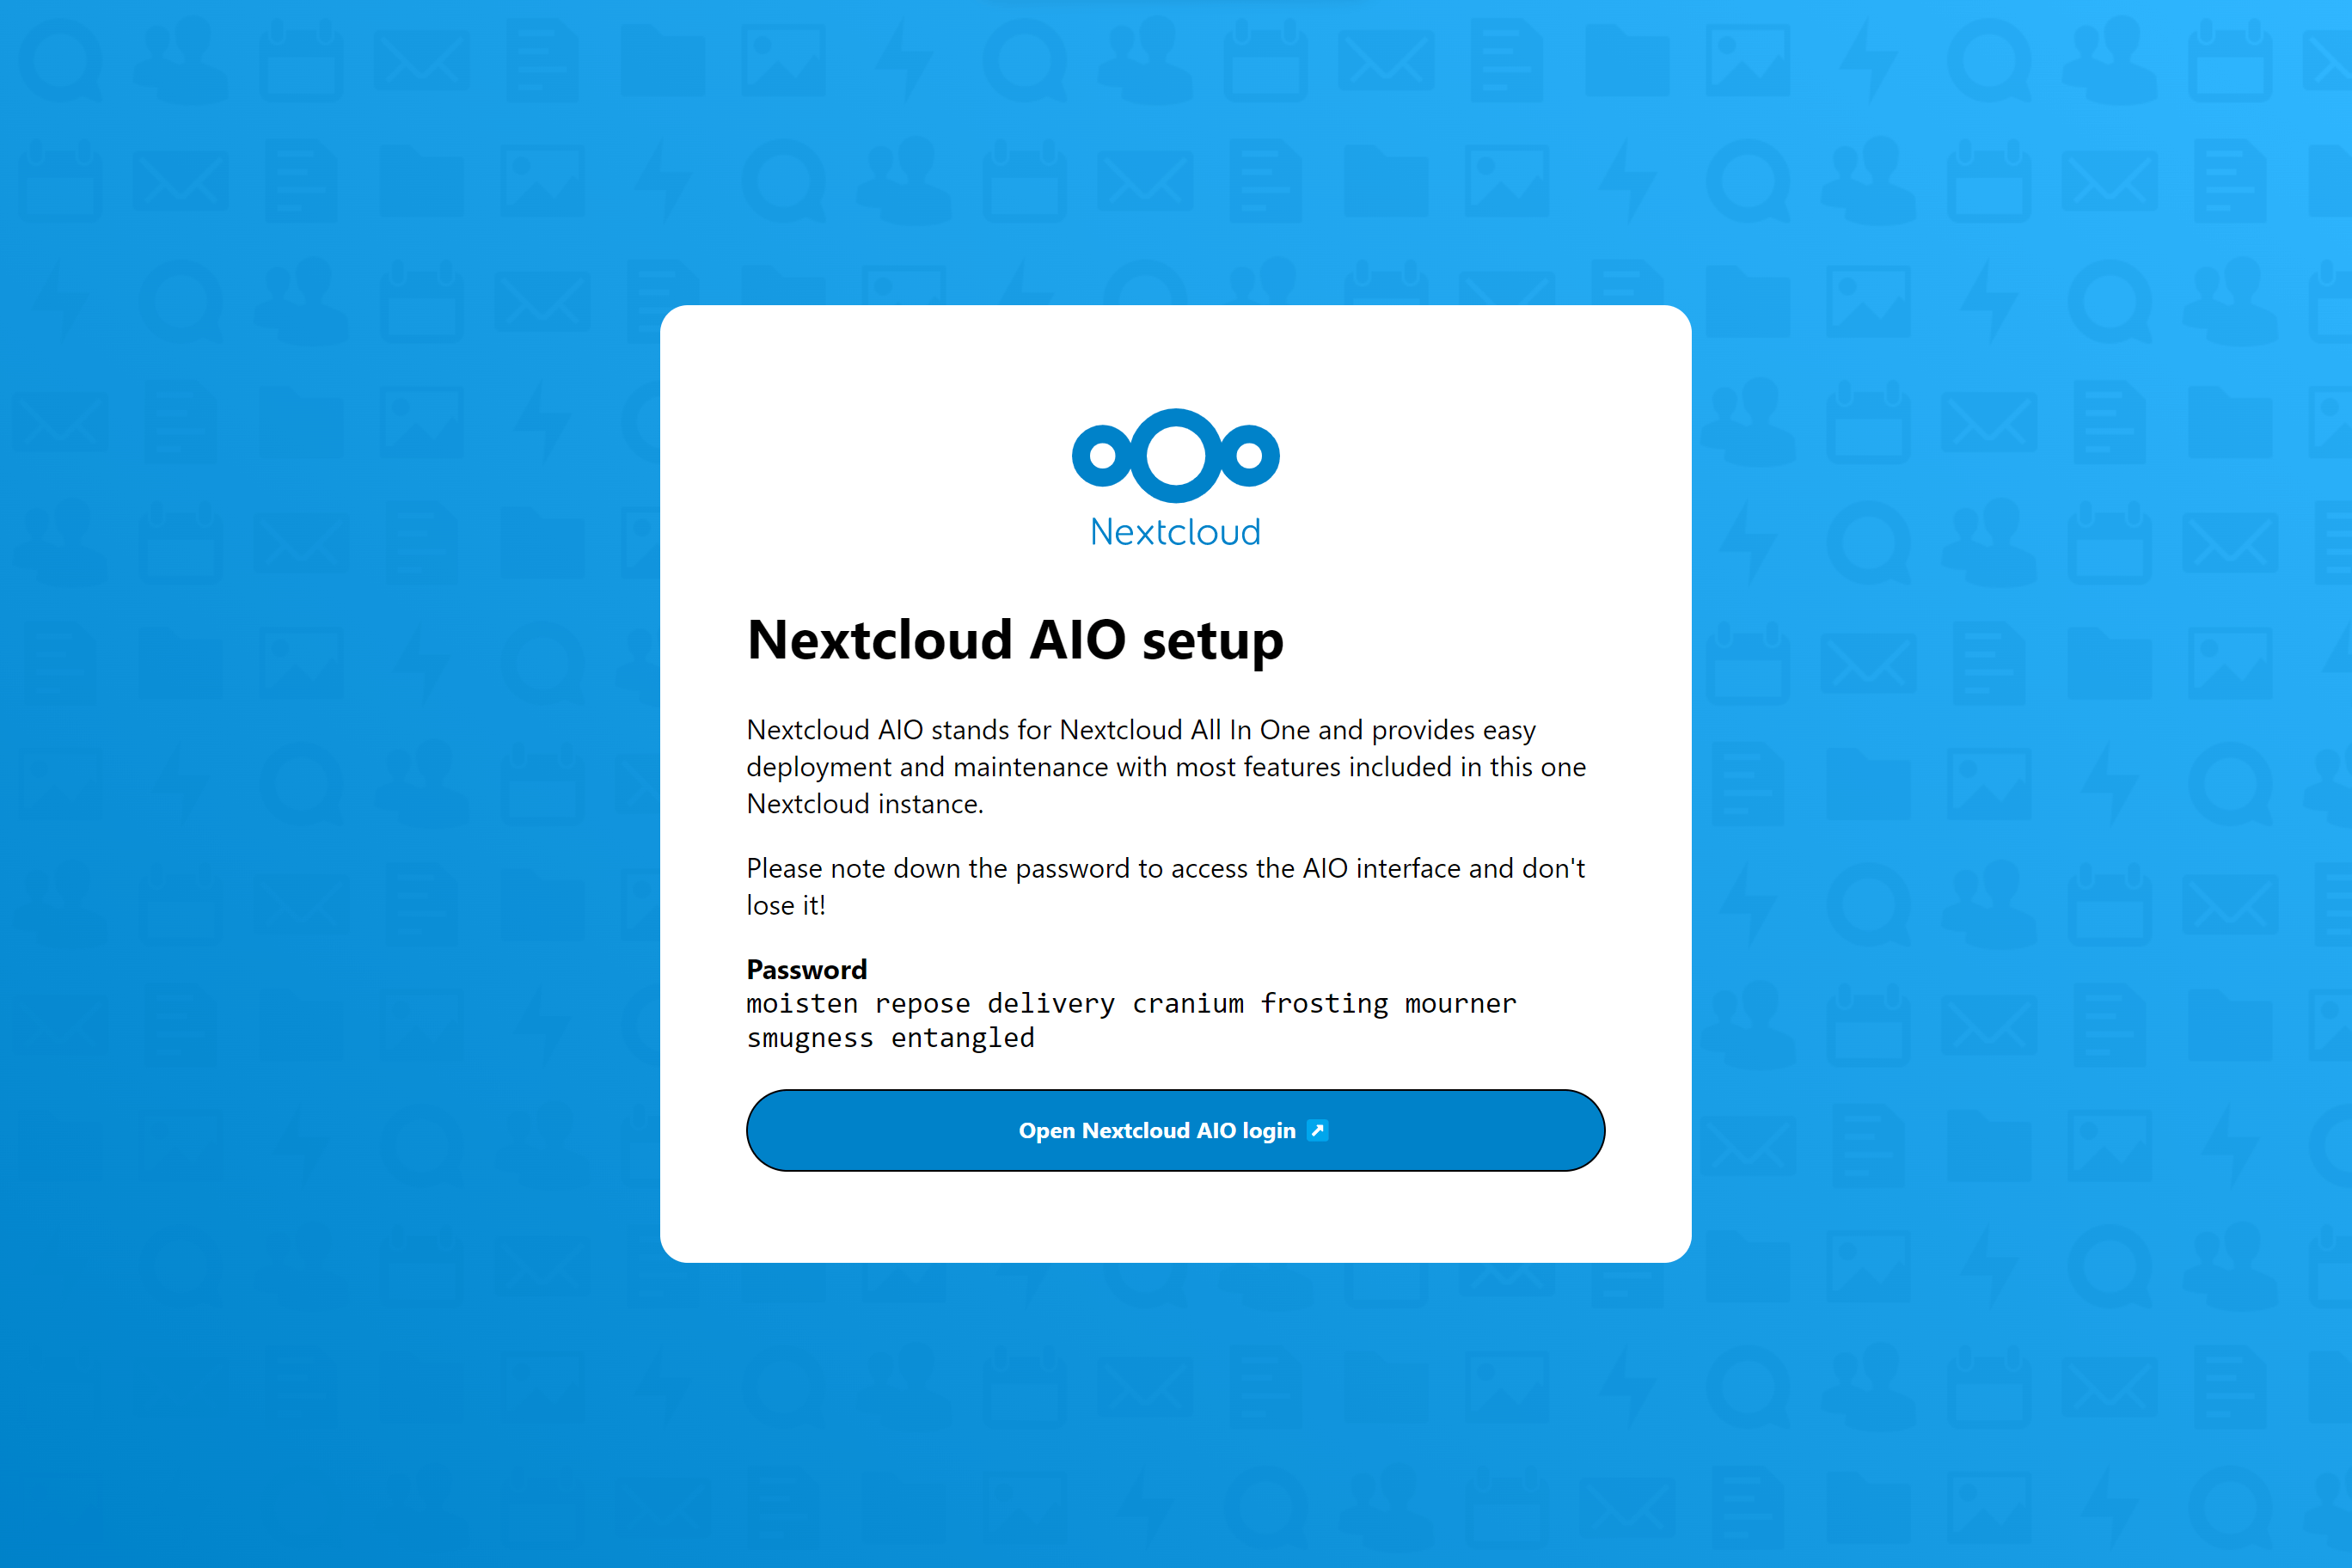
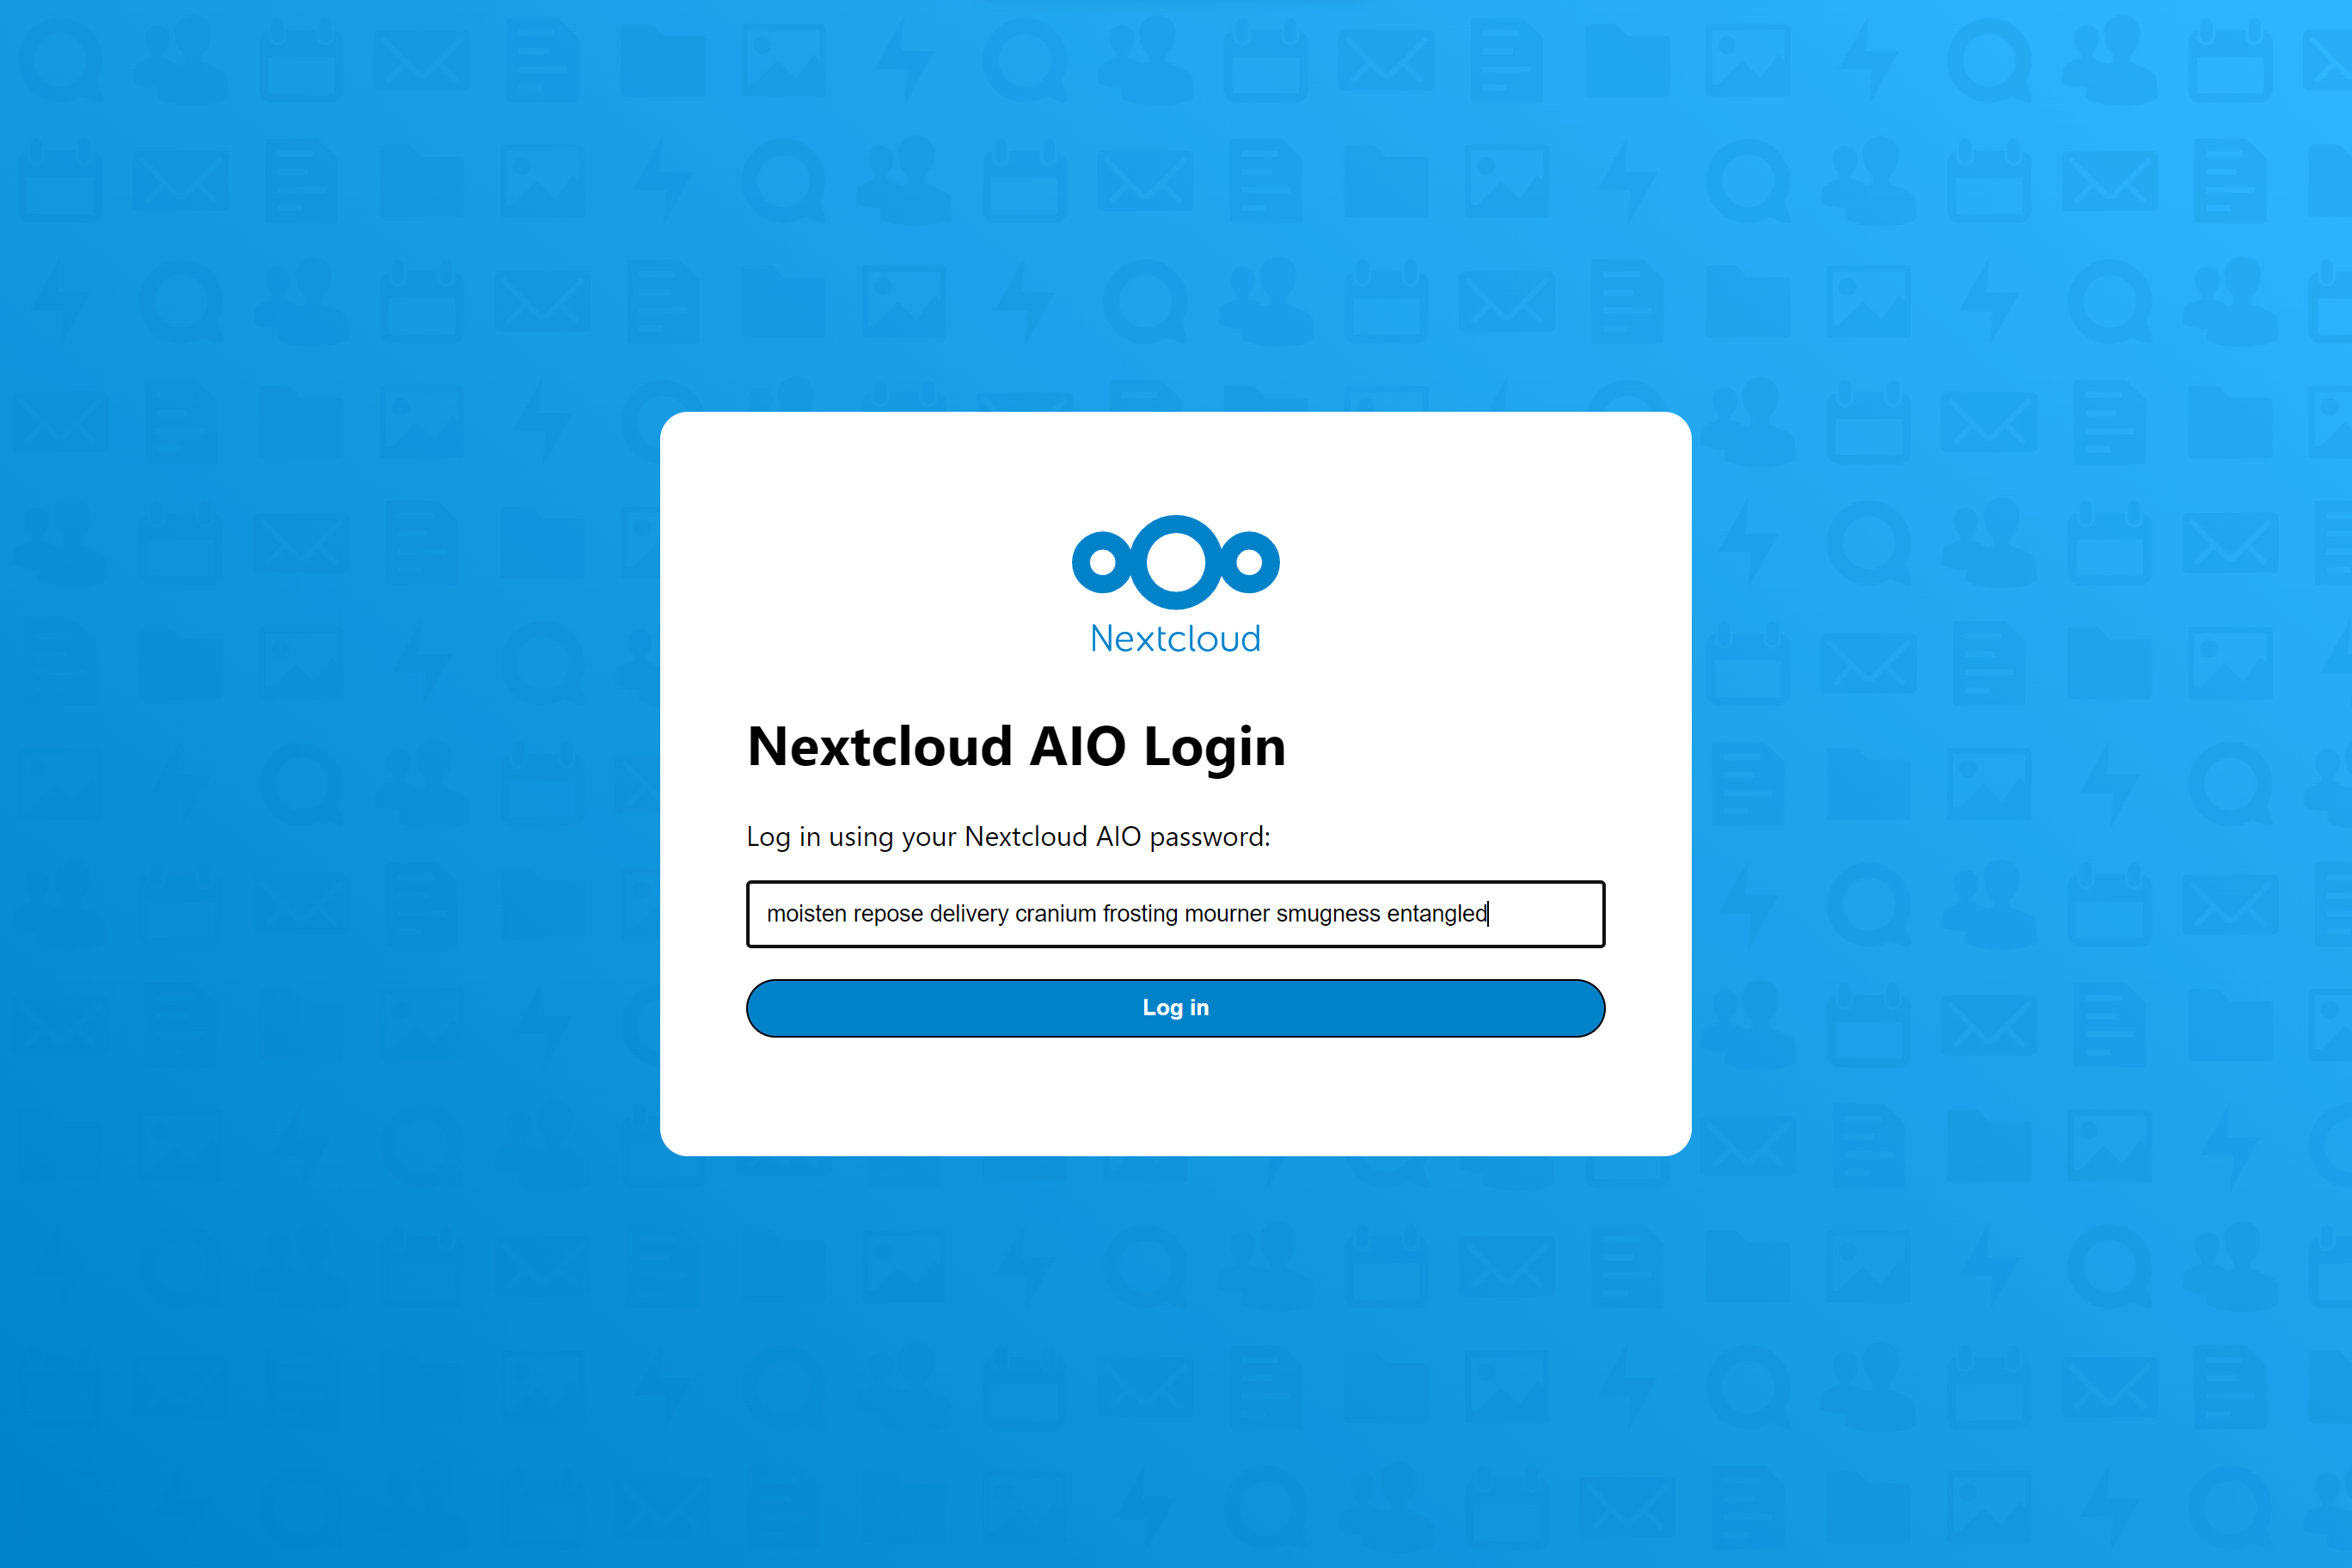
5. Click on ‘Open Nextcloud AIO login’ and paste in your password:
6. Then, you should see the AIO interface:
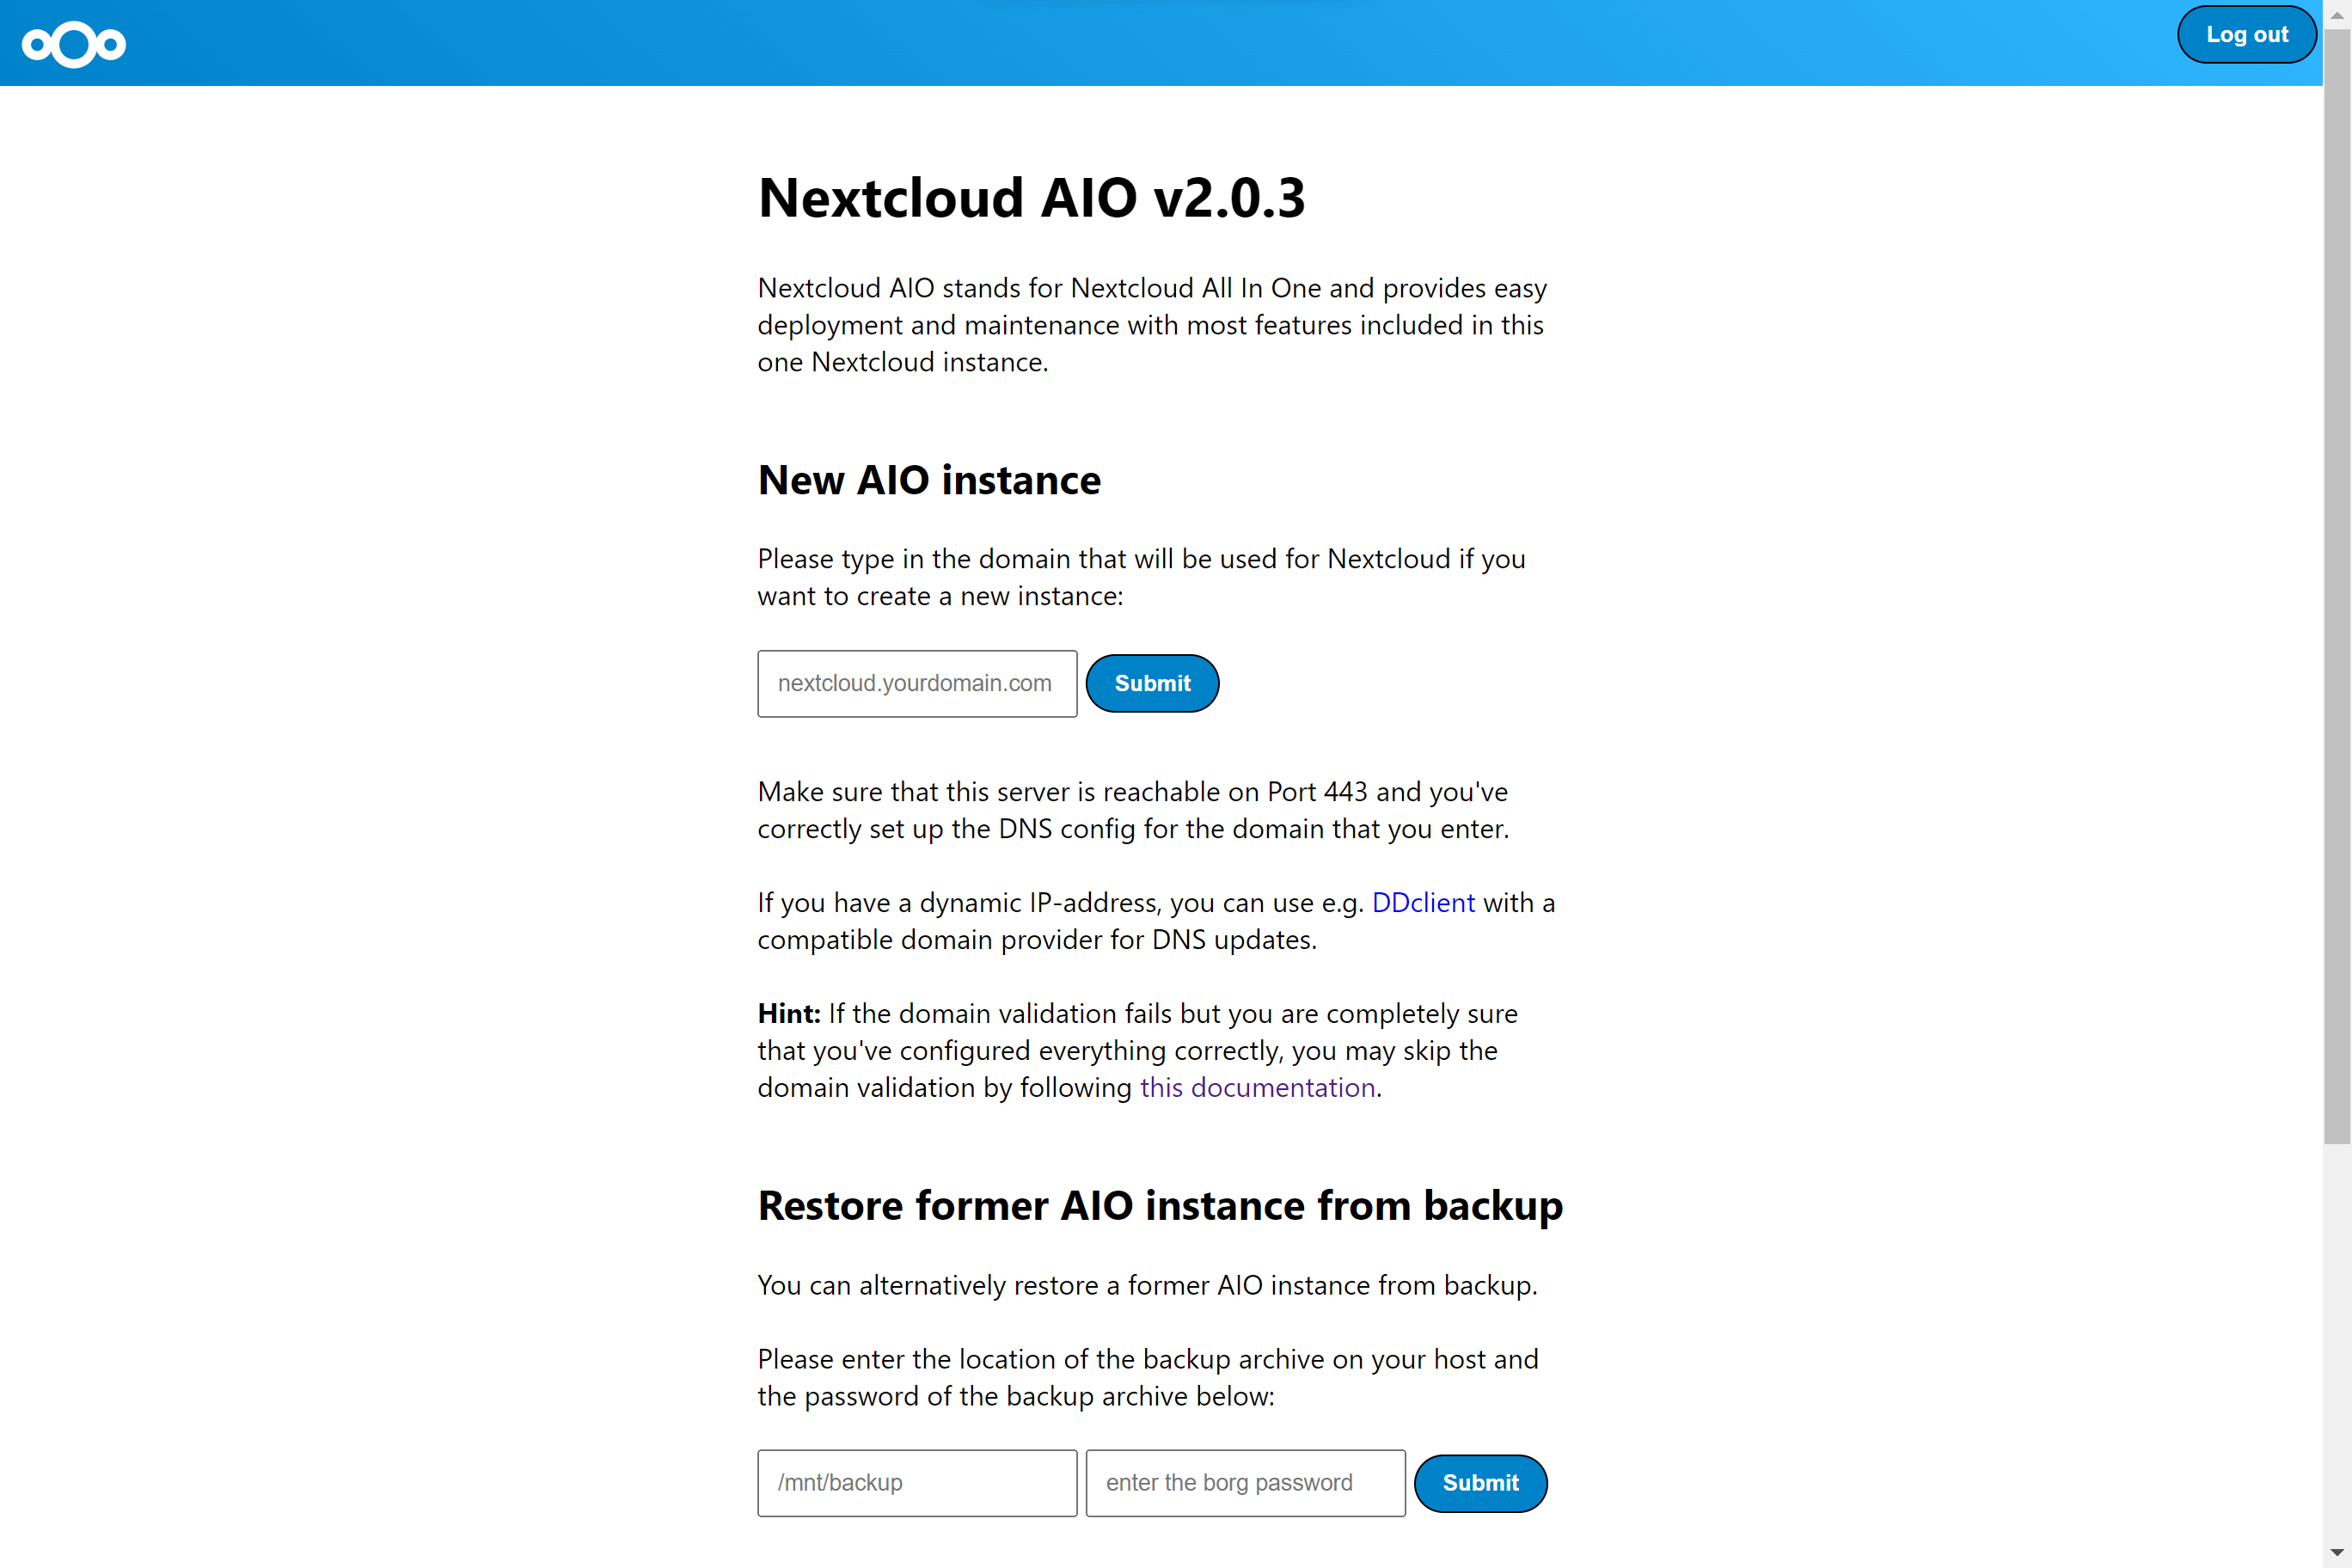
7. Next, type in your public domain that you you’ve got before doing this guide. The interface should help you figuring out which are the exact steps. (Set up DDNS for your domain to point to your public IP, port-forward at least ports 443/tcp, 3478/udp and 3478/tcp to your Linux machine.
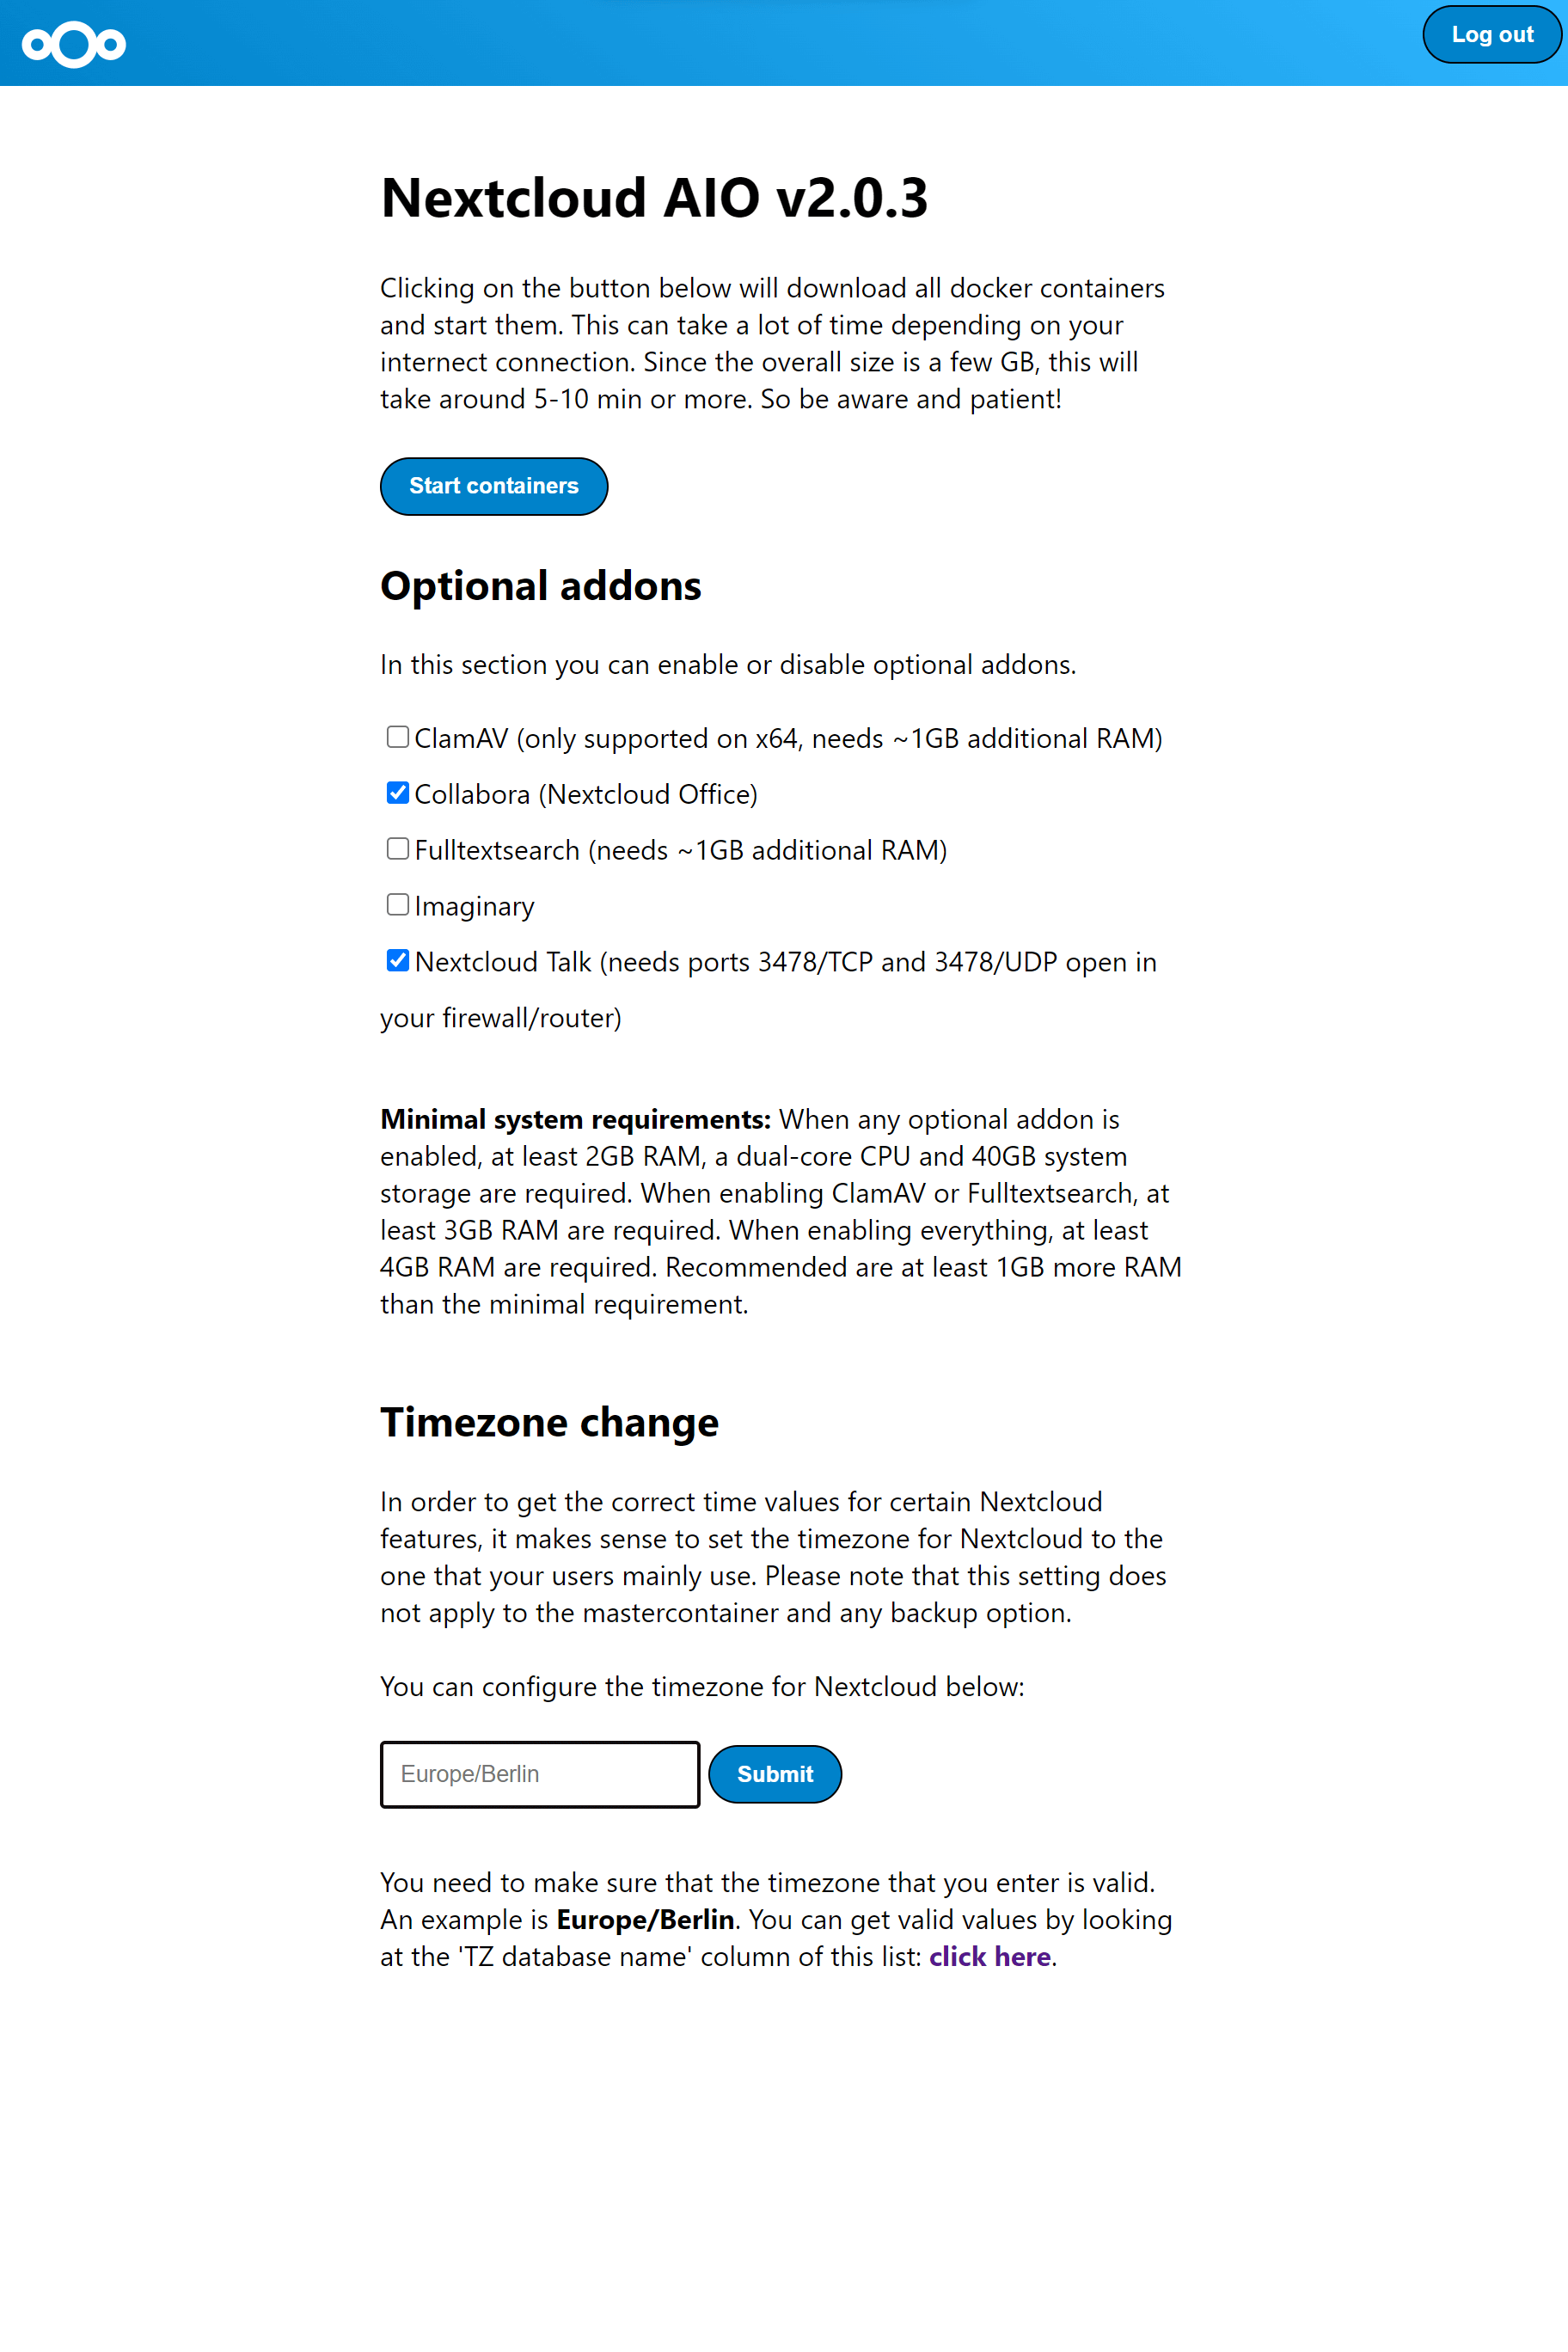
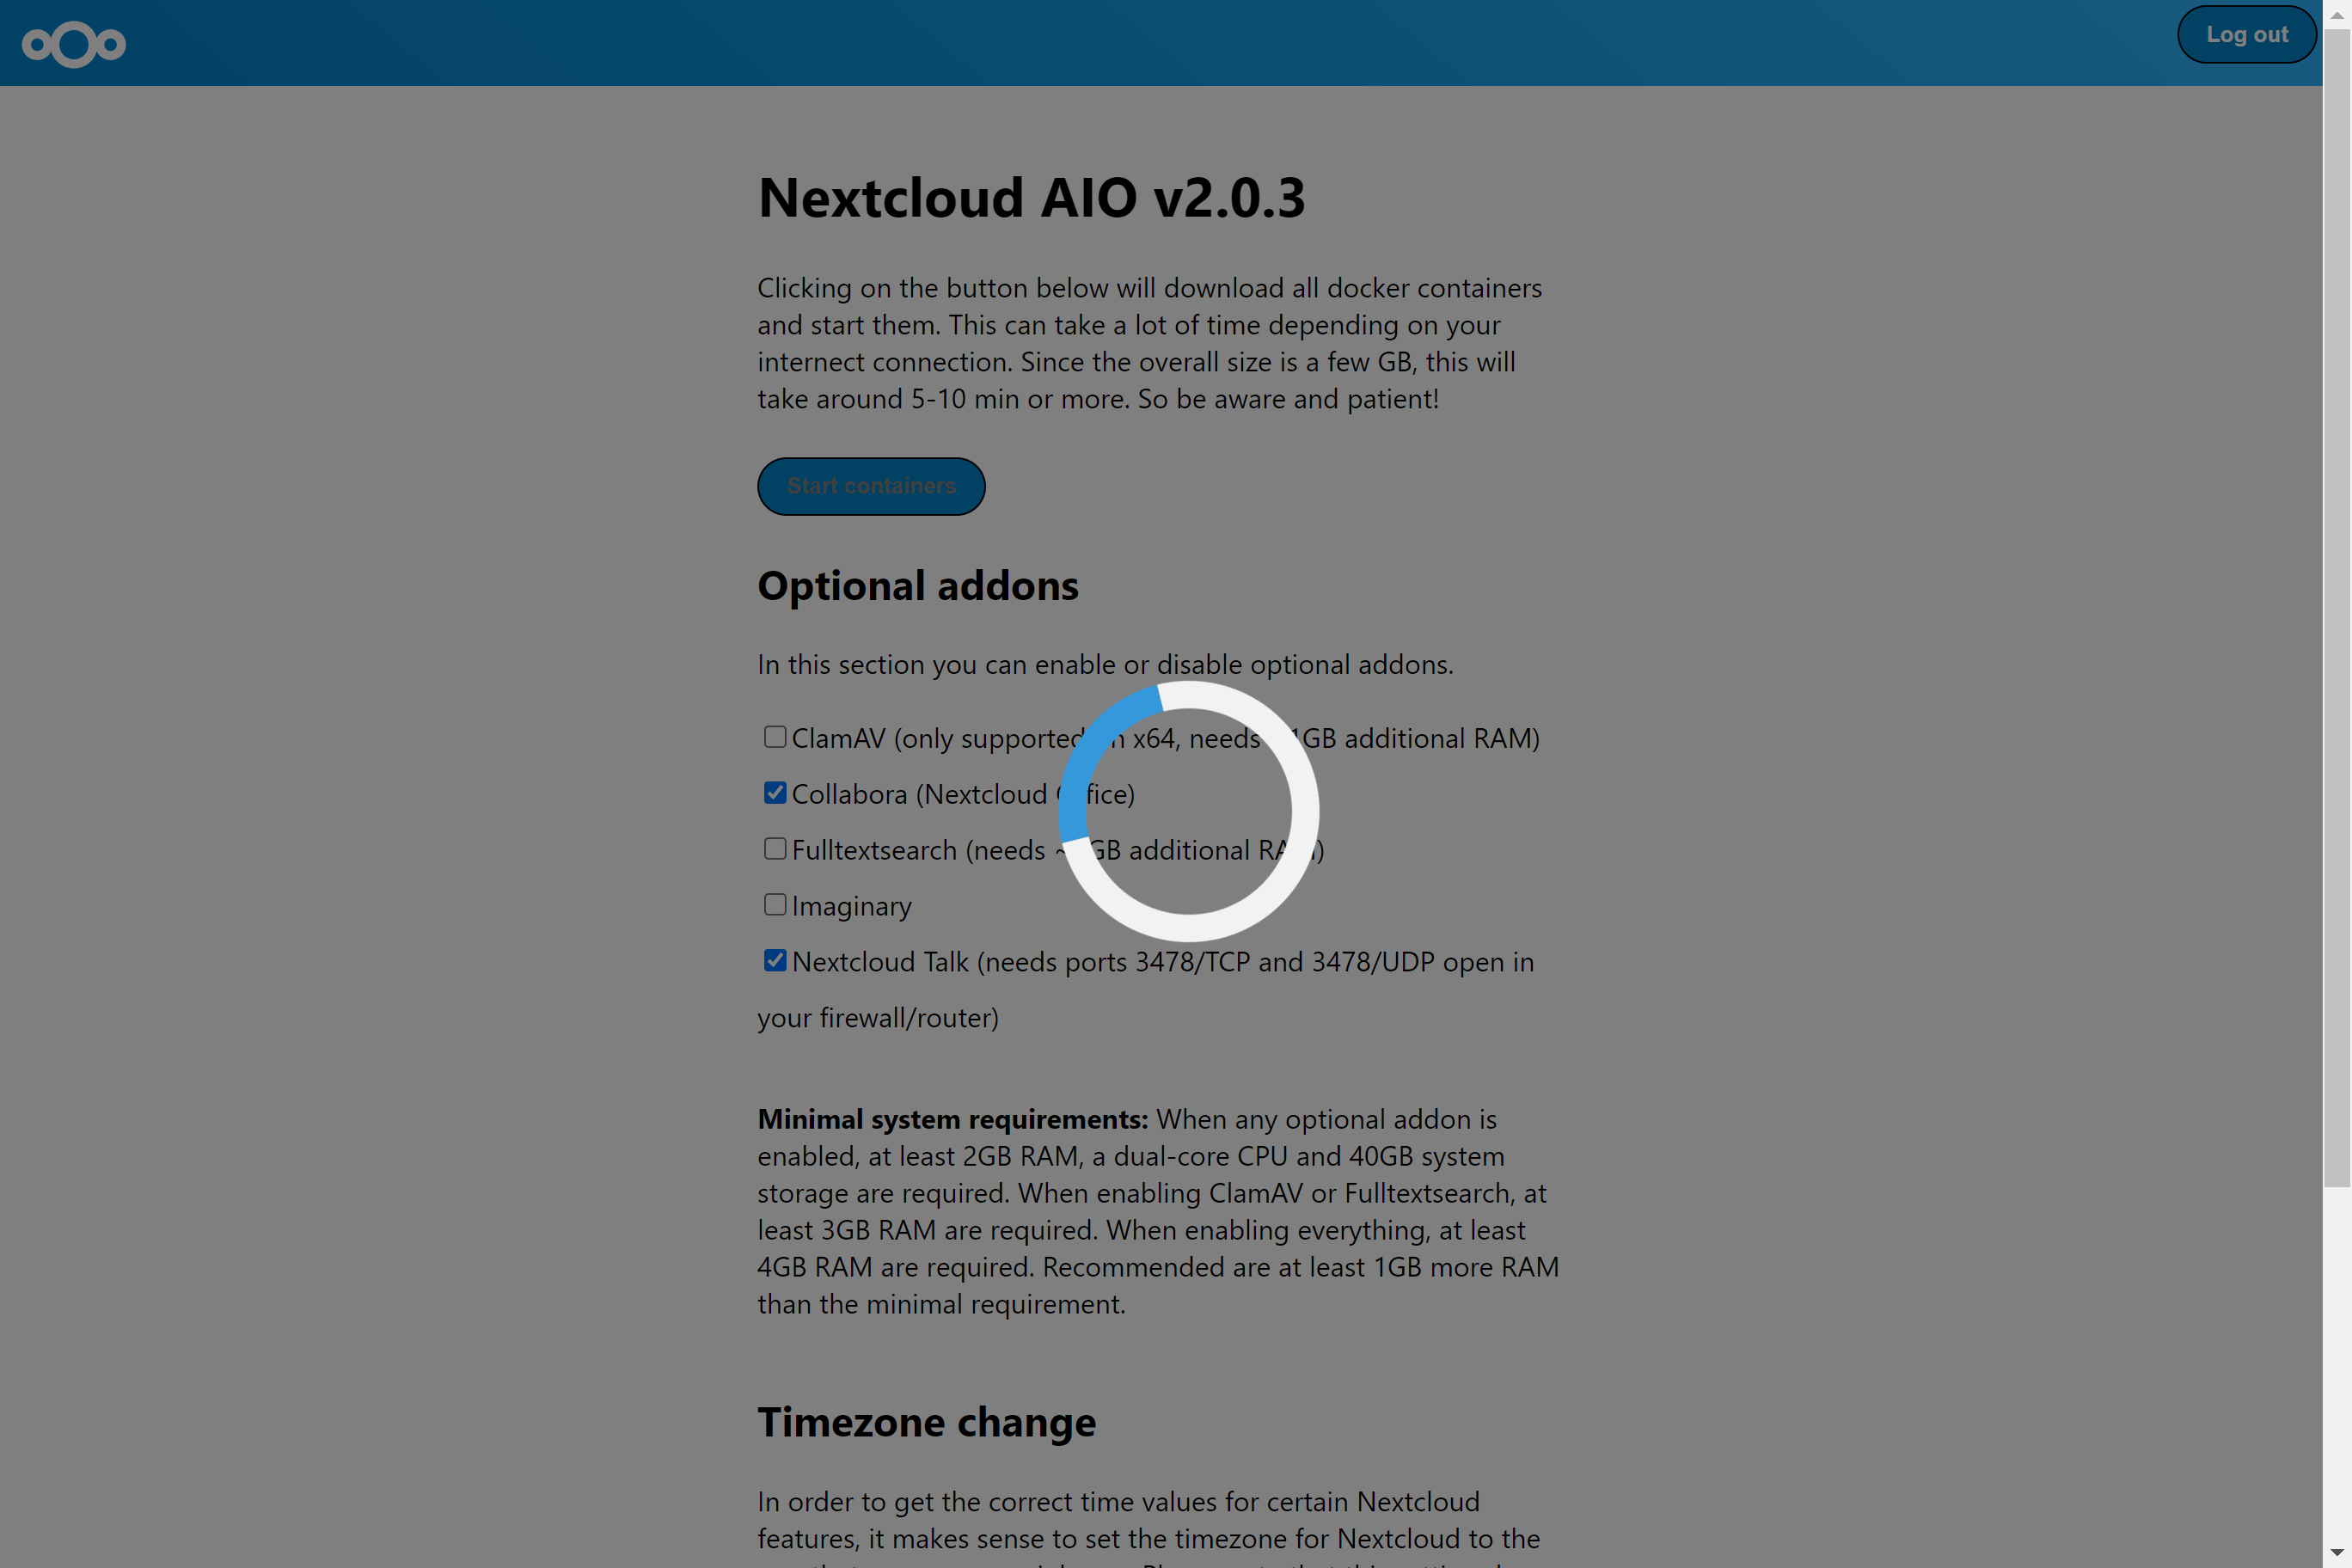
8. After you’ve set it up correctly, it should allow you to pass to the next step where you can configure wanted optional add-ons and the timezone and click on Start containers in order to download and start them.
9. At this point, you should see a spinner that will take a while depending on your internet speed ~ around 10min or more.
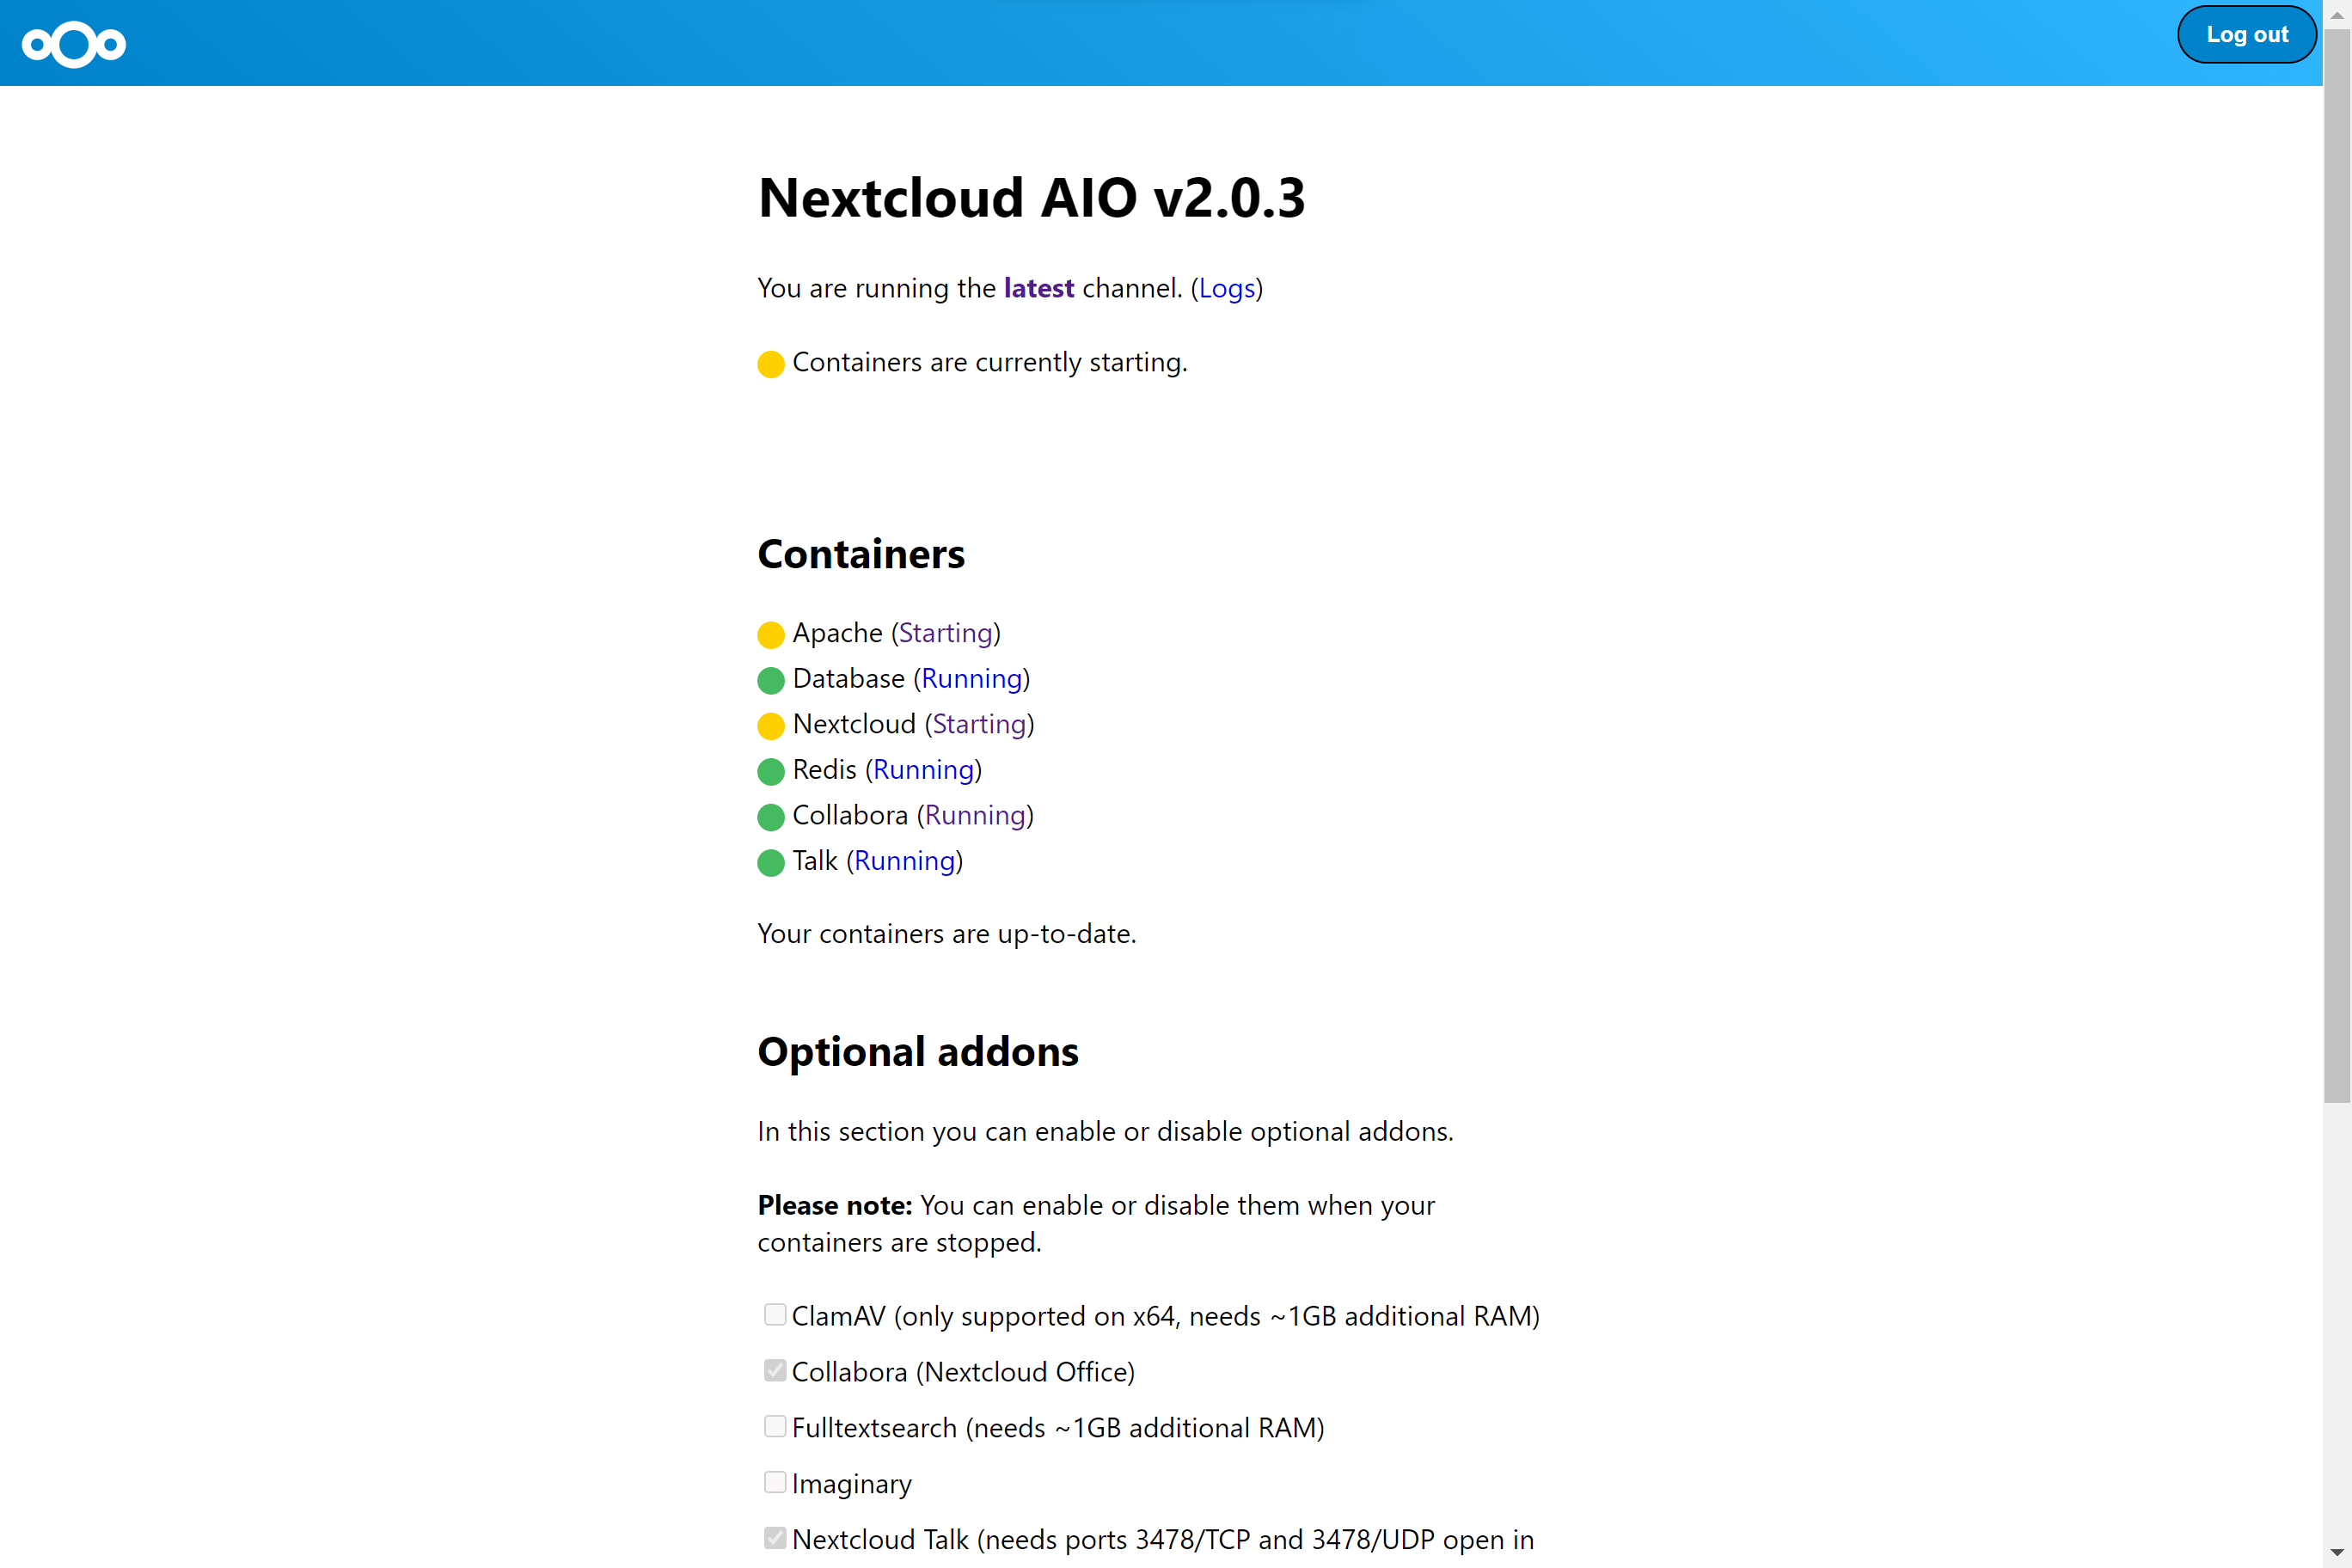
10. When all containers are downloaded and started, you will see this screen which shows the containers still starting which will do the first installation for you:
11. When everything is done, you should see this screen:
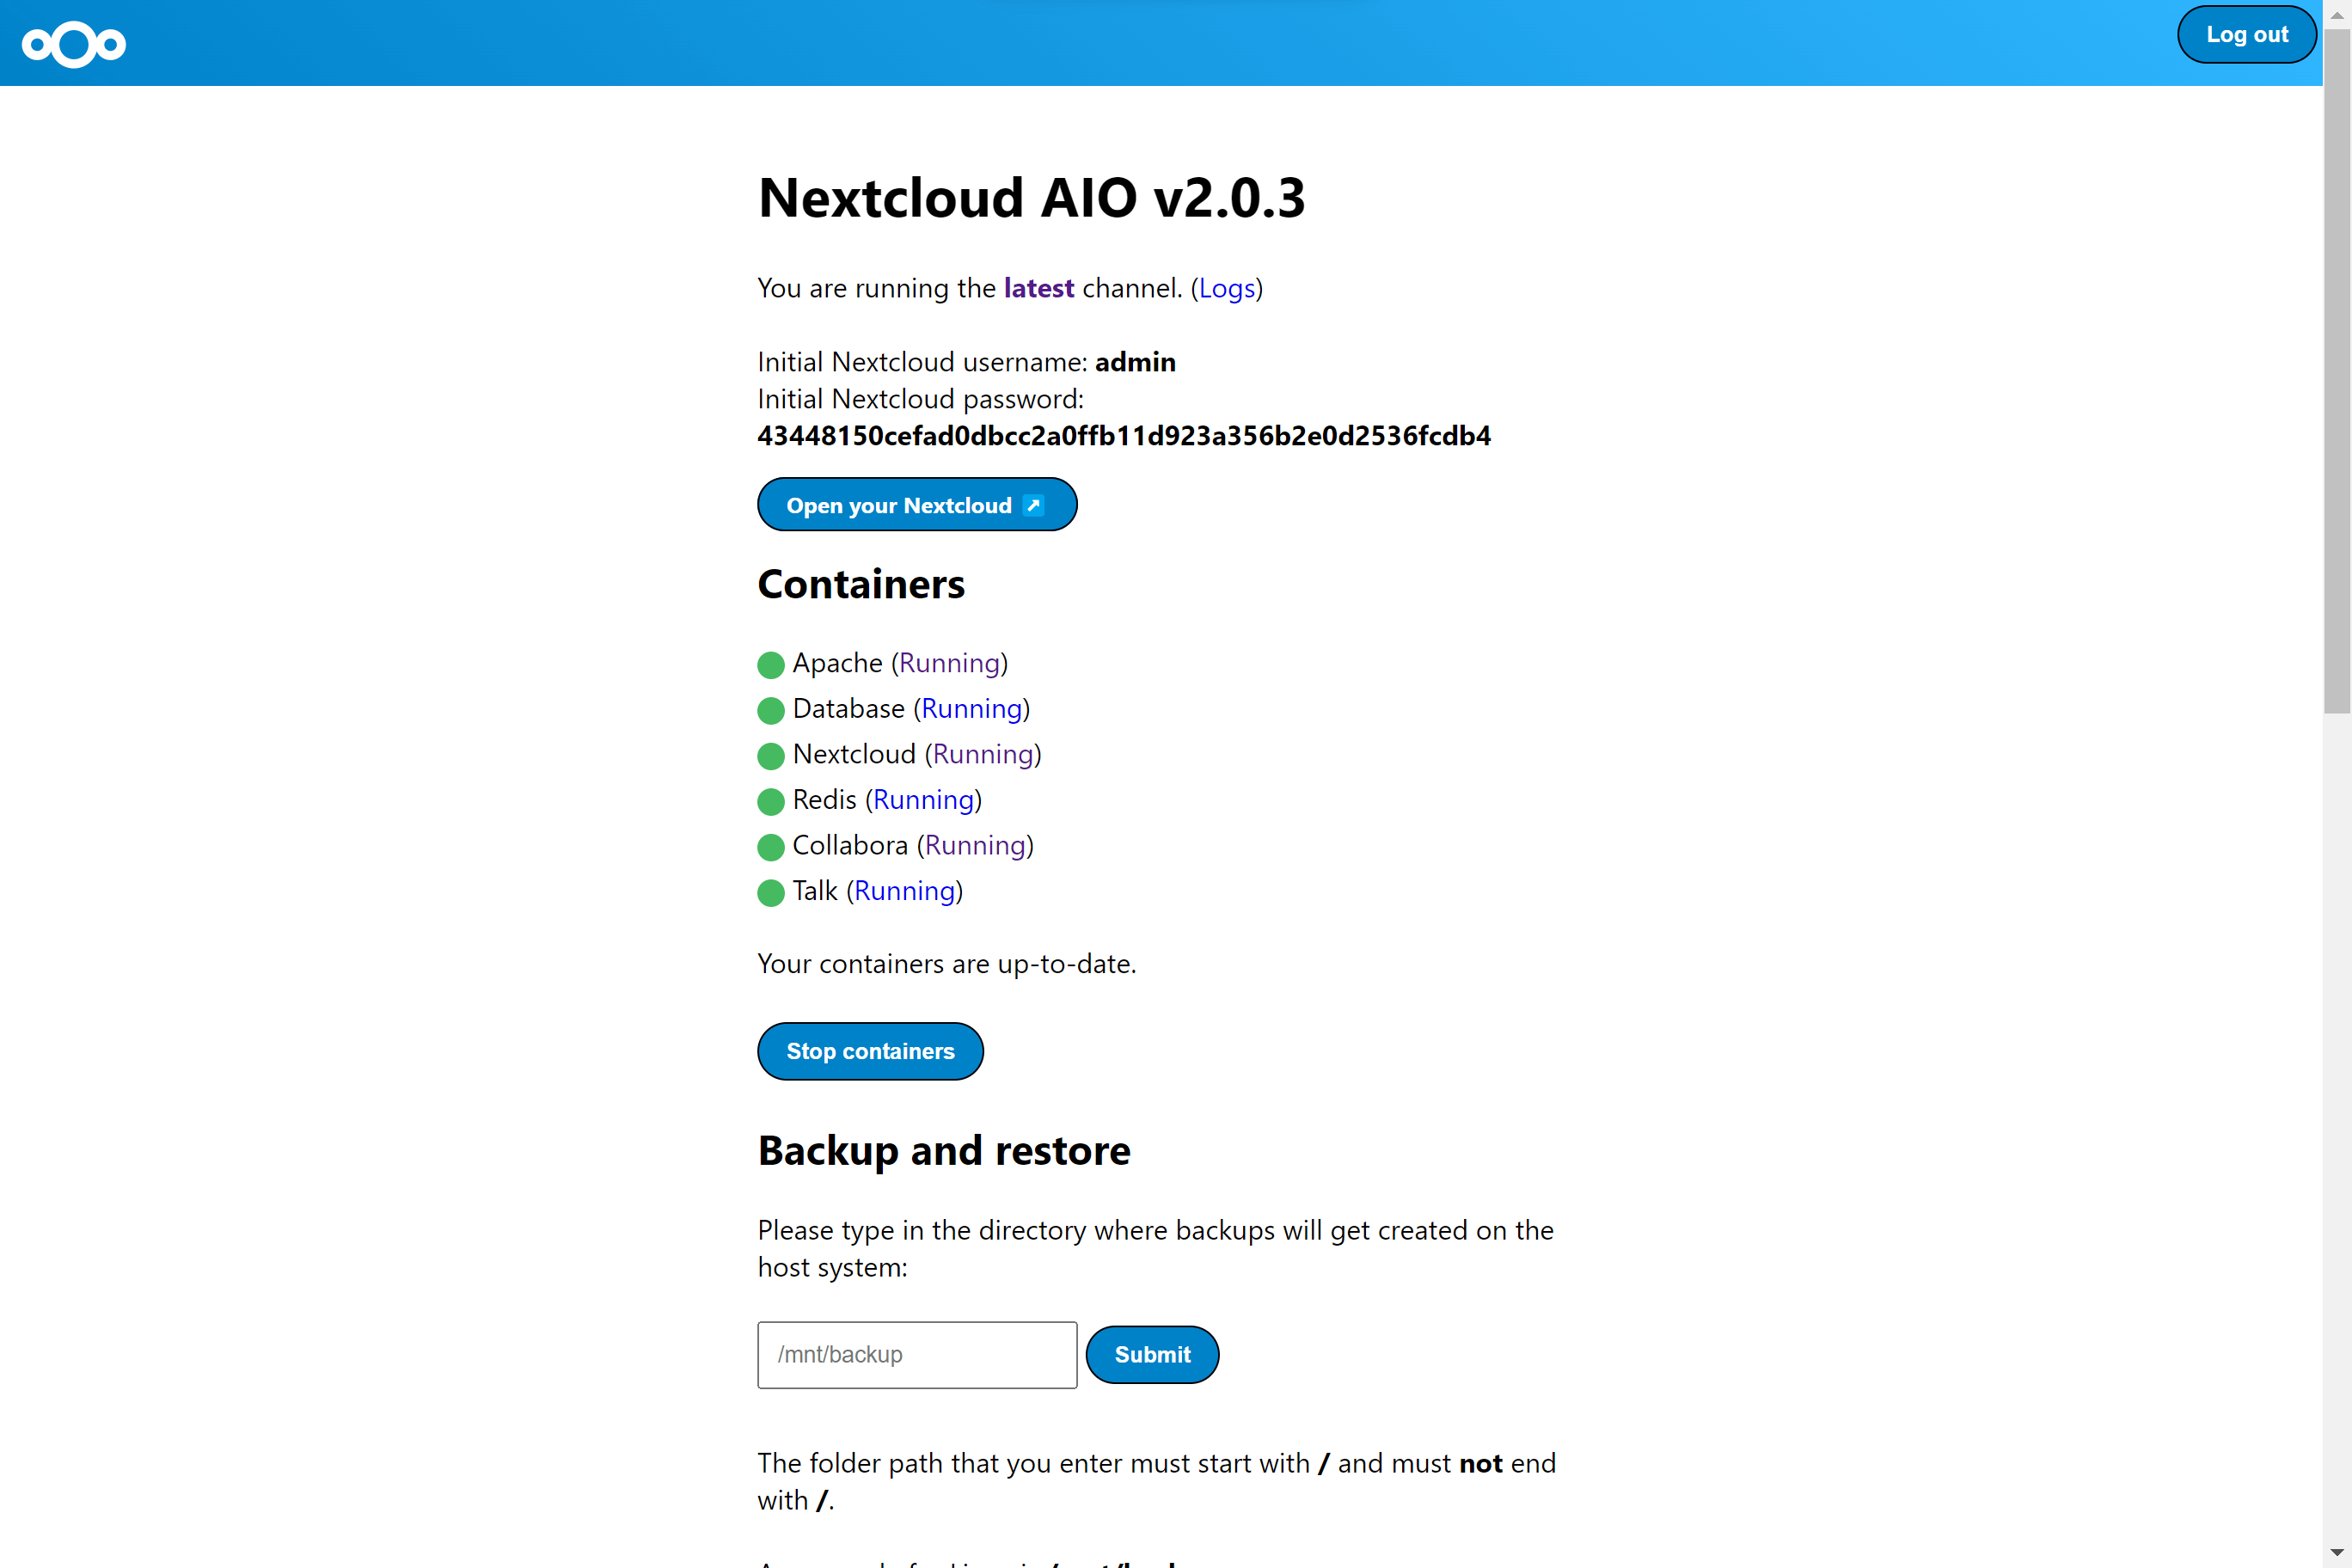
12. Finally you can now open your new Nextcloud instance and log in with the given admin credentials.
That’s it! Everything is set and ready for production! ✨
Similar posts:
This AIO manual was created by team member Simon.
How to deploy NextCloud in your Linux Server with docker and SSL
When you create your account and store your documents, images, etc in Google drive or dropbox, you are not the master of your data. Generally, we say that we use Google or Microsoft one drive for free but it’s not free. We pay for those free spaces with the personal data they collected. It’s where NextCloud comes in. In simple words, Nextcloud is your cloud infrastructure under your control.
What is NextCloud ?
NextCloud is open-source software that allows you to run your personnel cloud service like dropbox. It gives you access to all your files wherever you are. It allows you to share and collaborate on documents, send and receive email, manage your calendar and have video chats. You can install the Nextcloud server software free on your Linux server and the client’s software on your Windows, OS X, or Linux machine, Android, and IOS mobile phone. The main drawback here is you need to pay for your Linux server to your VPS provider and you will be responsible for your server maintenance unless your choose Nextcloud Enterprise which comes with the support. For example, if you choose the Contabo provider, you can have your fully functional cloud solution with 200GB SSD, 8GO of RAM, and 4vCPU for only $6.99 a month.
Pre-requisite before the installation of Nextcloud
- A Linux Server with SSH and root access
- Docker and docker-compose installed on that server
- A domain name pointed to that server
Deployment of NextCloud
POSTGRES_PASSWORD=yourdbstrongpassword POSTGRES_DB=nextcloud POSTGRES_USER=nextcloud version: "3.9" services: nextcloud_db: image: postgres:alpine restart: always volumes: - nextcloud_dbdata:/var/lib/postgresql/data env_file: - db.env redis: image: redis:alpine restart: always nextcloud_web: image: nextcloud:apache restart: always volumes: - nextcloud:/var/www/html environment: - VIRTUAL_HOST=cloud.yourdomain.com - LETSENCRYPT_HOST=cloud.yourdomain.com - LETSENCRYPT_EMAIL=yourmail # docker-compose.yml file
Login to your Linux server and type the following command:
mkdir nextcloud && cd nextcloud nano db.env
Copie the content of the db.env in the above GitHub gist and paste it into the newly created file. After this, create a docker-compose.yml file and copy the content of the docker-compose.yml in the above Github gist and paste it into.
Note: Don’t forget the change the environment variables VIRTUAL_HOST and LETSENCRYPT_HOST with your domain name and LETSENCRYPT_EMAIL with your email address.
Now, it’s time to create the docker network that would be used to drive secure traffic to our Nextcloud instance through our domain name.
docker network create nginx-proxy
Then let’s start our Nextcloud instance.

Our Nextcloud instance is now running but is not accessible from the internet. We will now configure Nginx-proxy to drive traffic to our Nextcloud instance. We will explain our docker-compose file after making our instance fully functional.
Installation of Nginx-proxy and acme-compagnon
Nginx proxy is a container running Nginx and docker-gen which is a service that generates reverse proxy configs for Nginx and reloads Nginx when containers are started or stopped.
This container is mounted on a docker socket to capture all events created by docker to be able to proxied any container with an env variable VIRTUAL_HOST define. All containers that want to be proxied by Nginx-proxy must be connected to the same network with it. To know more about Nginx-proxy, visit the GitHub of the project.
ACME-compagnon is a compagnon for Nginx-proxy responsible to automate the creation, renewal, and use of SSL certificates for proxied Docker containers through ACME protocol. For more information about acme-compagnon, visit the GitHub of the project.
I have a ready-to-use template for Nginx-proxy in my repository. You just need to clone and run it. I also use this template in all my projects. With this configuration, it’s easy to make things work in less than a minute. Just use the following command.
cd ~ git clone https://gitlab.com/tderick/nginx-proxy-conf.git docker-compose up --build -d
Now, your Nextcloud instance is running, and you can access it via your domain name.

When you install Nextcloud, it doesn’t come with an admin account by default. You need to create it. Just fill in the form on the first page and hit the install button. Don’t put email as username. if you do, you have the following error:

After putting in a username and password, we will arrive at the following page listing the recommended apps to install in our instance.
We can see there are applications for:
We will install other applications later. Just hit the install recommended apps button.
Our nextcloud instance is now installed and ready to use. Now, we can explain our docker-compose file to understand the magic behind this.
Docker-compose file explanation
In this docker-compose file, we use version 3.9 and we expose three services, two volumes, and one default external network.
nextcloud_db service
Nextcloud support multiple DBMS: MySQL, MariaDB, Oracle, PostgresSQL. It’s up to you to choose your favorite DBMS. We choose to use Postgres as it is a very powerful solution.
redis service
Redis is an excellent modern memory cache solution to use for distributed caching. It’s used by Nextcloud to significantly improve the Nextcloud server performance with memory caching where frequently-requested objects are stored for faster retrieval.
nextcloud_web service
It’s the official Nextcloud container with all the features offered.
cron service
Cron is a simple time-based job scheduler that runs small tasks on its own without the intervention of the user or the administrator. Cron is also an important part for Nextcloud to be running efficiently.
Wrap up
In this tutorial, we explain to you how to deploy your Nextcloud instance in your Linux server with docker-compose and secure it with a free SSL certificate issued by Let’s Encrypt. Another thing you can do now is to deploy a keycloak SSO solution next to this to centralize authentication among all your application. It’s pretty easy at this step and doesn’t affect the previous installation. If you are instead a considerable fan of Owncloud, check my other blog post about the deployment of OwnCloud on a Linux server with docker. If you have any questions, leave a comment.
If you like this tutorial, you can buy me coffee. In the upcoming tutorial, we will more explore Nextcloud.


