- How to Create an ISO from Current Installation in Ubuntu 20.04
- Create an ISO File Using the Brasero Utility
- Create an ISO File Using the Genisoimage Utility
- Using the Systemback Utility
- Conclusion
- About the author
- Karim Buzdar
- How to Create an ISO File in Ubuntu 18.04 LTS
- Using Mkisofs utility
- Using dd command in Terminal to build an ISO file
- Using Brasero utility to make an ISO file
How to Create an ISO from Current Installation in Ubuntu 20.04
![]()
In Ubuntu, most programs and operating systems can be installed through the ISO file. The ISO file format is a live identical image of the specific operating environment that contains all required installation files. Another name used for ISO files is a disc image. So, an ISO file is a perfect duplicate of the content of an optical disc, such as DVD and CD images. An ISO file is a package that consists of installation directories in an ISO format.
Users can create a backup of their current installation in an ISO file format. The ISO file can also be used as an external drive, or you can make a bootable USB. if you have an ISO file, then you can create the installation disc by burning the image to a CD or USB.
This article shows you how to create an ISO file from a currently installed Ubuntu 20.04 system. You can create an ISO file from the current installation of Ubuntu 20.04 using any of the following methods.
Create an ISO File Using the Brasero Utility
The Brasero utility does not come preinstalled on Ubuntu 20.04, so you will need to install this utility manually. Open the ‘Terminal’ window by pressing the ‘Ctrl+Alt+T’ shortcut keys together. Install the Brasero utility using the following command:

Once the installation has been completed, open the Brasero application. To open this application, click the menu icon displayed in the bottom-left corner of your desktop in Ubuntu 20.04.
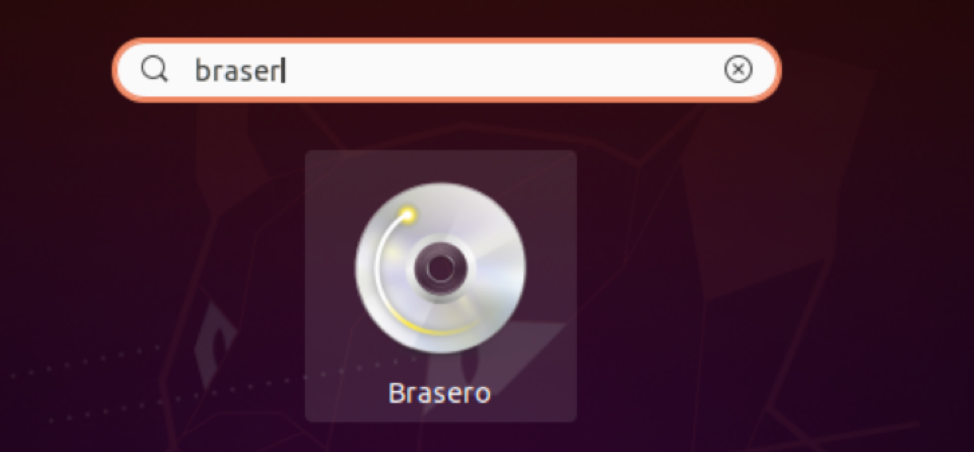
Now, type ‘Brasero’ in the search bar to search the Brasero application. The Brasero application icon should appear in the search results. Click the icon to open this application.
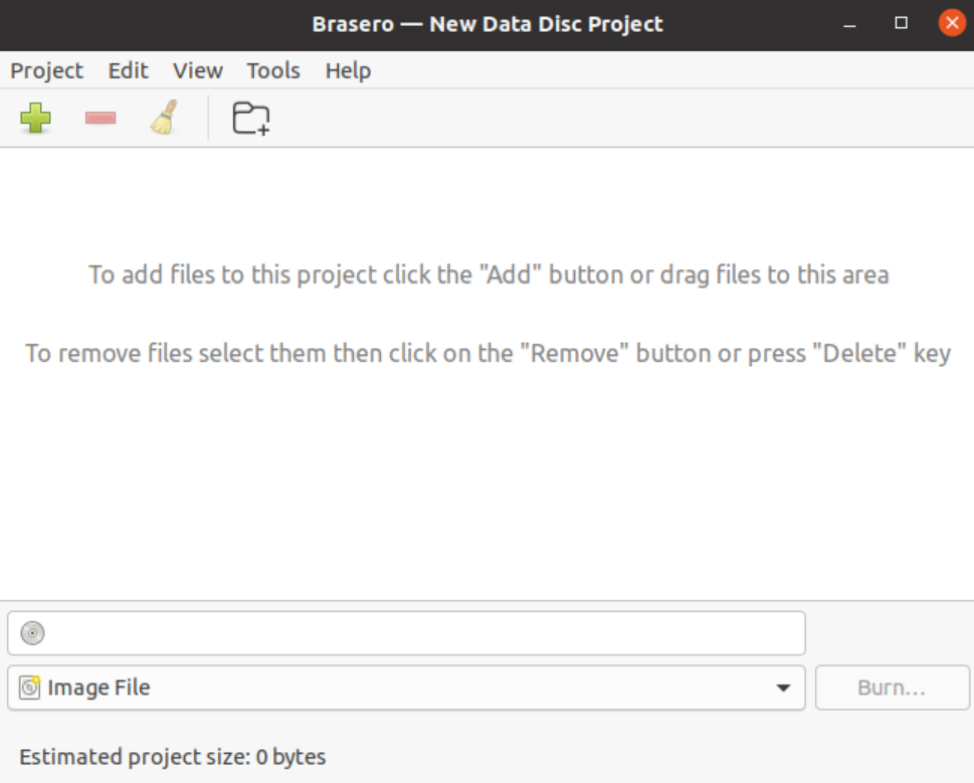
The following Brasero application window will display on your system. Select the ‘Data project’ option from the menu on the left side of the window.

Add the files to the new data project by clicking the ‘+’ icon.
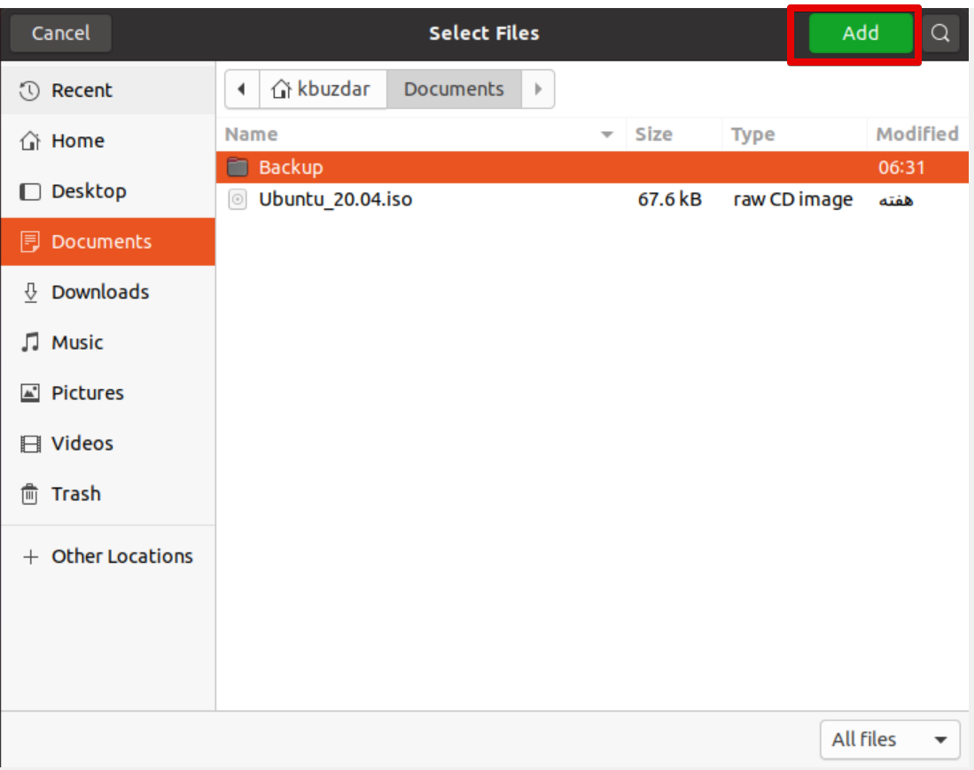
Now, select the individual backup directories and click the ‘Add’ button.
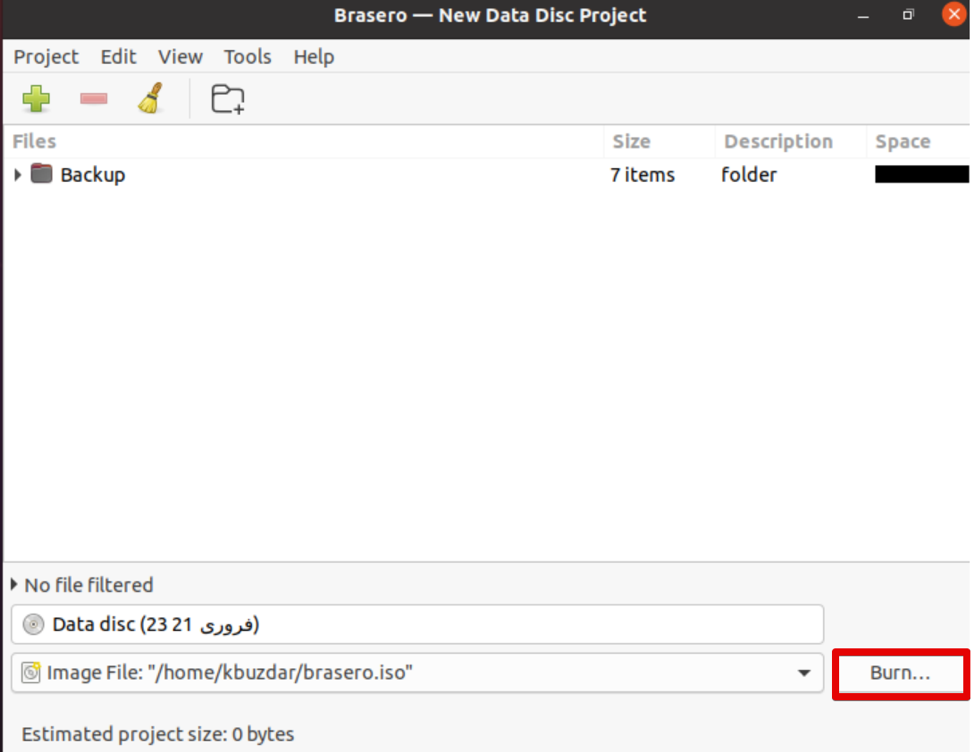
When all files are included in this project, click ‘Burn.’
Choose the desired location in which you will store the ISO file. Give a suitable name with an .iso extension to your ISO file and click ‘Create Image.’

Once the above process has been completed, you will be notified with an ‘image successfully created’ message, as follows:

Create an ISO File Using the Genisoimage Utility
You can create an ISO file from a backup of your Ubuntu 20.04 system using the Genisoimage utility. The basic syntax is given below:
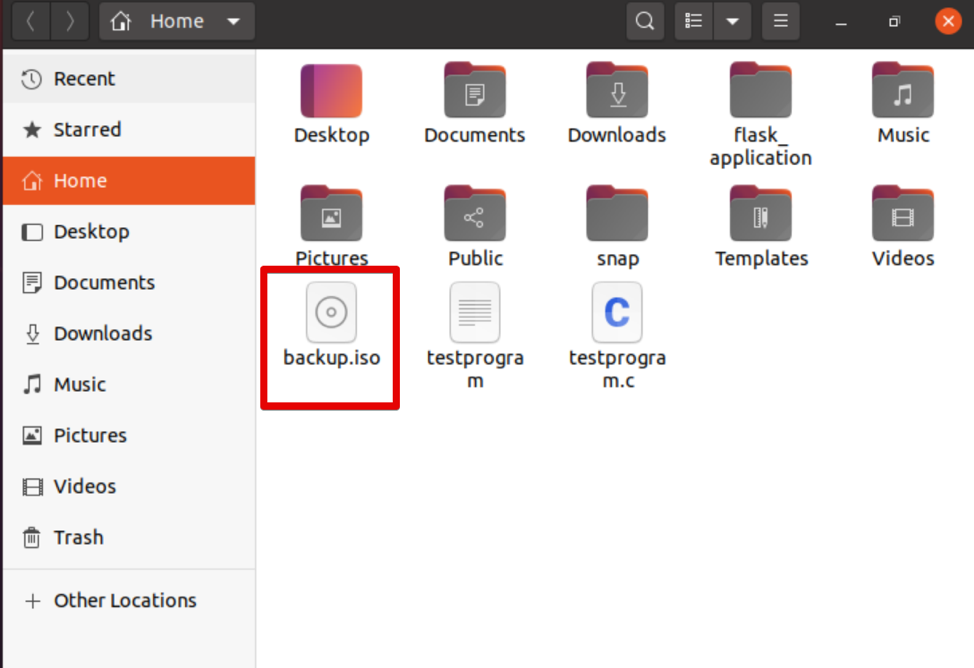
Here, we are creating an ISO file with the name ‘backup.iso’ from the backup directory /home/kbuzdar/Documents/Backup. Use the following command to do so:

The above command creates the ISO file ‘backup.iso’ in the current home directory.
Using the Systemback Utility
You can create a backup of the system’s file and all configurations using the Systemback utility. In this section, you will create a live image of your system, then convert it into an ISO file format.
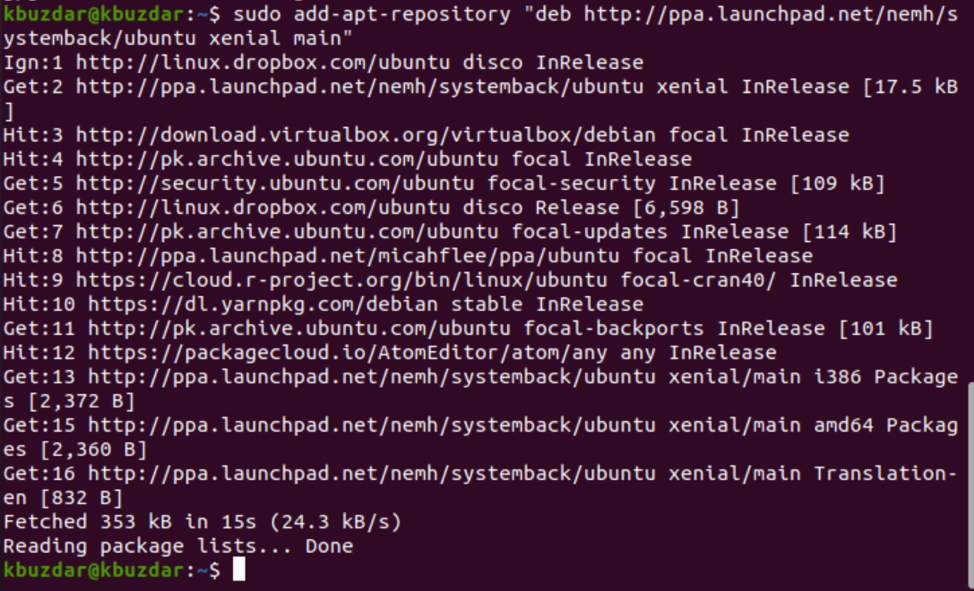
First, import the signing key of GPG for PPA using the following command:
$ sudo apt-key adv —keyserver keyserver.ubuntu.com —recv-keys 382003C2C8B7B4AB813E915B14E4942973C62A1B

Now, add PPA to Ubuntu 20.04 by executing the command provided below:
Once the above task has been completed, update the package list and install the Systemback utility, as follows:

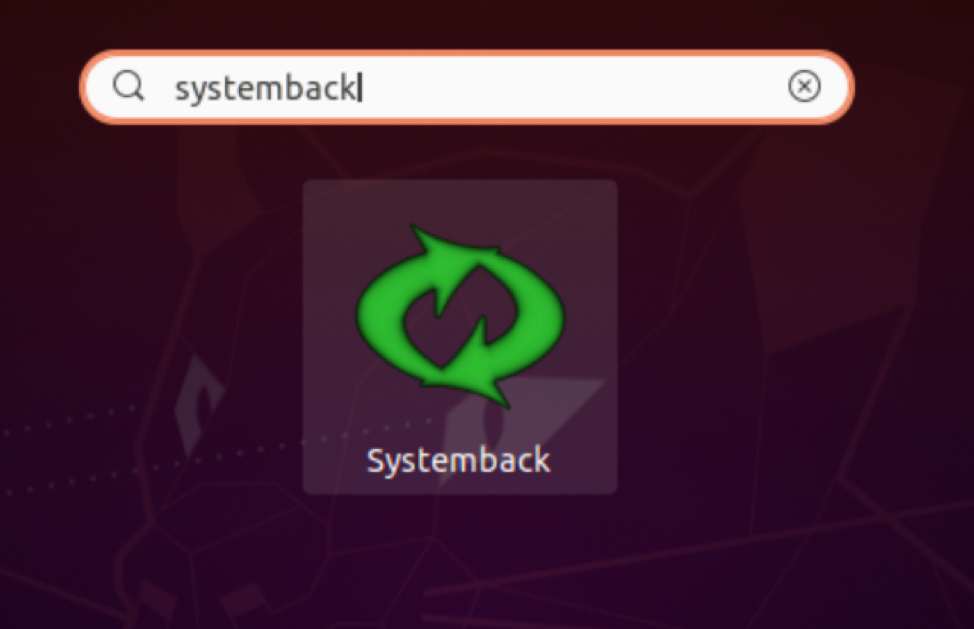
Once this application has been installed, search for the app in the search bar, and click on the displaying icon to open the app, as follows:
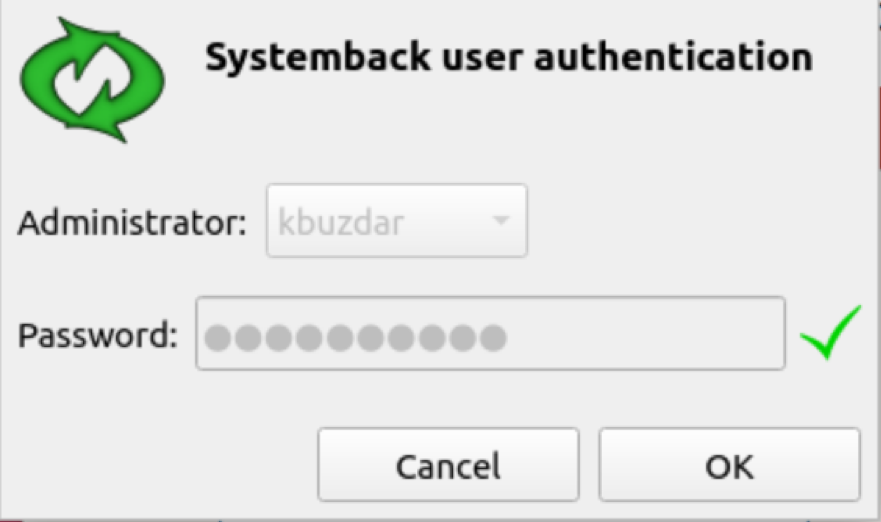
Here, you will be prompted to enter a password for the admin user.
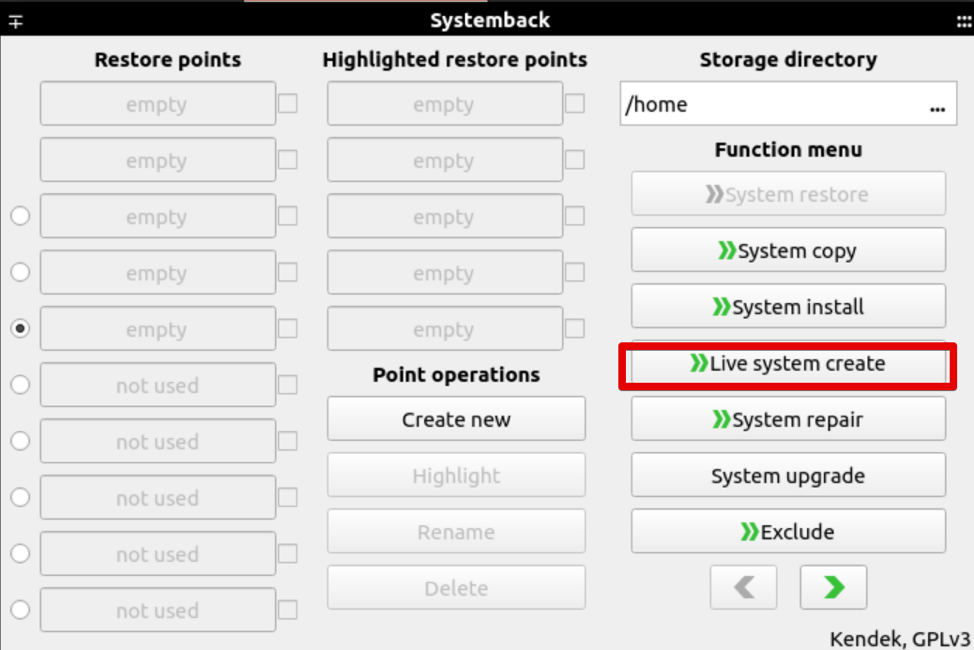
After that, the following window will display on your system. You can create the system’s restore points, create a copy of the system to another partition, create a live system, and more. Click the ‘Live system create’ option to create a new live system.
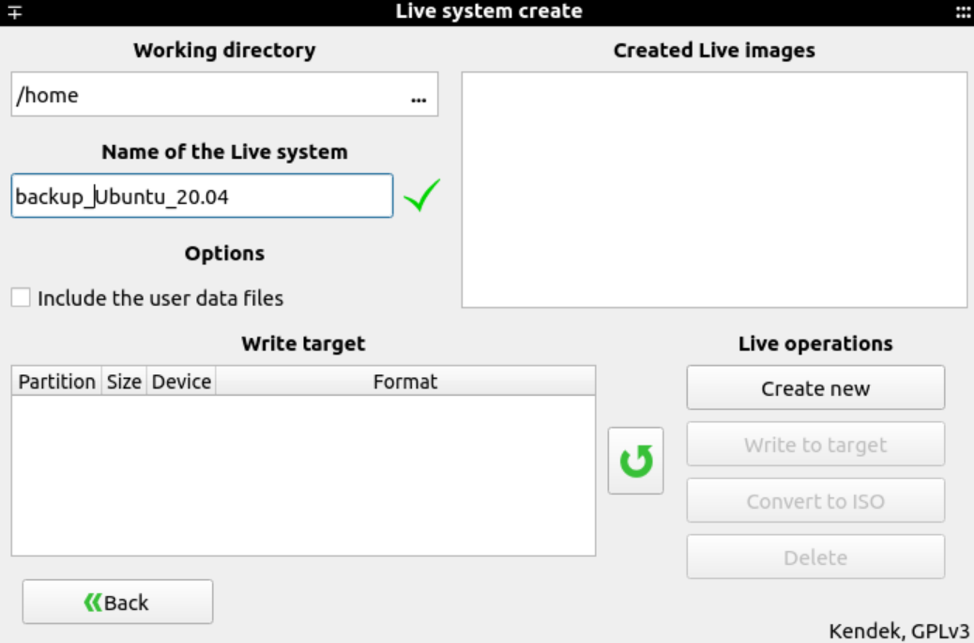
Specify the name of your live system and click the ‘Create New’ button, as follows:
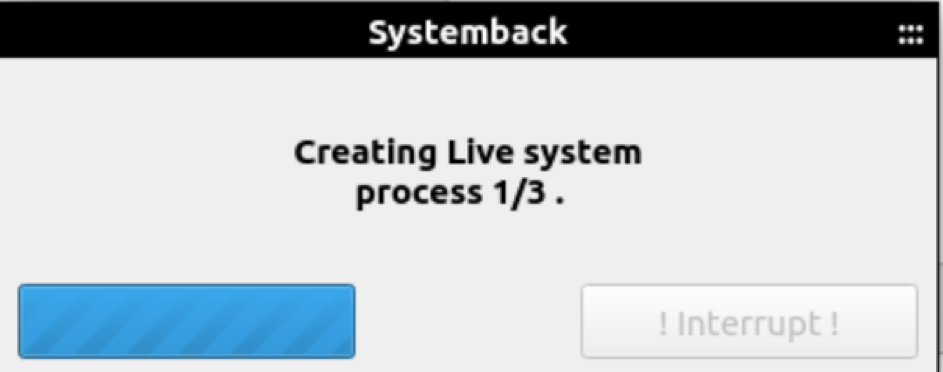
It will take time to create a live system. Once the system has been created, you can generate the ISO file using the ‘convert into ISO’ option.
Conclusion
This article showed you three different methods for creating ISO files from your current system. First, you must create a backup of your Ubuntu 20.04 system, then create the ISO file using the above utilities.
About the author
Karim Buzdar
Karim Buzdar holds a degree in telecommunication engineering and holds several sysadmin certifications. As an IT engineer and technical author, he writes for various web sites. He blogs at LinuxWays.
How to Create an ISO File in Ubuntu 18.04 LTS

Most operating system and programs especially large one comes in an ISO format containing all required installation files. An ISO file or an ISO image is a perfect representation of all file and folders contained in a CD /DVD. Alternatively, you can say that it is a package all installation files and folder in one single file in an ISO format.
You can easily back up or archive the files and folders into an ISO file. You can make that ISO file to act it as an external drive, make bootable USBs or CD/DVD to later use for installation, save as a backup or distributing it over to someone.
- Create an installation disc by Burning to USB or CD/DVD.
- Mount as a virtual drive.
- Use for installation of OS or software programs.
In this article, I will describe some ways to create an ISO file in Ubuntu 18.04 LTS.
Using Mkisofs utility
Under Linux, you can create an ISO image from a folder using a command line argument with the Mkisofs utility. You can use Mkisofs to automatically backup the data with the option to exclude some individual files if necessary. It supports wildcards as well.
The basic syntax of the command is:
$ mkisofs -o [filename.iso] [ directory_path]
-o defines the file name of the ISO you want to create followed by the directory you want to backup or store an ISO file.
For instance, I want to create an ISO file from the directory /home/tin/Documents/backup and save it as backup.iso file:
$ mkisofs –o backup.iso /home/tin/Documents/backup

It will create the backup.iso file and save it in the current directory.
Using dd command in Terminal to build an ISO file
Basically using dd command, we can create copies of data whether they are file or folders, partitions, or CD/DVDs. We can also make use of dd command to create ISO files.
The basic syntax of dd command is:
If= Tells command from where to input the source data.
Of= Tells command where to define the output.
For instance, I will type the following command to copy and save the contents of the drive as an ISO file named diskimage.iso:
$ sudo dd if= /dev/sdb of= diskimage.iso

The ISO image named diskimage.iso will be created in the current directory.
Using Brasero utility to make an ISO file
You can use Linux disk burning utility Brasero to create an ISO file. Older versions of Ubuntu include built-in Brasero utility. However, in 16.04 and the newer version, you have to manually install this utility.
To install Brasero, press Ctrl+Alt+T to launch Terminal.
Enter the following command in Terminal:
$ sudo apt-get install brasero

Once you have done with the installation, open the application.
To open the Brasero application, Press windows key or click on dash icon in the bottom left corner of the desktop to open Dash menu.

Then search for Brasero application by typing its name in the search bar. When the application appears, click on it to open it.

In the Brasero application window, click on the Data project option.

Then click on the + icon to start adding files to the new project.

From the window that appears, select the individual files or directories then click on Add.

You will notice that files are added in the application. Click on Burn.

Choose the location to save the ISO file. Specify the name for the ISO file with .iso extension and click on Create Image.

Once finished, you will be notified that the image has been successfully created.

Hence all above were the different ways using which you can create ISO files. Once you have ISO file, you can save it as a backup, use it as virtual CD/DVD, burn it on USB or CD/DVD and share it with someone.