Convert Ubuntu Physical machine to Virtual machine
VMware vCenter Converter can run on a wide variety of hardware, and supports most commonly used versions of the Microsoft Windows and Linux operating systems.
Automate and simplify physical to virtual machine conversions as well as conversions between virtual machine formats with VMware vCenter Converter. Use the intuitive wizard-driven interface of VMware vCenter Converter to transform your physical machines to virtual machines.
- Convert Microsoft Windows and Linux-based physical machines and third-party image formats to VMware virtual machines.
- Complete multiple conversions simultaneously with a centralized management console.
- Minimize the number of steps to conversion with easy-to-use wizards.
For more info, and to download it visit VMWare
Solution 2
You can run Ubuntu in VirtualBox, via raw disk access. It will use a real disk as if it were a virtual disk.
To convert the disk into an image, see this answer.
Solution 3
Unfortunately using VMware vCenter Converter is applicable just for server administrators. As I remember from Vmware documentation, vCenter Converter(linux version) needs four running system including Vmware ESX Server which itself needs at least 8GB of physical memory.
Here I explain another way for those who have Windows OS beside the linux OS on the same machine. First I give a summery to show the main idea and then I give more details.
1-In the Windows environment, create a backup of your linux EX4 partition.You can use any available backup software.(Here I used Acronis True Image 2016)
2-Create a new virtual machine in Vmware and start recovering process using the backup that you’ve created in previous section.
3-After doing recovery, you have the same Linux partition in your new virtual machine. Now to enable booting, you need to repair the Linux Grub which is capable of booting your system. And its done!
Some Details for implementation:
In the case of using «Acronis True Image 2016», these notes will be helpful.
1-When your are going to create a new virtual machine in Vmware, you should add «tow» hard drives for it.One hard drive must have «physical» access to your external HDD which your backup resides there.Another one must be the «virtual drive» and must be a little bigger than your Ex4 Linux partition.
2-For doing recovery process in boot, Acronis Gives you a rescue disk. Use this rescue disk in Vmware and boot the virtual system.
3-Because the virtual HDD that Vmware gives your is Raw, it is not accessible in Acronis rescue boot menu. So before starting recovery , you must create an EX4 partition from «add new disk» menu in rescue disk boot menu.
4-After doing the recovery process, you will have the exact copy of Linux EX4 partition in your VM.Now For Enable booting, use a Ubuntu live Disk for Repairing boot menu. To do so you can use this link.
Convert Ubuntu Physical machine to Virtual machine
You can run Ubuntu in VirtualBox, via raw disk access. It will use a real disk as if it were a virtual disk.
To convert the disk into an image, see this answer.
You can use VMware vCenter Converter.
VMware vCenter Converter can run on a wide variety of hardware, and supports most commonly used versions of the Microsoft Windows and Linux operating systems.
Automate and simplify physical to virtual machine conversions as well as conversions between virtual machine formats with VMware vCenter Converter. Use the intuitive wizard-driven interface of VMware vCenter Converter to transform your physical machines to virtual machines.
- Convert Microsoft Windows and Linux-based physical machines and third-party image formats to VMware virtual machines.
- Complete multiple conversions simultaneously with a centralized management console.
- Minimize the number of steps to conversion with easy-to-use wizards.
For more info, and to download it visit VMWare
Unfortunately using VMware vCenter Converter is applicable just for server administrators. As I remember from Vmware documentation, vCenter Converter(linux version) needs four running system including Vmware ESX Server which itself needs at least 8GB of physical memory.
Here I explain another way for those who have Windows OS beside the linux OS on the same machine. First I give a summery to show the main idea and then I give more details.
1-In the Windows environment, create a backup of your linux EX4 partition.You can use any available backup software.(Here I used Acronis True Image 2016)
2-Create a new virtual machine in Vmware and start recovering process using the backup that you’ve created in previous section.
3-After doing recovery, you have the same Linux partition in your new virtual machine. Now to enable booting, you need to repair the Linux Grub which is capable of booting your system. And its done!
Some Details for implementation:
In the case of using «Acronis True Image 2016», these notes will be helpful.
1-When your are going to create a new virtual machine in Vmware, you should add «tow» hard drives for it.One hard drive must have «physical» access to your external HDD which your backup resides there.Another one must be the «virtual drive» and must be a little bigger than your Ex4 Linux partition.
2-For doing recovery process in boot, Acronis Gives you a rescue disk. Use this rescue disk in Vmware and boot the virtual system.
3-Because the virtual HDD that Vmware gives your is Raw, it is not accessible in Acronis rescue boot menu. So before starting recovery , you must create an EX4 partition from «add new disk» menu in rescue disk boot menu.
4-After doing the recovery process, you will have the exact copy of Linux EX4 partition in your VM.Now For Enable booting, use a Ubuntu live Disk for Repairing boot menu. To do so you can use this link.
Convert a Physical Linux Server to a VMware VM
When you implement a virtual infrastructure, you may want to convert your physical servers to virtual ones to improve your datacenter consolidation. In this topic, we will see how to convert a physical Linux server to a VMware VM. To make this conversion, I used VMware vCenter Converter Standalone.
Install VMware vCenter Converter Standalone
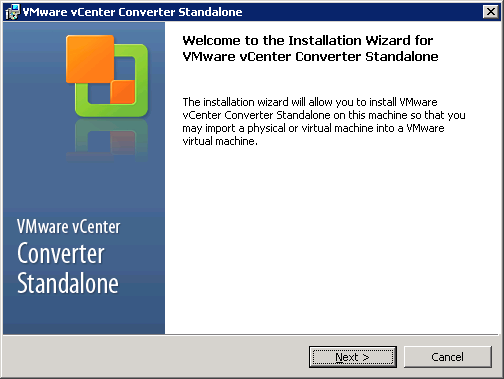
To host VMware vCenter Converter Standalone, you need a physical or virtual machine based on Windows Server. Usually, when I run this tool, I use a virtual machine. Then, I run the executable to process the product installation. In the first window, just click Next.
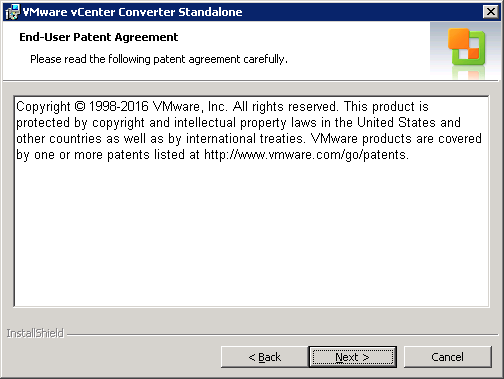
Next, accept the End-User Patent agreement and click Next.
Then accept the license agreement and click Next.
Next, choose a destination folder for VMware vCenter Converter Standalone and click Next.
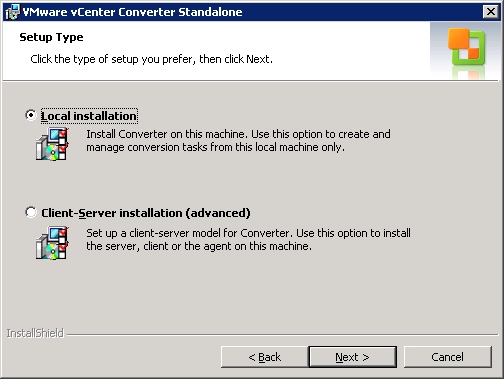
Then choose a setup-type: local installation to deploy only VMware vCenter Converter Standalone, or Client-Server installation if you want to install agent and client additionally. I choose local installation because I don’t want to convert the server where I deploy VMware vCenter Converter Standalone.
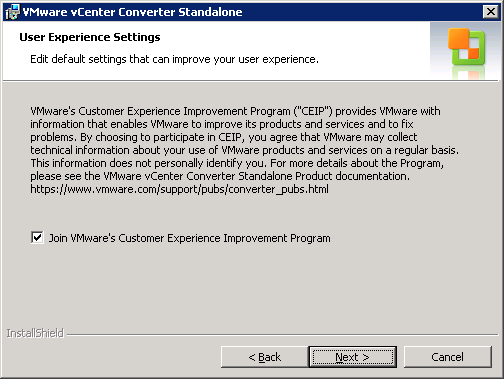
Next, choose if you want to join the VMware CEIP or not, and click Next.
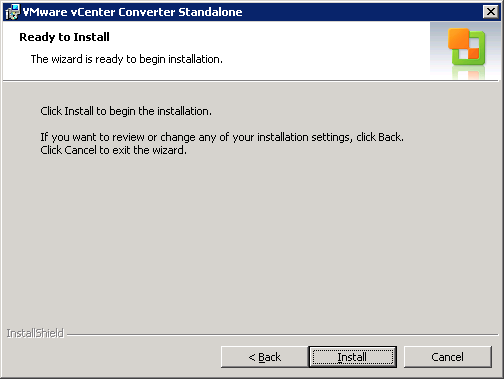
To run the installation, click Install.
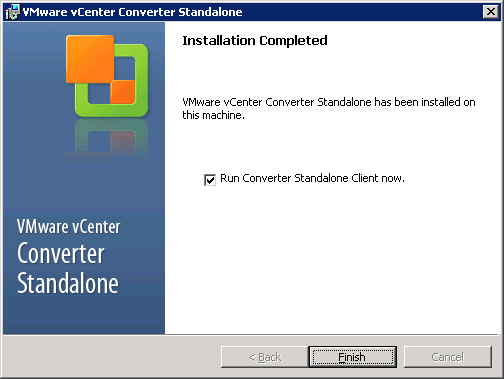
When the installation is finished, you can run the Converter Standalone Client.
Migrate a physical server to a virtual one
In the VMware vCenter Converter Standalone client, click Convert machine.
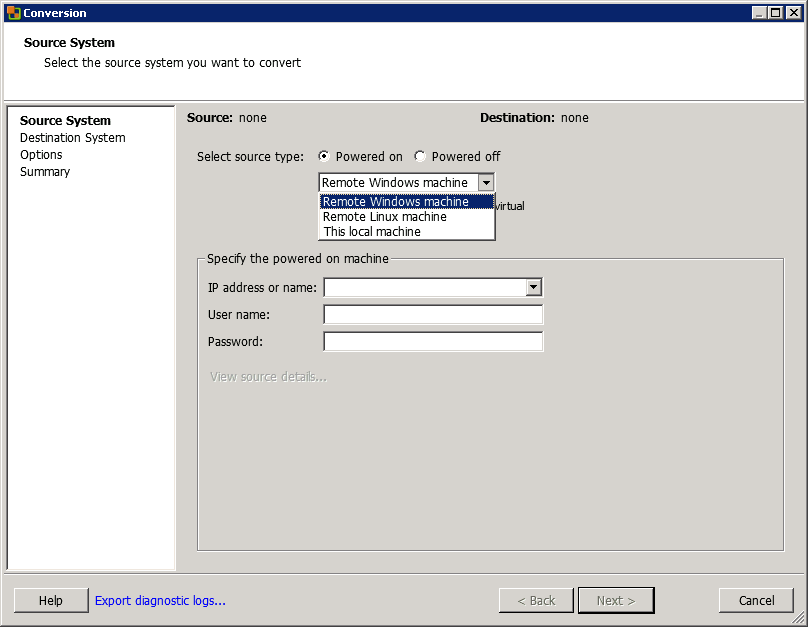
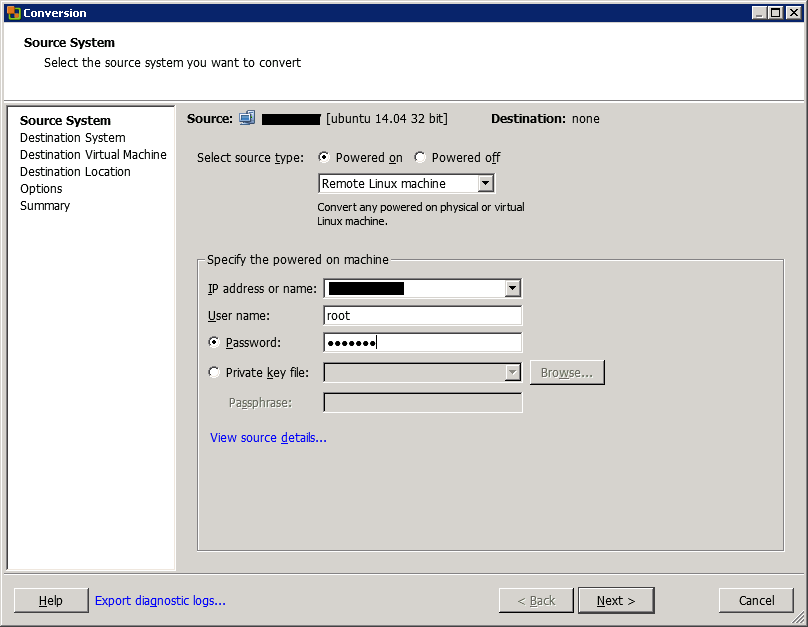
Then, choose if your source is powered on or off. Be careful: if you choose Powered Off, you won’t be able to convert the physical server. When you select Powered on, you can choose Windows or Linux remote server or local machine. I choose Remote Linux machine.
Then, specify the IP address or name and the root credentials.
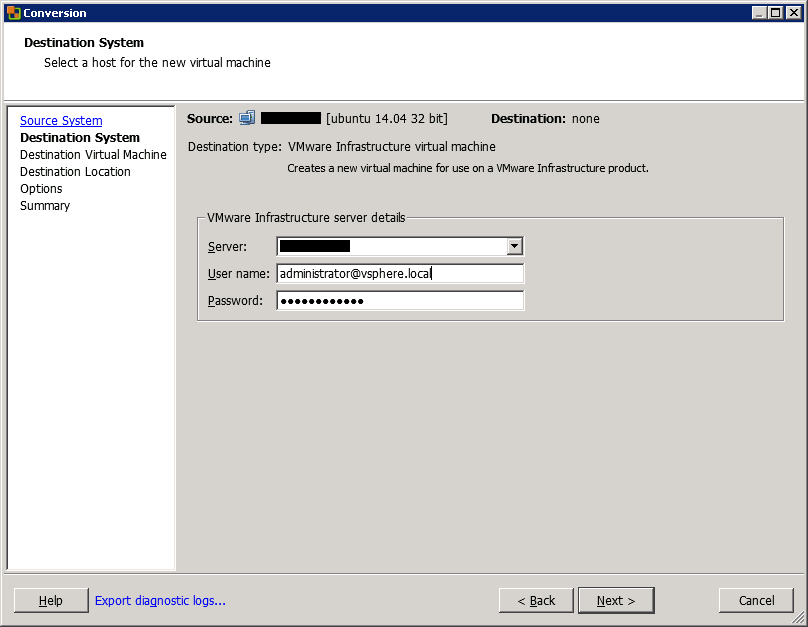
Next, specify the destination. If the destination ESXi is managed by vCenter, specify the vCenter name or IP. Otherwise, specify the ESXi name or IP address. In the example below, I’m connecting to vCenter with administrator credentials.
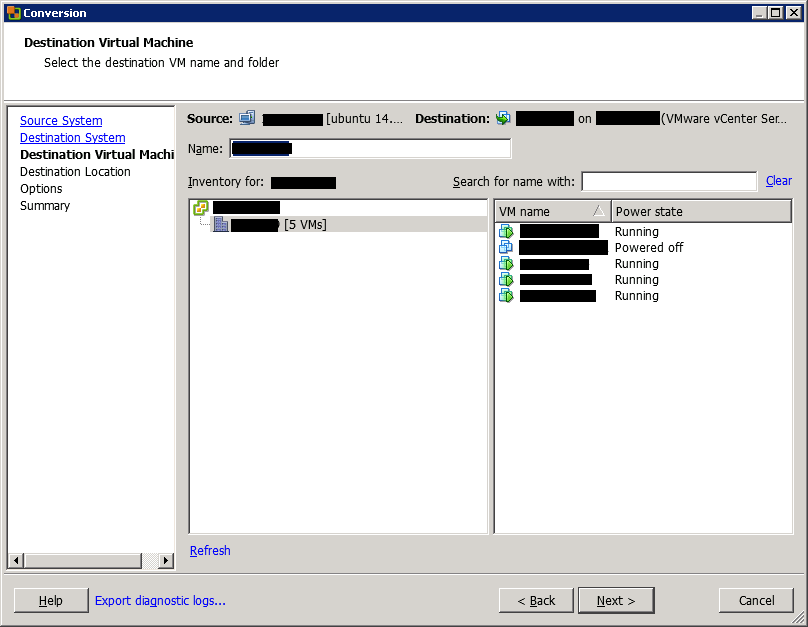
Then, choose the destination VM folder or datacenter, and click Next.
Then, choose the destination ESXi (or cluster) and the datastore. You can also choose the VM version.
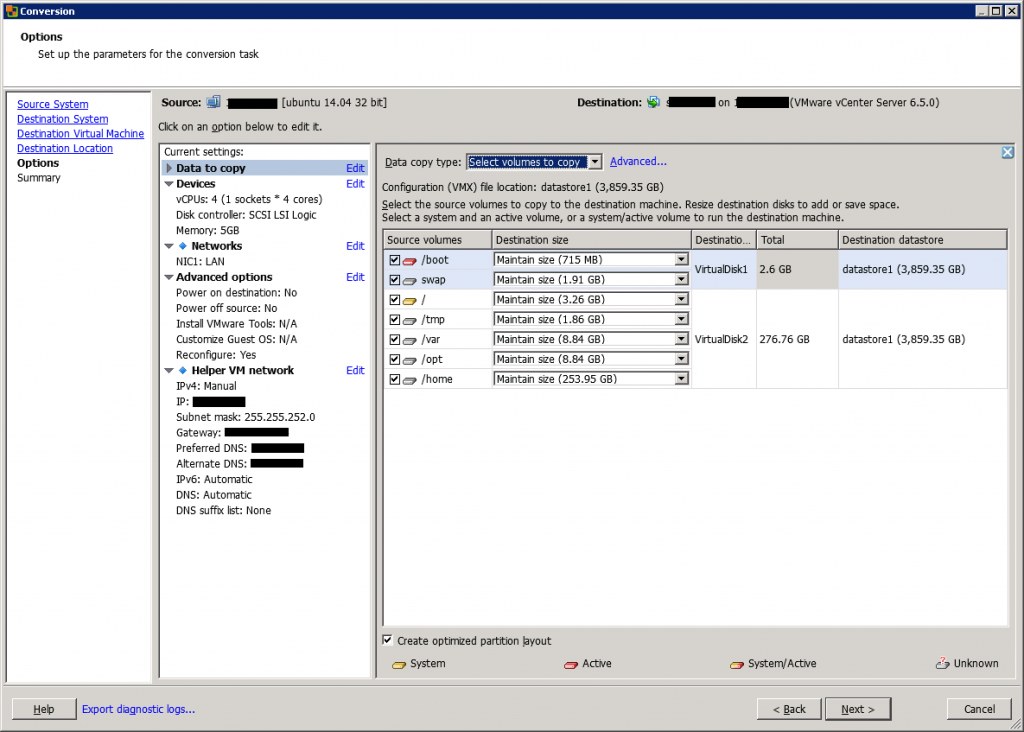
In the next screen, you can manage the VM configuration. First, you can choose which data to copy and you can get the information about partition on the source server.
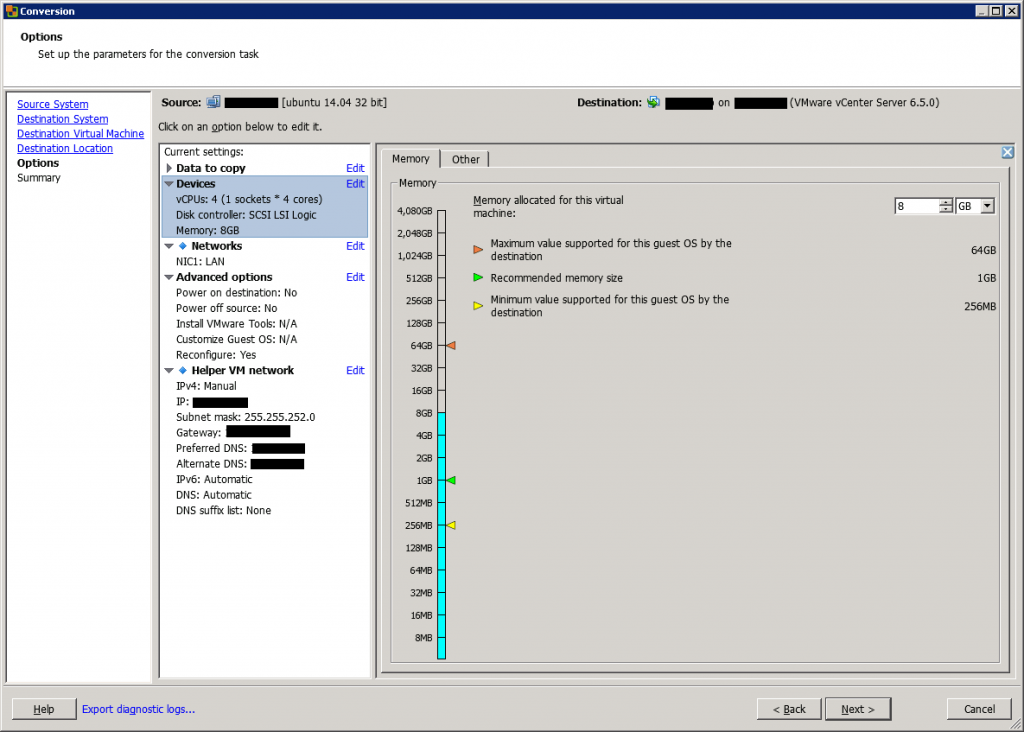
Then, you can edit the CPU and memory information of the virtual machine. You can also change the disk controller.
When you convert a physical server with many network adapters, you may want to not convert all of them to virtual network adapters. To do so, select the number of network adapters to connect. You can also select the controller type (like VMXNET 3).
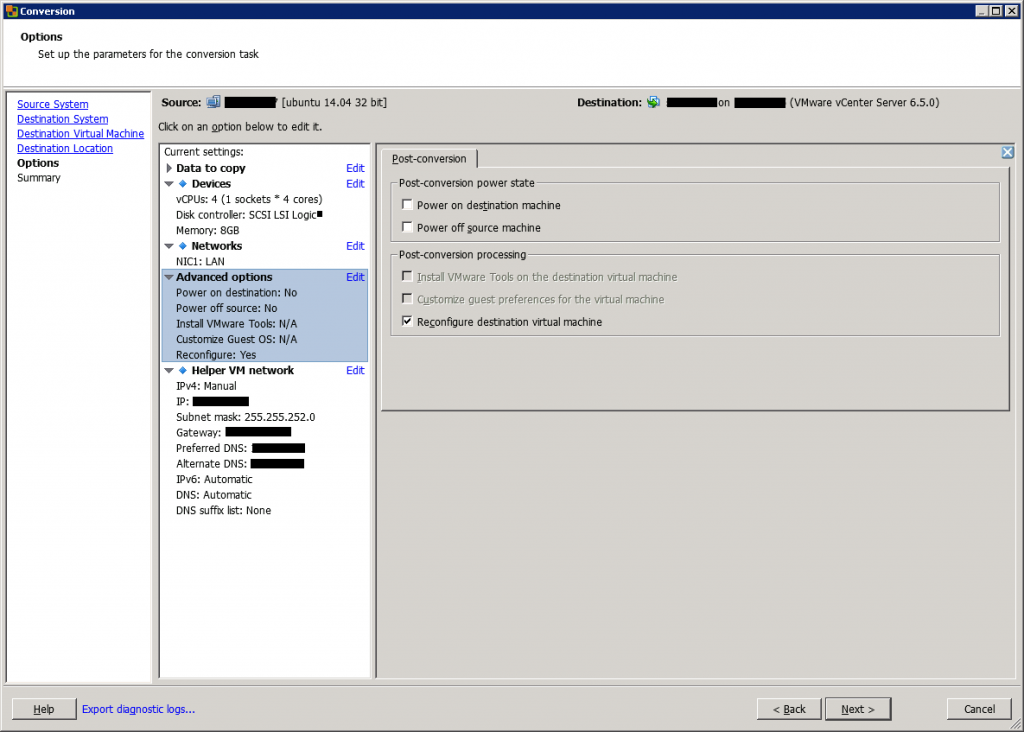
In the next screen, you can enable some post-processing settings, such as power off source machine and power on destination machine.
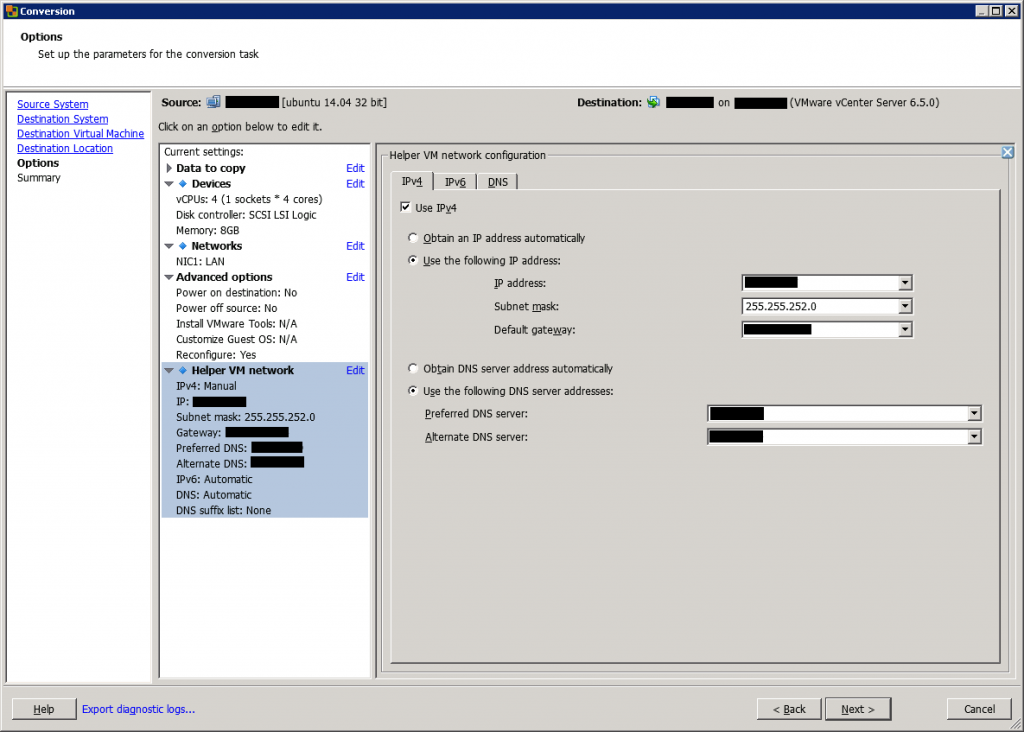
Next, you can set the IP address in the destination machine. If you choose to make a conversion from a powered-on machine, do not specify the same IP address as the source in order to avoid conflicting IP addresses.
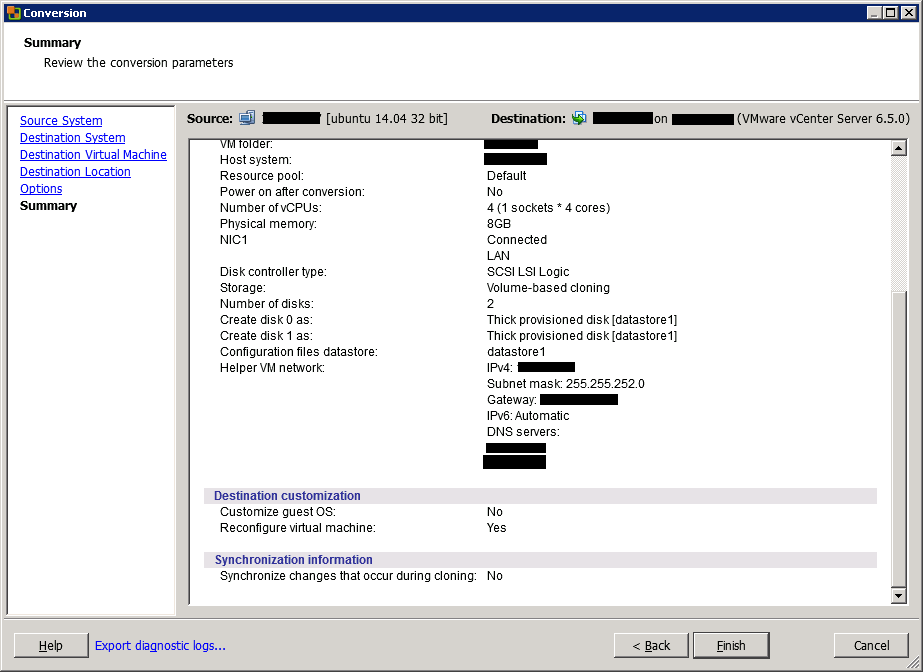
In the next screen, a conversion summary is shown. Review the settings and click on Finish to run the conversion.
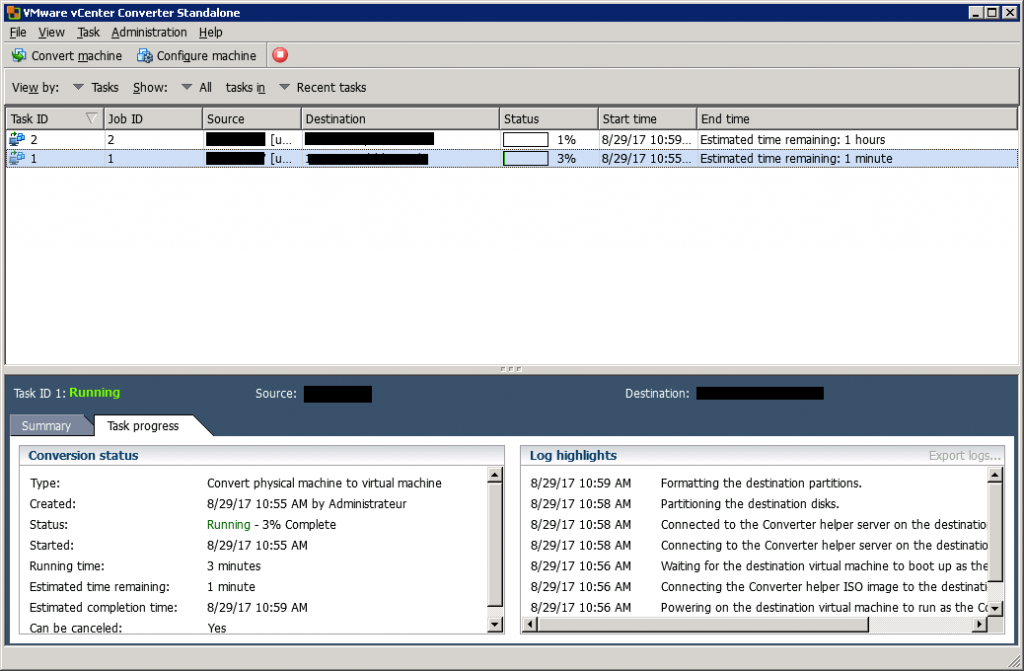
After you’ve clicked on Finish, the migration will start running.
When the conversion is finished, you can check the VM version, VMware tools and configure the IP address in destination VM.
Conclusion
VMware vCenter Converter Standalone is an easy tool that enables you to convert physical servers (Windows or Linux) to virtual machines. If you have a small number of machines to convert, you can use this tool because it’s free. If you need to convert thousands of VMs, you should use another tool that brings more automation (such as Double-Take Move).
Related materials:
Filed under:
Software by Romain Serre
