- Инструкция по установке на Raspberry Pi
- 2. Загрузите образ Ubuntu MATE
- 3. Подготовка карты памяти SD
- 4. Загрузите ваш рабочий стол
- (Опционально) Загрузка с USB накопителей
- Ubuntu MATE for Raspberry Pi
- Features
- Hardware Recommendations
- Additional features
- USB Booting
- Compute Module 4
- Enable USB boot for Raspberry Pi 4
- Enable USB boot for Raspberry Pi 2, 3 and 3+
- Firmware
- SSH
- Redirecting audio output
- Feedback and Improvements
- Install Ubuntu Core on a Raspberry Pi
- Minimum requirements
- Installation instructions
- Prepare the SD card
- Set up an Ubuntu SSO account
- Install Ubuntu Core
- First boot setup
- Connect to the device
- Get started with snaps
Инструкция по установке на Raspberry Pi
В этом руководстве мы проведем вас через процесс установки Ubuntu MATE Desktop на Raspberry Pi.
- Как создать загрузочную карту microSD с Ubuntu MATE Desktop
- Советы по загрузке с USB накопителей (опционально)
- A microSD card (8GB minimum, 16GB recommended)
- A computer with a microSD card drive
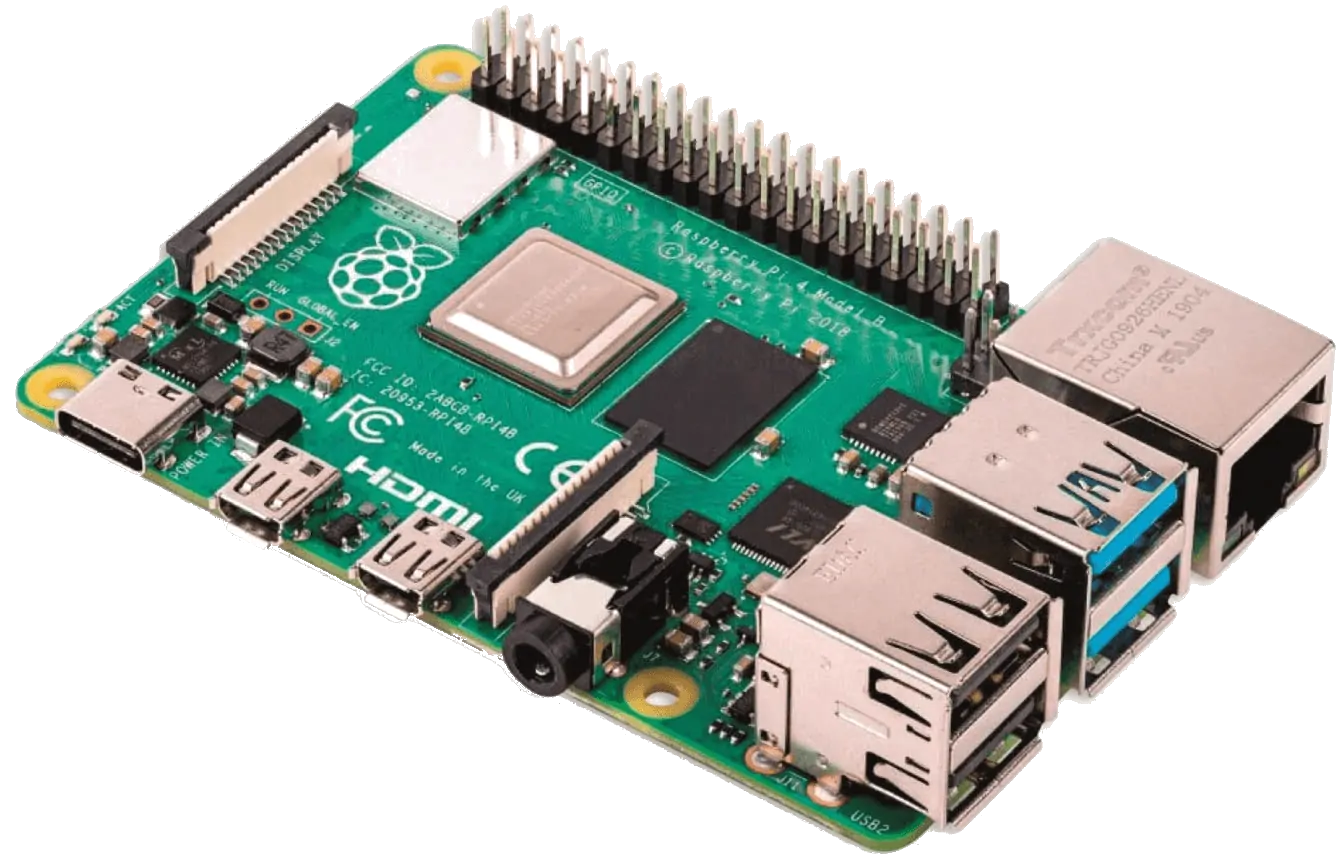
- A Raspberry Pi 2 or newer
- A micro USB-C power cable
- A monitor with an HDMI interface
- A micro HDMI cable
- A USB keyboard
2. Загрузите образ Ubuntu MATE
Загрузите образ 32-бит или 64-бит в зависимости от ваших задач. Убедитесь, что версия совместима с вашей моделью Raspberry Pi.
3. Подготовка карты памяти SD
Во-первых, вставьте microSD карту в ваш компьютер.
Вам необходимо установить правильную версию Raspberry Pi Imager для вашей операционной системы. В систем Ubuntu вы можете сделать это, запустив:
sudo snap install rpi-imager А для других систем используйте одну из ссылок ниже:
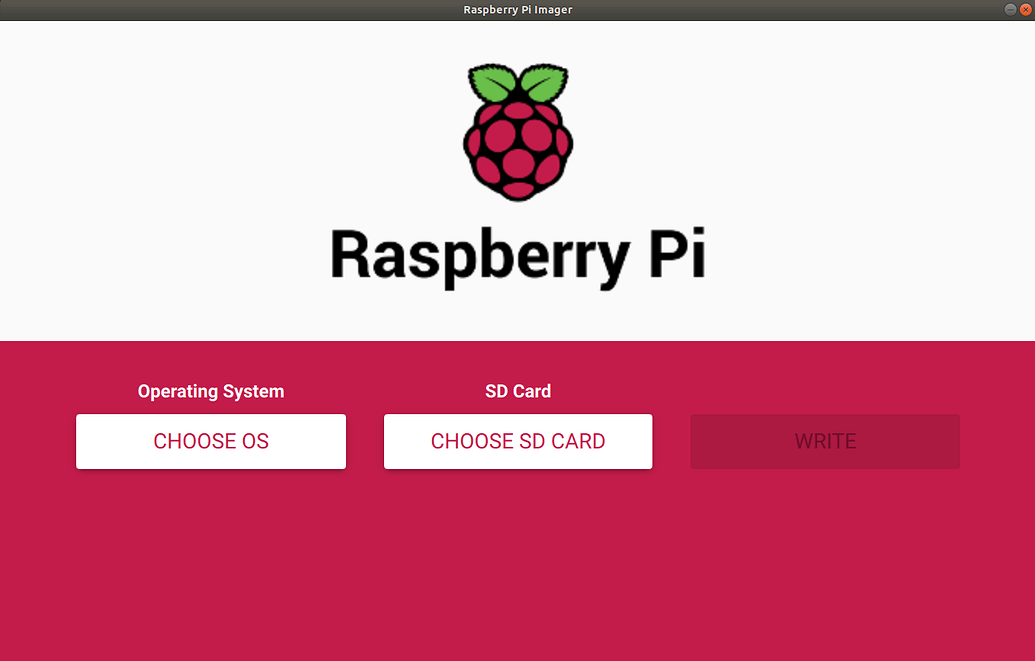
Как только это сделано, запустите Imager и откройте меню “CHOOSE OS”.
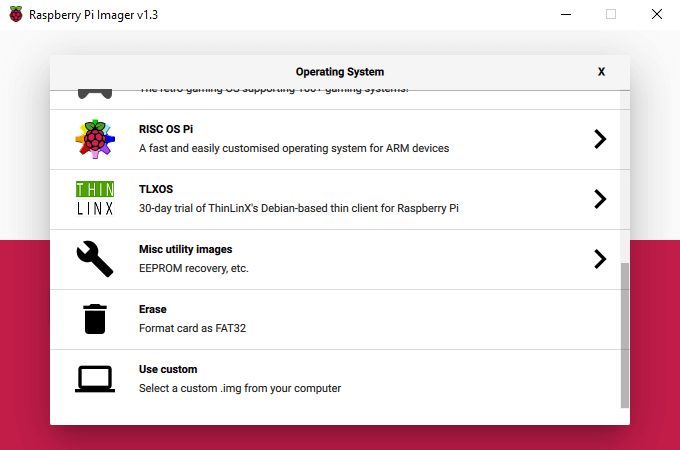
Пролистайте меню и выберите пункт “Use custom”.
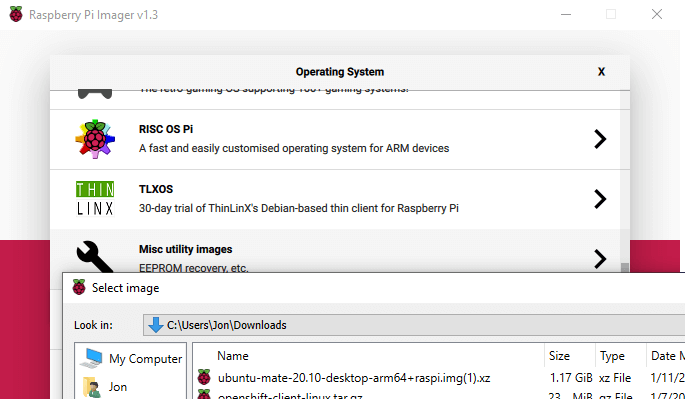
Откроется диалоговое окно с просьбой выбрать образ, который вы хотите записать. Щелкните и выберите свой файл.
После выбора файла образа откройте меню “SD Card”.
Внимание: Убедитесь, что вы выбрали правильный диск для записи. Это действие удалит все данные на нем.
Выберите вставленную карту microSD и нажмите “WRITE”. Затем просто сядьте и подождите, пока произойдет волшебство … (Эта магия может занять несколько минут)
4. Загрузите ваш рабочий стол
Перед включением Pi убедитесь, что экран HDMI и USB-клавиатура подключены. Вы сможете увидеть процесс загрузки на экране и, в конечном итоге, мастер первого запуска.
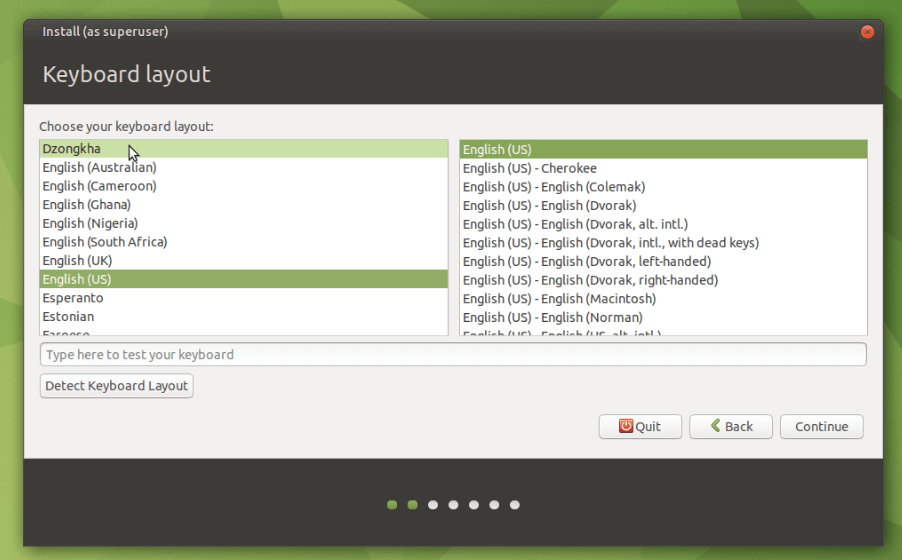
Сначала выберите язык, затем настройте раскладку клавиатуры.
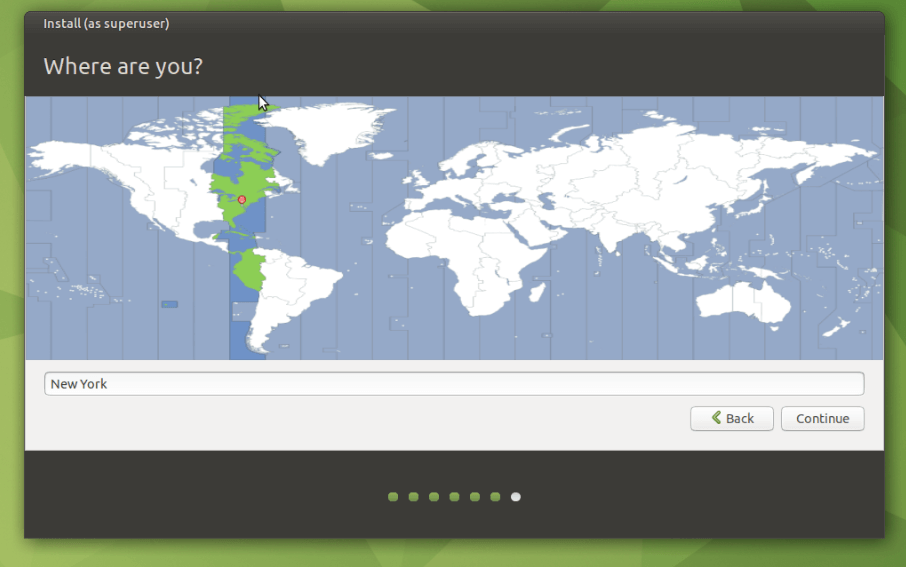
Now pick yourself a time zone. Unlike conventional computers, the Raspberry Pi does not have a battery-powered hardware clock and must sync the date and time from the Internet.
Вам будет предложено выбрать локальную сеть Wi-Fi. Выберите свою сеть Wi-Fi и введите пароль на экране сетевого подключения.
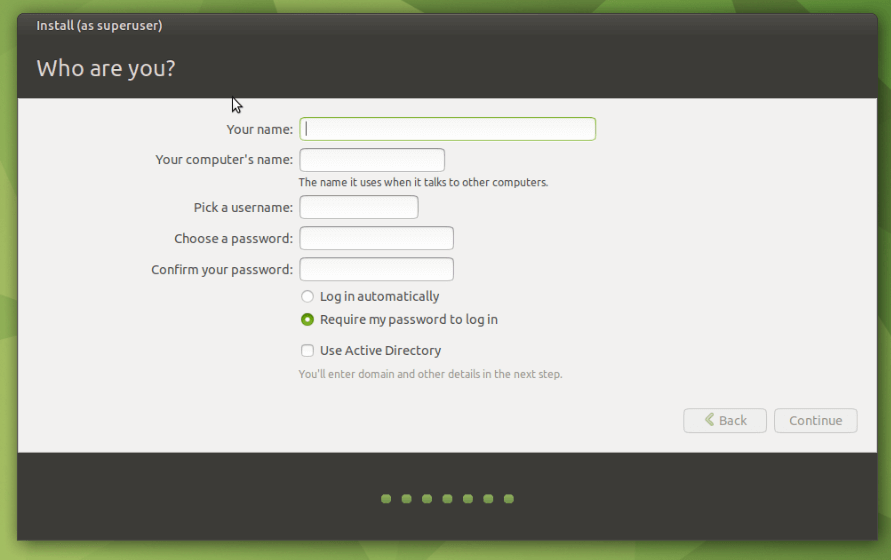
Теперь выберите имя пользователя и пароль.
После настройки раскладки клавиатуры, часового пояса и учетных данных пользователя через несколько минут вы попадете на экран входа в систему. И вуаля! Вы почти закончили.
Добро пожаловать в ваш новый Ubuntu MATE Desktop:
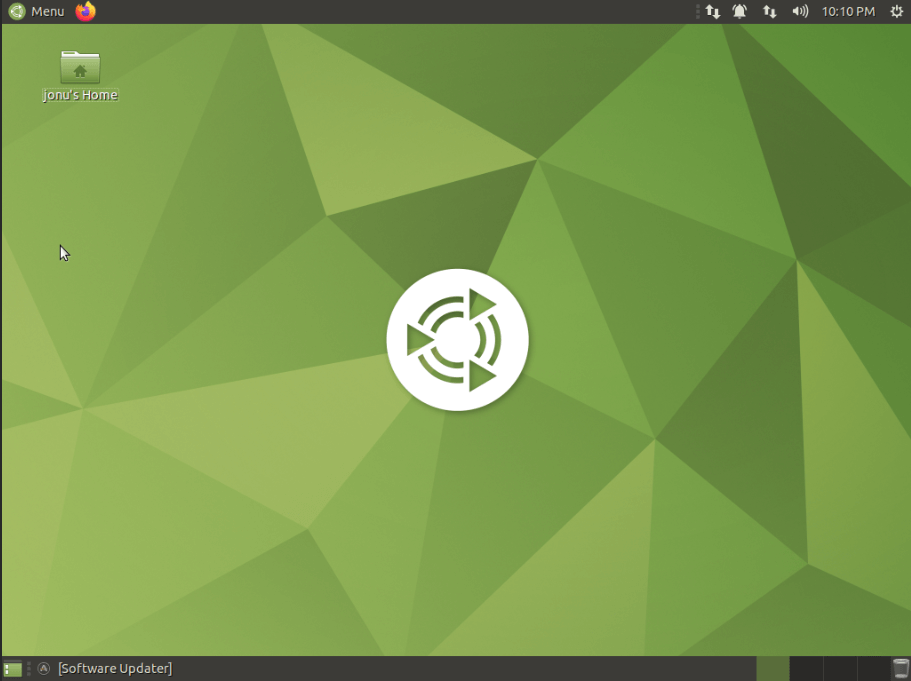
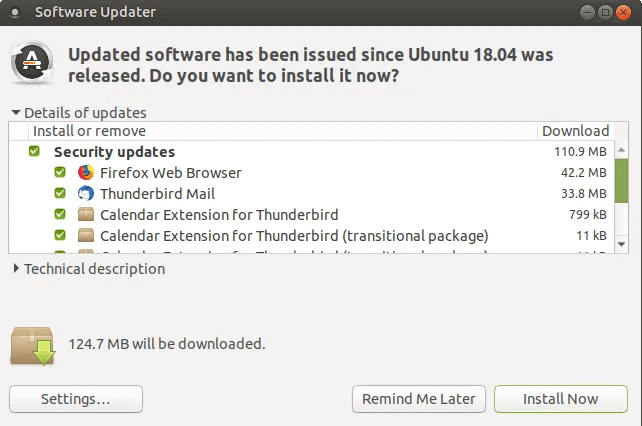
После входа в систему первое, что вам нужно сделать, это обновить Ubuntu MATE. Это может можно сделать через приложение Software Updater:
Также вы можете обновить через Терминал:
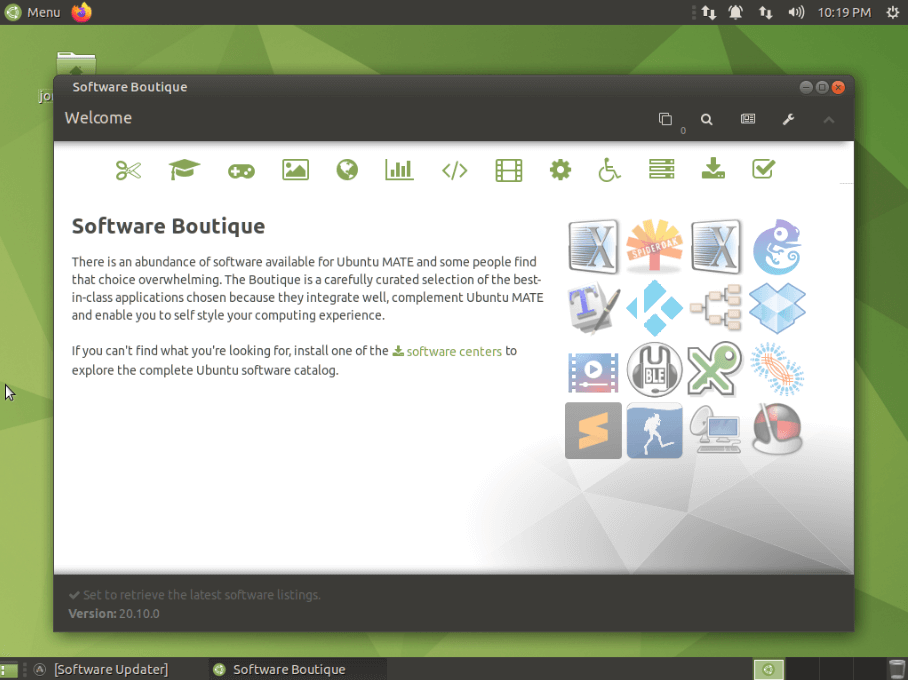
sudo apt update sudo apt full-upgrade На этом этапе вы можете наслаждаться настройкой MATE как есть или добавлять программное обеспечение по мере необходимости через Магазин программного обеспечения:
(Опционально) Загрузка с USB накопителей
Только для Raspberry Pi 4.
Теперь вы также можете загружаться с жесткого диска, подключенного к USB, или твердотельного накопителя без использования карты microSD. Однако вы должны сделать это после загрузки с SD-карты, поскольку все модели Raspberry Pi 4 поставляются с конфигурацией EEPROM, которая загружается только с SD-карт, но мы можем это изменить.
В первую очередь вам нужно обновить версию EEPROM вашего Pi 4:
sudo apt install rpi-eeprom Распакуйте текущую конфигурацию загрузчика в текстовый файл:
sudo vcgencmd bootloader_config > bootconf.txt Далее мы должны установить параметр BOOT_ORDER в значение 0xf41 (сначала система пытается загрузиться с SD карты, затем с USB накопителя, затем попытки повторяются; см. настройка загрузчика Raspberry Pi 4 для более подробной информации).
sed -i -e '/^BOOT_ORDER=/ s/=.*$/=0xf41/' bootconf.txt Если вам не нравится использовать sed, то вы можете внести изменения в файл bootconf.txt вручную.
Теперь мы генерируем копию EEPROM с обновленной конфигурацией:
rpi-eeprom-config --out pieeprom-new.bin --config bootconf.txt /lib/firmware/raspberrypi/bootloader/critical/pieeprom-2020-09-03.bin Настройте систему на запись новой прошивки EEPROM при следующей загрузке
sudo rpi-eeprom-update -d -f ./pieeprom-new.bin Чтобы применить какие-либо изменения (EEPROM обновляется только на ранних этапах загрузки)
Теперь нам нужно записать образ на жесткий диск. Это легкая часть. Для этого вы можете перейти в раздел “Подготовка карты памяти SD” и выполнить его, заменив “SD-карту” на “Жесткий диск”.
Теперь вы можете загрузиться с жесткого диска. Поздравляем!
Внимание: некоторые диски могут иметь проблемы загрузки при использовании с Pi.
В частности, вращающиеся жесткие диски требуют гораздо больше энергии, чем твердотельные накопители или флэш-память. Скорее всего, вам понадобится USB-концентратор с питанием или внешний USB-накопитель.
При недостатке питания жесткие диски 2.5 не смогут раскрутиться или может повыситься риск их повреждения из-за колебаний питания.
Некоторые USB концентраторы могут иметь проблемы с совместимостью. Для достижения наилучших результатов рекомендуется использовать SSD.
На форумах Pi и различных проблемах GitHub есть много полезной информации по отладке проблем с загрузкой; вот подборка ссылок в грубом порядке «посмотрите на это в первую очередь» от нашего лучшего специалиста по Pi:
© 2014-2023 Ubuntu MATE Team
Официальная редакция семейства Ubuntu. Ubuntu является торговой маркой Canonical Ltd.
Ubuntu MATE for Raspberry Pi
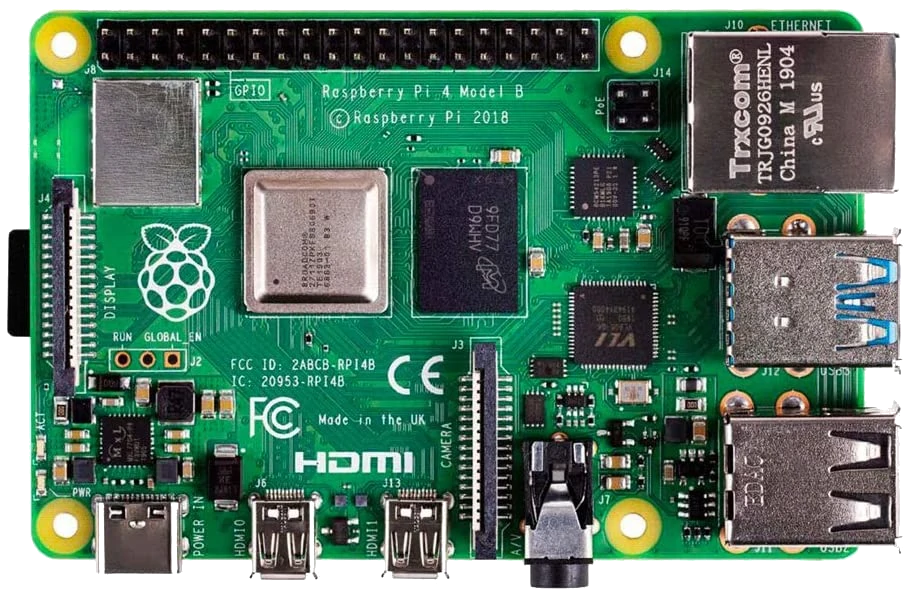
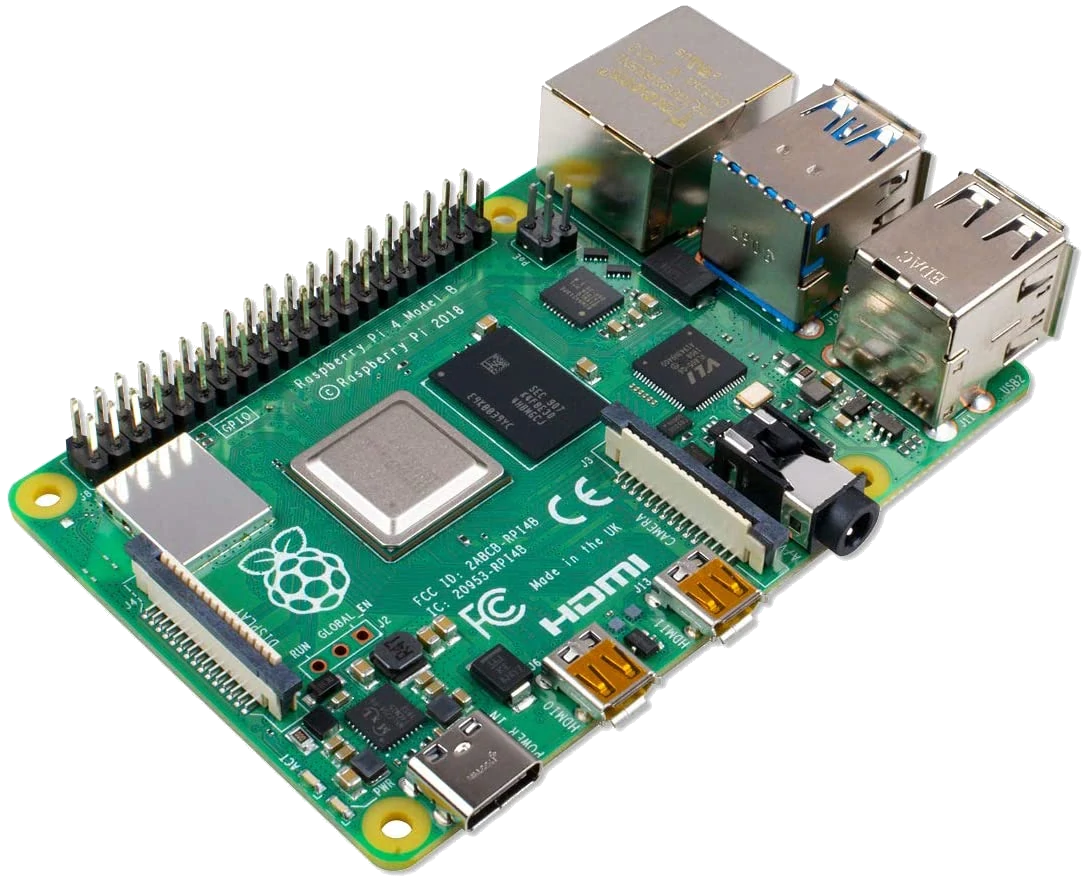
Ubuntu MATE is available for Raspberry Pi with separate images for armhf (ARMv7 32-bit) and arm64 (ARMv8 64-bit). We have done what we can to optimise the builds for the Raspberry Pi without sacrificing the full desktop environment Ubuntu MATE provides on PC.
Ubuntu MATE for the Raspberry Pi provides a complete, familiar, desktop environment that can be used for basic desktop computing. It is also of interest to makers and device hackers who want to target Ubuntu for their projects. You can prototype homebrew ARMv7 or ARMv8 based IoT devices in a comfortable desktop environment, including building and testing your apps as snaps. The full Ubuntu archive is available to you.
For hobbyist projects, you can stick with Ubuntu MATE for “deployment”. But, if you have something more professional in mind then the applications and snaps you’ve prototyped with Ubuntu MATE can be used with Ubuntu Server or Ubuntu Core. You might want to check out the Ubuntu Appliance Portfolio too.

Ubuntu MATE running on the Raspberry Pi 4
Features
High-level features of these images are:
- Ubuntu kernel.
- Performance optimised by the Ubuntu Kernel team.
- Regularly security patches by the Ubuntu Security team.
Hardware Recommendations
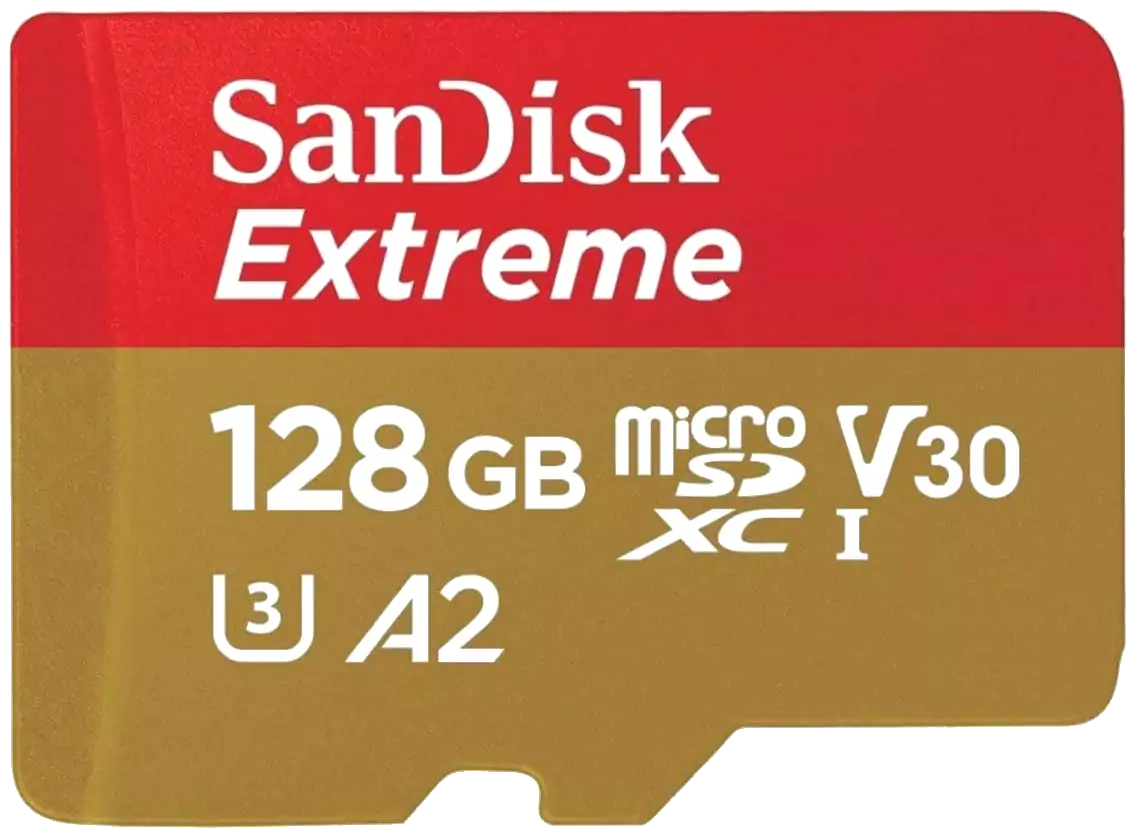
You’ll need a microSD card which is 8GB or greater to fit the image. The file system will automatically resize to occupy the unallocated space of the microSD card. Here is our recommended kit lists on Amazon:
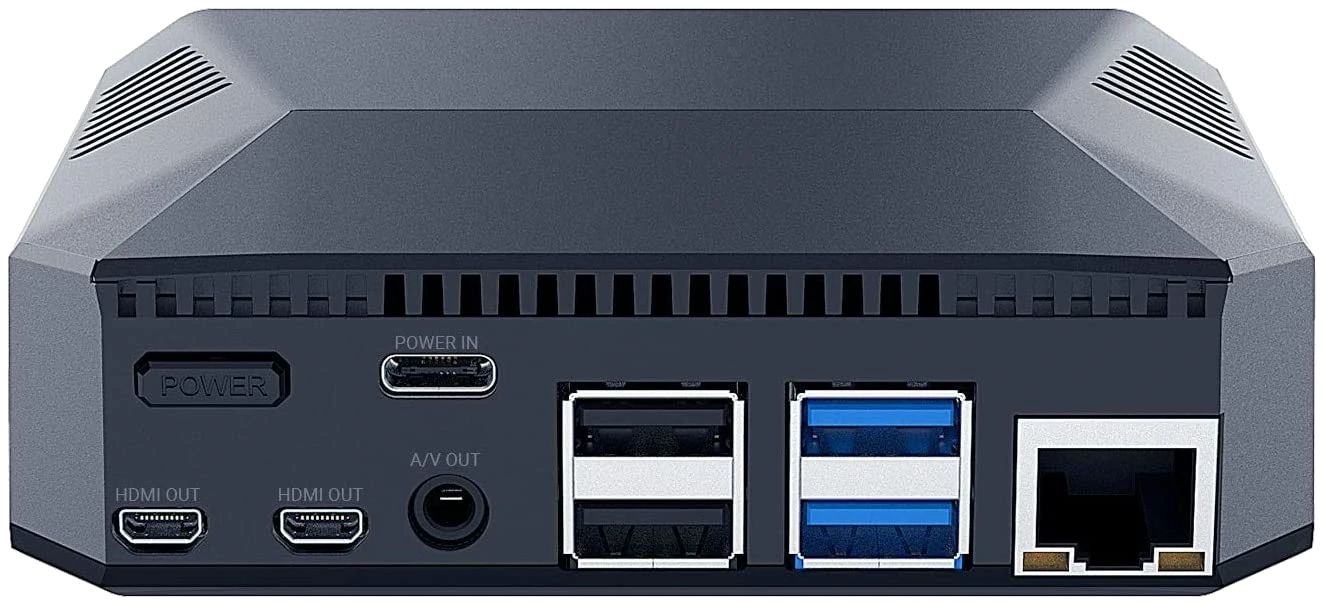
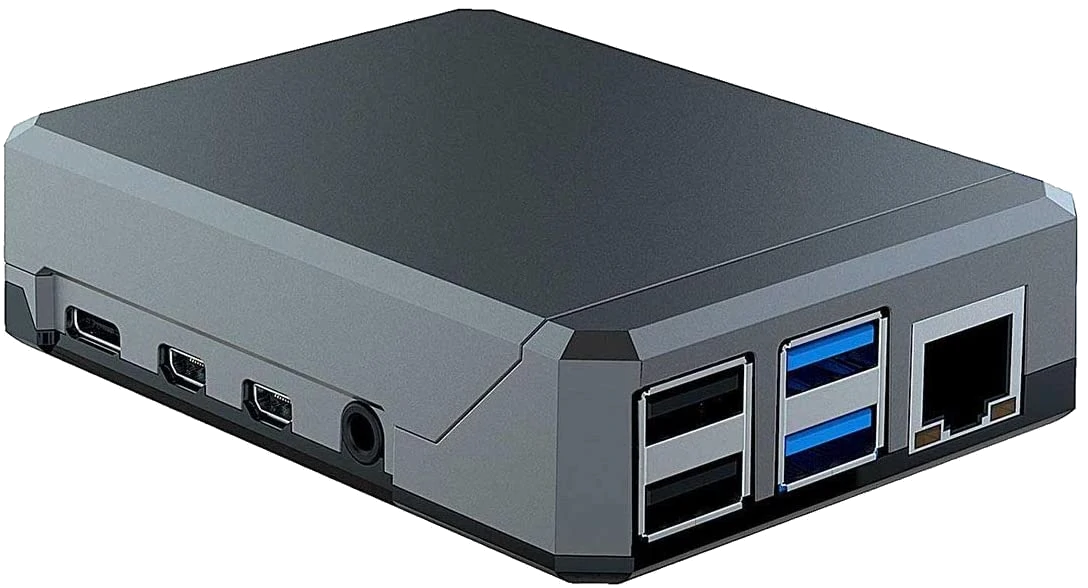
Raspberry Pi 4 8GB RAM Argon One Case SanDisk Extreme 128 GB microSDXC 
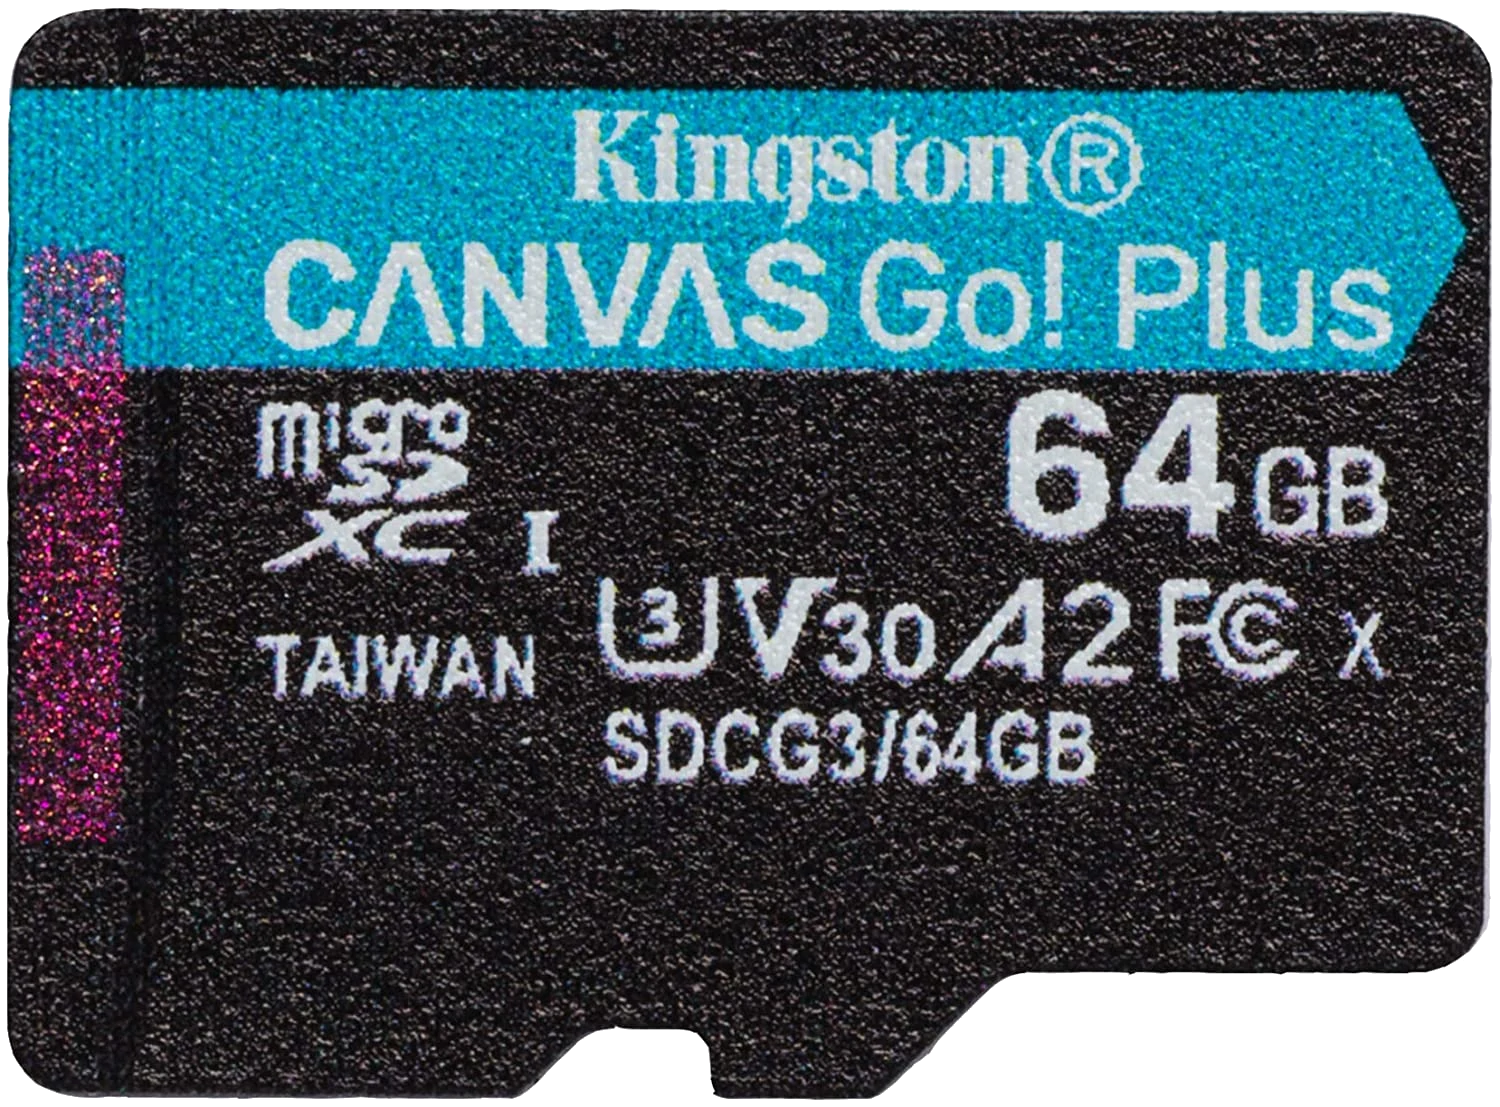
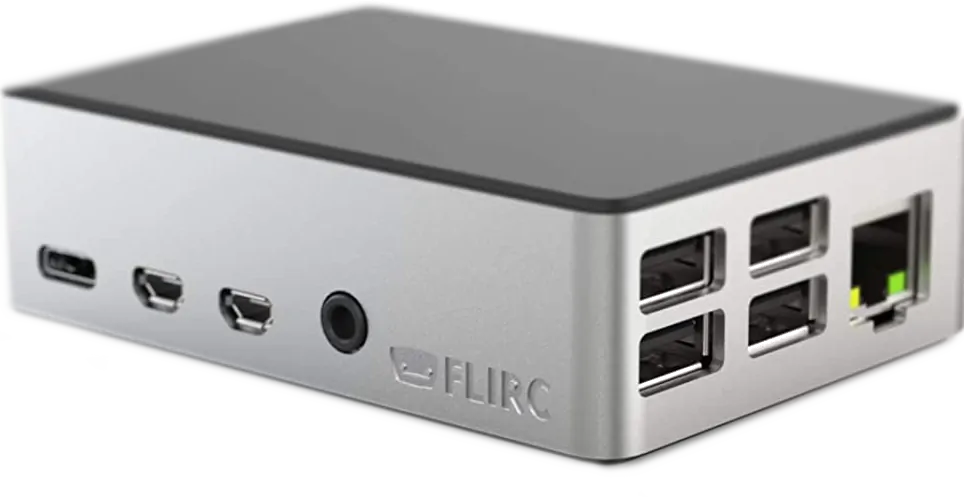
Raspberry Pi 4 4GB RAM Argon NEO Case Kingston 64 GB microSDXC Canvas Go Plus Raspberry Pi 4 2GB RAM Flirc Case Samsung EVO Plus 32 GB microSDHC UHS-I U1 Additional features
USB Booting
Ubuntu MATE 20.10 and newer support USB booting, but Ubuntu MATE 20.04 does not.
Compute Module 4
If you have a Compute Module 4 you can enable the USB2 outputs on the Compute Module 4 IO Board, assuming your Compute Module is plugged into such a board, by un-commenting the following line in /boot/firmware/config.txt .
Enable USB boot for Raspberry Pi 4
To enable USB mass storage boot on a Raspberry Pi 4 follow these steps:
Enable USB boot for Raspberry Pi 2, 3 and 3+
The Raspberry Pi 4, 3+, 3 and Pi 2 v1.2 with the same BCM2837 SoC as the Pi 3, are capable of booting from a USB drive. For the Pi 2 and 3 you’ll first need to program USB boot mode, this is unnecessary on the Pi 3+ as USB booting is enabled by default.
Firmware
The GPU firmware partition is mounted at /boot/firmware . The files /boot/firmware/config.txt and /boot/firmware/cmdline.txt contain the system configuration and kernel command line options respectively.
SSH
The OpenSSH server is not installed by default. Simply install it to to enable SSH.
sudo apt install openssh-serverIf you install SSH then you might also want to install sshguard which is highly optimised and well suited for use on the Raspberry Pi to protect from brute force attacks against SSH.
sudo apt install sshguardRedirecting audio output
If you have issues with audio, you may try un-commenting the following line in /boot/firmware/config.txt :
This forces the HDMI output into HDMI mode instead of DVI; which doesn’t support audio output. You can also configure the system to output to a particular audio device.
Feedback and Improvements
These images are not official Ubuntu products and are community supported by the Ubuntu MATE team. Please post feedback and issues on the dedicated community forum.
© 2014-2023 Ubuntu MATE Team
An official flavour of the Ubuntu family. Ubuntu is a trademark of Canonical Ltd.
Install Ubuntu Core on a Raspberry Pi
This is a brief overview of the steps for installing Ubuntu Core on a Raspberry Pi 2, 3, or 4. At the end of this process, you will have a board ready for production or testing. Check the Ubuntu Core documentation for more detailed instructions.
Minimum requirements
- A Raspberry Pi 2, 3 or 4
- A 4 GB+ microSD card and reader
- A Wi-Fi network or an ethernet cable with an Internet connection
- A monitor with an HDMI interface
- An HDMI cable
- A USB keyboard
- An Ubuntu SSO account with an associated SSH key
Installation instructions
Prepare the SD card
Use the Raspberry Pi Imager to download and write the latest Ubuntu Core release to the SD card. To get started on Ubuntu you can run: sudo snap install rpi-imager Once installed choose “Other general-purpose OS” then “Ubuntu”. Choose “Ubuntu Core 32-bit armh” for the widest compatibility or “Ubuntu Core 20 64-bit IoT OS for arm64” if you need applications that require a 64-bit system, such as MicroK8s.
Set up an Ubuntu SSO account
More information on generating an SSH key pair can be found in the tutorial and community help wiki.
Install Ubuntu Core
- Attach the monitor and keyboard to the board. You can alternatively use a serial cable.
- Insert the SD card and plug the power adaptor into the board
First boot setup
- The system will boot then become ready to configure.
- The device will display the prompt «Press enter to configure».
- Press enter then select «Start» to begin configuring your network and an administrator account. Follow the instructions on the screen, you will be asked to configure your network and enter your Ubuntu SSO credentials.
- At the end of the process, you will see your credentials to access your Ubuntu Core machine:
This device is registered to . Remote access was enabled via authentication with the SSO user Public SSH keys were added to the device for remote access.Connect to the device
Once setup is done, you can login with SSH into Ubuntu Core, from a machine on the same network, using the following command:
Get started with snaps
Congratulations! Your board is now ready to have applications installed, it’s time to use the snap command to install your first snap.
The Snap Store is where you can find the best Linux apps packaged as snaps to install on your Ubuntu device and get started with your secure IoT journey.