- Увеличение размера диска Linux «на лету»
- Перейдем к процедуре:
- Диск увеличили, переходим к расширению раздела:
- Resizing a Partition + Filesystem on Linux from the CLI
- Looking to buy a Virtual or Dedicated server? Do you like privacy and low prices? Try Privex!
- Order a server TODAY! Privacy is affordable™
- 1. Installing GNU parted
- 2. Check fdisk to find the right disk / partition + disk/partition info
- 3. Resize the disk partition («physical» partition) on your partition table using parted
- 4. Resize the actual filesystem to fit the grown partition
- Looking to buy a Virtual or Dedicated server? Do you like privacy and low prices? Try Privex!
- Adjust the size of a filesystem
- Resize a filesystem/partition
Увеличение размера диска Linux «на лету»
Увеличение размера диска или раздела Linux — достаточно частая процедура в жизни сисадмина. При этом, очень часто требуется выполнить эту операцию «на лету», без остановки работающих сервисов.
В моей практике чаще всего приходилось увеличивать раздела для хранения данных СУБД, вроде Postgres или Mysql, из-за растущего числа клиентов у бизнеса и быстро разрастающихся баз на проде, из-за чего процедура первое время казалась очень страшной. Но на самом деле не так страшен чёрт, как его малюют.
Однако, описанное выше, не отменяет необходимость создания резервной копии перед выполнением процесса. Помните — своевременный бэкап — сохраняет ваши нервы и деньги ваших клиентов. Всегда есть шанс, что что-то пойдет не по плану.
Перейдем к процедуре:
В примере использую тестовую ВМ с Ubuntu-20.04 на борту и 51Гб диска без LVM, у воображаемого хостера в вакууме.
Прежде всего нужно убедится, что увеличение раздела действительно требуется, потому проверяем место на диске, выполнив в консоли:

На скрине выше корневой раздел, сточкой монтирования « / » занят на 22%, из 49Гб свободно только 36Гб. А нужно 40Гб, по этому добавим 5Гб нашей ВМ.
Тут вам следует расширить диск вашей машины в гипервозире или панели управления облаком. Я добавил диску 5Гб.
После физического расширения — проверяем, что место добавилось командой:

Как видно на скрине — диск увеличился на 5Гб до 56Гб, если у вас размер диска не увеличился, то просим систему просканировать железо выполнив команду:
echo 1>/sys/class/block/sda/device/rescanИ по завершении — снова просим lsblk . В результате вы должны увидеть увеличенный объем диска.
Диск увеличили, переходим к расширению раздела:
Запускаем утилиту fdisk выполнив команду:
Откроется консоль утилиты, для начала смотрим текущий статус, вводим:

Видим /dev/sda2 размером 49.5Гб который требуется увеличить.
Удаляем раздел введя в консоли:
Консоль предложит вам выбрать раздел, который вы собираетесь удалить, в моем случае это /dev/sda2 , по этому ввожу 2
При этом удалится только запись о диске, данные на нём сохранятся.

Теперь на его месте создаем новый раздел, с увеличенным объемом, вводим:
Консоль проведет вас через несколько шагов создания раздела:
- Partition number (2-128, default 2) — Логический номер нового раздела, по умолчанию 2, просто нажимаем на Enter
- First sector (1050624-117440478, default 1050624) — Адрес начала диска, вариант по умолчанию нас так же устраивает — оставляем пустым, жмём Enter
- Last sector, +/-sectors or +/-size (1050624-117440478, default 117440478) — Адрес конца диска, по умолчанию самый последний сектор, нас устраивает — оставляем пустым, жмём Enter
После этого система сообщит что нашла файловую систему, хотим ли мы её удалить, мы не хотим, потому отвечаем:

Проверяем результат, снова вводим:

Видим, что раздел увеличился, сохраняем и выходим из утилиты введя в консоли:
Теперь просим систему перечитать таблицу разделов, вводим:
Команда не вернет никакого сообщения в консоль, а нам осталось расширить файловую систему, вводим:
Команда вернет нам сообщение об увеличении раздела
И снова проверяем объем свободного места на диске:

Радуемся увеличившемуся месту.
Resizing a Partition + Filesystem on Linux from the CLI
Note that we’ll only be covering EXPANSION / GROWING, and not shrinking, since it’s much more difficult to shrink a partition than to grow it.
- A system running Linux (Ubuntu, Debian, Linux Mint, Fedora, CentOS, RedHat or anything else)
- Free space in your partition table — AFTER the partition you want to resize — to extend the partition into.
- The third-party program parted (available in most package managers)
Looking to buy a Virtual or Dedicated server? Do you like privacy and low prices? Try Privex!
We have virtual servers starting from just US$0.99/mo, and dedicated servers starting from as low as US$50/mo
Unlike other hosts, we don’t ask for any personal details — only a name (can be an alias / username), and an e-mail address so we can send you your server details and renewal invoices.
We also accept several different cryptocurrencies with our own in-house payment processor — no third parties involved in processing your payments.
At the time of writing, we currently accept: Bitcoin (BTC), Litecoin (LTC), Monero (XMR), Dogecoin (DOGE), HIVE, and HBD
Order a server TODAY! Privacy is affordable™
1. Installing GNU parted
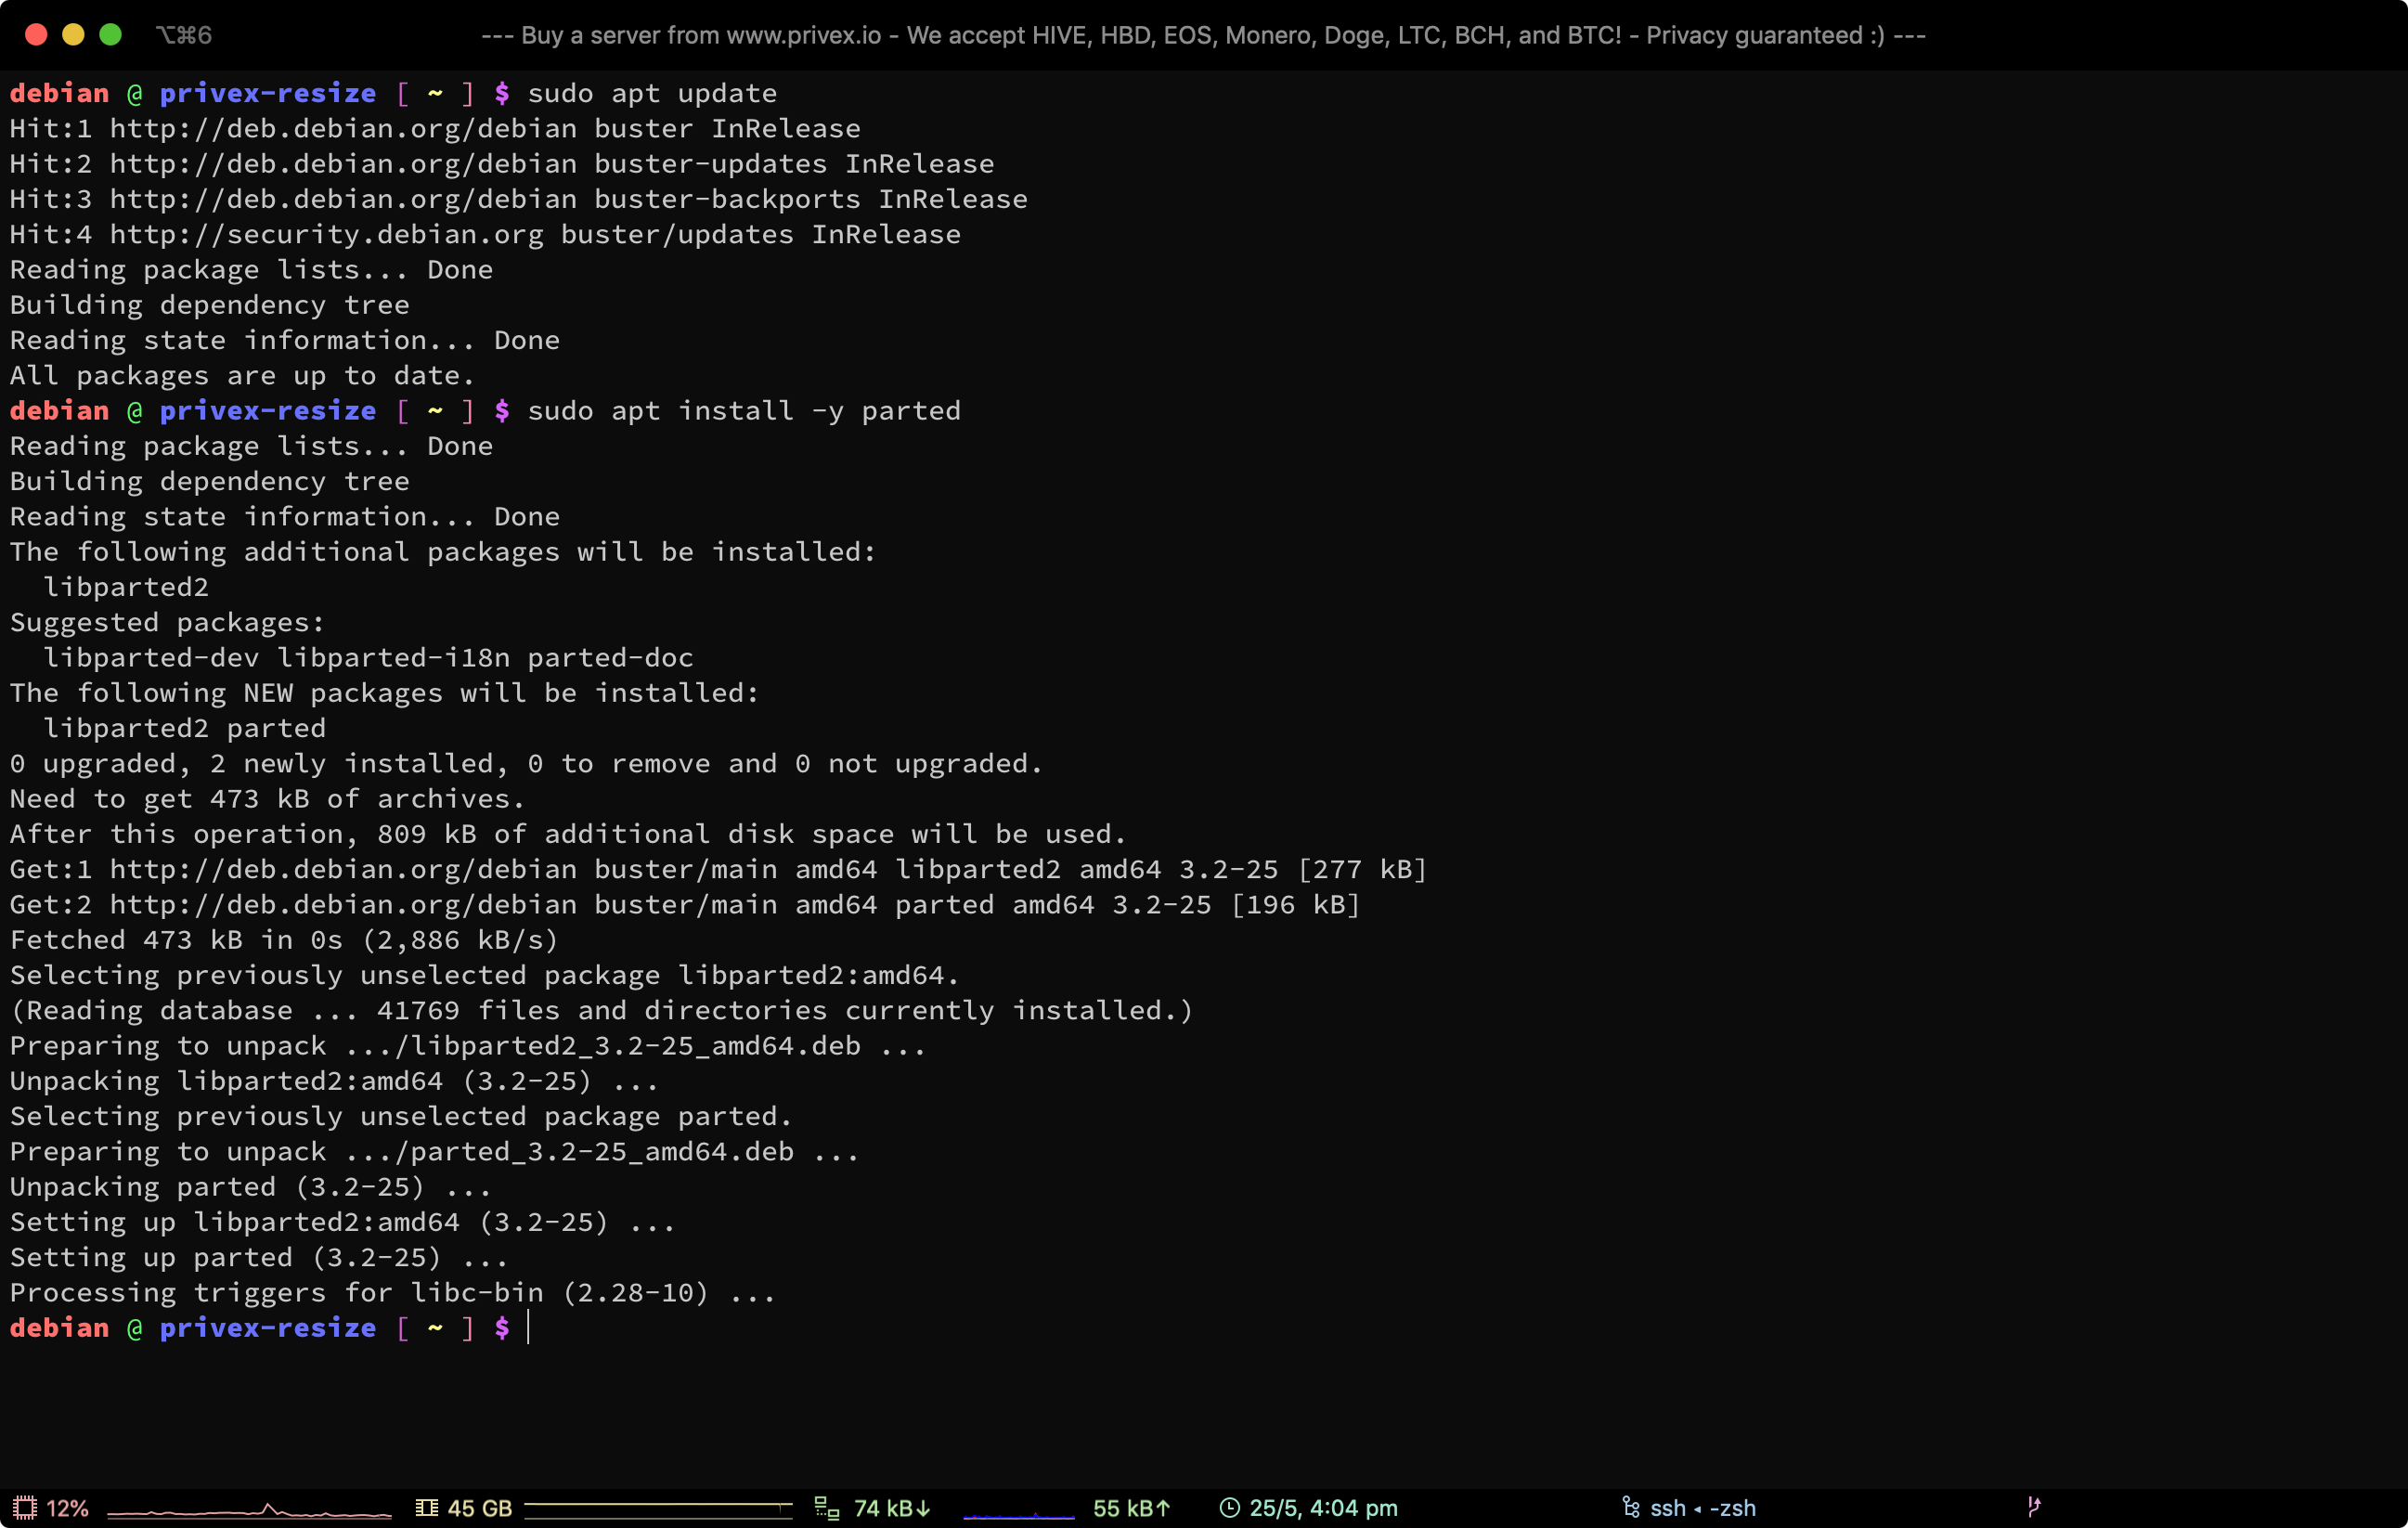
For Debian-based distros such as Ubuntu, Debian, Linux Mint, etc. — you can install parted from apt:
sudo apt update sudo apt install -y parted For Redhat-based distros (Fedora, Redhat, CentOS, Oracle, Amazon Linux, etc.), you can use either dnf (for modern distros) or yum (for older distros):
# for modern distros sudo dnf install -y parted # for older distros, or if you get an error saying dnf isn't installed sudo yum install -y parted For Arch Linux, you can use pacman :
2. Check fdisk to find the right disk / partition + disk/partition info
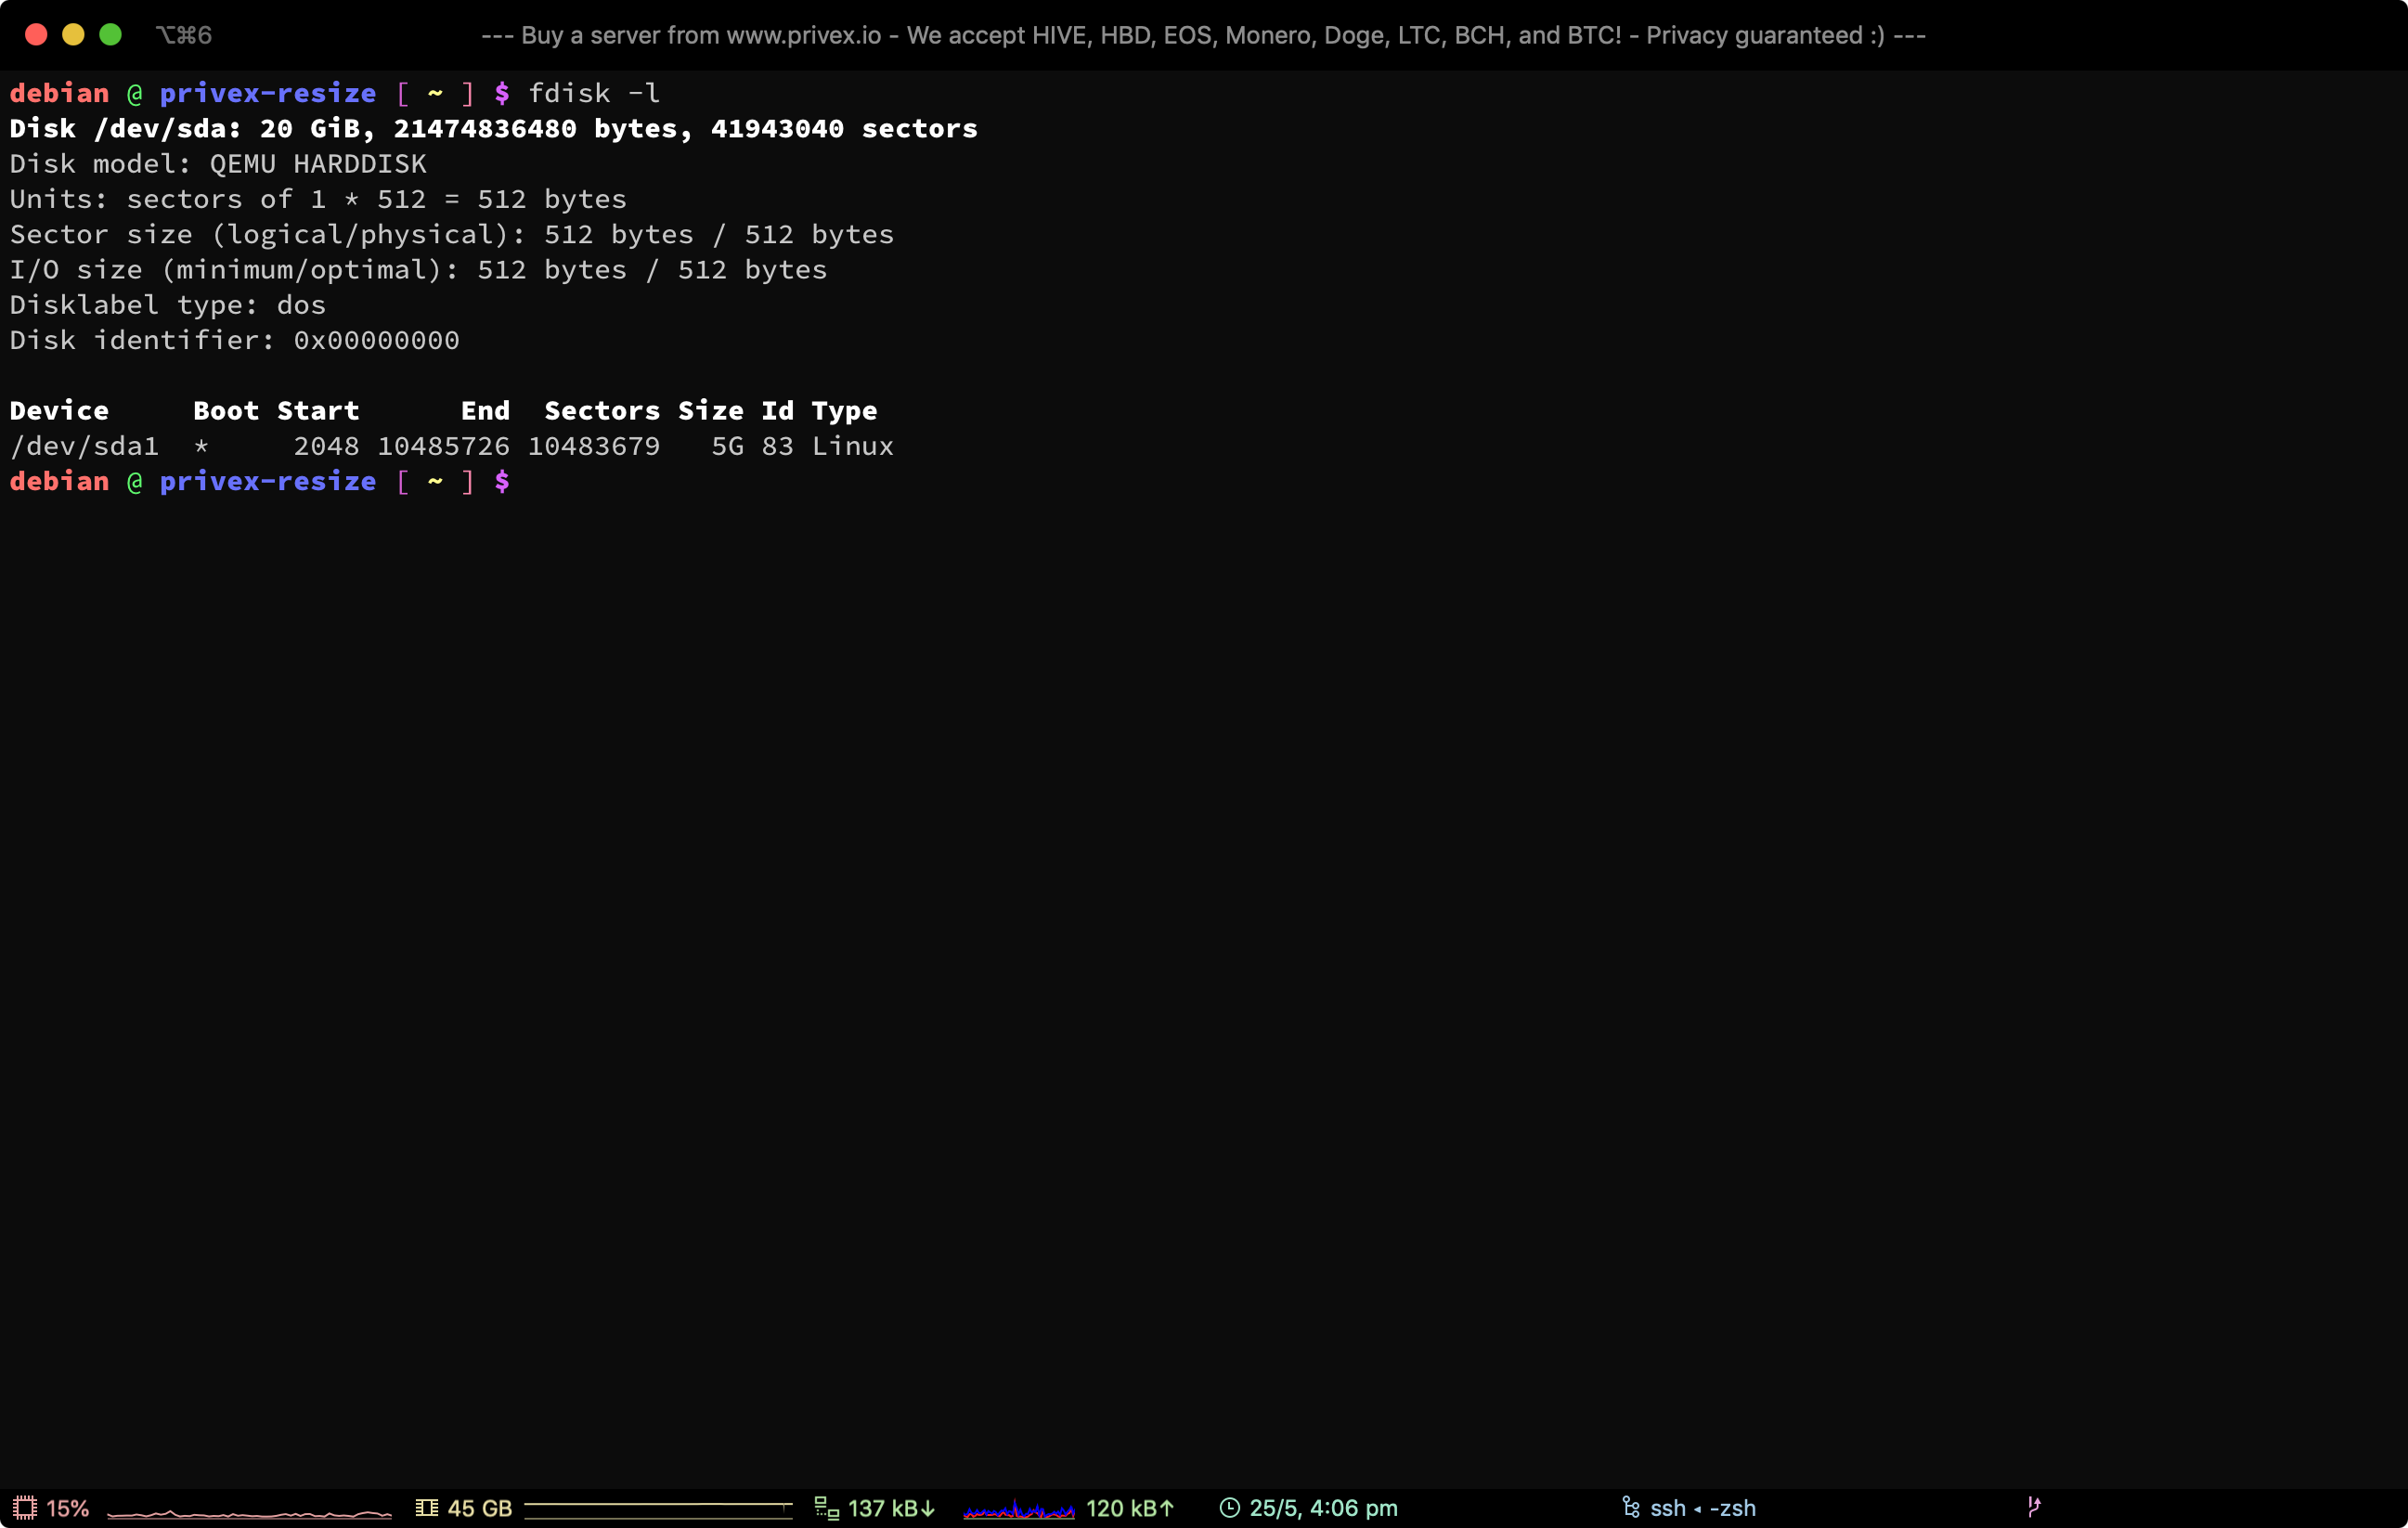
Run the following command to get information about all disks and partitions on your system:
Look through the output to find the disk (e.g. /dev/sda ) that you want to resize, as well as the partition you want to resize.
You might also be able to find the disk /dev/ path by running df -h / (if you want to resize a different partition instead of the rootfs / — then replace / with the mountpoint of the partition you want to resize)
3. Resize the disk partition («physical» partition) on your partition table using parted
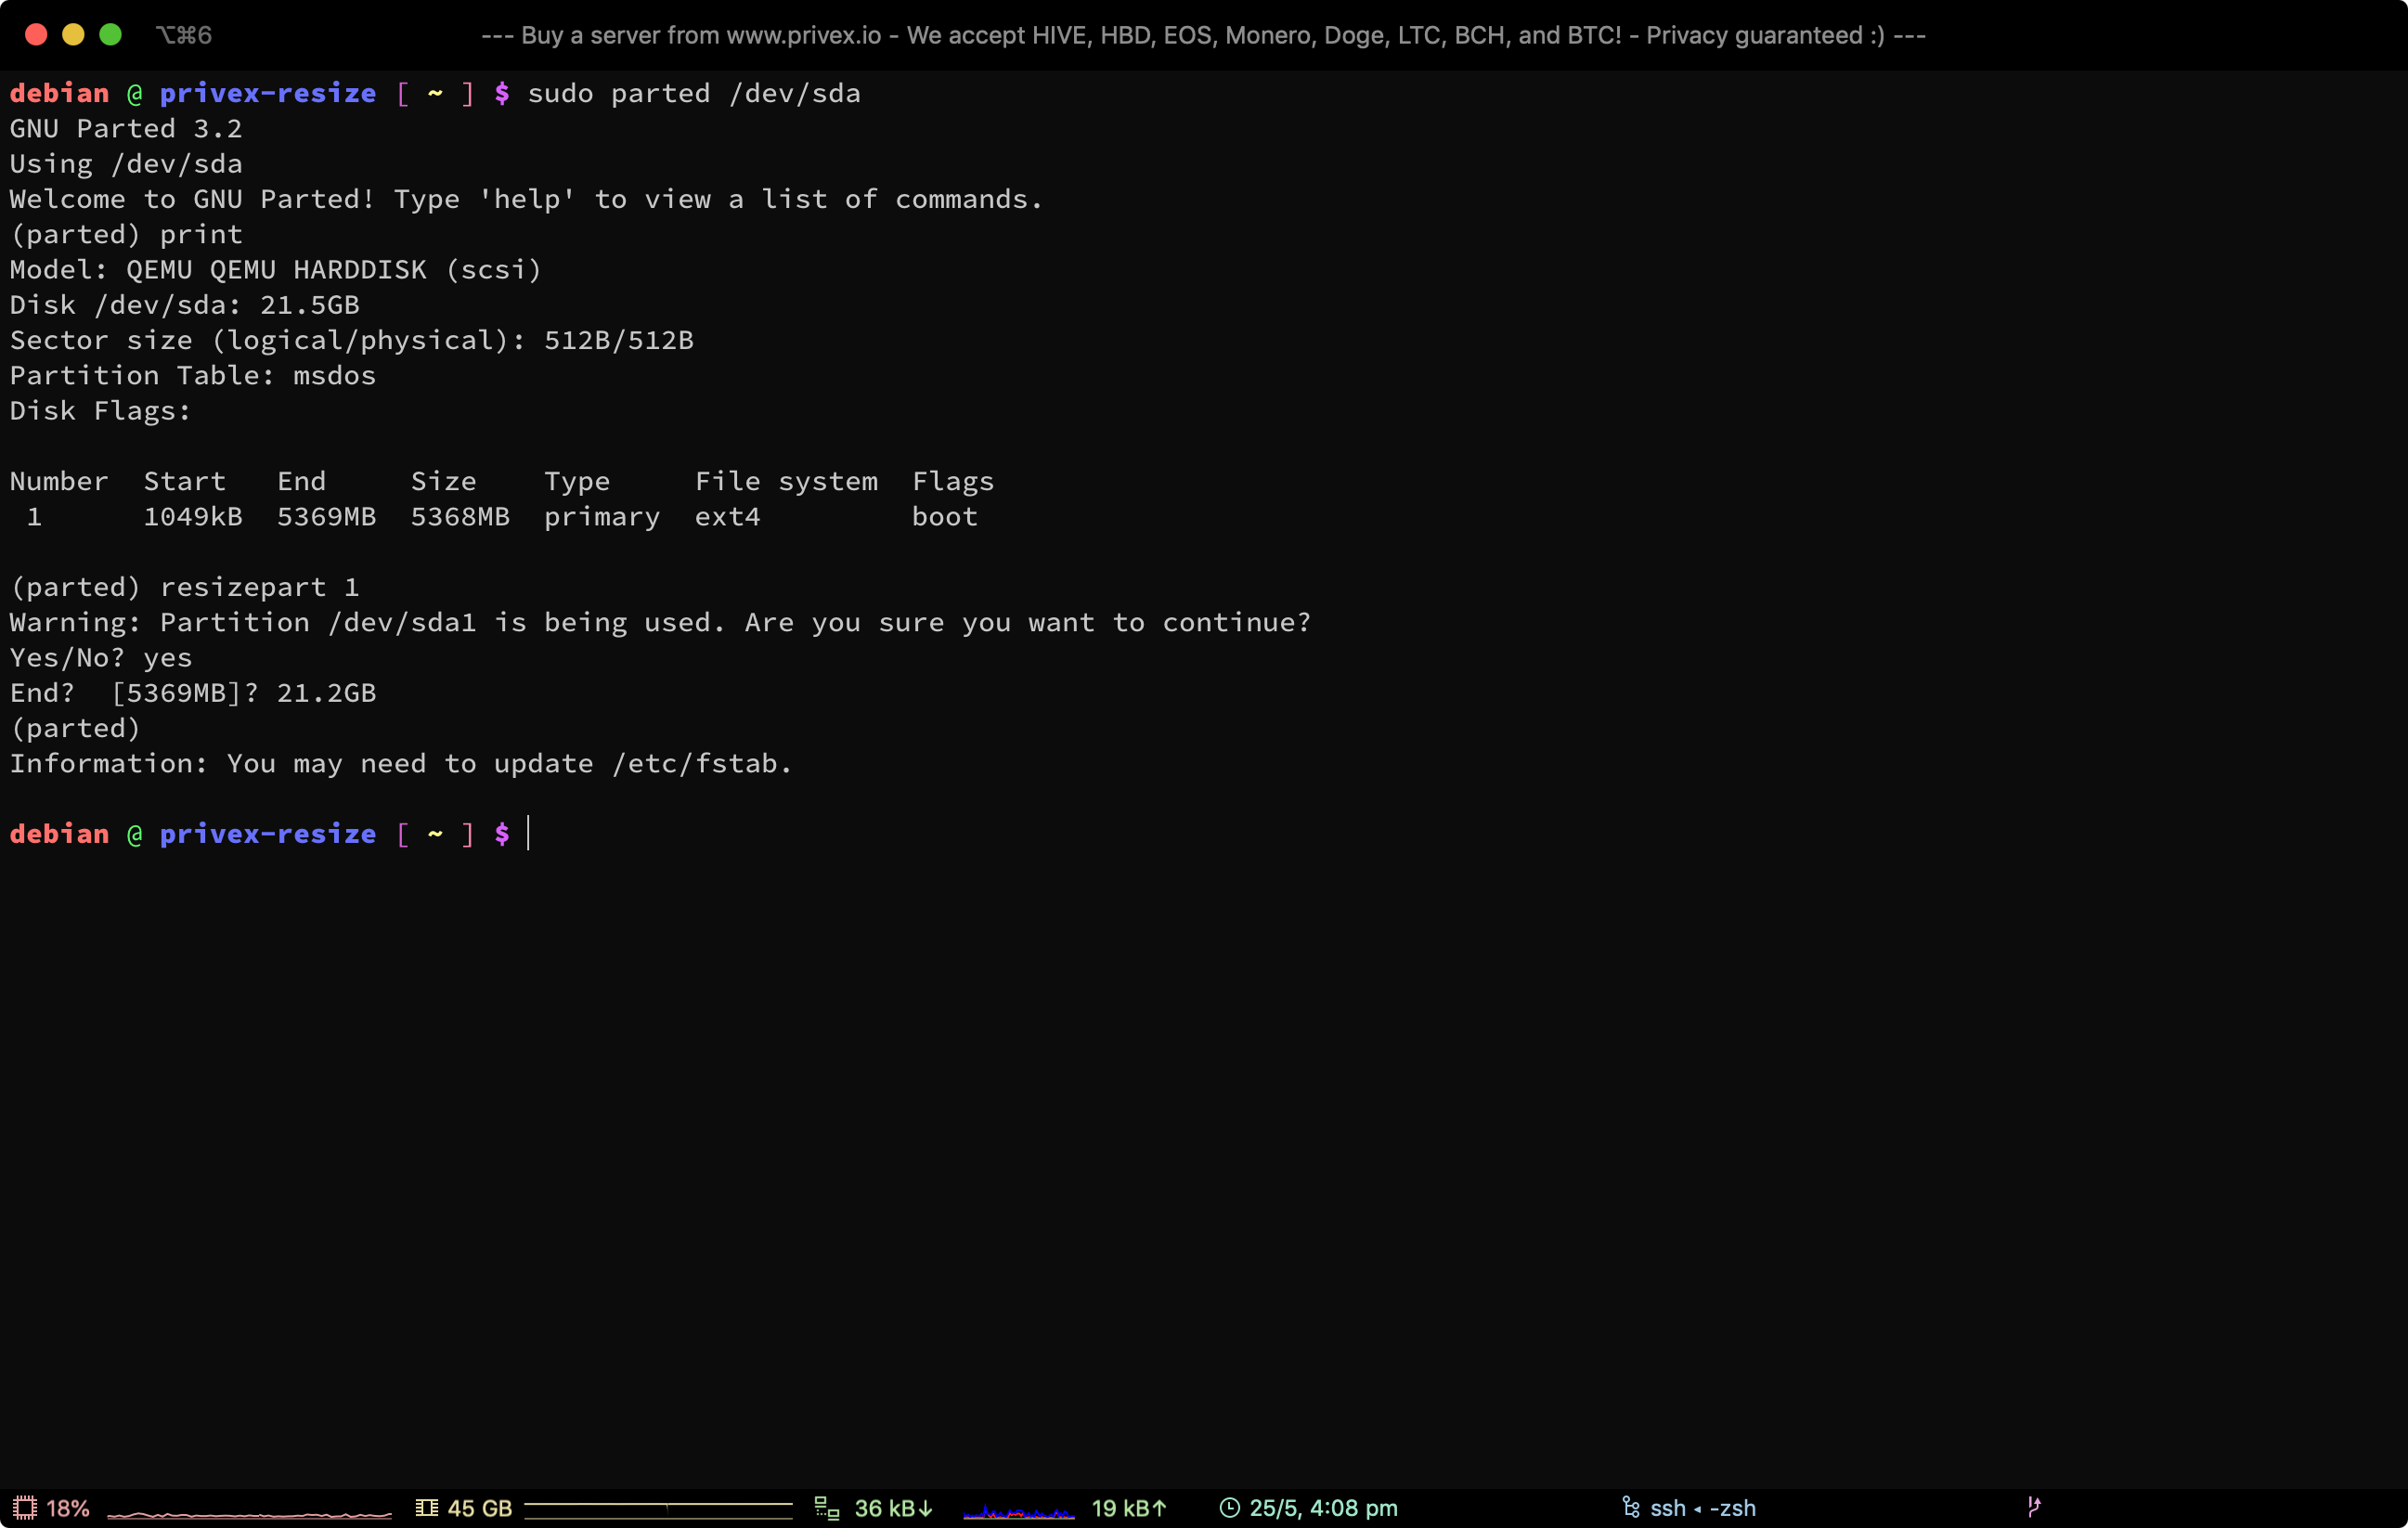
Once you’ve located the disk you want to resize a partition on (e.g. /dev/sda ), open it using parted:
Now use the print command within parted, which will print information about that disk, and the partitions on the disk, so you can figure out how much space you have available to expand the partition into, and the partition number of the partition you want to resize:
Finally, use resizepart [partition_number] with the number of the partition you want to resize, to actually resize the partition:
You may be warned that the disk is in use, this is generally okay, so enter yes
When asked to enter the End: — if the partition is at the end of the disk, you can enter the size of the disk outputted by print , but take off 0.2GB for safety, e.g. if it was 48.5GB — you’d enter 48.3G.
If the partition is between two partitions, then you’ll want to enter an end location at least 100mb before the «Start» of the following partition. For example, if you’re resizing partition 1 (start: 1020MB, end: 20GB), and partition 2 starts at 41.2GB — then you could set the End of part 1 to 41GB (~200mb before part 2).
4. Resize the actual filesystem to fit the grown partition
The command you’d run to grow a filesystem, depends on what filesystem the partition is actually formatted with.
Most Linux systems use the filesystem ext4 (or an older version such as ext3 — which uses the same command to resize anyway), though either yourself or the installer for your distro may have formatted some/all of the partitions with an alternative filesystem such as XFS, or Btrfs.
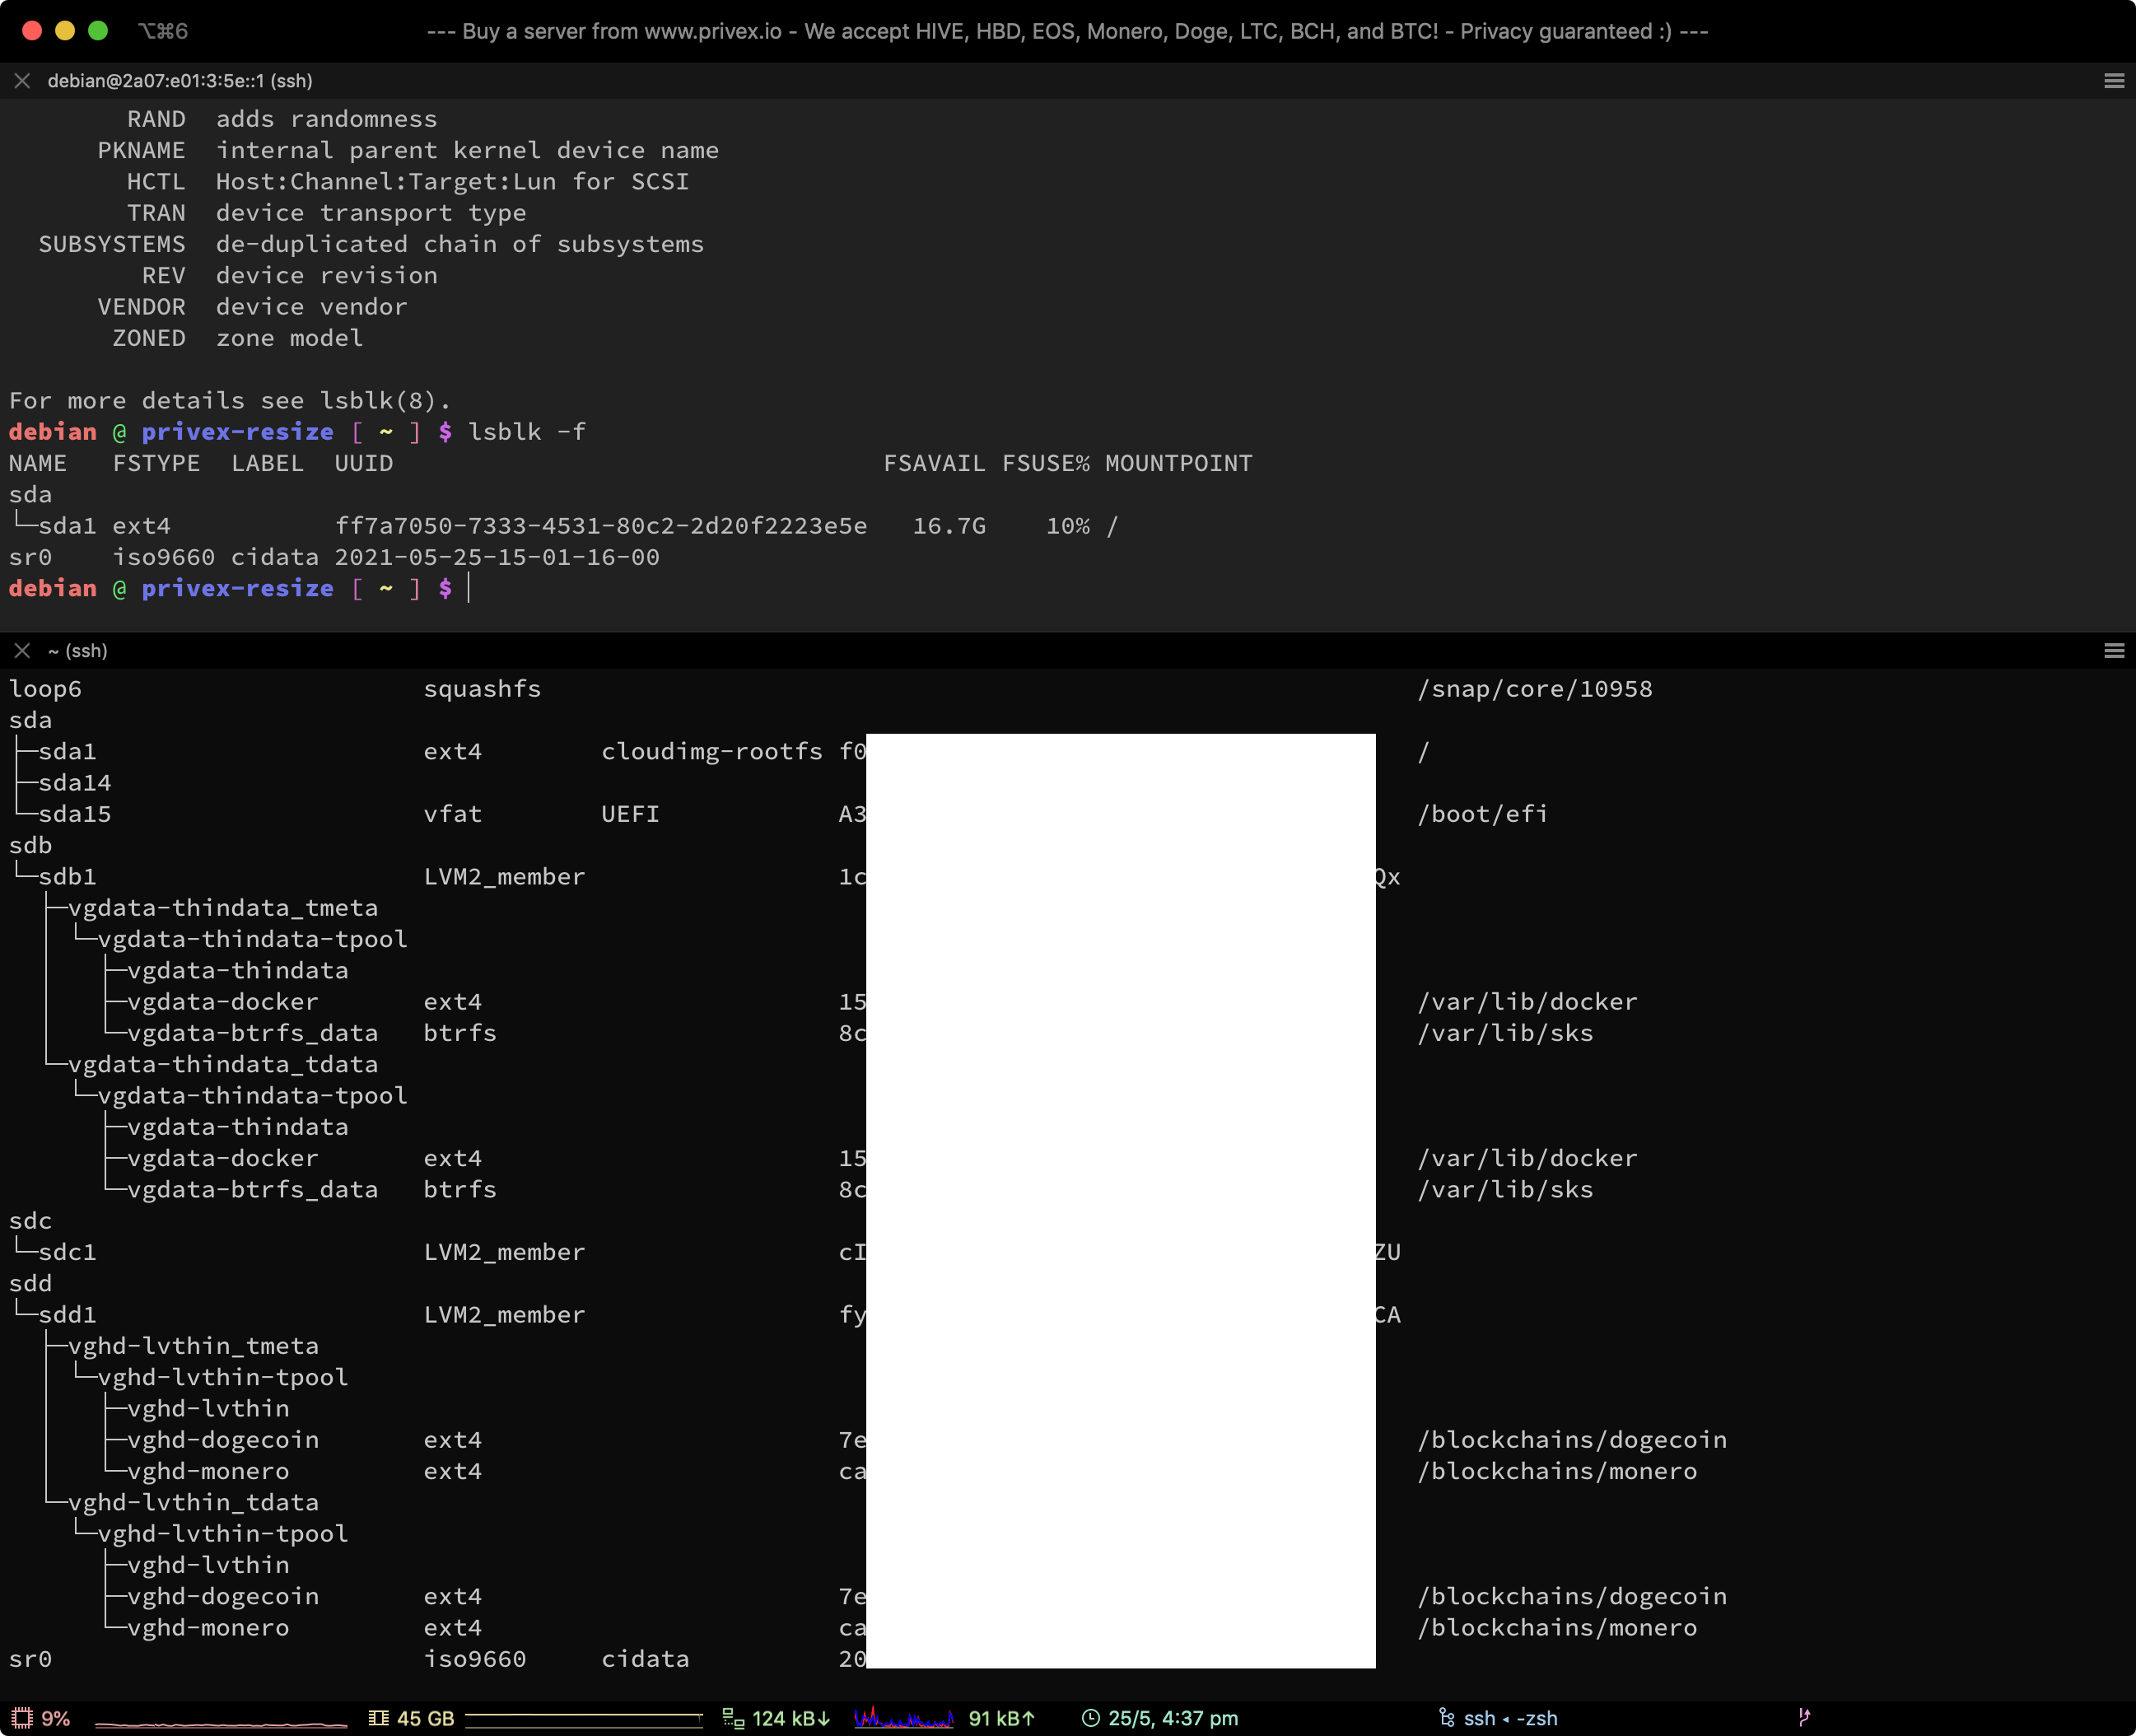
To discover the filesystem used by each partition on your system, use the following command:
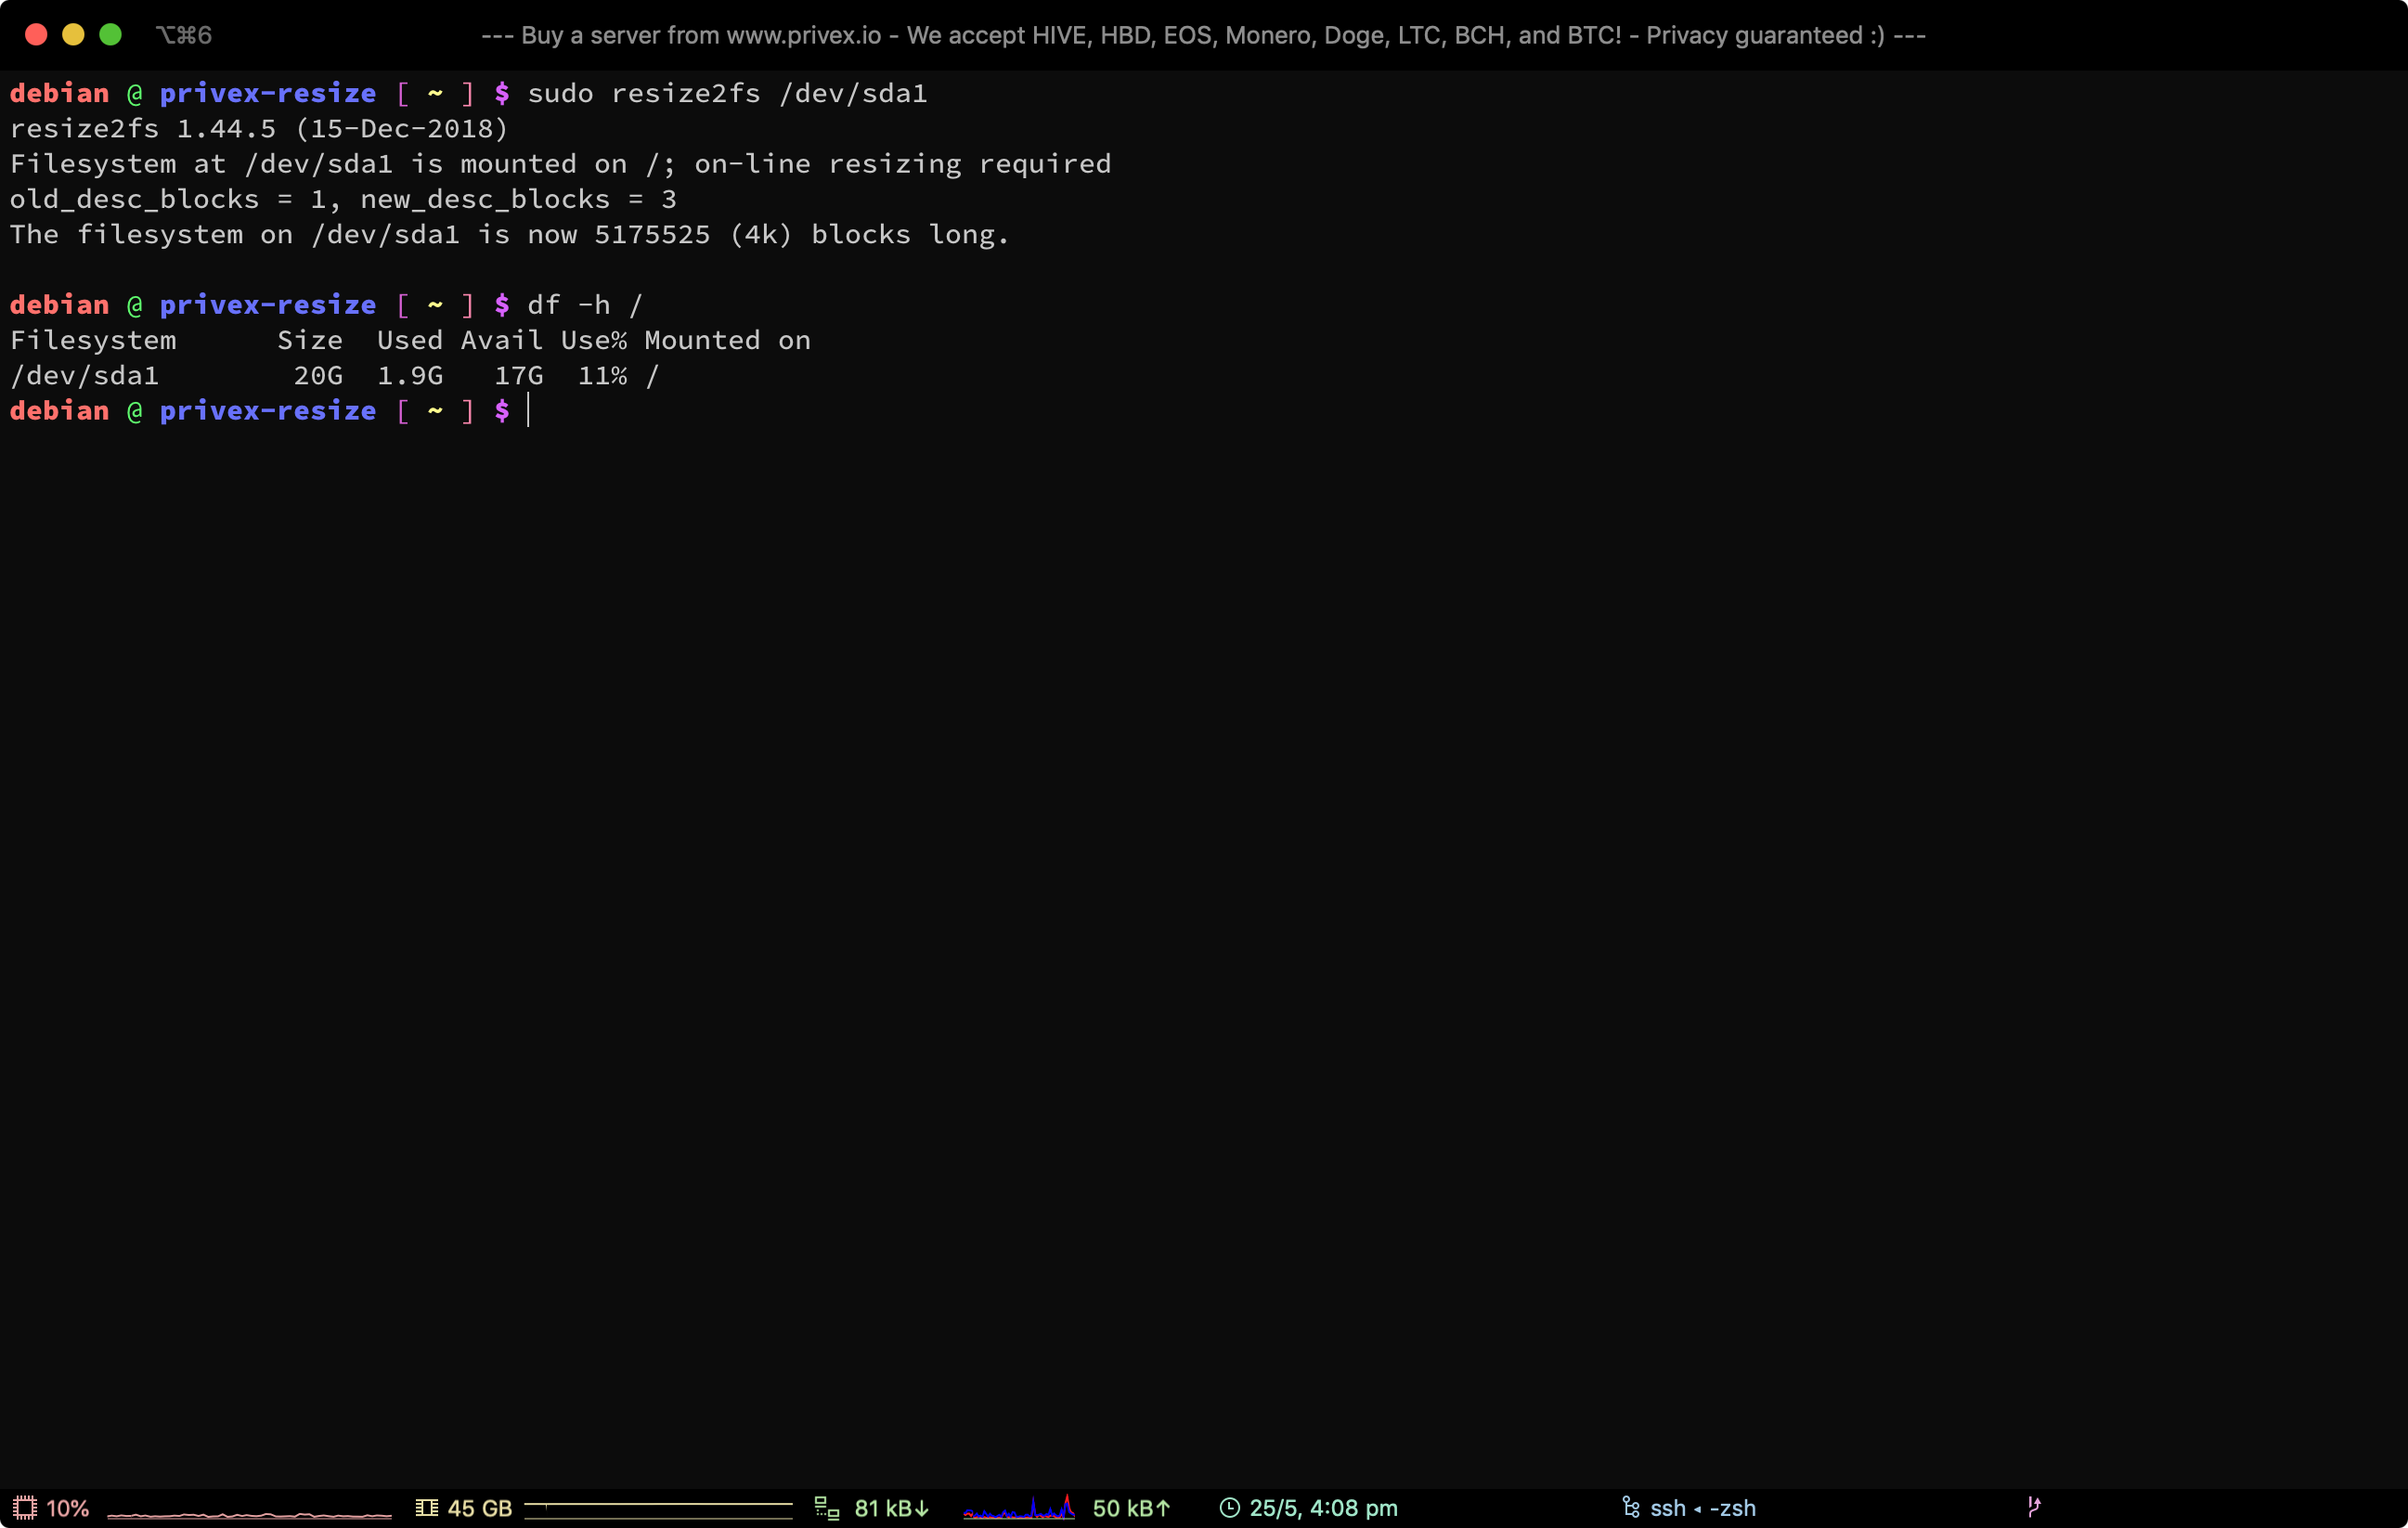
To grow an ext2 , ext3 or ext4 filesystem, use the command (where /dev/sda1 is the partition device to resize):
To grow an xfs filesystem, use the command (where / is the MOUNTPOINT of the XFS formatted device):
To grow a btrfs filesystem, use the command (where / is the MOUNTPOINT of the Btrfs formatted device):
sudo btrfs filesystem resize max / Finally, check the filesystem was resized by running df -h to list the size, used space, and avail space on all mounts:
Looking to buy a Virtual or Dedicated server? Do you like privacy and low prices? Try Privex!
We have virtual servers starting from just US$0.99/mo, and dedicated servers starting from as low as US$50/mo
Unlike other hosts, we don’t ask for any personal details — only a name (can be an alias / username), and an e-mail address so we can send you your server details and renewal invoices.
We also accept several different cryptocurrencies with our own in-house payment processor — no third parties involved in processing your payments.
At the time of writing, we currently accept: Bitcoin (BTC), Litecoin (LTC), Monero (XMR), Dogecoin (DOGE), HIVE, and HBD
Adjust the size of a filesystem
A filesystem can be grown to make use of the free space after its partition. Often this is even possible while the filesystem is mounted.
To make space for another partition after the filesystem, it can be shrunk according to the free space within it.
Not all filesystems have resize support.
The partition size will be changed together with the filesystem size. It is also possible to resize a partition without a filesystem in the same way.
Resize a filesystem/partition
- Open Disks from the Activities overview.
- Select the disk containing the filesystem in question from the list of storage devices on the left. If there is more than one volume on the disk, select the volume which contains the filesystem.
- In the toolbar underneath the Volumes section, click the menu button. Then click Resize Filesystem… or Resize… if there is no filesystem.
- A dialog will open where the new size can be chosen. The filesystem will be mounted to calculate the minimum size by the amount of current content. If shrinking is not supported the minimum size is the current size. Leave enough space within the filesystem when shrinking to ensure that it can work fast and reliably. Depending on how much data has to be moved from the shrunk part, the filesystem resize may take longer time.
The filesystem resize automatically involves repairing of the filesystem. Therefore it is advised to back up important data before starting. The action must not be stopped or it will result in a damaged filesystem.